Introduction
Domain Name System (DNS) serves as the Internet's phone book, translating human-friendly domain names into machine-friendly IP addresses. You can conveniently manage these DNS settings in a Linux hosting environment through cPanel's Zone Editor feature. This guide offers a step-by-step tutorial for handling DNS records, including A, CNAME, MX, and many other types.
Section 1: Accessing cPanel
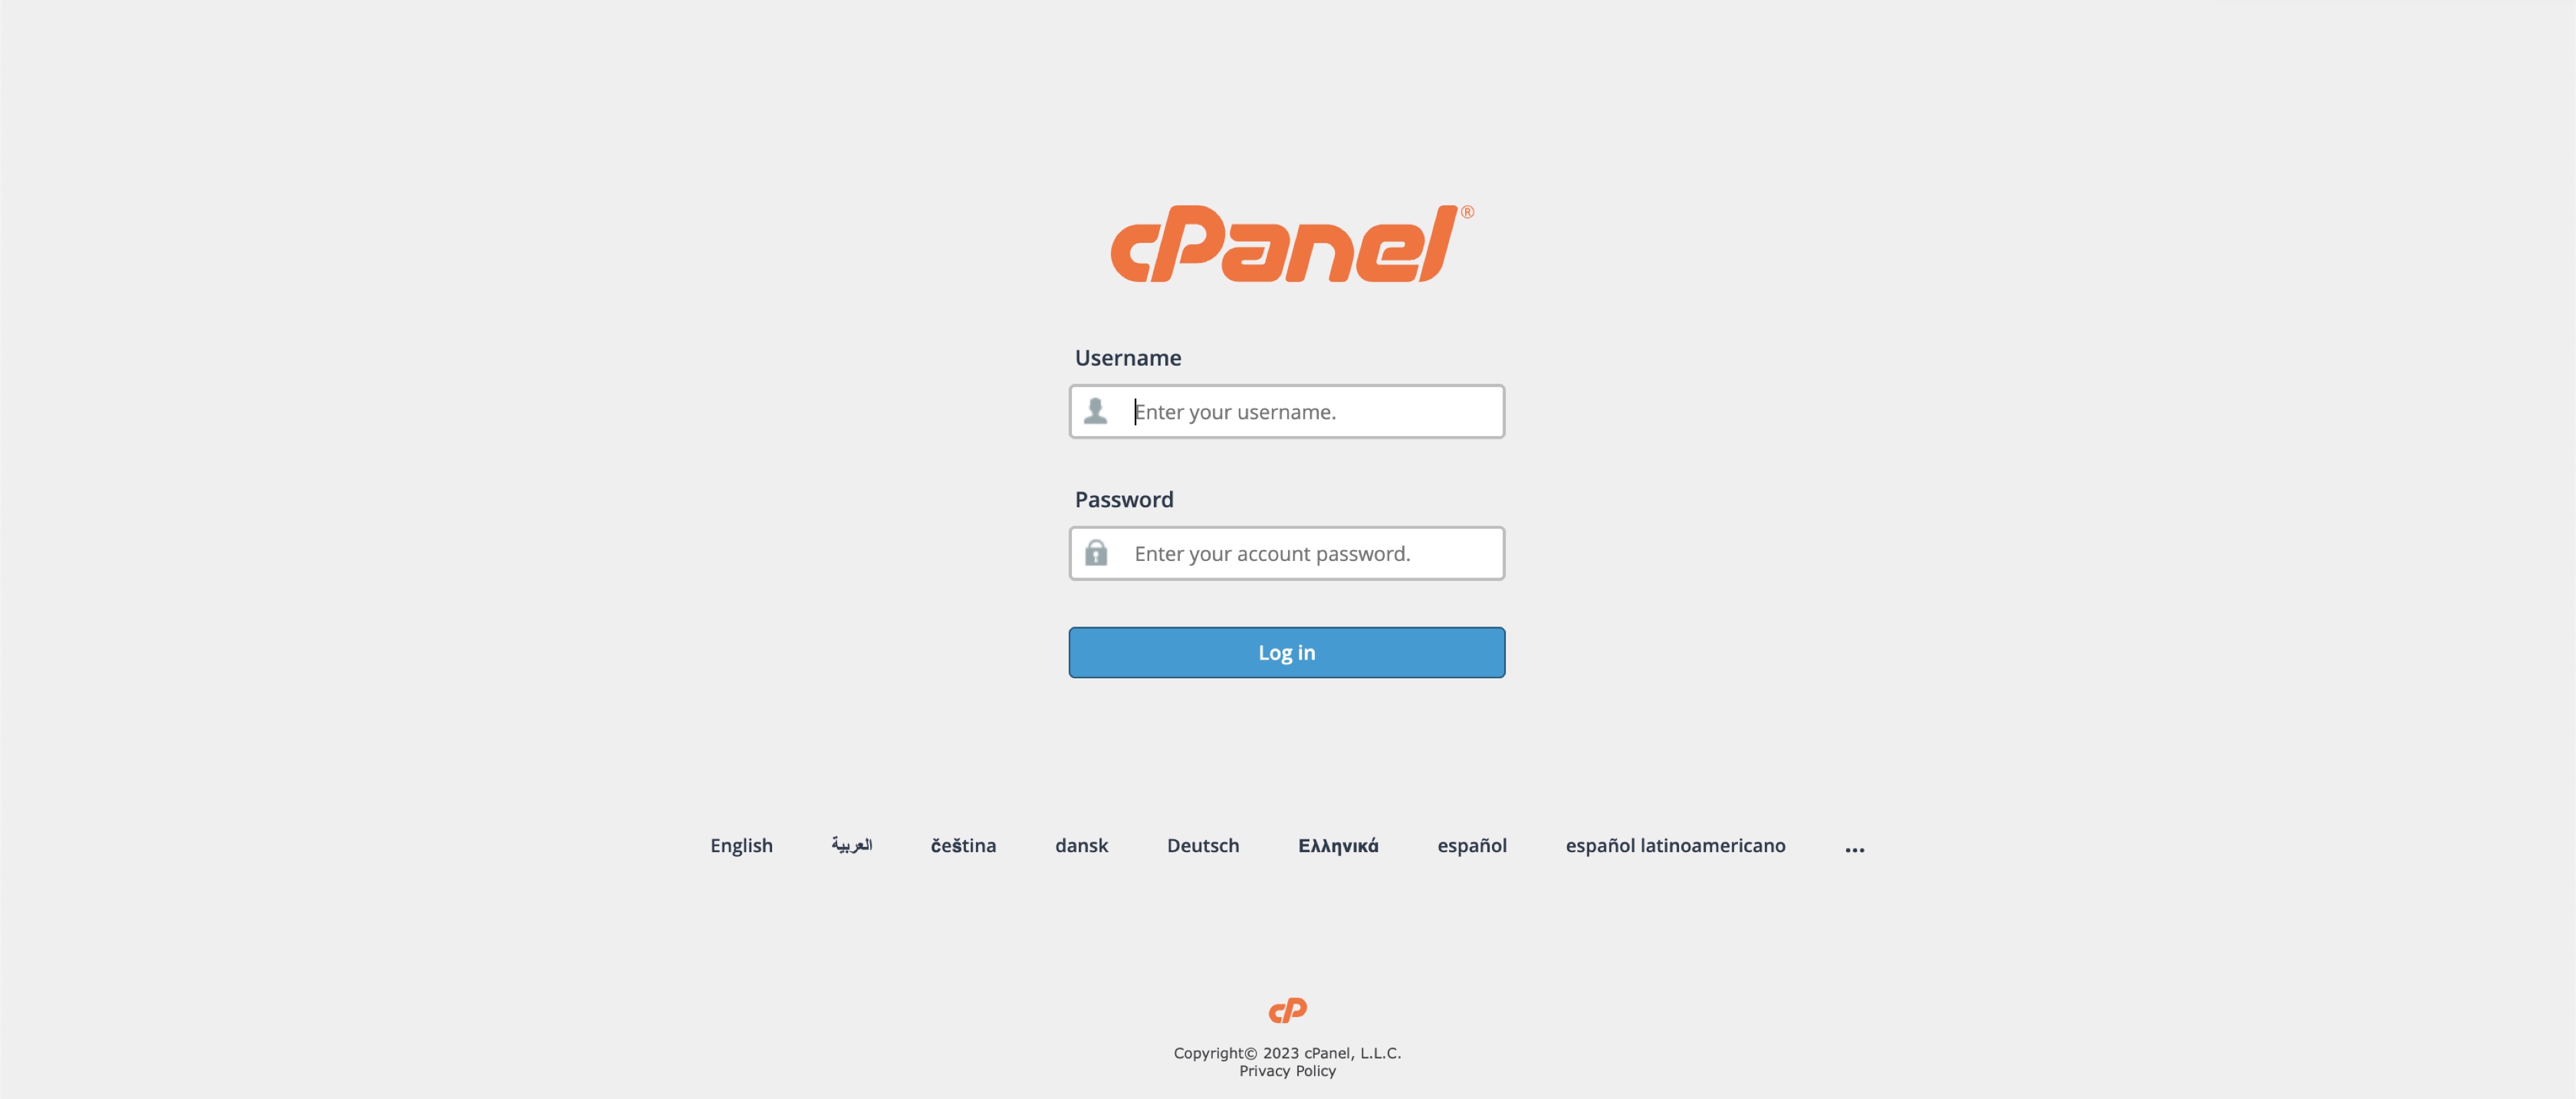
Login to cPanel: To start, you need to access your cPanel account. You can do this by appending '/cpanel' to your domain name (e.g., https://<your-domain-name>/cpanel) or via the link provided by our Support Team. Use your username and password to log in, as illustrated in Figure 1 below.
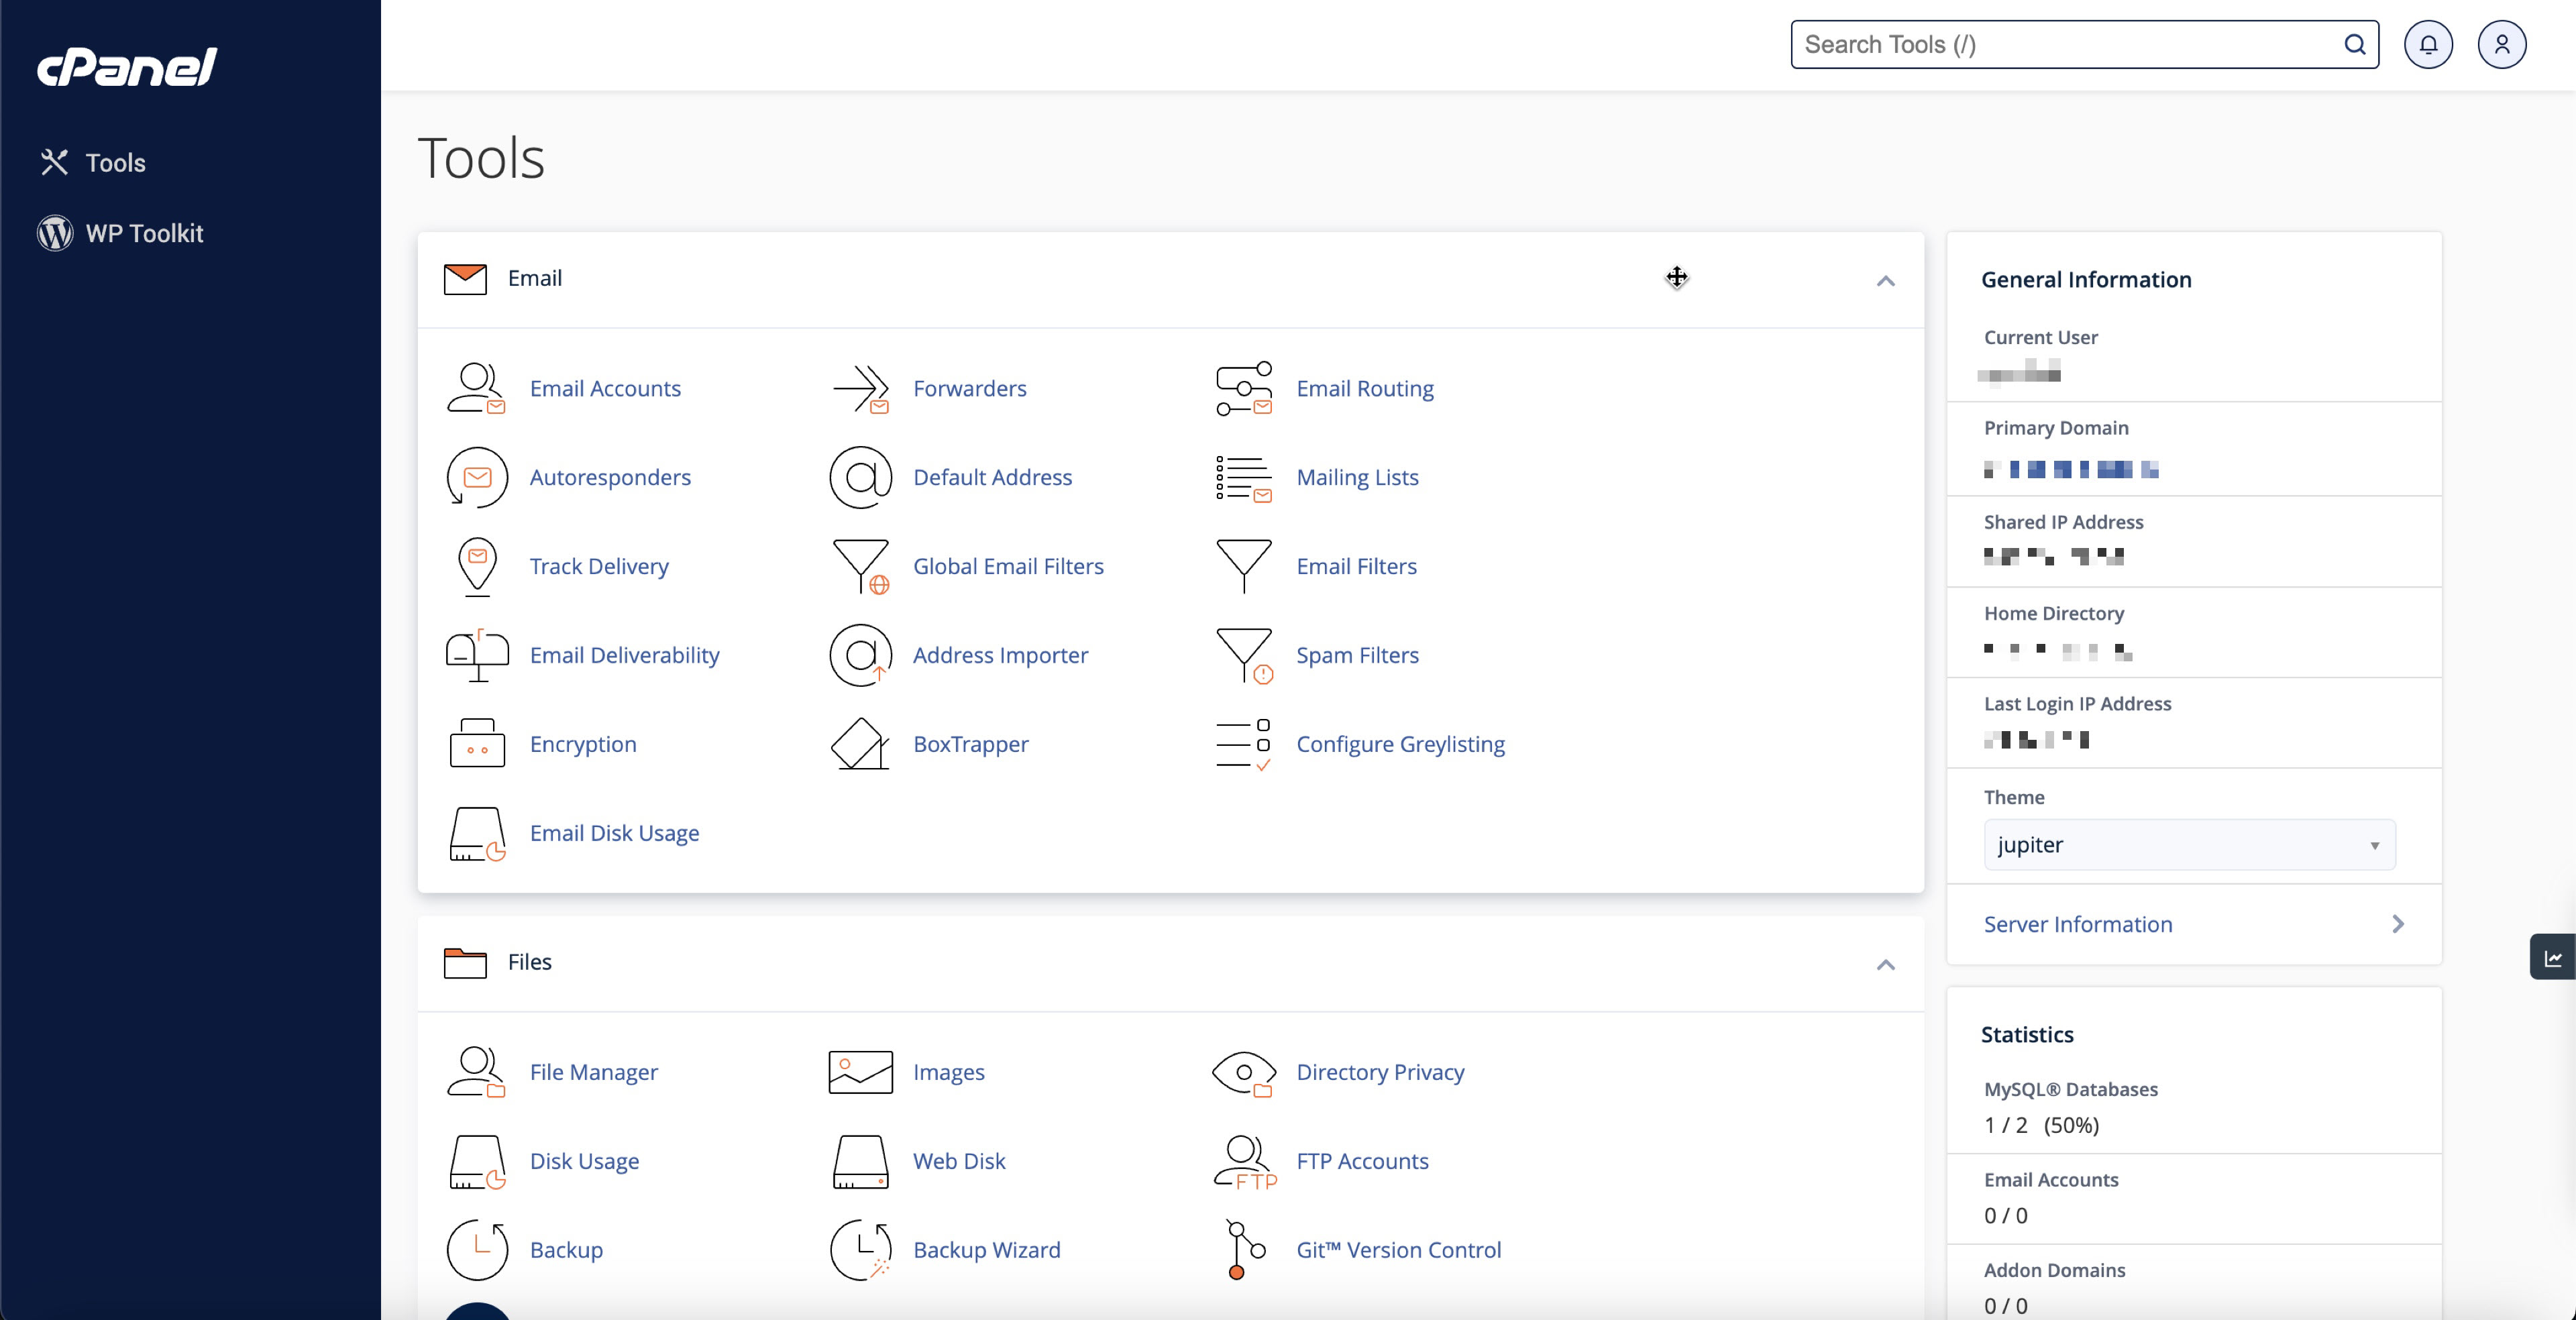
You will land on the dashboard page upon successful login, as illustrated in Figure 2 below.
Section 2: Domains
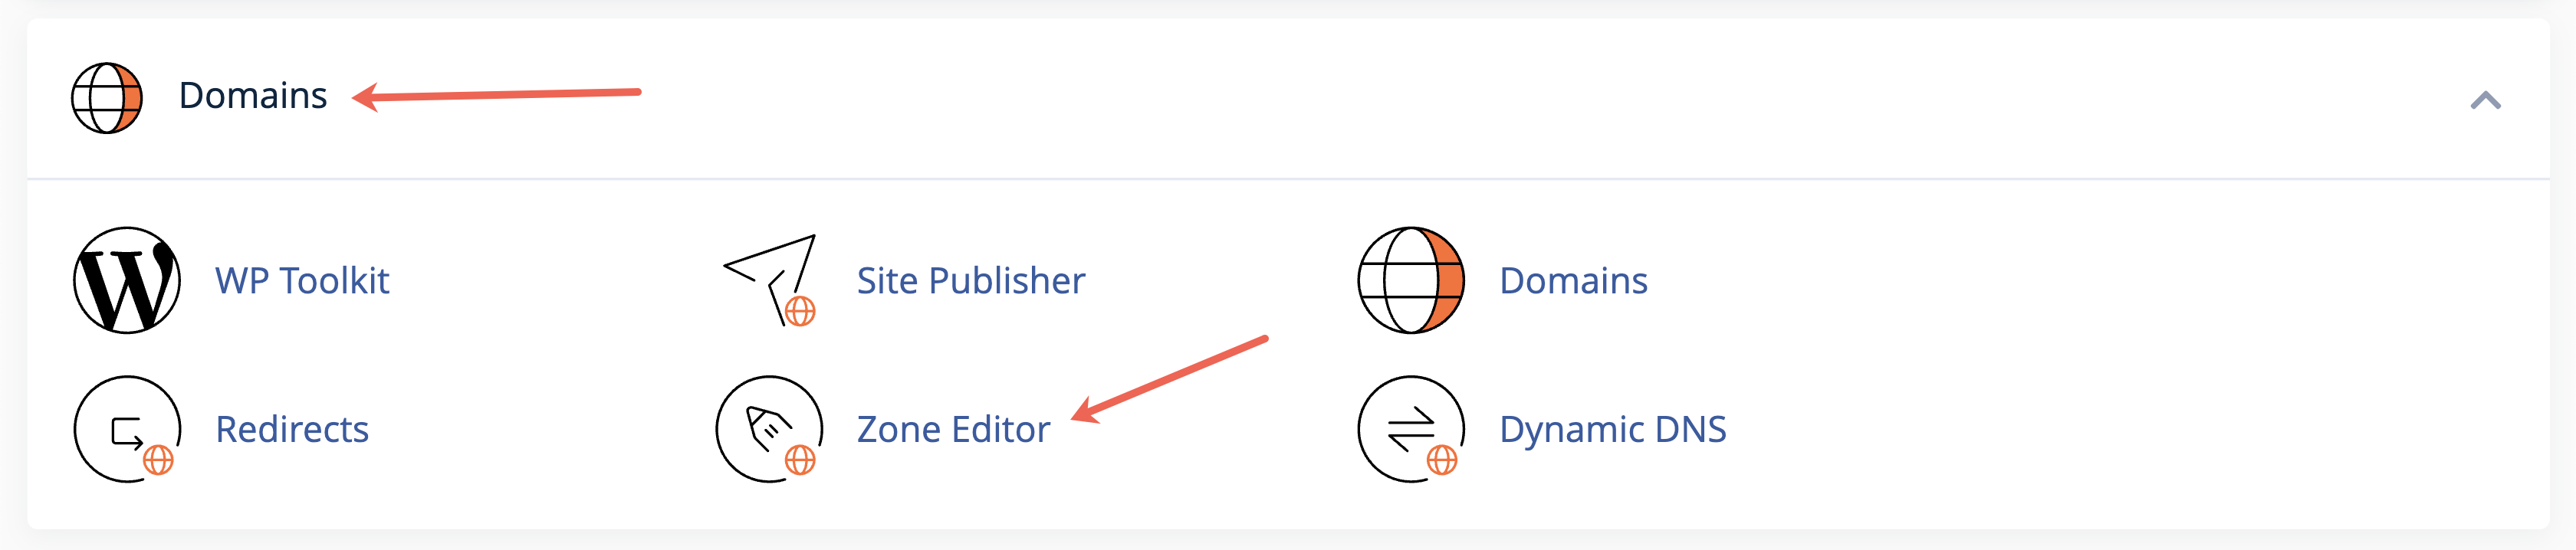
Go to the Domains section in the dashboard and click on the Zone Editor link, as illustrated in Figure 3 below.
You will land on the page after clicking the Zone Editor link, as illustrated in Figure 4 below.
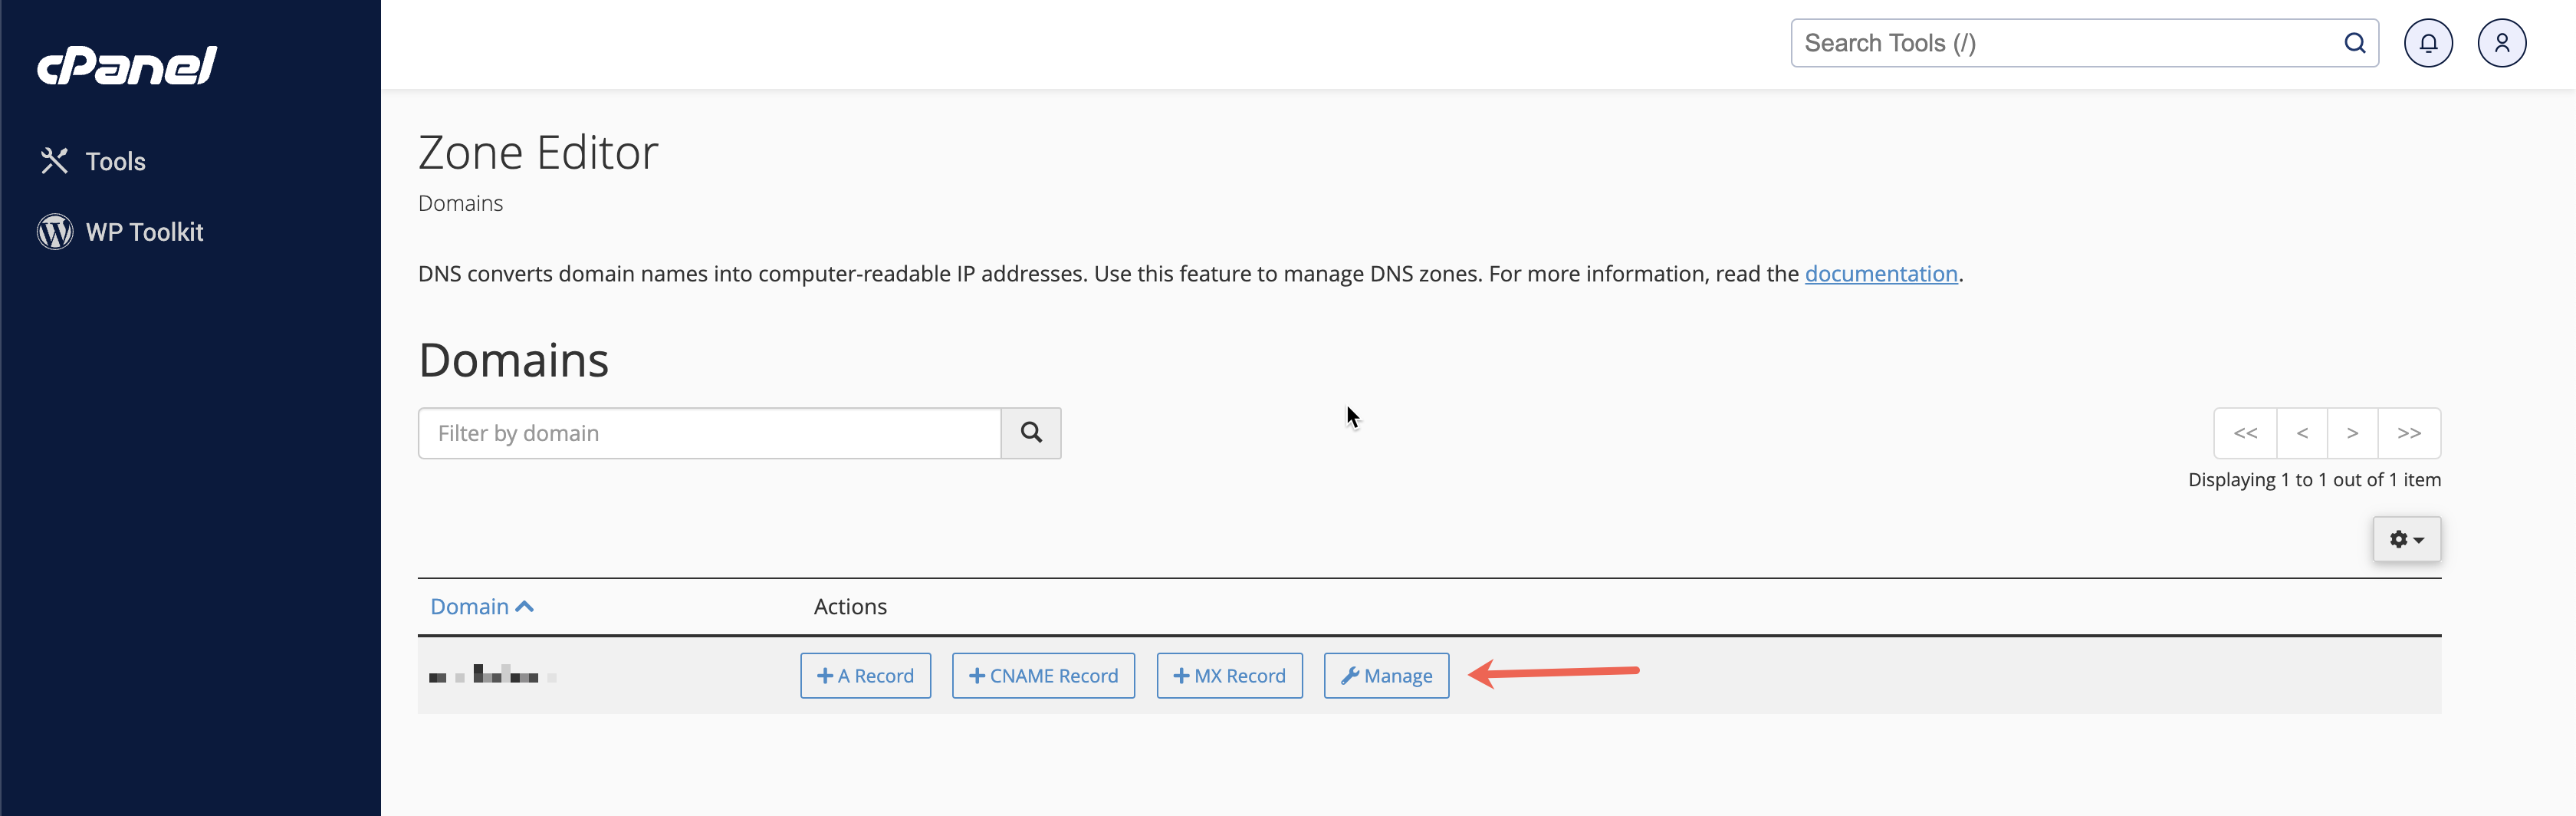
By default, the Zone Editor screen displays a list of your domains and their DNS zone records. To filter the list, enter a name in the text box, as illustrated in Figure 4 above.
For each listed domain, you can perform the following actions by default:
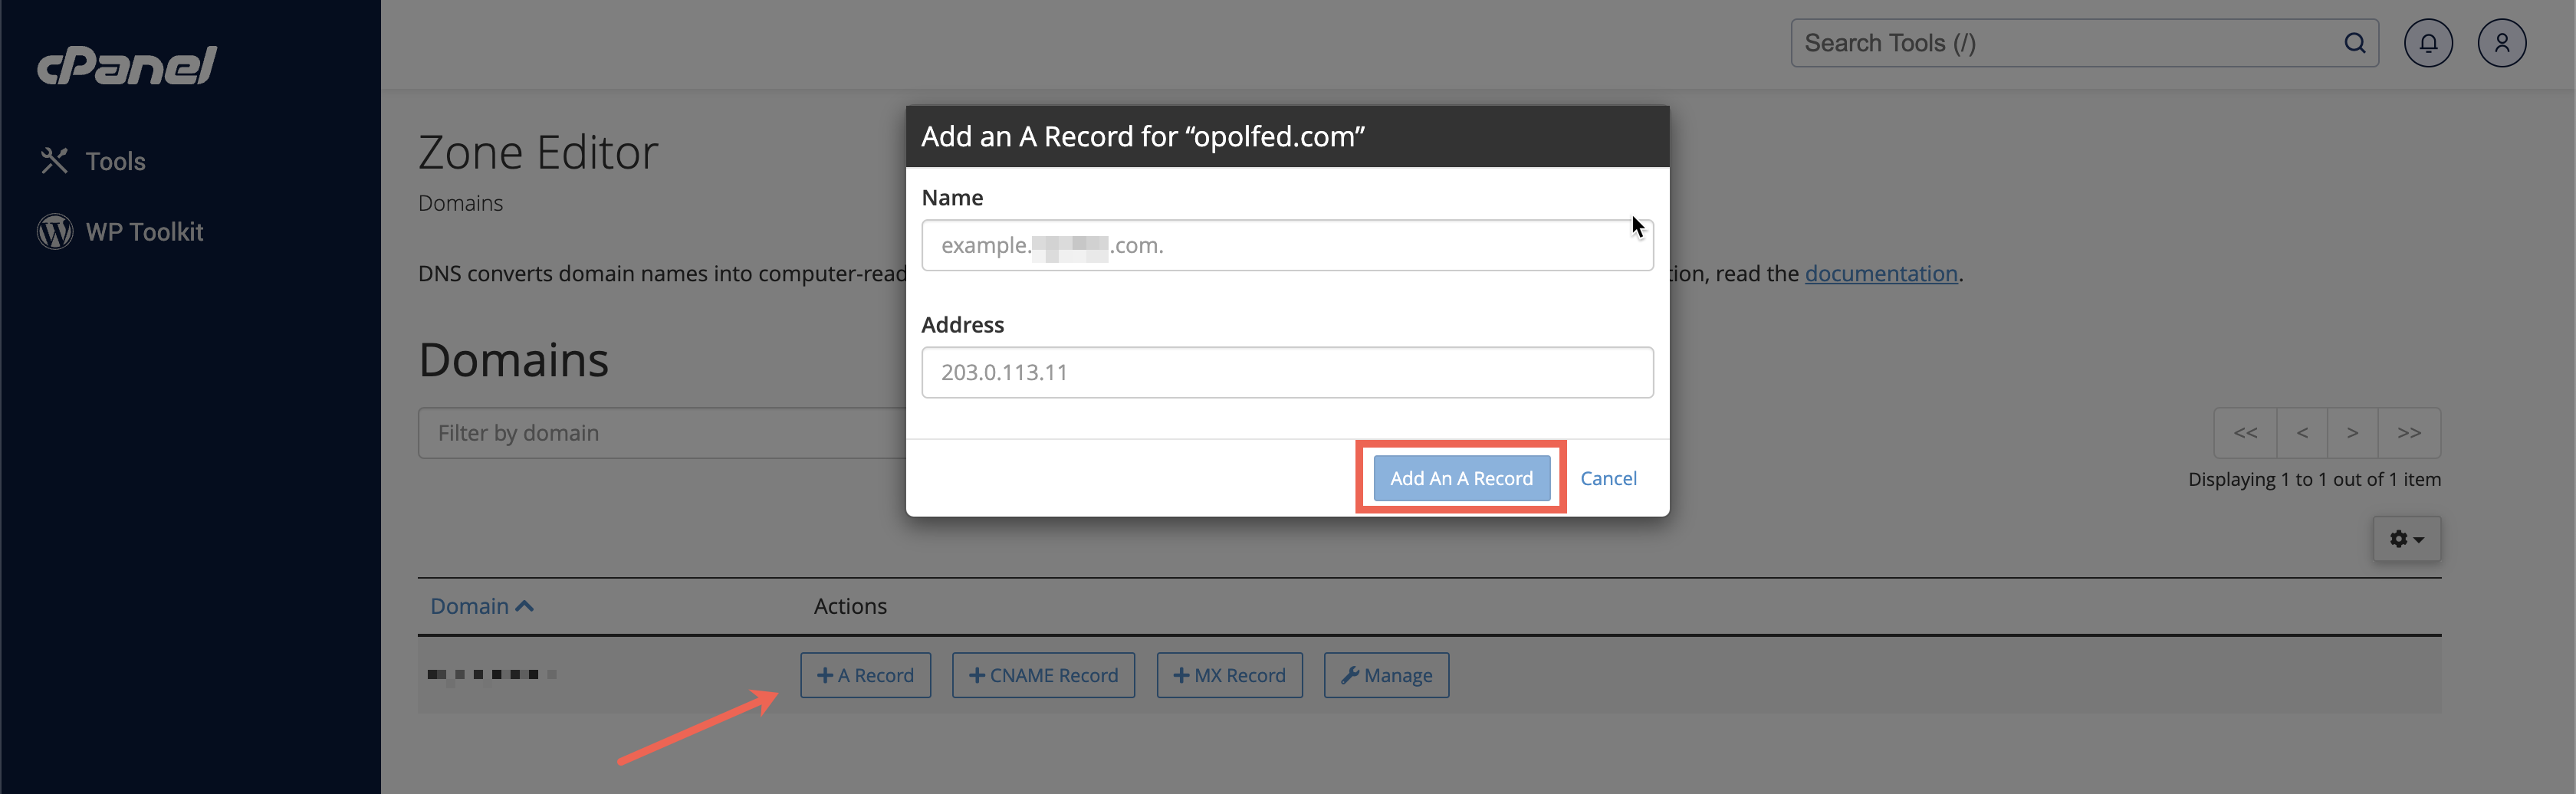
- Create a new A record. When you select this record type, a new window will appear. Enter a valid DNS zone name in the Name text box and a valid IPv4 address in the Address text box. Click Add An A Record button to save your changes, as illustrated in Figure 5 below.
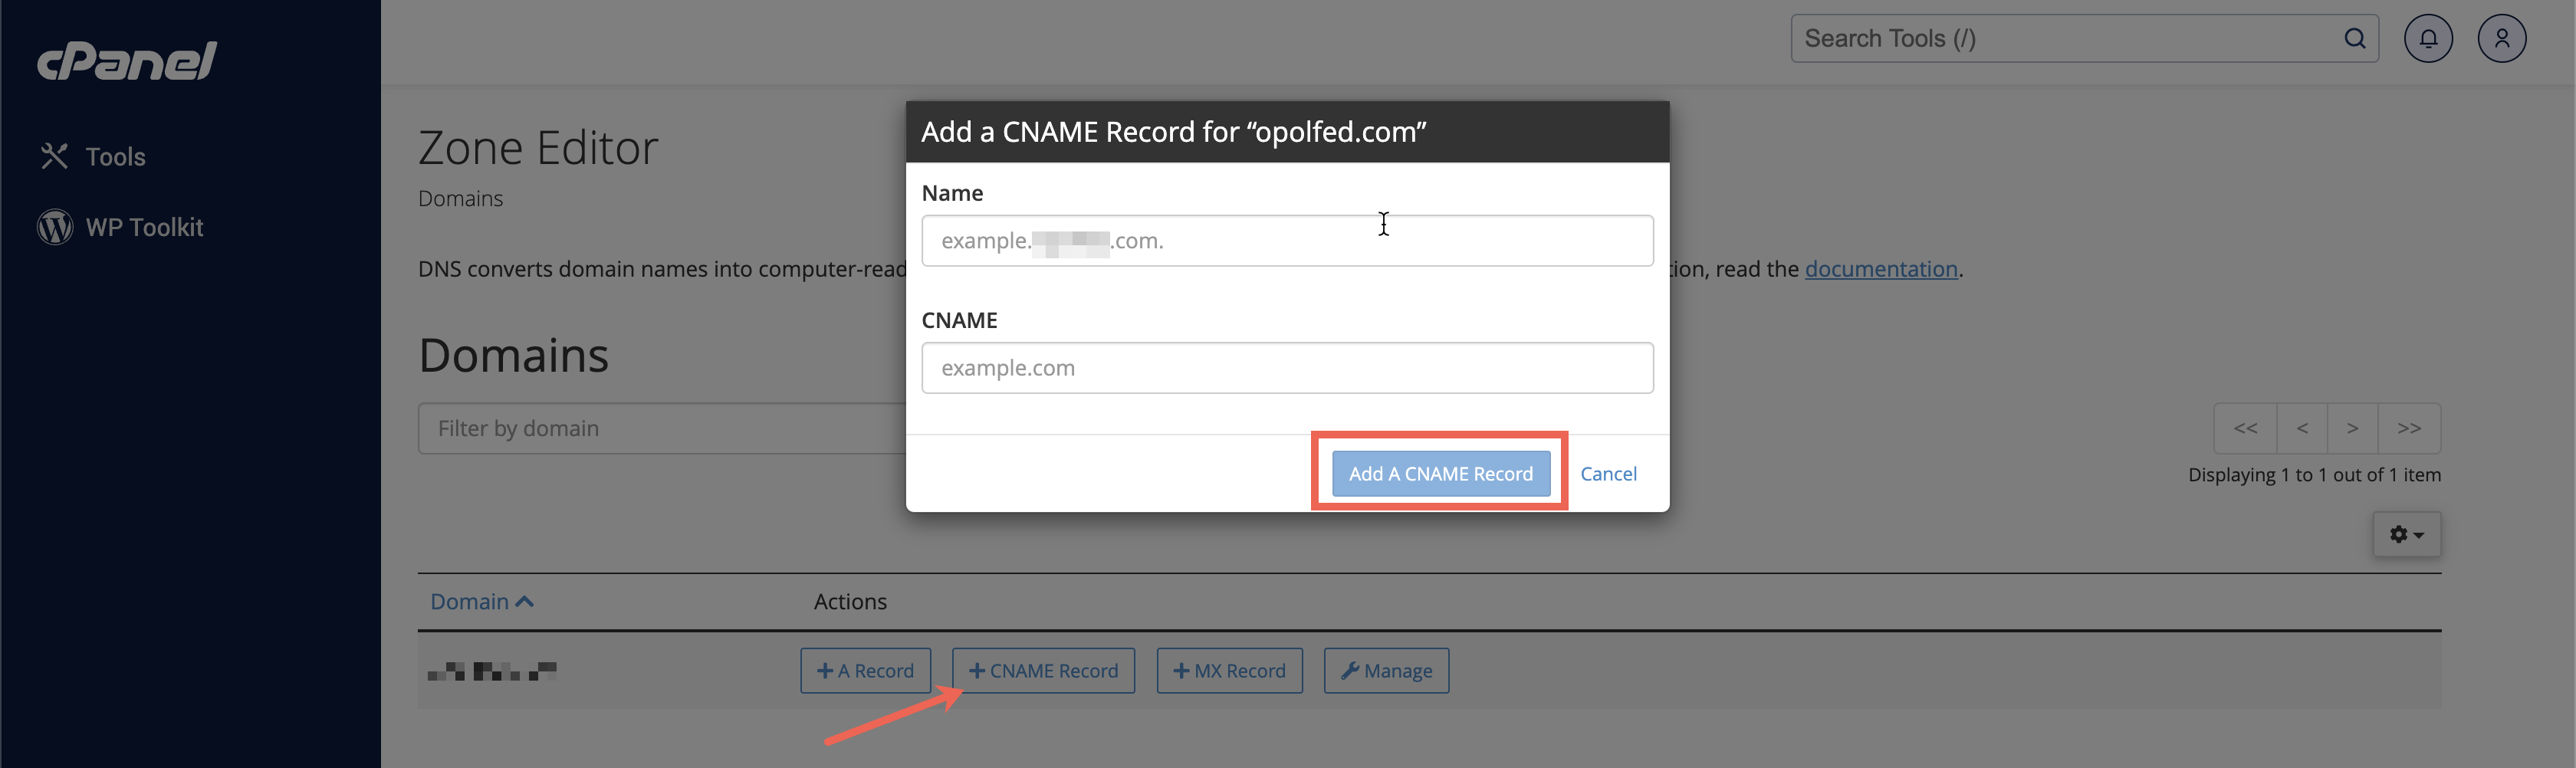
- Create a new CNAME record. When you select this record type, a new window will appear. Enter a valid DNS zone name in the Name text box and an FQDN in the CNAME text box. Click Add A CNAME Record button to save your changes, as illustrated in Figure 6 below.
- Create a new MX record. When you select this record type, a new window will appear. Enter the record’s priority value in the Priority text box and an FQDN in the Destination text box. Click Add An MX Record button to save your changes, as illustrated in Figure 7 below.

- Manage: Add or edit additional domain records. When you click Manage, the system directs you to the Manage Zone interface, as illustrated in Figure 8 below.

Section 3: Manage Zone
The Manage Zone interface displays the DNS zone records for the selected domain. To filter the list, enter a name in the text box or select an available record type filter.
The record table contains the following information for each DNS record:
- Name: The record’s name
- TTL: The record’s Time to Live (TTL)
- Type: The record’s type
- Record: The record’s information
- Actions: The option to edit or delete the record, as illustrated in Figure 8 above.
Section 4: Add a DNS Zone Record
To add a new record, follow the below steps:
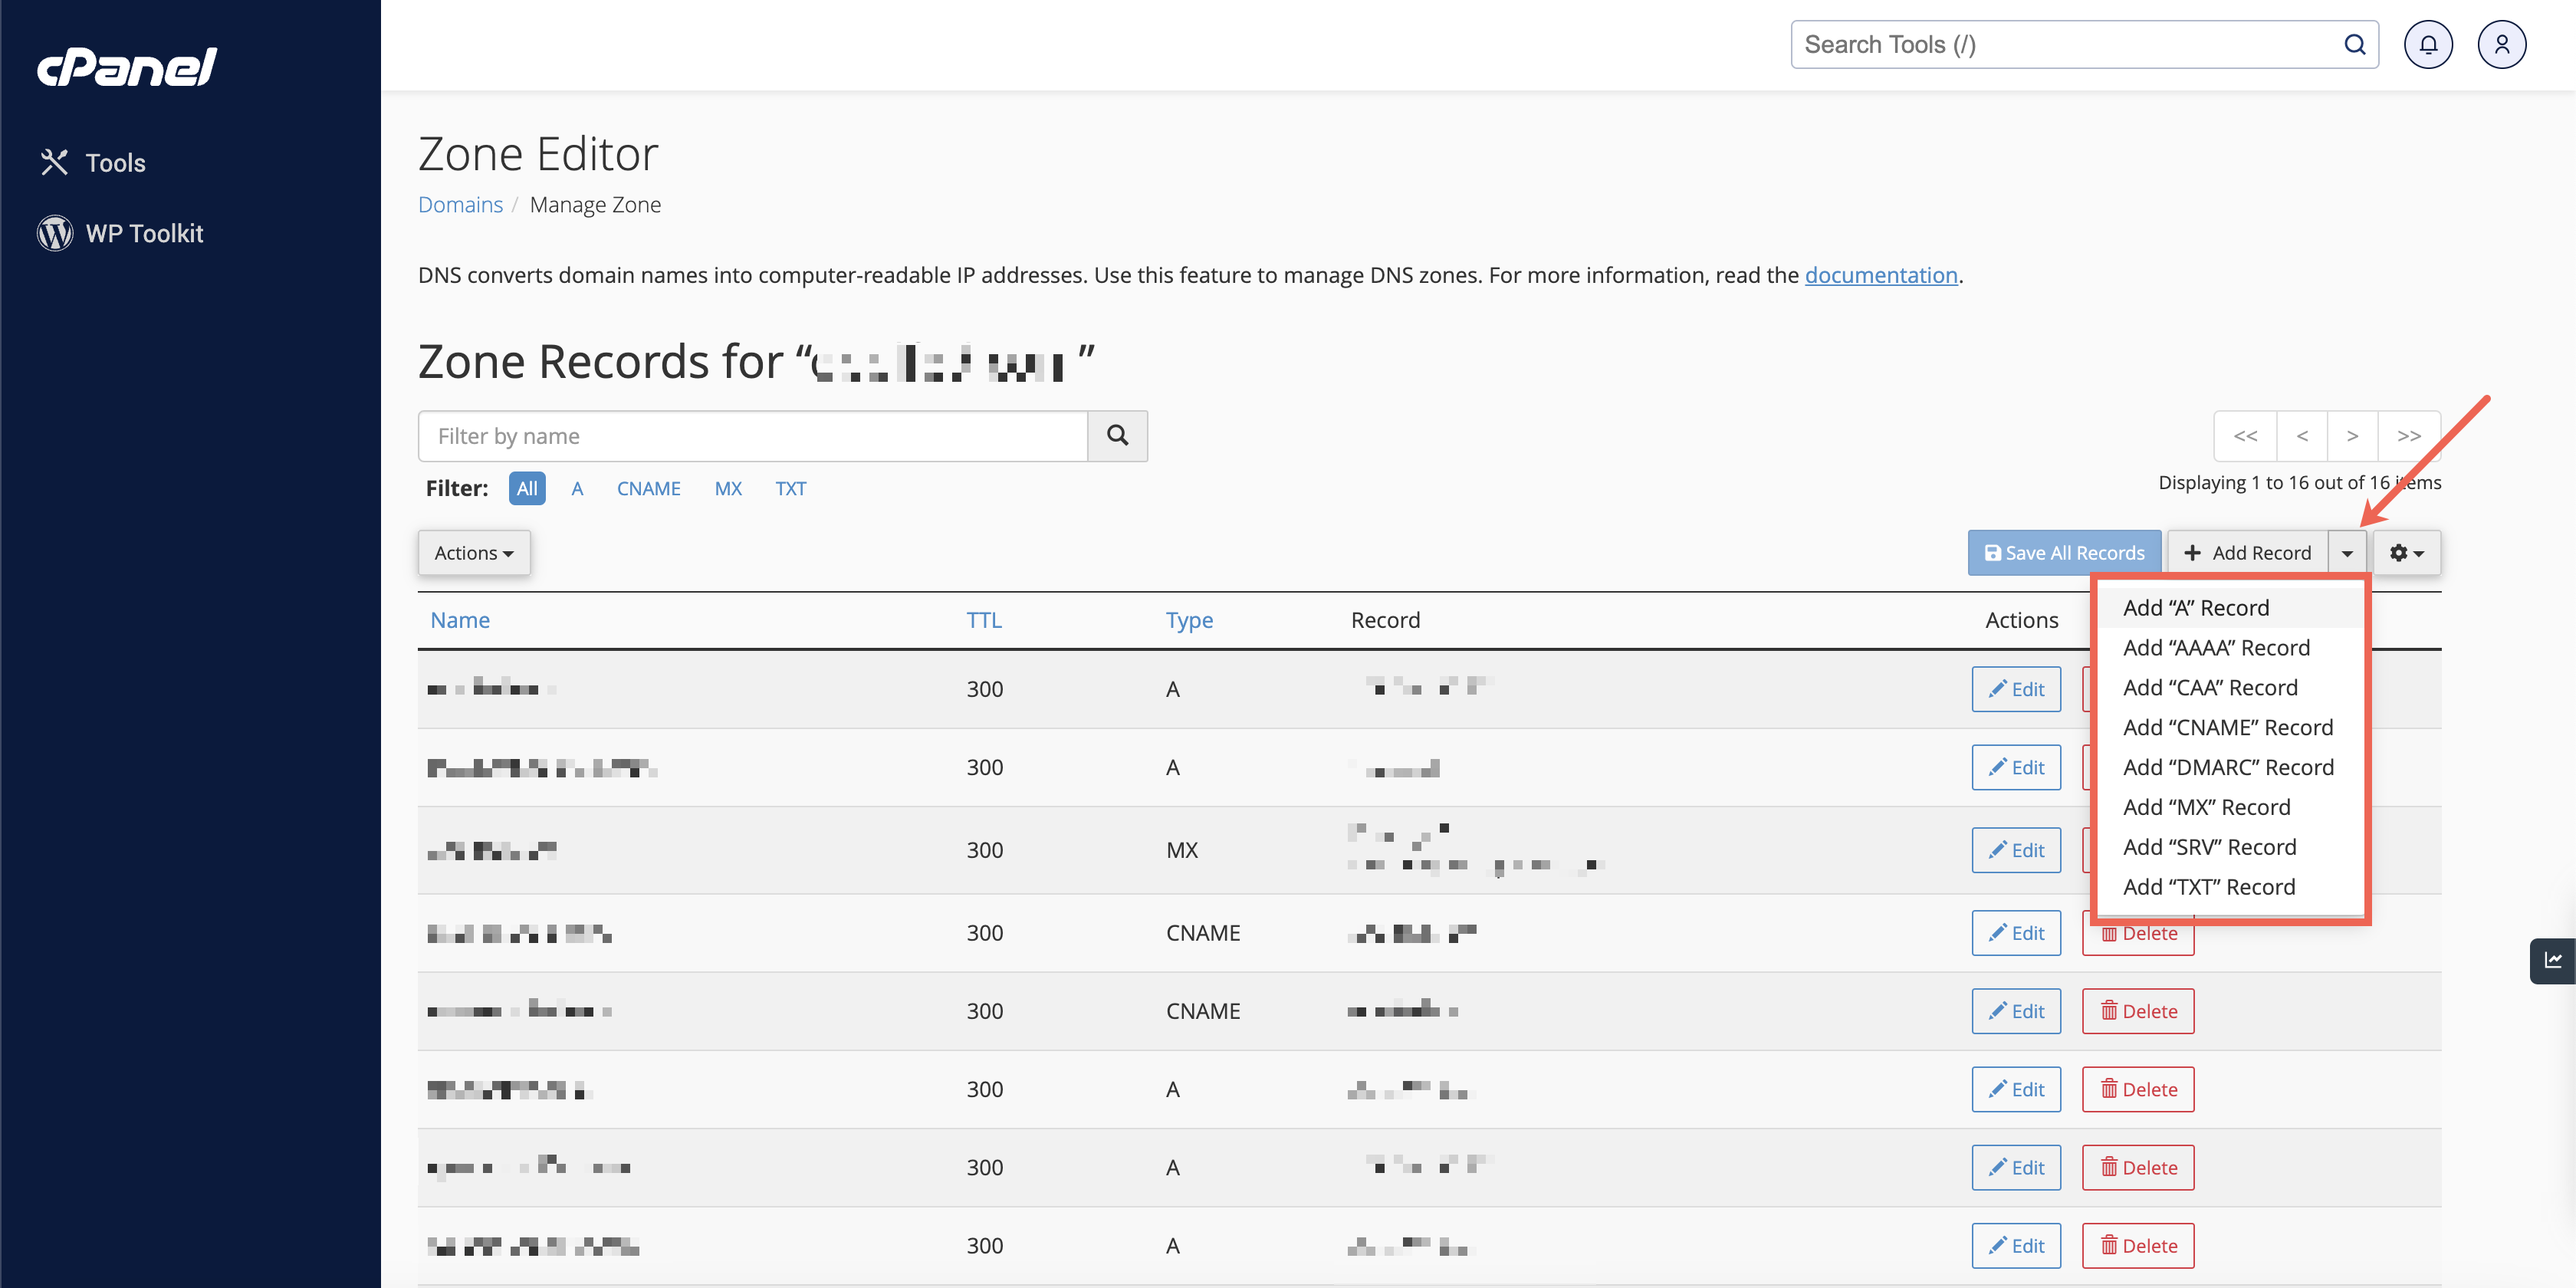
- Click the Add Record button on the right side of the manage zone editor screen. You can also click the arrow icon next to Add Record and select the desired record type from the drop menu, as illustrated in Figure 9 below.
- Enter the record’s information.
- Click the Save Record or Save All Records button.
Section 5: Edit a DNS Zone Record
To edit an existing record, follow the below steps:
- Click Edit next to the record or records that you want to edit.
- Update the information in the text boxes.
- Click the Save Record or Save All Records button to save your changes.
Section 6: DNS Zone Record Types
When you add or edit a DNS zone record, you can select from the following record types:
A Record
A record stands for an IPv4 Address Record. This record maps hostnames to IPv4 addresses. These records allow DNS servers to identify and locate your website and its various services on the internet. Without appropriate A records, your visitors cannot access your website, FTP site, or email accounts.
You can set the following values for the A record:
- Name: A new or existing DNS zone name. When you enter a zone name, the system automatically appends the domain name to the zone record. For example, if you create the user zone, the system will add the abc.com. domain information.
- Address: Enter the domain’s IP address.
AAAA Record
AAAA record stands for IPv6 Address Record: This record is the same as an A record but maps hostnames to IPv6 addresses.
CAA Record
CAA record stands for Certificate Authority Authorization Record: This record controls which certificate authorities (CA) can issue SSL certificates for a domain.
You can set the following values for the CAA record:
- Issuer Critical Flag: Whether the CA will issue an SSL certificate if the CAA Resource Record contains unknown property tags.
- 0: Non-critical. The CA will issue an SSL certificate if the CAA Resource Record contains unknown property tags.
- 1: Critical. The CA will not issue an SSL certificate if the CAA Resource Record contains unknown property tags.
- Tag: The CAA record’s property type:
- Issue: Authorize a CA to issue a certificate for the domain.
- Issuewild: Authorize a CA to issue a wildcard certificate for the domain.
- Iodef: Specify a URL to which a CA may report policy violations.
- Value: The CA’s domain or the CA’s URL if you select the iodef setting in the Tag section.
CNAME Record
CNAME record stands for Canonical Name Record: This record creates an alias for another domain name, which DNS resolves.
You can set the following values for the CNAME record:
- Name: A new or existing DNS zone name. When you enter a zone name, the system automatically appends the domain name to the zone record.
- Record: Enter a fully-qualified domain name (FQDN).
DMARC Record
DMARC record stands for Domain-based Message Authentication, Reporting, and Conformance: This record indicates the action a mail server takes when it receives an email from this domain, but that message fails Sender Policy Framework (SPF) and DomainKeys Identified Mail (DKIM) checks.
MX Record
MX record stands for Mail Exchanger: This record identifies the servers that handle a domain’s email. Changes that you make to this record control where the server delivers a domain’s email.
You can set the following values for the MX record:
- Priority: Identifies the servers that handle a domain’s email. This value for each MX record determines the order in which other mail servers will use the domain’s mail server. A lower value indicates a higher priority level. A value of 0 indicates the highest priority level.
- Destination: The mail server. This must be a fully-qualified domain name (FQDN).
SRV Record
SRV record stands for Service Record: This record provides data about available services on specific ports on your server.
You can set the following values for the SRV records:
- Priority: The service record’s priority value. A lower value indicates a higher priority level. A value of 0 indicates the highest priority level.
- Weight: This value ranks entries that share the same Priority value. A record with a 0 priority level and an 8 weight value will rank lower than a record with a 0 priority level and 4 weight value.
- Port: The service’s target port number.
- Target: The service’s target hostname.
TXT Record
TXT record stands for Text Record: This record contains text data for various services to read. For example, TXT records can specify SPF, DKIM, or DMARC email authentication data.
Section 7: Delete a DNS Zone Record
To delete an existing record, follow the below steps:
- Click Delete next to the record that you want to remove.
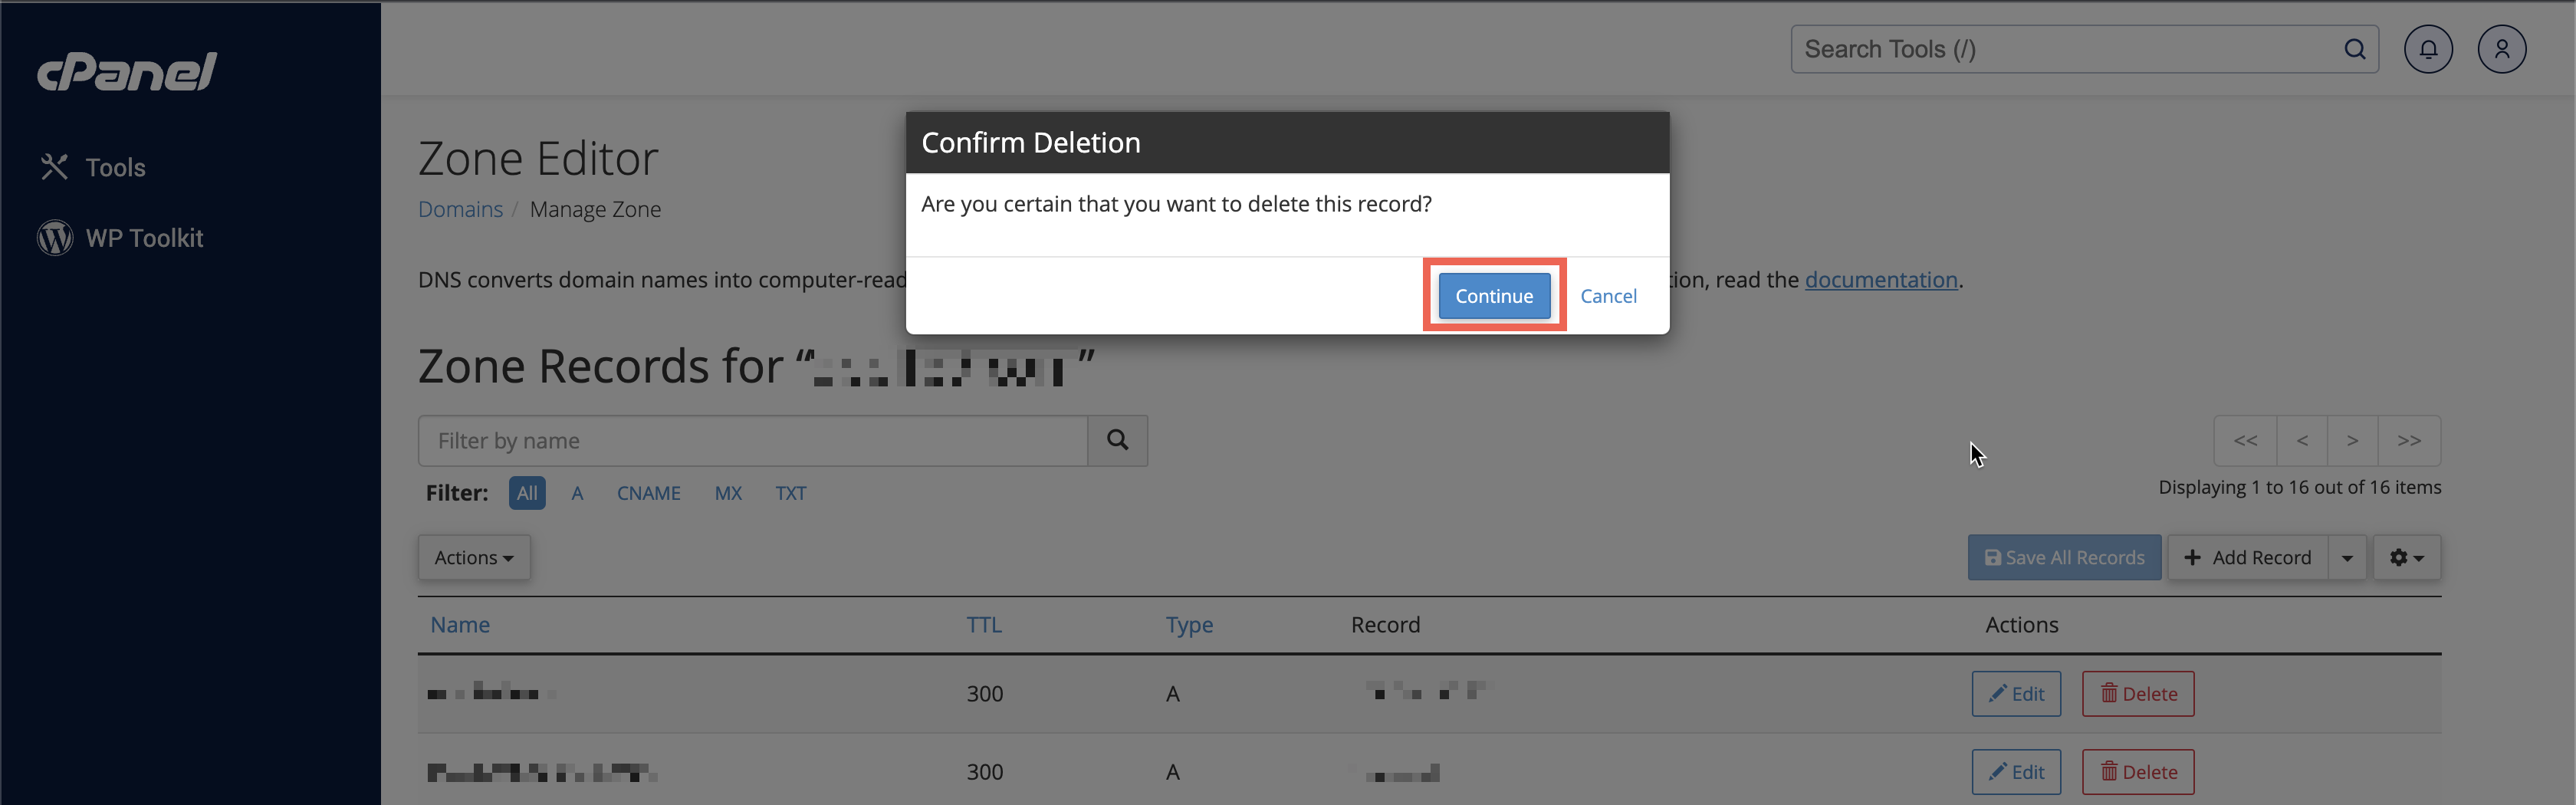
- Click Continue in the confirmation dialogue box to delete the record as, illustrated in Figure 10 below.
Conclusion
Managing DNS records is an essential part of web hosting administration. This comprehensive guide aims to equip you with the knowledge to efficiently handle DNS settings in a Linux hosting environment via cPanel. Whether you're looking to add, modify, or delete DNS records, these step-by-step instructions will make the process hassle-free.