 Batoi Support
Setting up Microsoft Outlook
This article provides detailed information on how you can configure an email account in Microsoft Outlook in your Windows PC by following the step by step instructions.
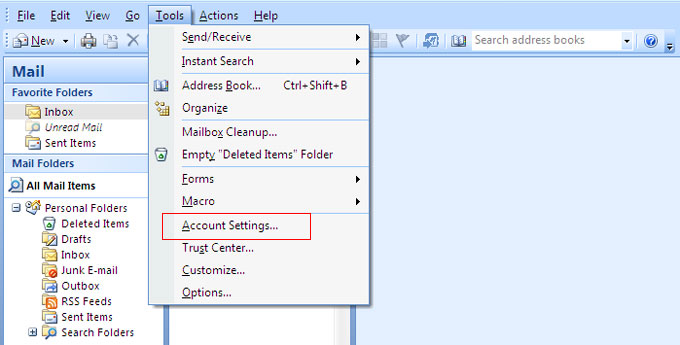
To create a new account in Microsoft Outlook, first go to the tab Tools and choose Account Settings from the drop-down menu as shown in Figure 1.
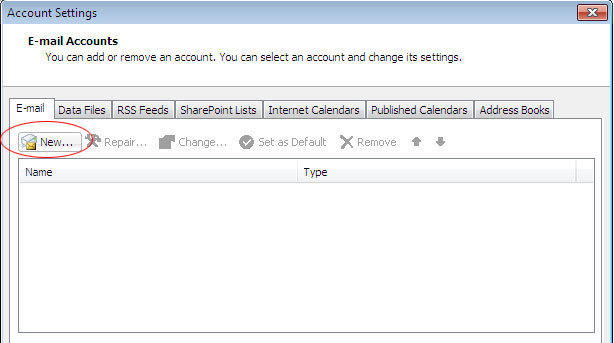
Click the Email tab and then click New in the new window as shown in Figure 2.
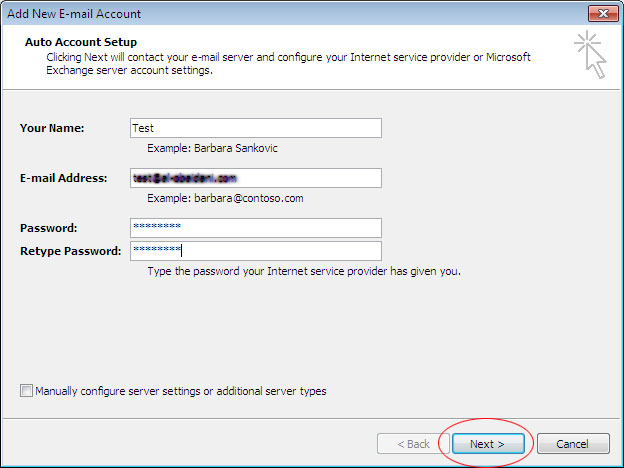
Upon doing so a pop-up window called Auto Account Setup Window will appear where you need to fill in necessary details like Your Name, Email Address, Password and Retype Password as shown in Figure 3 and click Next.
Under User Information, fill in Your Name and E-mail Address as shown in Figure 4.
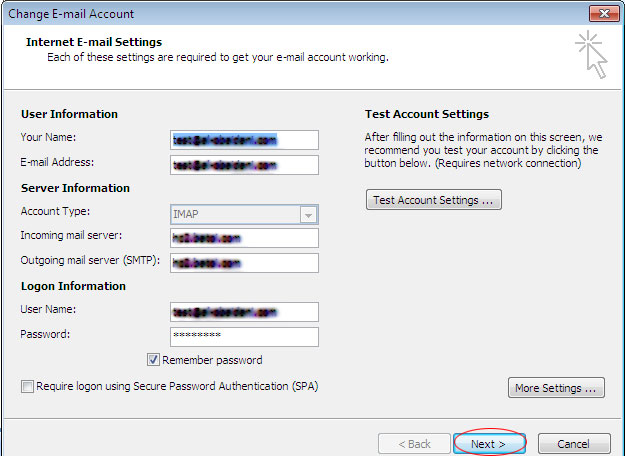
Under Server Information fill in the name for the Incoming and Outgoing Mail Server details as received from Batoi Priority Support Team as shown in Figure 4.
Under Logon Information check Remember Password and click Next button as shown in Figure 4.
Upon clicking Next you shall receive a pop-up message as shown in Figure 5.
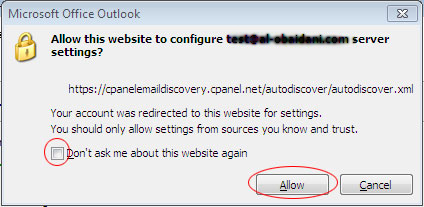
Check Don't ask me about the website again and click on Allow button to proceed further.
Upon clicking Allow, Outlook will start configuring the e-mail server settings as shown in Figure 6.

During the e-mail server configuration process, you shall receive a a pop-up message as shown in Figure 7.
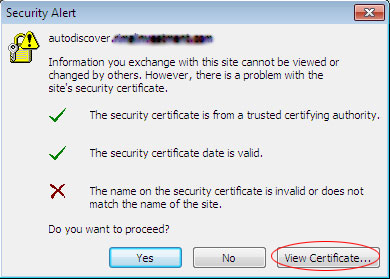
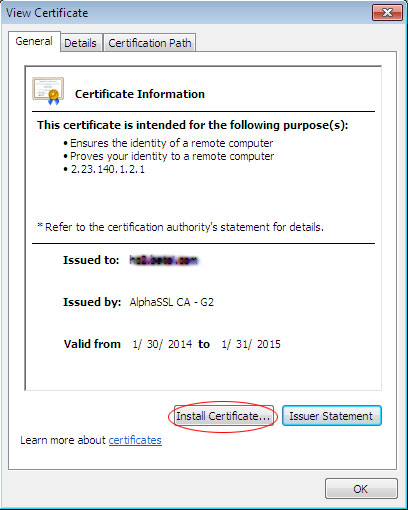
Click on the View Certificate button. Upon doing so the View Certificate pop-up will appear. Click on the button Install Certificate as shown in Figure 8.
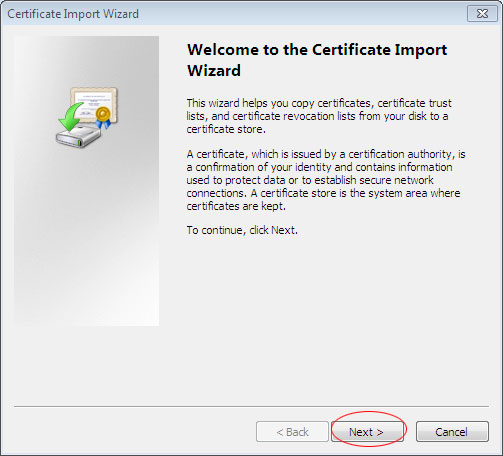
Upon clicking the Install Certificate button, a pop-up Certificate Install Wizard will appear. Click Next > Next > Finish' button on the next screens to import the certificate to your local system.
After the successful import of the certificate, a pop-up message will appear as shown in Figure 10.
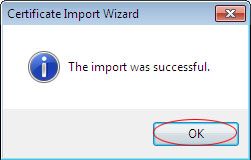
Click on OK button as shown in Figure 11. You shall then receive a message saying that your email account is successfully configured.
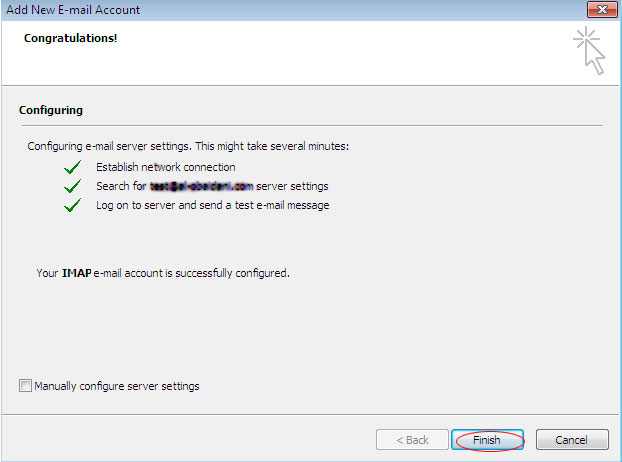
Click on Finish and then Close on the next window that appears on the screen.
Enable Secure SSL Connection
NOTE: Here we assume that you have already followed the basic instructions as mentioned above to set up Microsoft Outlook as your Email client.
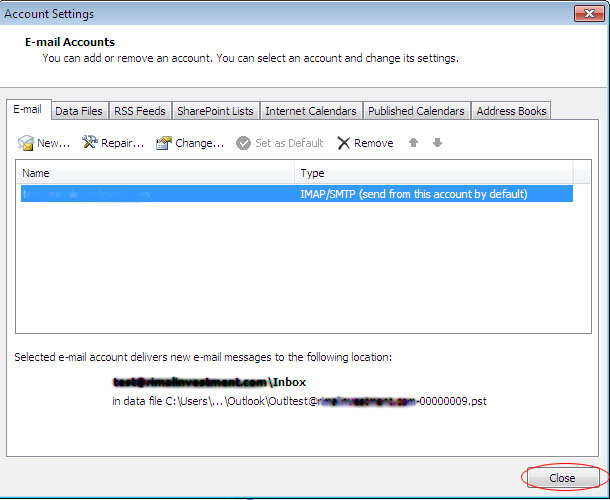
Go to the tab Tools and choose Account Settings from the drop-down menu as shown in Figure 13.
The Email Accounts window appears as shown in Figure 14. Select and double click the email ID for which you want to enable secure SSL connection as shown in Figure 14.

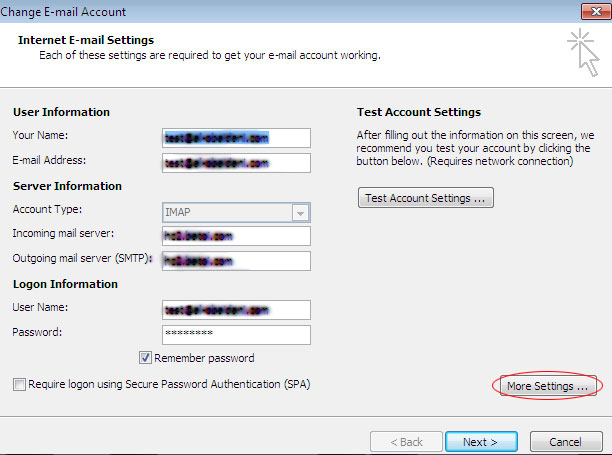
Upon doing so the Internet E-mail Settings window for that Email account will appear as shown in Figure 15. Under Server Information fill in the name for the Incoming and Outgoing Mail Server details as received from Batoi Support. Then click on More Settings.
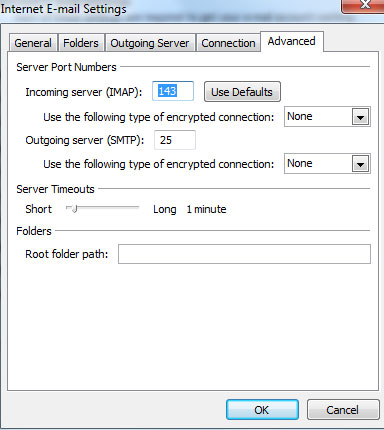
Select the Advanced tab as shown in Figure 16.
Change the Incoming Server for IMAP to 993 and for POP3 to 995. Change the Outgoing Server SMTP to 465. Select SSL from the drop down menu for Use the following type of encrypted connection for both the Incoming and Outgoing Server as shown in Figure 17.
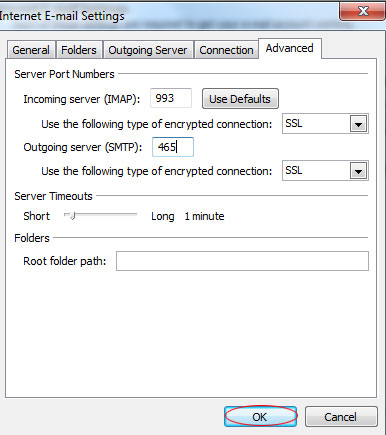
Click OK.
Click Next > Finish and then Close.
Try sending yourself a test e-mail message to make sure it works.