 Batoi Support
Installing WordPress within cPanel
This article provides detailed information on how you can install WordPress within your hosting account with cPanel on Linux by following the mentioned steps.
This guide will walk you through installing WordPress with your hosting account with cPanel.
Login to your hosting control panel using the access details you have received from Batoi Support as shown in Figure 1.
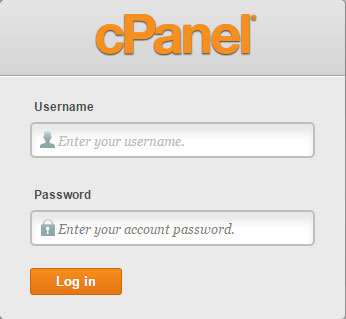
Enter your cPanel Username and Password received from Batoi Support for login. After successful log in you will find the cPanel dashboard.
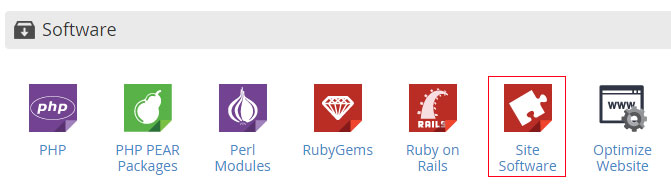
From the dashboard, go to category Software and Services and click Site Software to install WordPress as shown in Figure 2.
Clicking on this link will lead you to a page. Click the WordPress link which is located on the left side under Blog category as shown in Figure 3.

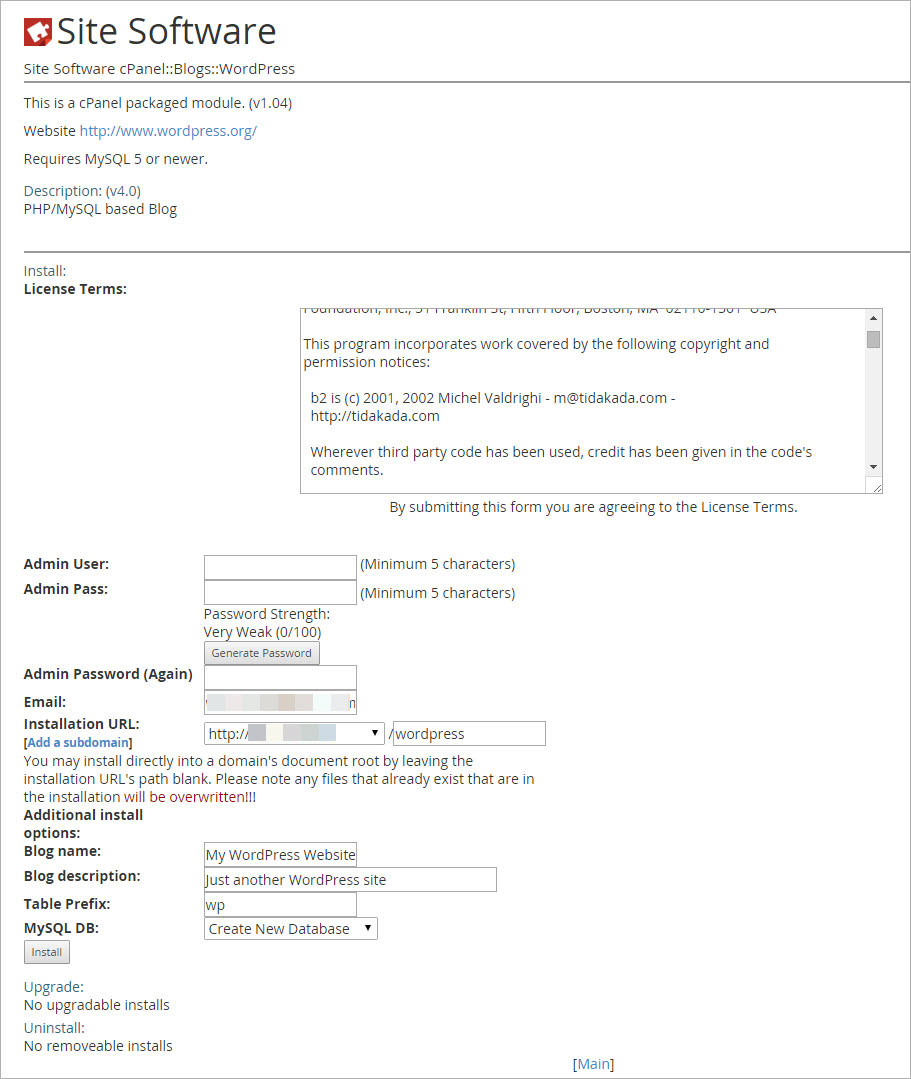
Enter the respective details in the fields and press Install. The system will install WordPress for you.
Note: Leave the Installation URL: blank so that WordPress will install in the root directory of your hosting.
Fill the Admin Access Details. The Username and Password must be the cPanel/hosting Username and Password.
After installation you can always change the Password for WordPress login as shown in Figure 4.
To login to your WordPress admin panel, type your domain name followed by forward slash and wp-admin in the browser. Example http://your domain name/wp-admin
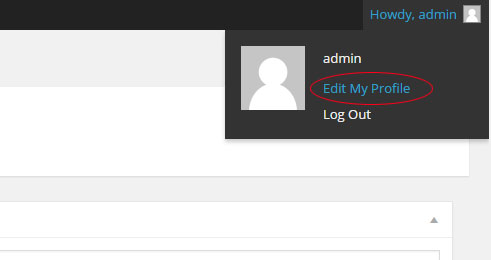
When you get the login screen enter the Username and Password that you had provided at the time of installing WordPress. After successful login you will get the screen as shown in Figure 5. To change the Password, click the link on the top right side marked red and then click Your Profile.
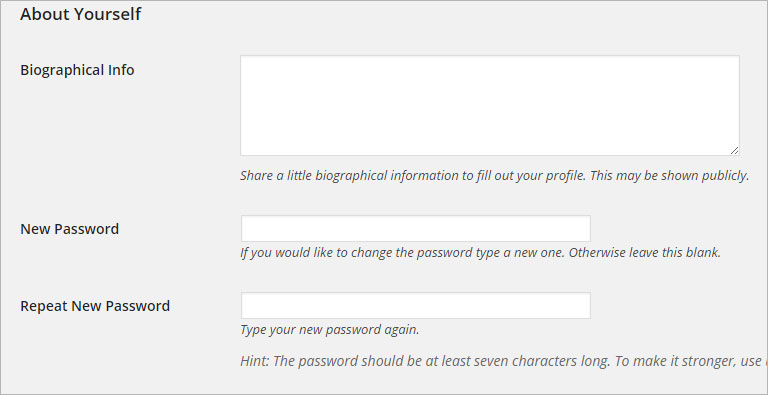
On the bottom of your profile page, you will find the section called About Yourself under which you can find the New Password field. Enter the New Password and retype the New Password and then click the Update Profile button to set the new Password for logging in to WordPress as shown in Figure 6.