List of Help Articles
Overview of Batoi Hosting Renew Your Domain Name with Batoi Protect or Lock Your Domain Name with Batoi View Action History of Your Domain Name Manage Name Servers for a Domain Name Forward a Domain Name to a Different Website Handle Privacy Protection for a Domain Name Domain Name Whois Data Reminders from Batoi Modify the Contact Details of Your Domain Name Backup Your Website with cPanel on Linux Managing DNS Records in Linux Hosting via cPanel: A Comprehensive Guide Create FTP Accounts in Your Linux Hosting using cPanel Backup and Restore Your Linux Hosting Account via cPanel Effortless 301 and 302 Redirects in Linux Hosting: A Detailed cPanel Guide How to Seamlessly Manage DNS Records with Batoi's Premium DNS Service through Your Domain Control Panel Mastering Contact Management within Batoi's Domain Control Panel Step-by-Step Guide: Managing Business/Enterprise Email via My Domain Control Panel How to Efficiently Manage Users and Assign Administrative Roles in Google Workspace A Complete Guide to Purchasing and Managing Google Workspace through Batoi Hosting Control Panel Effortless Migration from cPanel Email to Google Workspace: Your Step-by-Step Guide Setting Up Google Workspace Using cPanel: A Comprehensive Guide How to Add an SPF Record to Your DNS Settings for Email Security Setup of Microsoft Office 365 Using cPanel: A Comprehensive Guide Reviewing Your Linux Hosting Resource Allocation and Usage in cPanel Creating and Managing Sub-domains with cPanel on Linux How Do I Emulate DNS Change on My PC? Effortless Migration from cPanel Email to Microsoft Office 365: Your Step-by-Step Guide How to Set up MFA for Your Microsoft Office 365 Outlook Account Setting up POP or IMAP Email on an Apple iPhone Creating and Managing MySQL Databases with cPanel on Linux How to Fix the Error '0x800CCC1A' in Microsoft Outlook? How to Fix the Error '0x800CCC78' in Microsoft Outlook? Setting up Email Account on Your Mac Mail Application Installing WordPress within Your Hosting Account with cPanel on Linux Setting up POP or IMAP Email on an Android Phone Setting up Mozilla Thunderbird as Your Email Client in Windows PC Setting up Microsoft Outlook as Your Email Client in Your Windows PC Setting up Mozilla Thunderbird as Your Email Client in Mac Creating Email Accounts with cPanel on Linux Creating More FTP Accounts with cPanel on Linux Accessing cPanel and Webmail on Linux Generate a Certificate Signing Request (CSR) Generate the Domain Secret or the Authorization Code for Your Domain Name How to Fix the Error '0x800CCCDD' in Microsoft Outlook with IMAP Server? Comprehensive Guide to Managing PHP Settings in cPanel on Your Linux Hosting Account Integration of Google Analytics on Your Website My Emails Are Bouncing Back. What Should I Do? What should I do when I cannot access my email or website on My Windows PC? Password Protect Files and Folders with cPanel on Linux Transfer Your Domain Name from your Current Registrar to Batoi Uploading Your Files with an FTP client (FileZilla)

Create FTP Accounts in Your Linux Hosting using cPanel


Simplify your FTP account management on Linux Hosting via cPanel with our in-depth guide. Learn how to create, manage, and delete FTP accounts step-by-step to maintain your website effortlessly.

Introduction

FTP accounts are essential for the seamless management of your website files. This exhaustive guide delves into how you can easily create, manage, and delete FTP accounts on your Linux Hosting via cPanel.

Section 1: Accessing cPanel

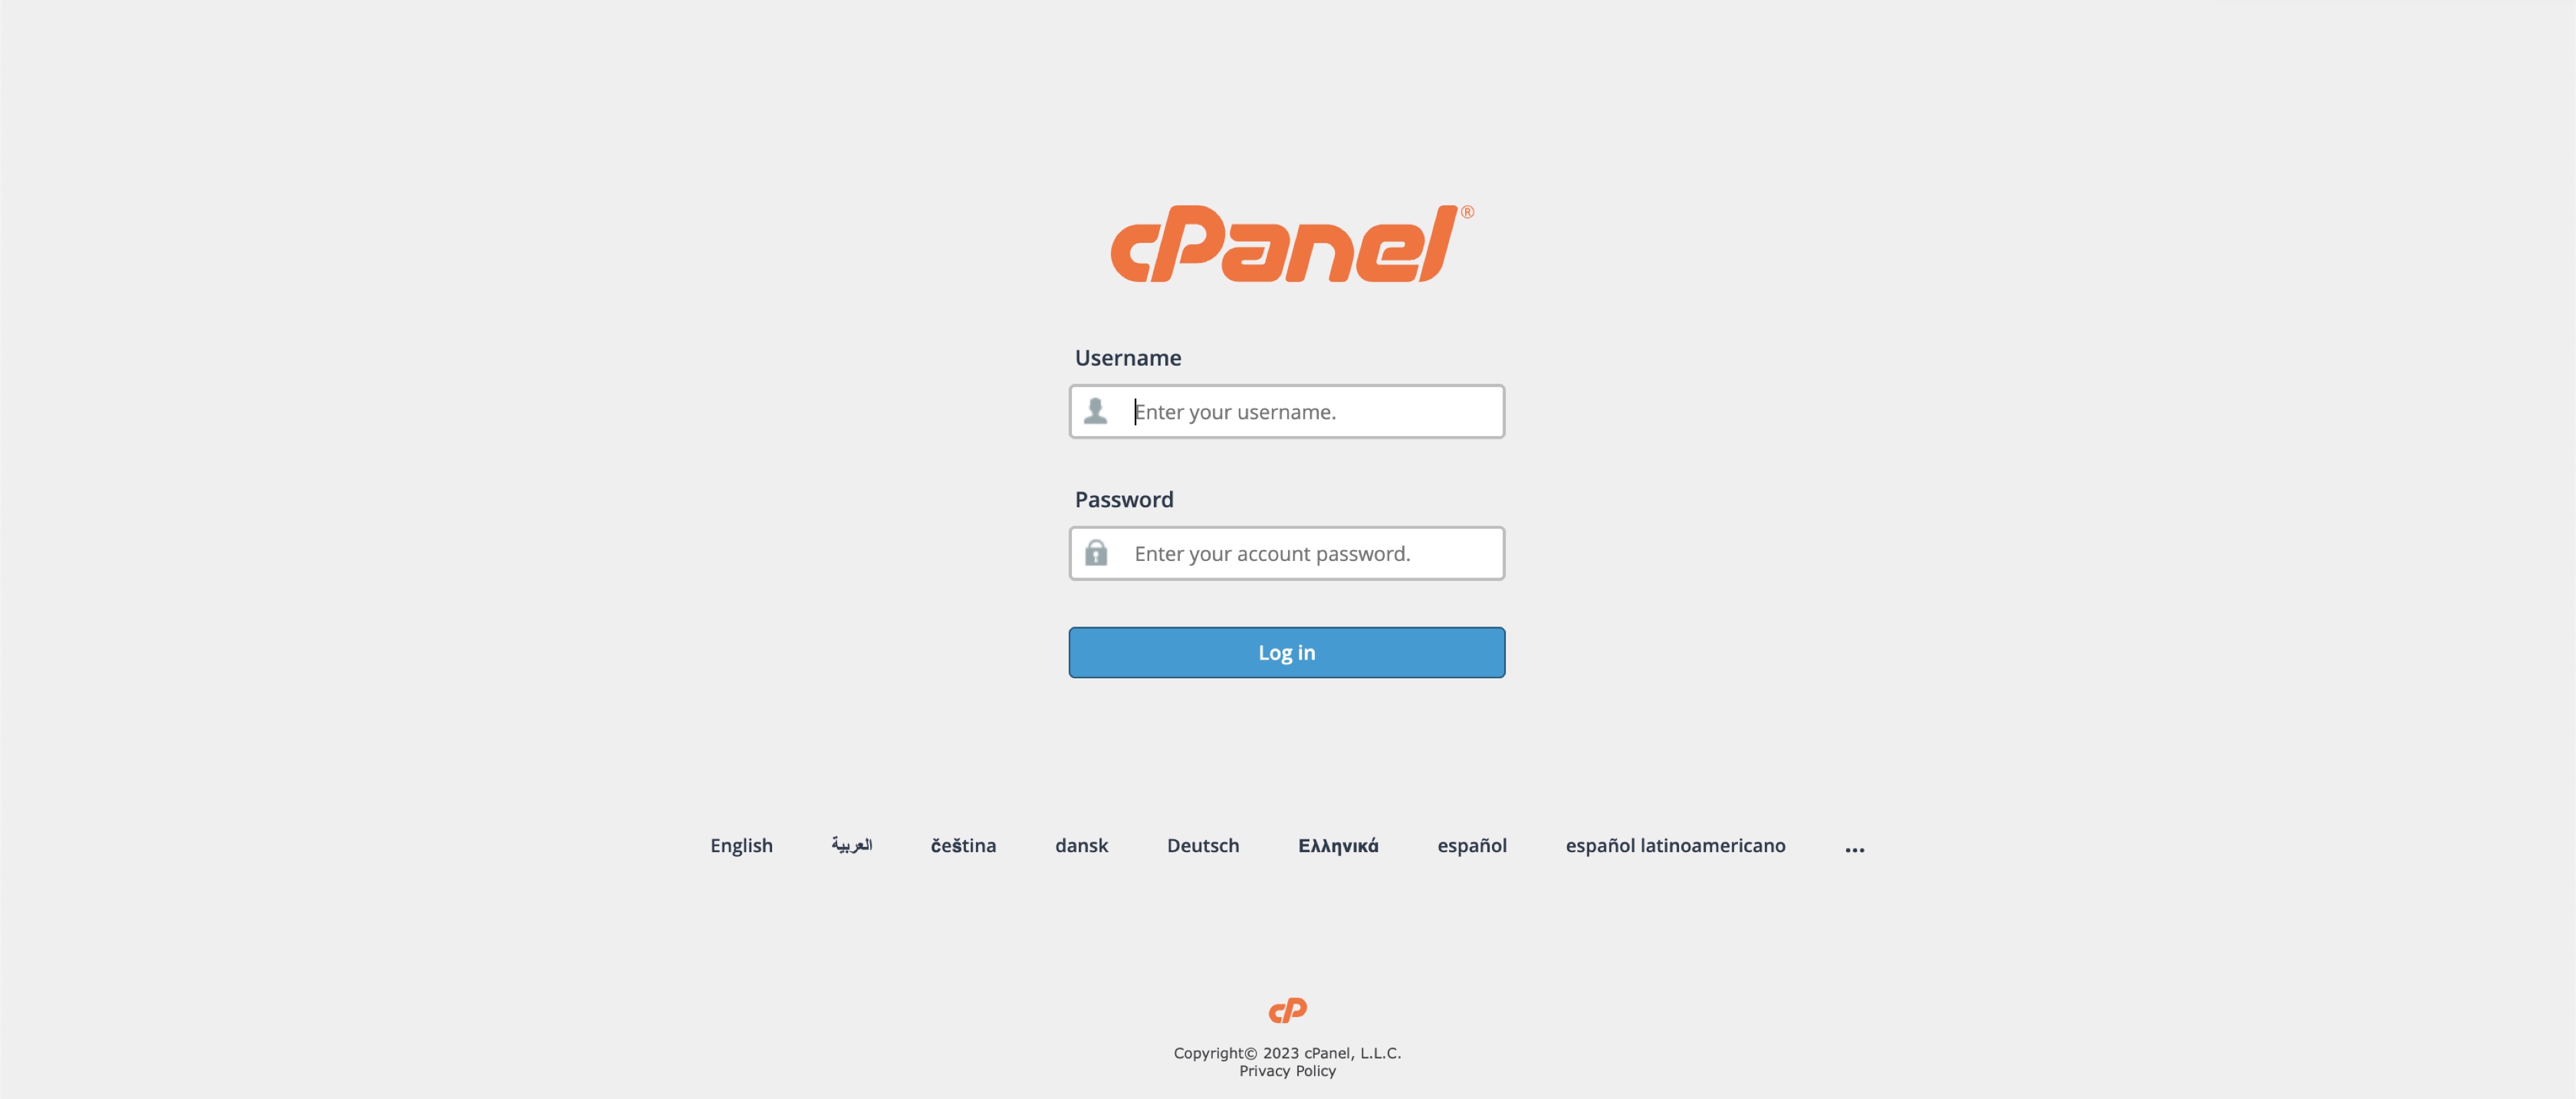
Login to cPanel: To start, you need to access your cPanel account. You can do this by appending '/cpanel' to your domain name (e.g., https://<your-domain-name>/cpanel) or via the link provided by our Support Team. Use your username and password to log in, as illustrated in Figure 1 below.

Figure 1: cPanel Login Screen

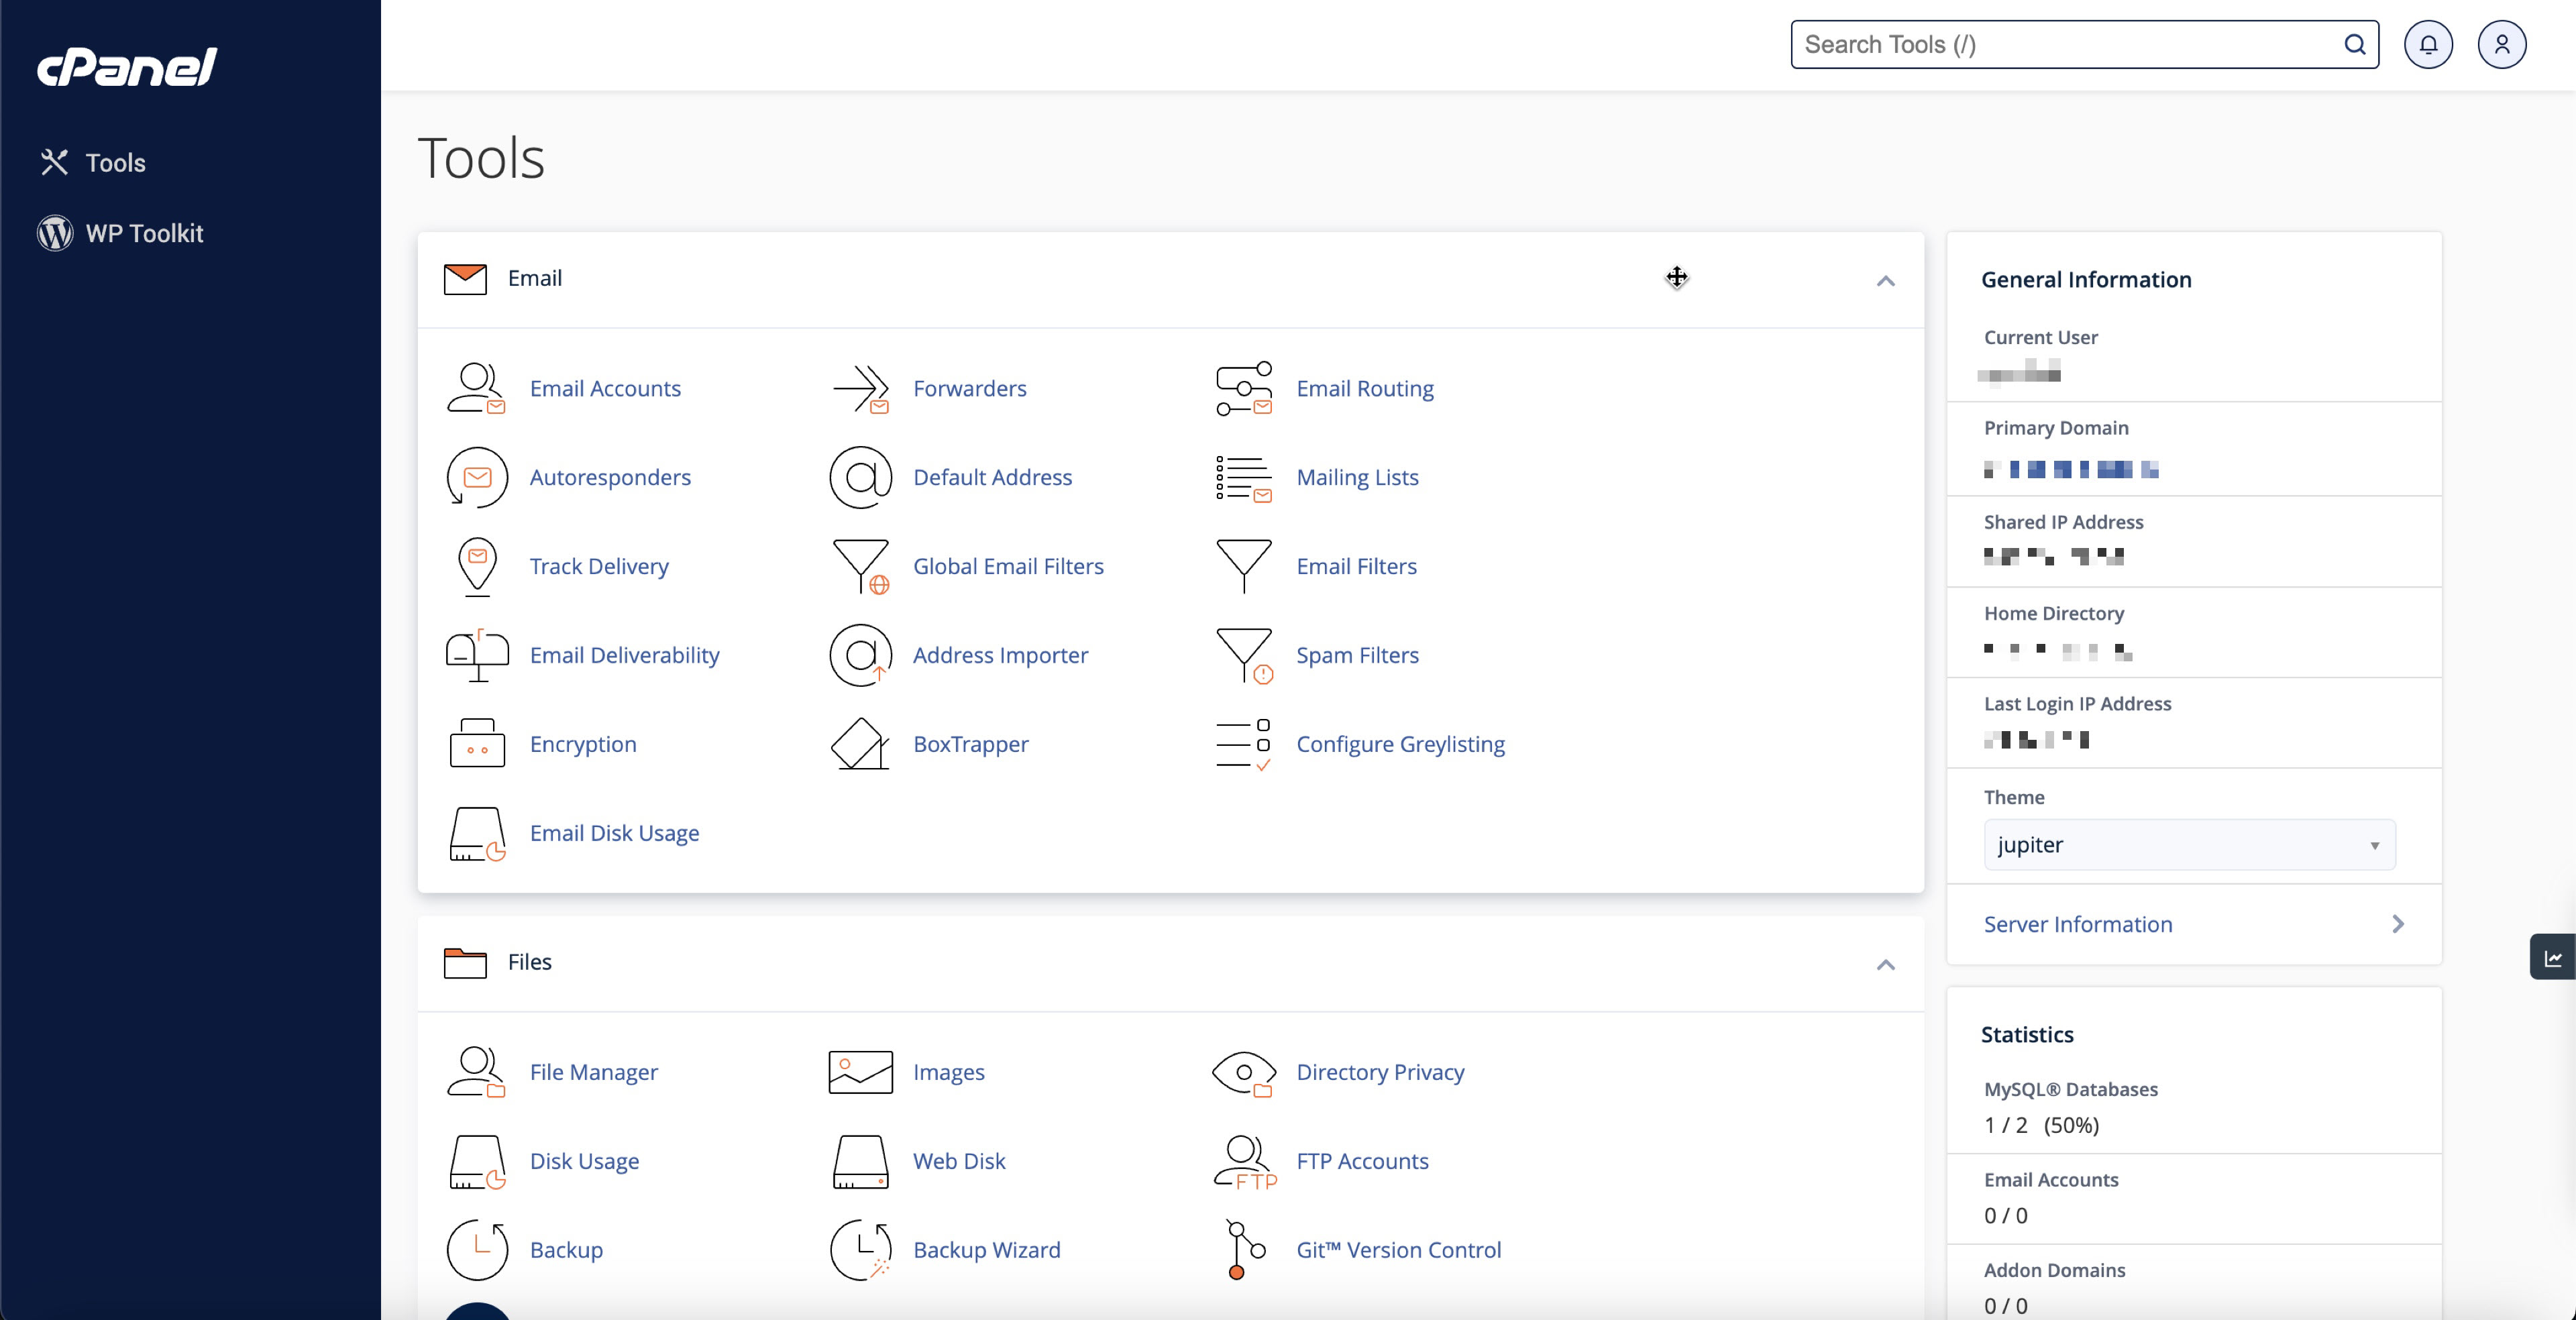
You will land on the dashboard page upon successful login, as illustrated in Figure 2 below.

Figure 2: cPanel Dashboard Screen

Section 2: Add FTP Account

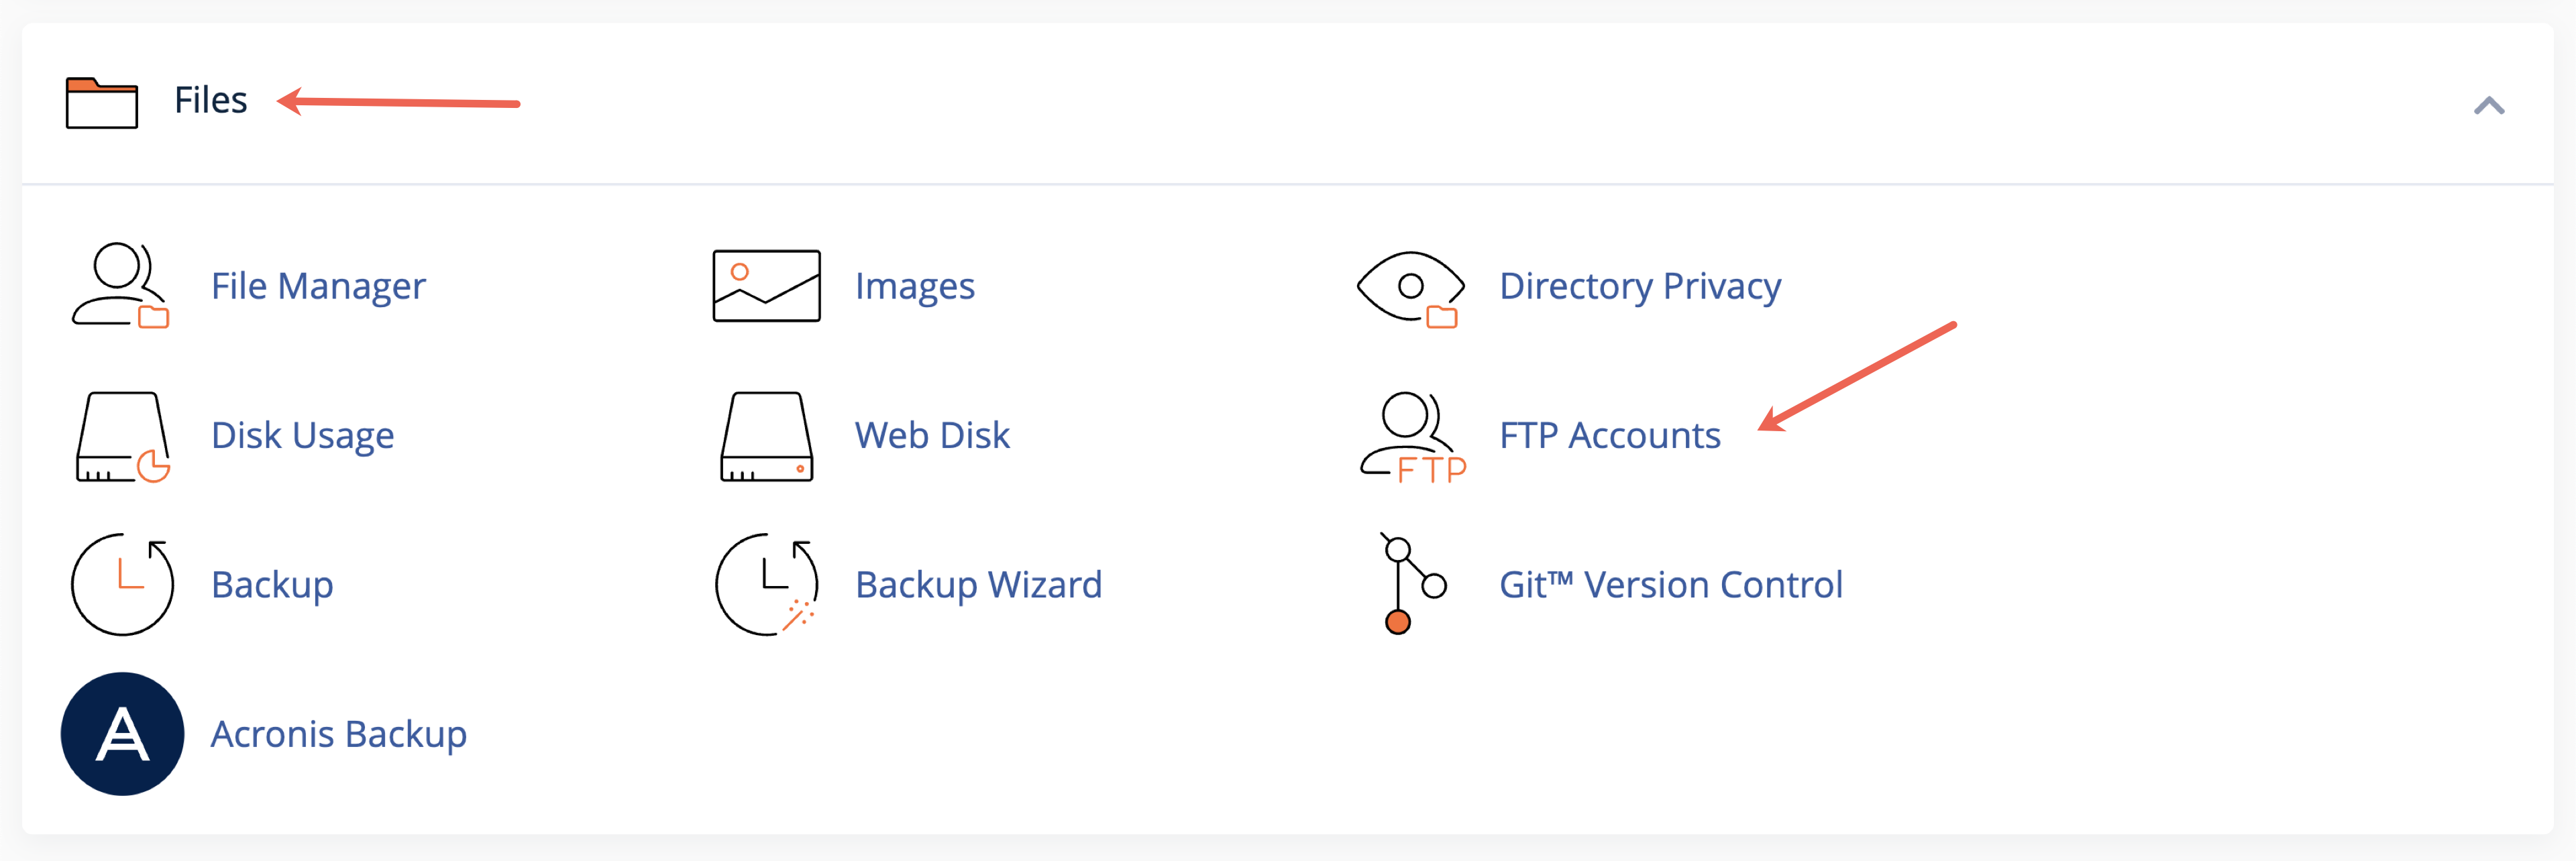
The "FTP Accounts" section provides an overview of how many accounts have been created. Go to the Files section in the dashboard and click on the FTP Accounts link, as illustrated in Figure 3 below.

Figure 3: cPanel Dashboard Screen ‘Files’ Section

You will land on the page after clicking the FTP Accounts link, as illustrated in Figure 4 below.

Figure 4: cPanel FTP Accounts Screen

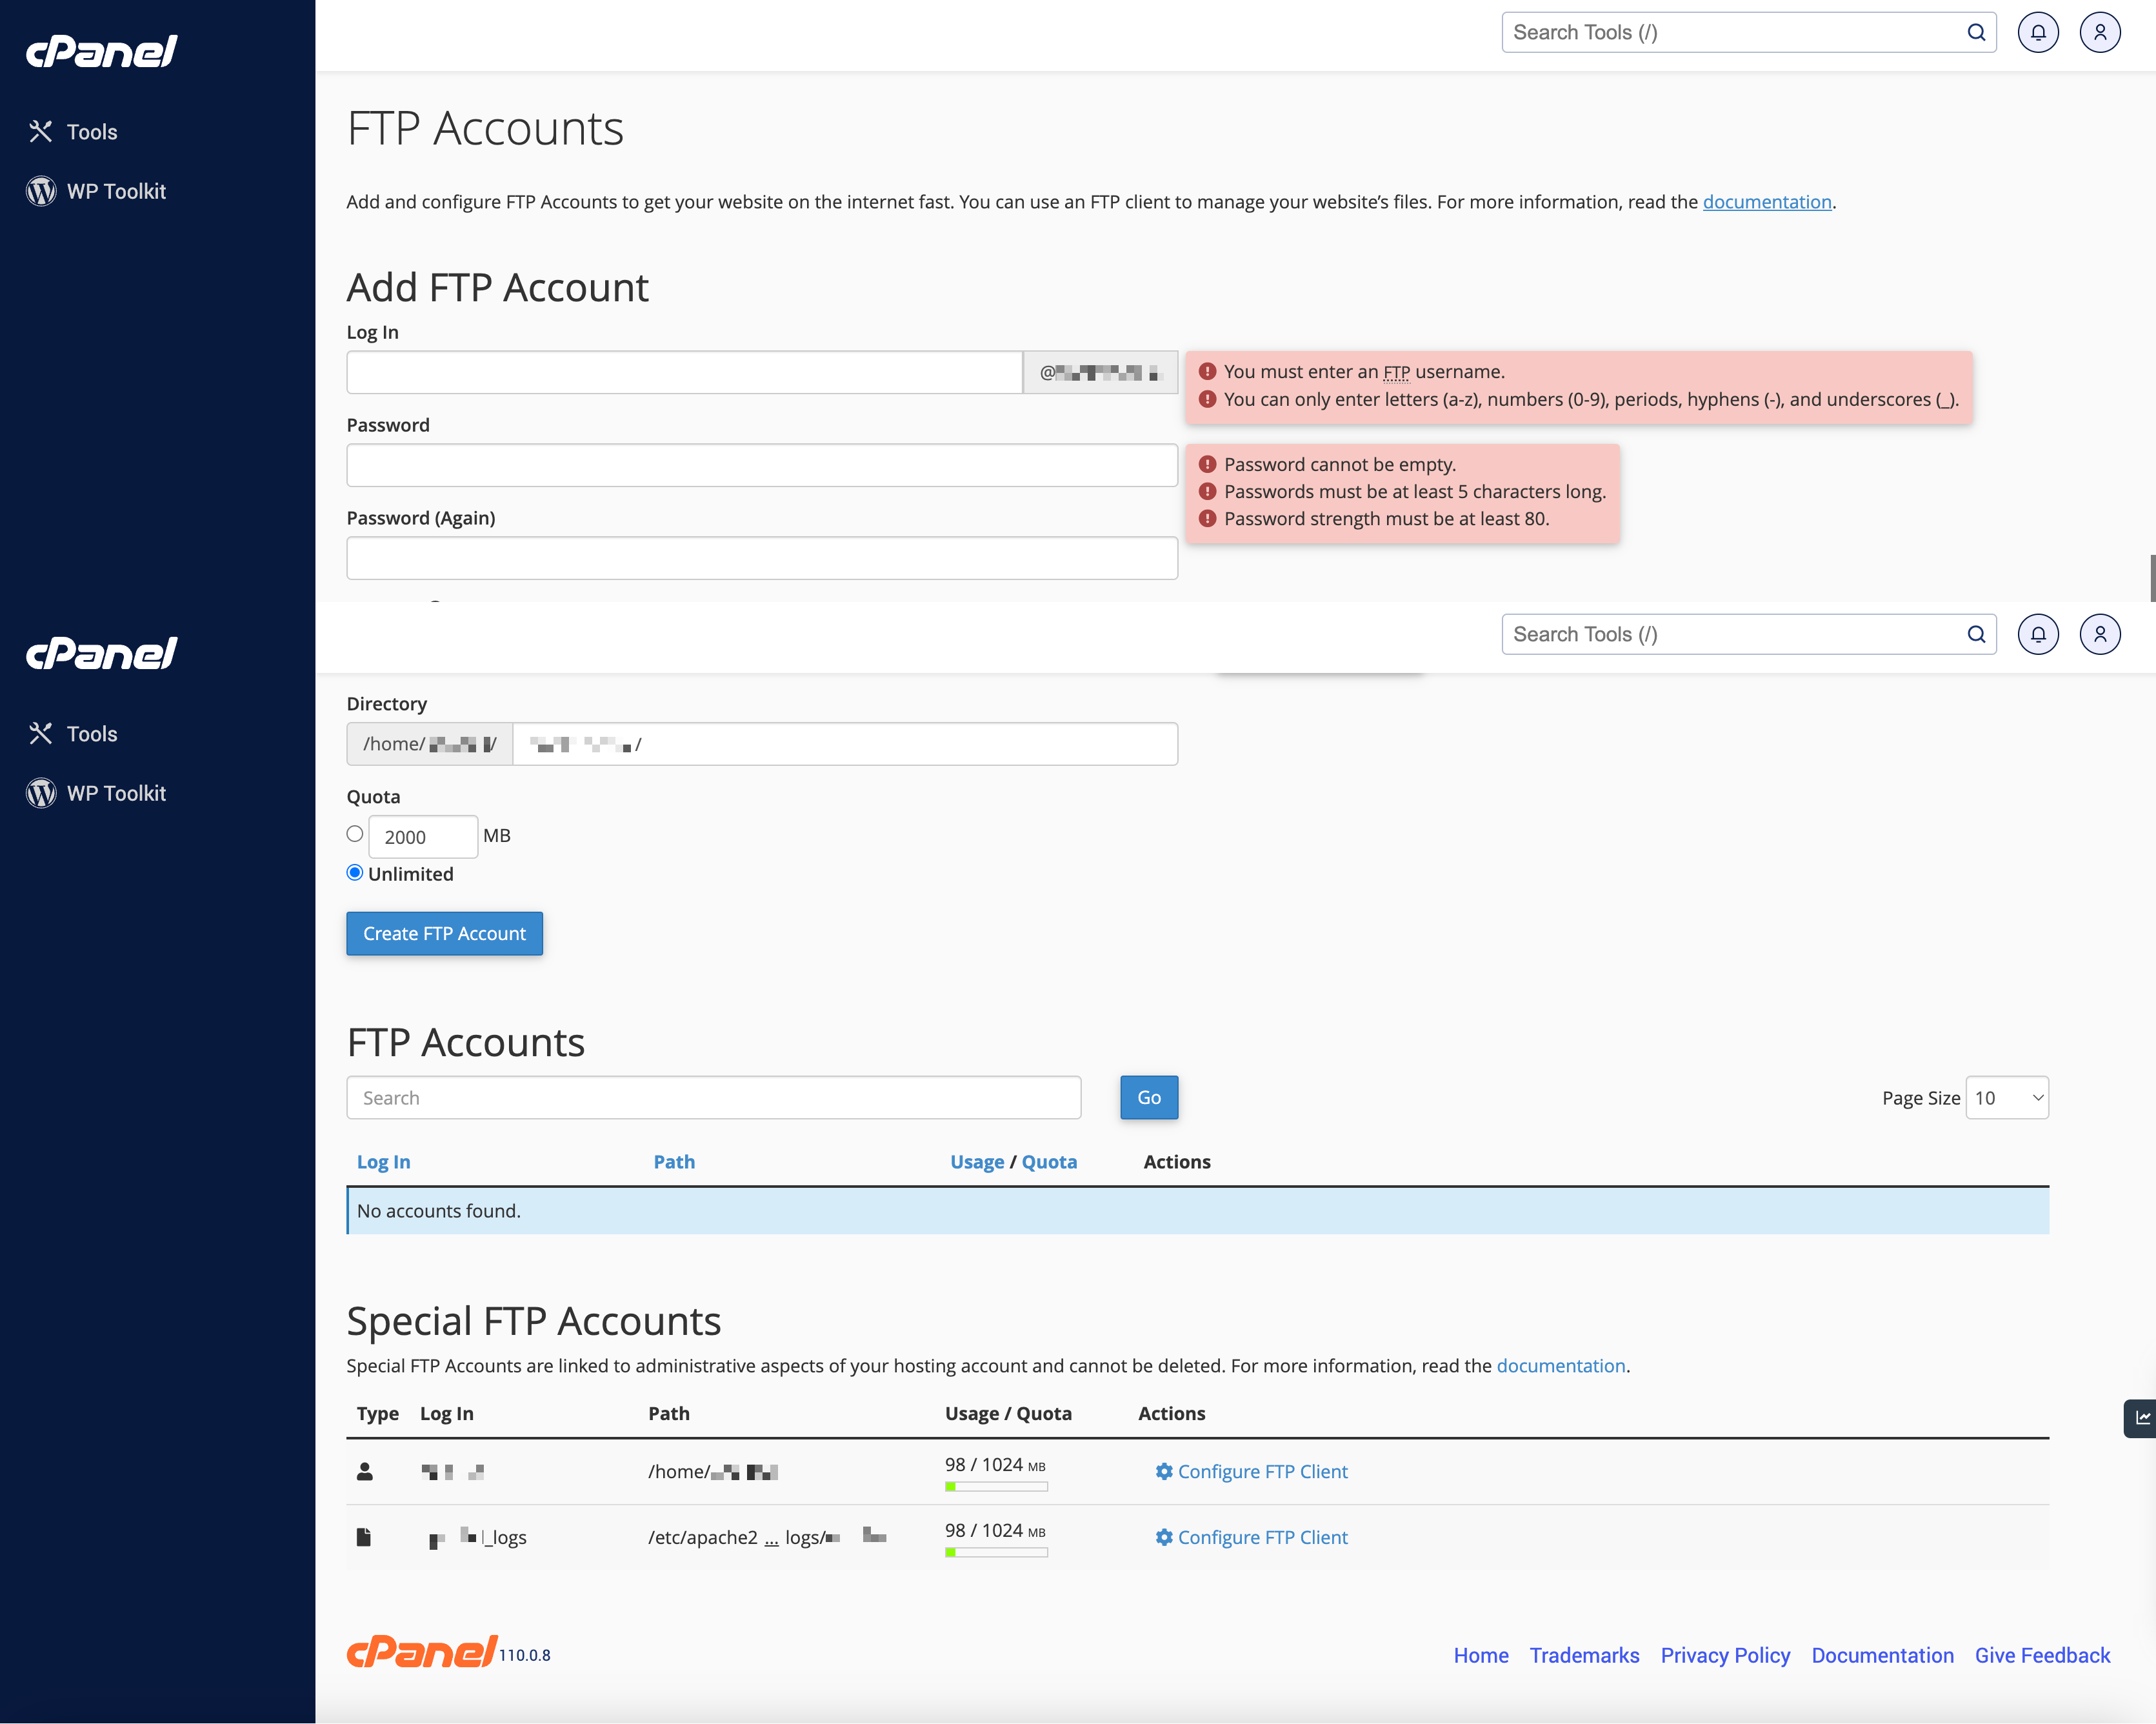
On the screen, you will find the Add FTP Accounts on the top of the screen. Just below it all the FTP accounts created in your hosting will be listed, and lastly, the special FTP Accounts will be listed, as illustrated in Figure 4 above.

To create an FTP account, follow the below steps:

  1. Enter the username in the Login text box. You can choose your own login name.
  2. Select the domain from the Domain menu. The primary domain will be selected by default.
  3. Enter and confirm the new password in the Password and Password (Again) text boxes. For password strength, you can also click on the Password Generator button to generate a strong password.
  4. Enter the FTP account’s home directory. The Directory text box defines the new FTP account’s top level of directory access. For example, if you enter an example in the Directory text box, the FTP account can access the /home/$user/example/ directory and all of its subdirectories.
  5. Enter the disk space quota or select Unlimited.
  6. Click the Create FTP Account button, as illustrated in Figure 4 above, and the new account will appear in the FTP Accounts table.

Section 3: FTP Account

The FTP Accounts table allows you to manage existing FTP accounts, as illustrated in Figure 4 above.

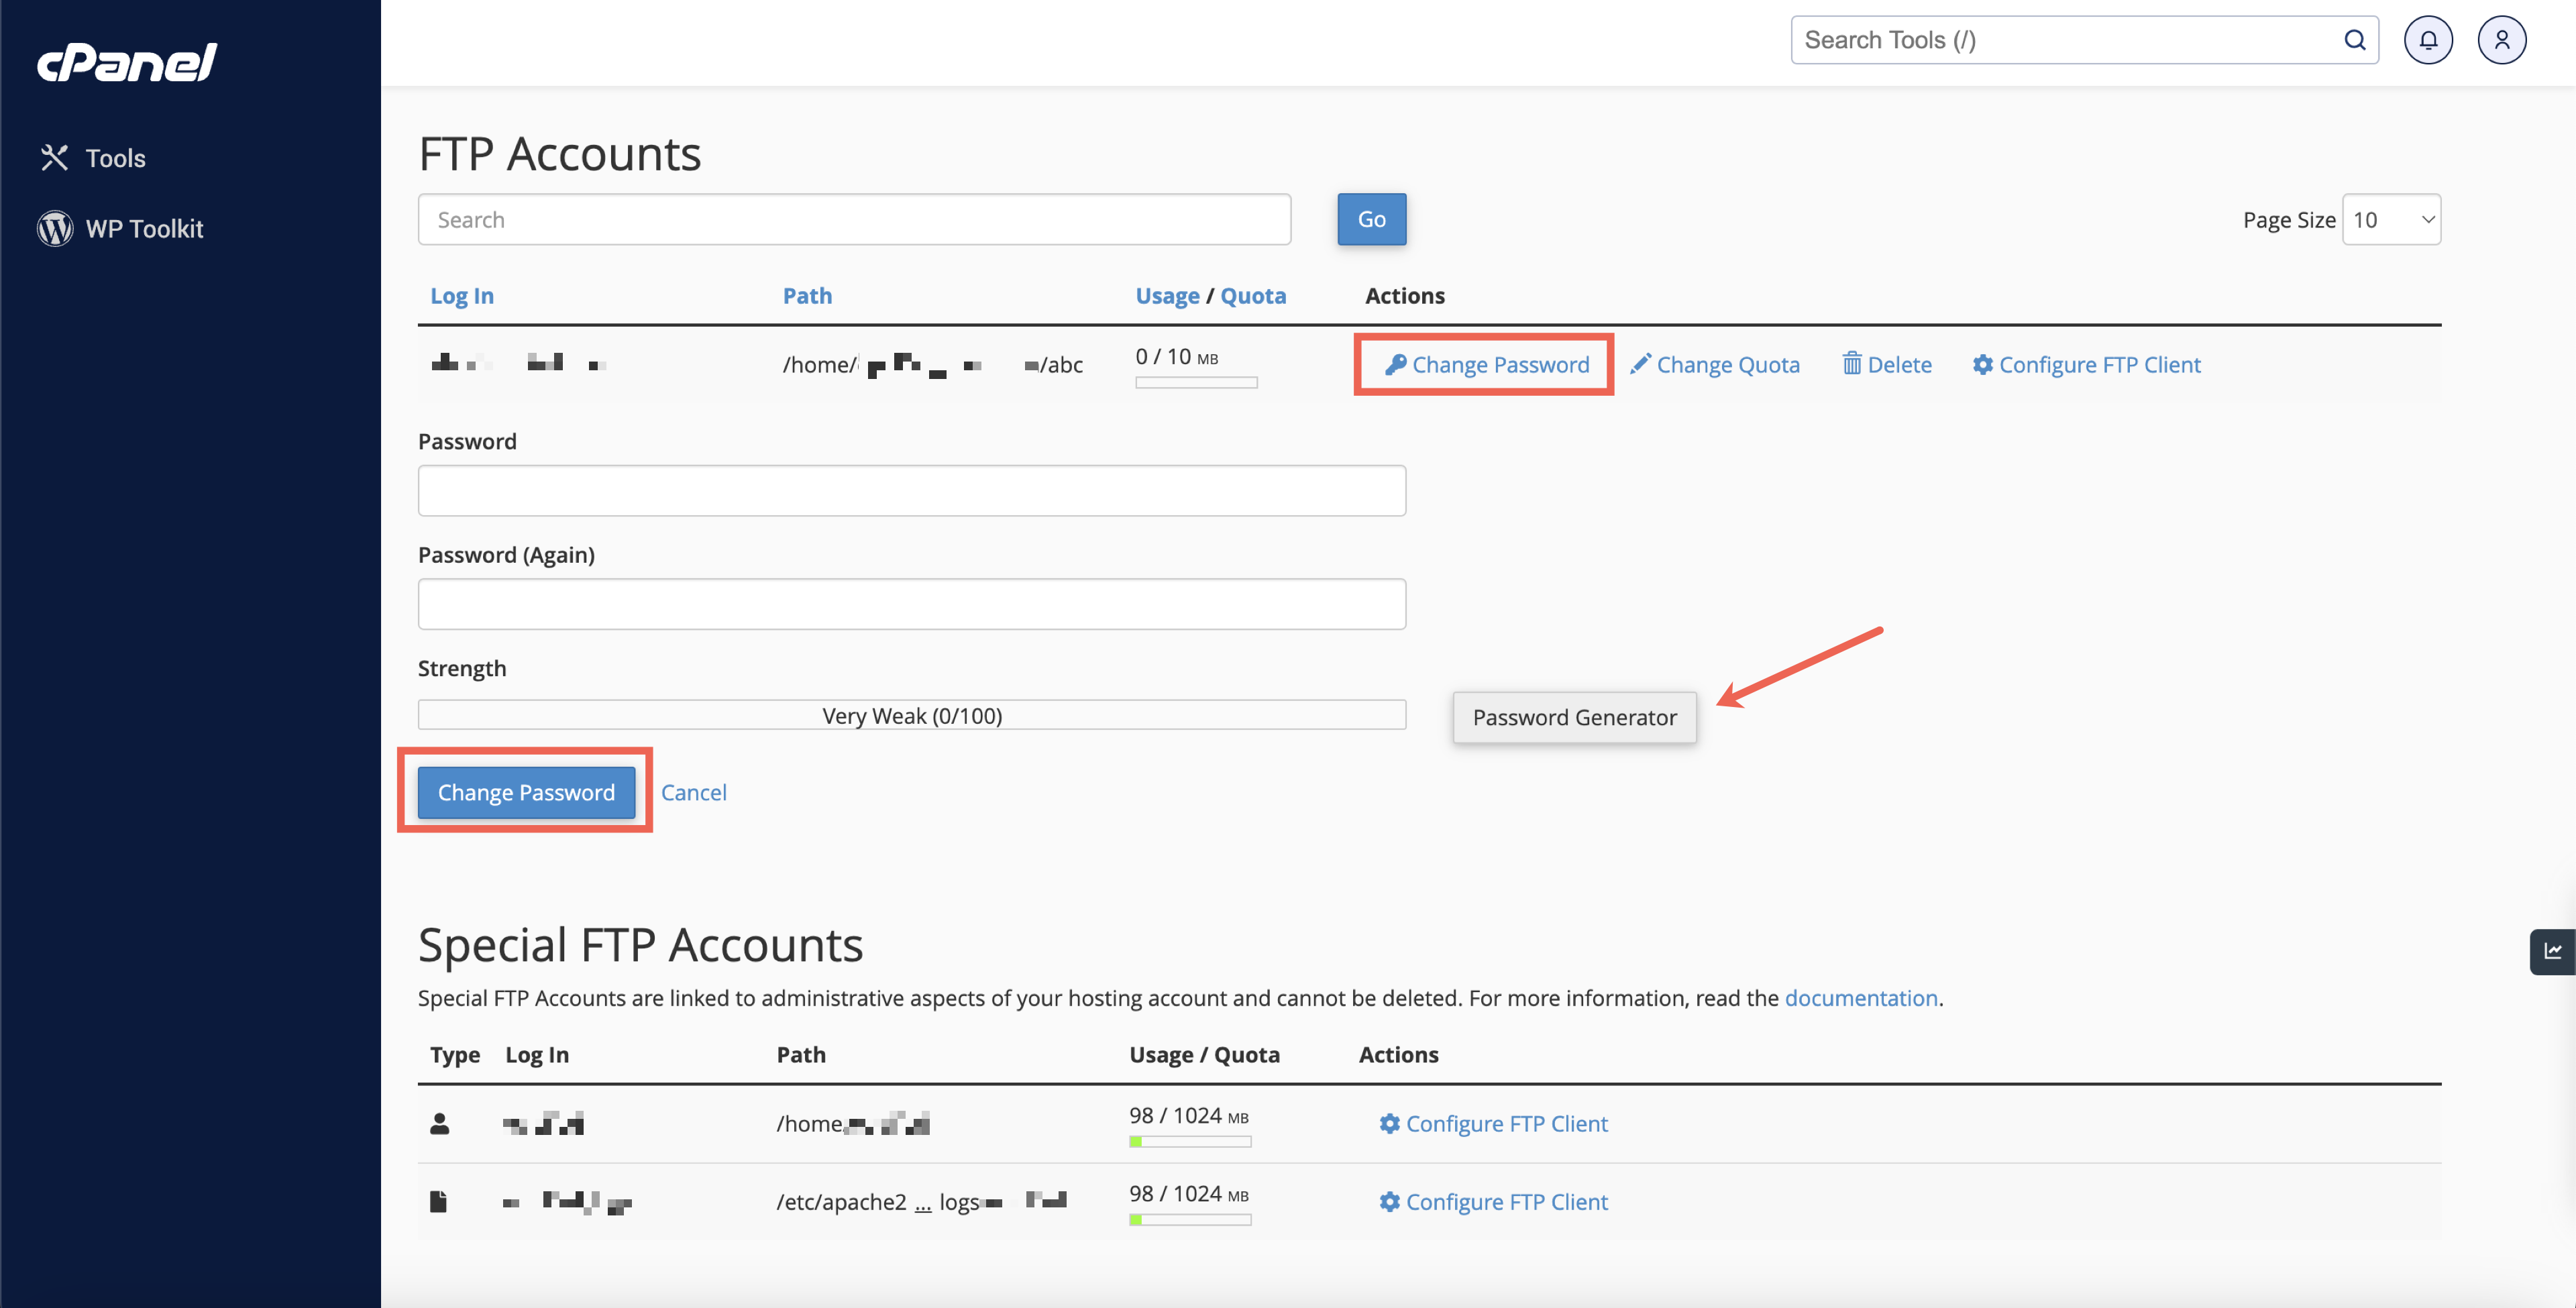
Section 4: Change Password

  1. Click Change Password for the FTP account that you want to change the password, as illustrated in Figure 5 below.
  2. Enter and confirm the new password in the Password and Password (Again) text boxes. You can also click Password Generator to generate a strong password.
  3. Click the Change Password button to save the changes.
Figure 5: cPanel FTP Change Password Screen

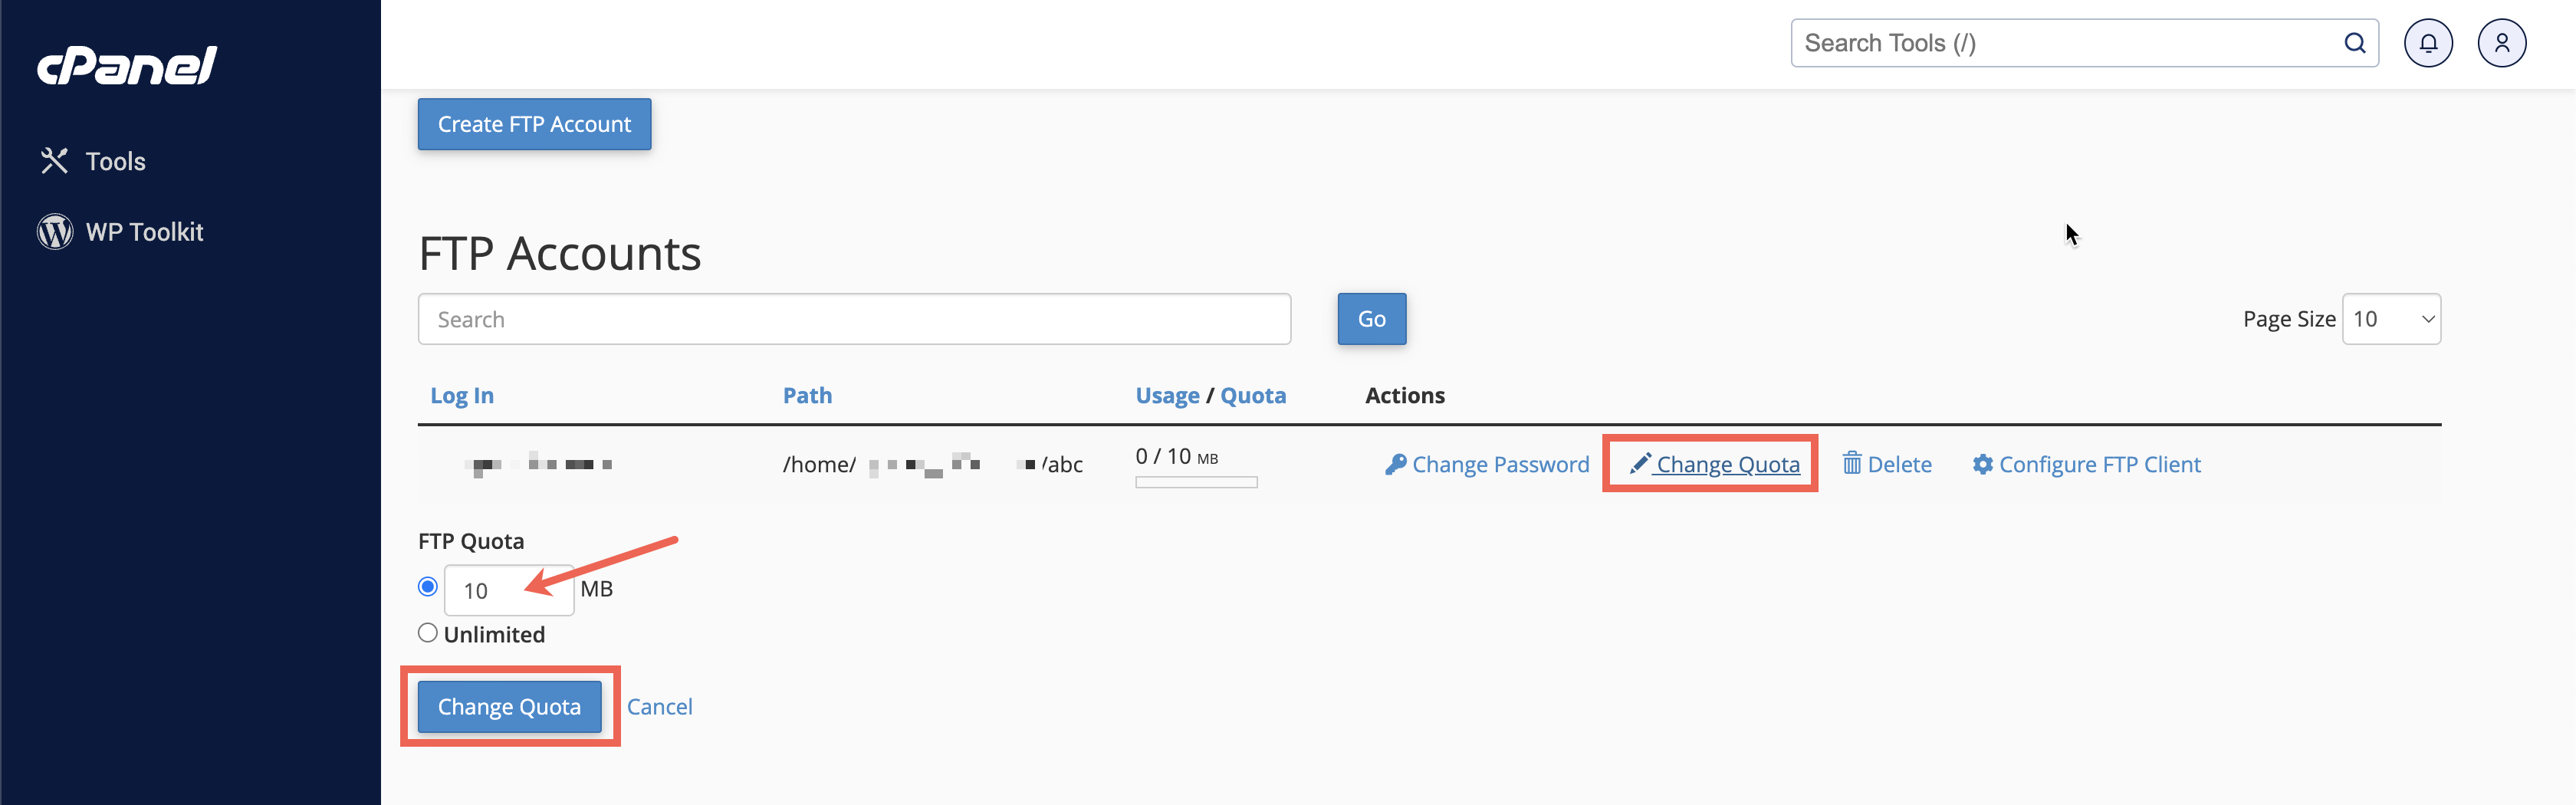
Section 5: Change Quota

  1. Click Change Quota for the desired FTP account, as illustrated in Figure 6 below.
  2. Enter the disk space quota or select Unlimited.
  3. Click the Change Quota button to save.
Figure 6: cPanel FTP Change Quota Screen

Section 6: Delete Account

  1. Click Delete for the FTP account that you wish to remove.
  2. Click the delete button.

Conclusion

Managing FTP accounts on your Linux Hosting via cPanel is straightforward when you know how to navigate the interface. This guide has provided step-by-step instructions to empower you to confidently take control of your FTP accounts.