List of Help Articles
Overview of Batoi Hosting Renew Your Domain Name with Batoi Protect or Lock Your Domain Name with Batoi View Action History of Your Domain Name Manage Name Servers for a Domain Name Forward a Domain Name to a Different Website Handle Privacy Protection for a Domain Name Domain Name Whois Data Reminders from Batoi Modify the Contact Details of Your Domain Name Backup Your Website with cPanel on Linux Managing DNS Records in Linux Hosting via cPanel: A Comprehensive Guide Create FTP Accounts in Your Linux Hosting using cPanel Backup and Restore Your Linux Hosting Account via cPanel Effortless 301 and 302 Redirects in Linux Hosting: A Detailed cPanel Guide How to Seamlessly Manage DNS Records with Batoi's Premium DNS Service through Your Domain Control Panel Mastering Contact Management within Batoi's Domain Control Panel Step-by-Step Guide: Managing Business/Enterprise Email via My Domain Control Panel How to Efficiently Manage Users and Assign Administrative Roles in Google Workspace A Complete Guide to Purchasing and Managing Google Workspace through Batoi Hosting Control Panel Effortless Migration from cPanel Email to Google Workspace: Your Step-by-Step Guide Setting Up Google Workspace Using cPanel: A Comprehensive Guide How to Add an SPF Record to Your DNS Settings for Email Security Setup of Microsoft Office 365 Using cPanel: A Comprehensive Guide Reviewing Your Linux Hosting Resource Allocation and Usage in cPanel Creating and Managing Sub-domains with cPanel on Linux How Do I Emulate DNS Change on My PC? Effortless Migration from cPanel Email to Microsoft Office 365: Your Step-by-Step Guide How to Set up MFA for Your Microsoft Office 365 Outlook Account Setting up POP or IMAP Email on an Apple iPhone Creating and Managing MySQL Databases with cPanel on Linux How to Fix the Error '0x800CCC1A' in Microsoft Outlook? How to Fix the Error '0x800CCC78' in Microsoft Outlook? Setting up Email Account on Your Mac Mail Application Installing WordPress within Your Hosting Account with cPanel on Linux Setting up POP or IMAP Email on an Android Phone Setting up Mozilla Thunderbird as Your Email Client in Windows PC Setting up Microsoft Outlook as Your Email Client in Your Windows PC Setting up Mozilla Thunderbird as Your Email Client in Mac Creating Email Accounts with cPanel on Linux Creating More FTP Accounts with cPanel on Linux Accessing cPanel and Webmail on Linux Generate a Certificate Signing Request (CSR) Generate the Domain Secret or the Authorization Code for Your Domain Name How to Fix the Error '0x800CCCDD' in Microsoft Outlook with IMAP Server? Comprehensive Guide to Managing PHP Settings in cPanel on Your Linux Hosting Account Integration of Google Analytics on Your Website My Emails Are Bouncing Back. What Should I Do? What should I do when I cannot access my email or website on My Windows PC? Password Protect Files and Folders with cPanel on Linux Transfer Your Domain Name from your Current Registrar to Batoi Uploading Your Files with an FTP client (FileZilla)

How to Efficiently Manage Users and Assign Administrative Roles in Google Workspace


Master the art of user management in your Google Workspace Admin Console. Our comprehensive, step-by-step guide walks you through the entire process, ensuring an easy and hassle-free experience.

Introduction

Ready to enhance your email and collaboration services with Google Workspace? This comprehensive guide will help you effortlessly manage users and assign administrative roles directly from your Google Workspace Admin Console.

Section 1: Accessing Your Google Admin Console

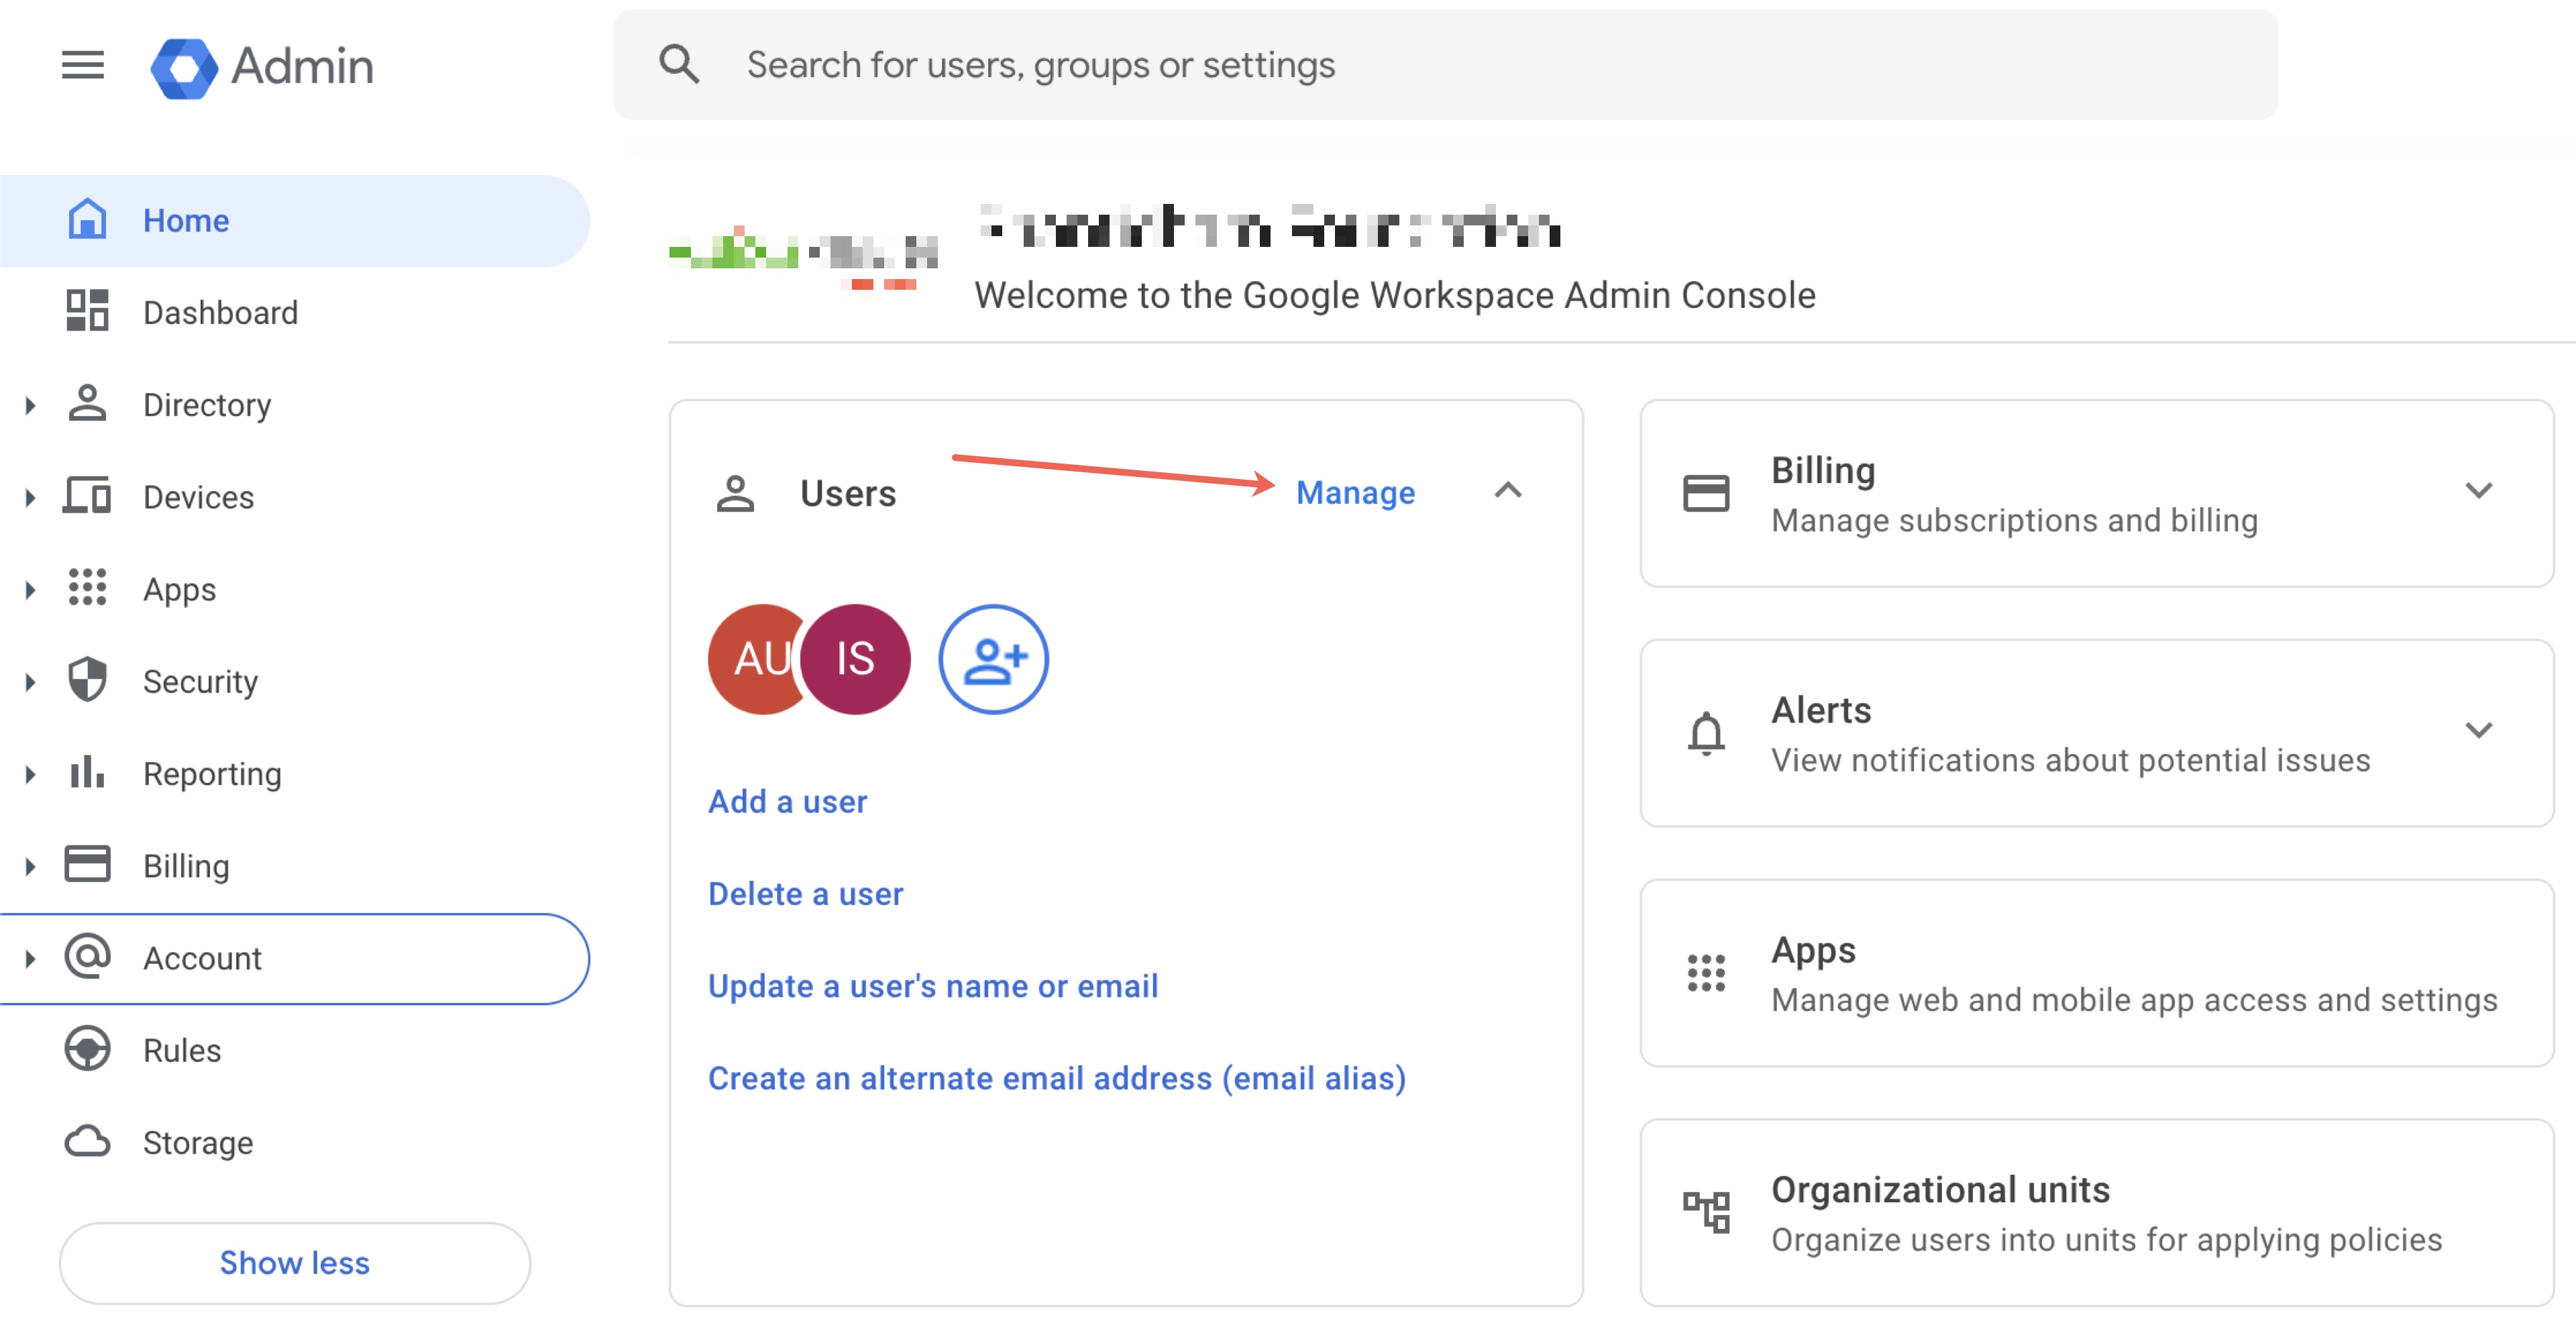
Log in to your Google Admin console at https://admin.google.com, and upon successful login, you will be landed on the dashboard, as illustrated in Figure 1 below.

Figure 1: Google Admin Console Dashboard” style=
Figure 1: Google Admin Console Dashboard

Section 2: Manage Users

On the dashboard page, click the Manage link, as illustrated in Figure 1 above, or click the left side menu Directory>Users, as shown in Figure 2 below. You will be redirected to the users' list page, where all the users will be seen in a tabular form.

Figure 2:  Google Admin Console User List Page Screen” style=
Figure 2: Google Admin Console User List Page Screen

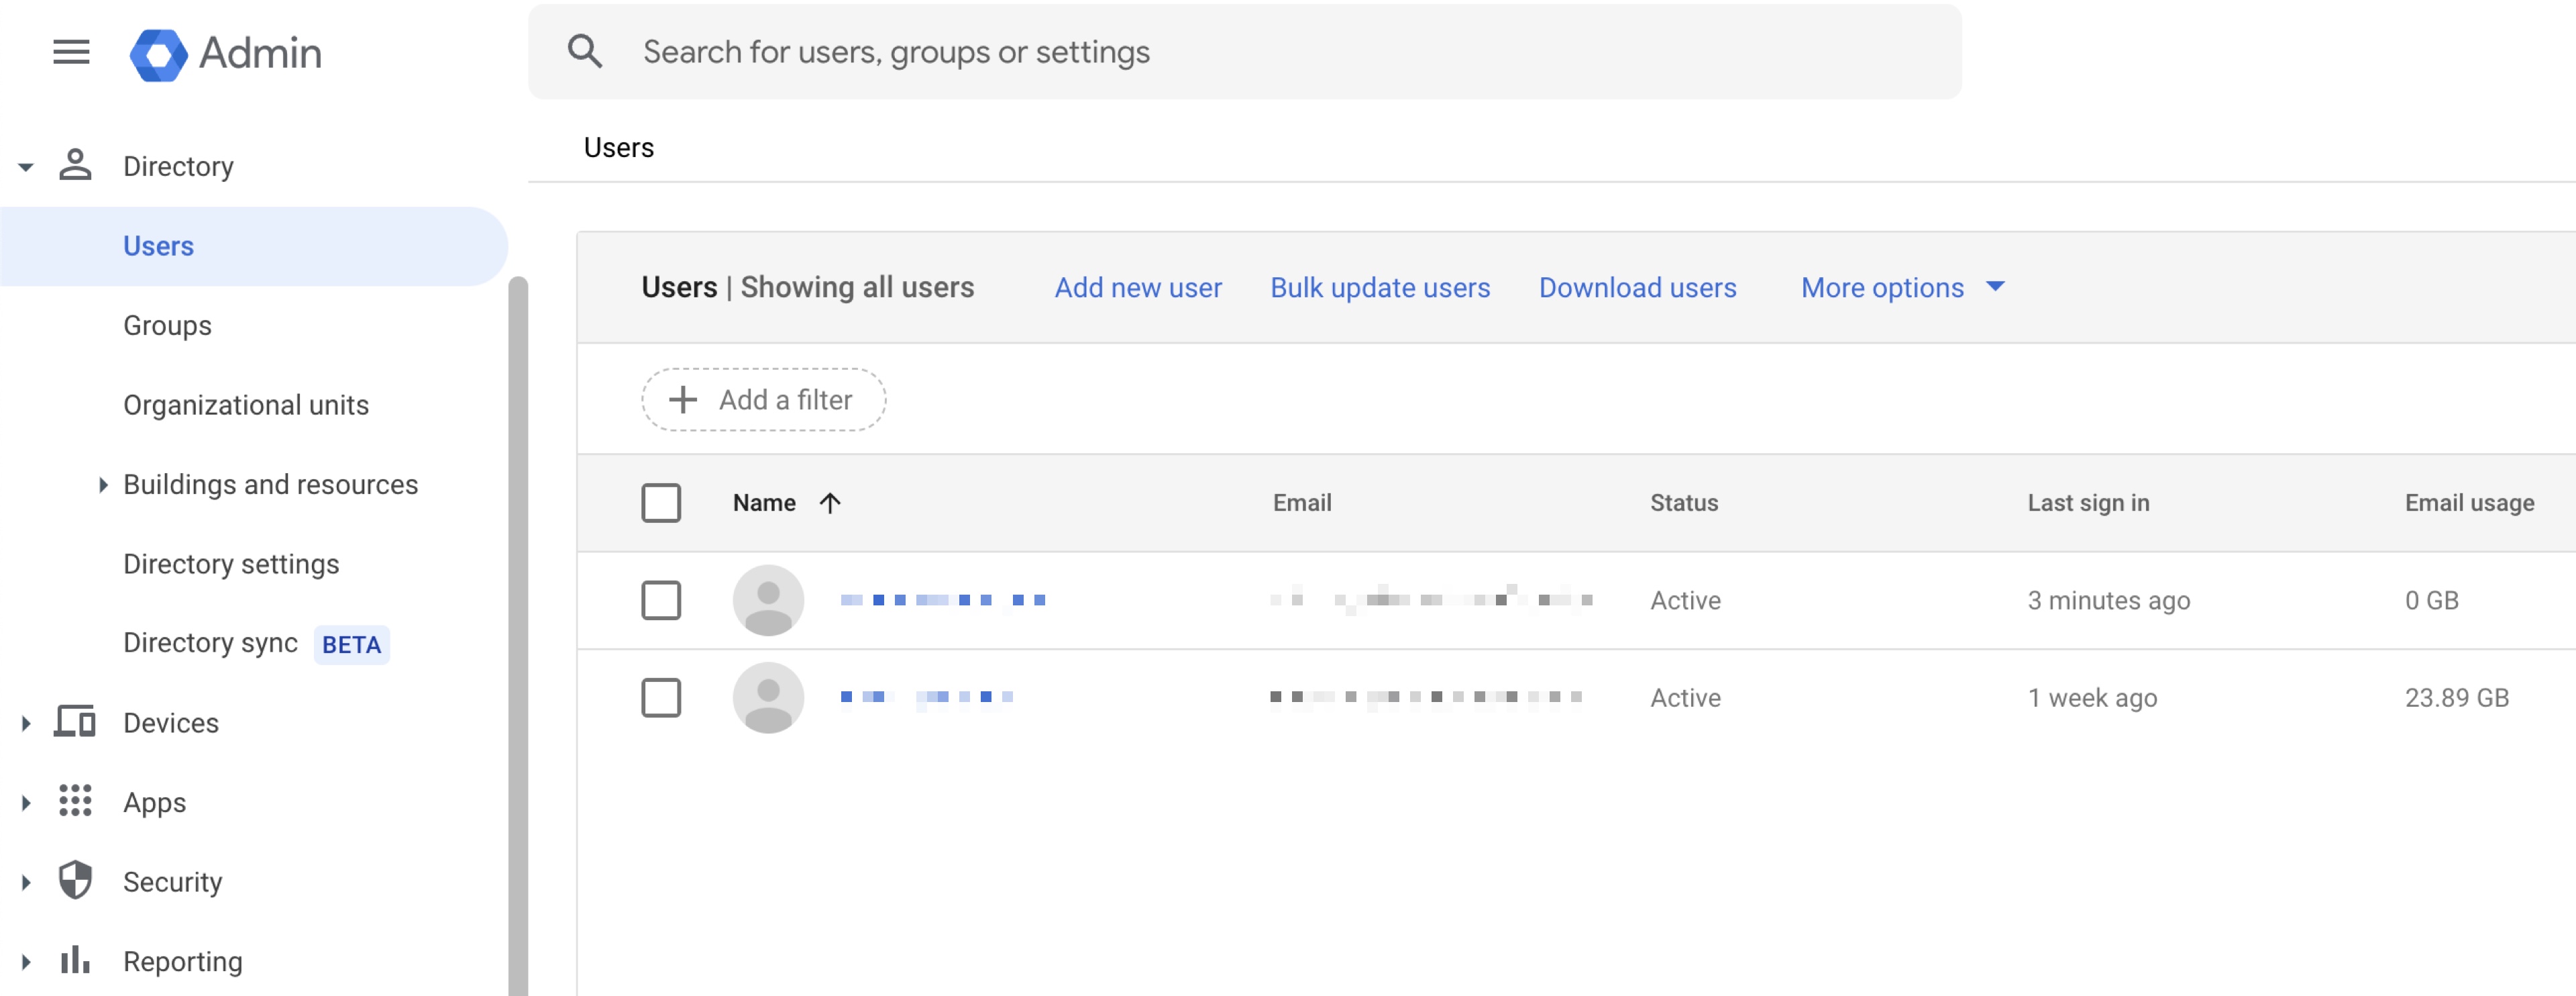
Click on the Add new user link on the top of the screen, as illustrated in Figure 2 above, and contact the Batoi Support Team if you see the message No license available for the new user, as shown in Figure 3 below.

Figure 3:  Google Admin Console User Add License Message Popup Screen” style=
Figure 3: Google Admin Console User Add License Message Popup Screen

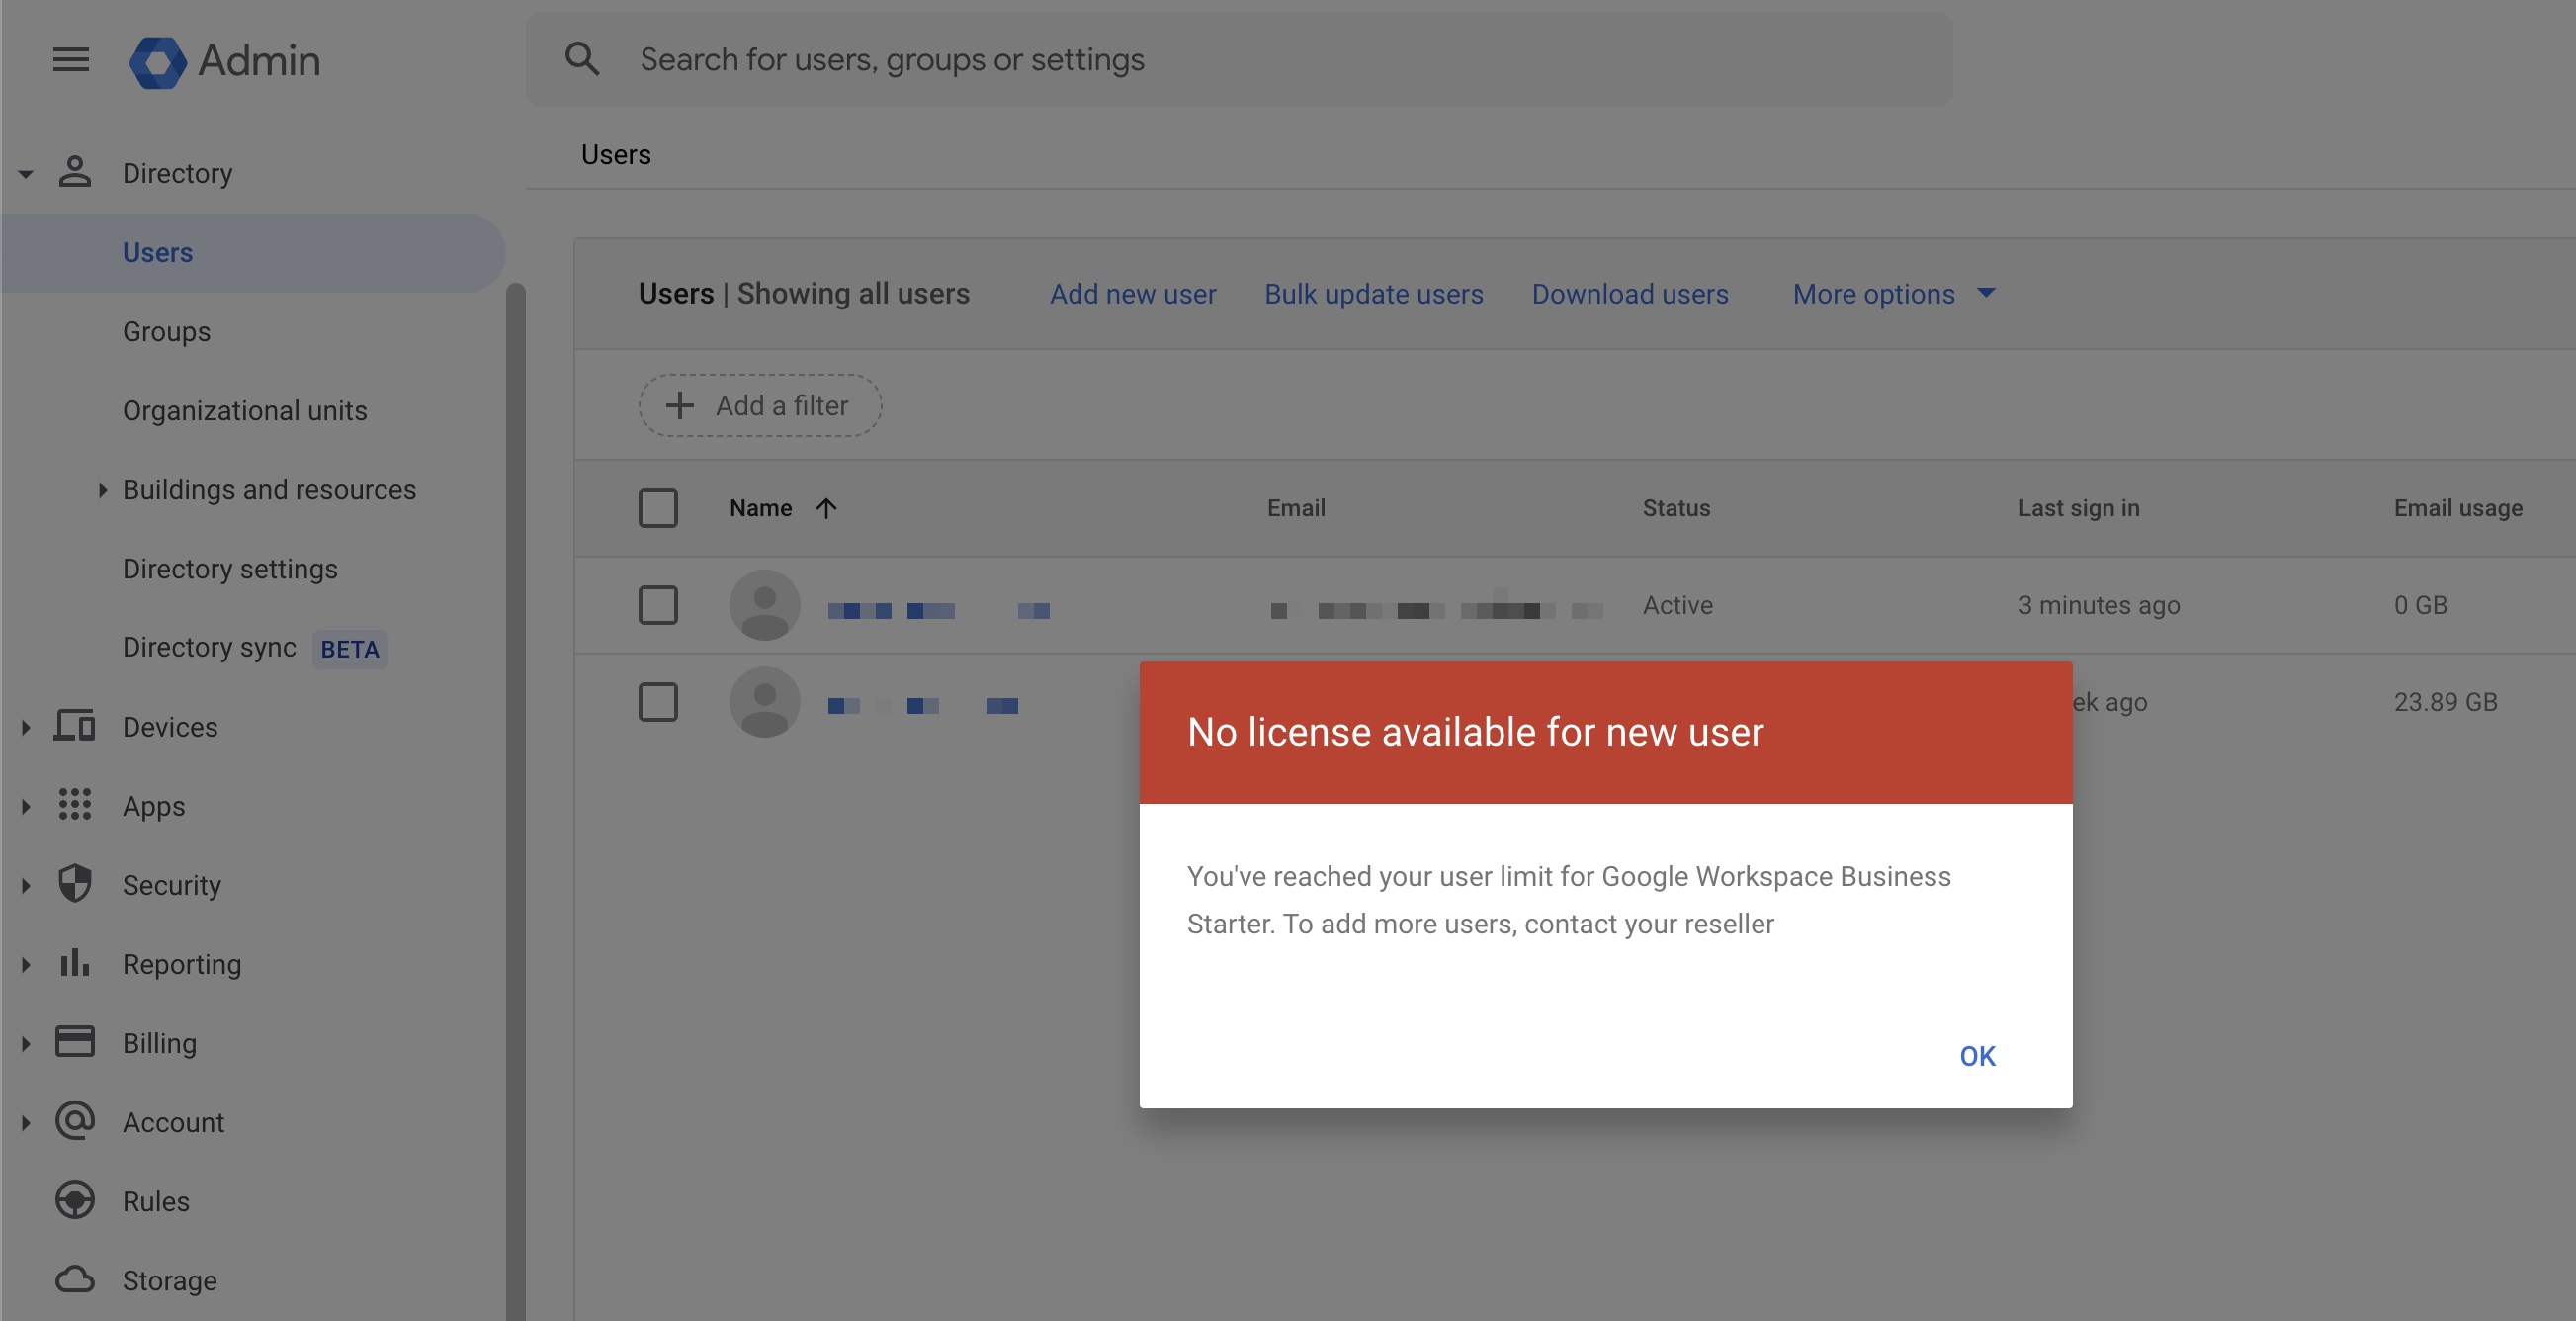
To purchase a new user license from Batoi Hosting, please follow the help article A Complete Guide to Purchasing and Managing Google Workspace through Batoi Hosting Control Panel.

Once you purchase the license, click on the Add new user link on the top of the screen, as illustrated in Figure 2 above, and the popup screen will open. Fill in the details and click the Add New User button, and the user will be added to the system.

  • First and Last Name: (Mandatory)
  • Primary email: (Mandatory)
  • Secondary email: (optional) used to send the user details
  • Phone number: (optional) used for multifactor authentication and other notification SMS service
  • Password: (Mandatory)
    • Automatically generate a password: This will generate a strong password string.
    • Create a password: Here, you need to set the password

NOTE: If you want the user required to change this password the next time they sign in, then select Ask the user to change their password when they first sign in the checkbox.

Section 3: Managing User Roles

Click on the menu Admin role under the primary menu Account from the dashboard, as illustrated in Figure 4 below.

Figure 4:  Google Admin Console Dashboard” style=
Figure 4: Google Admin Console Dashboard

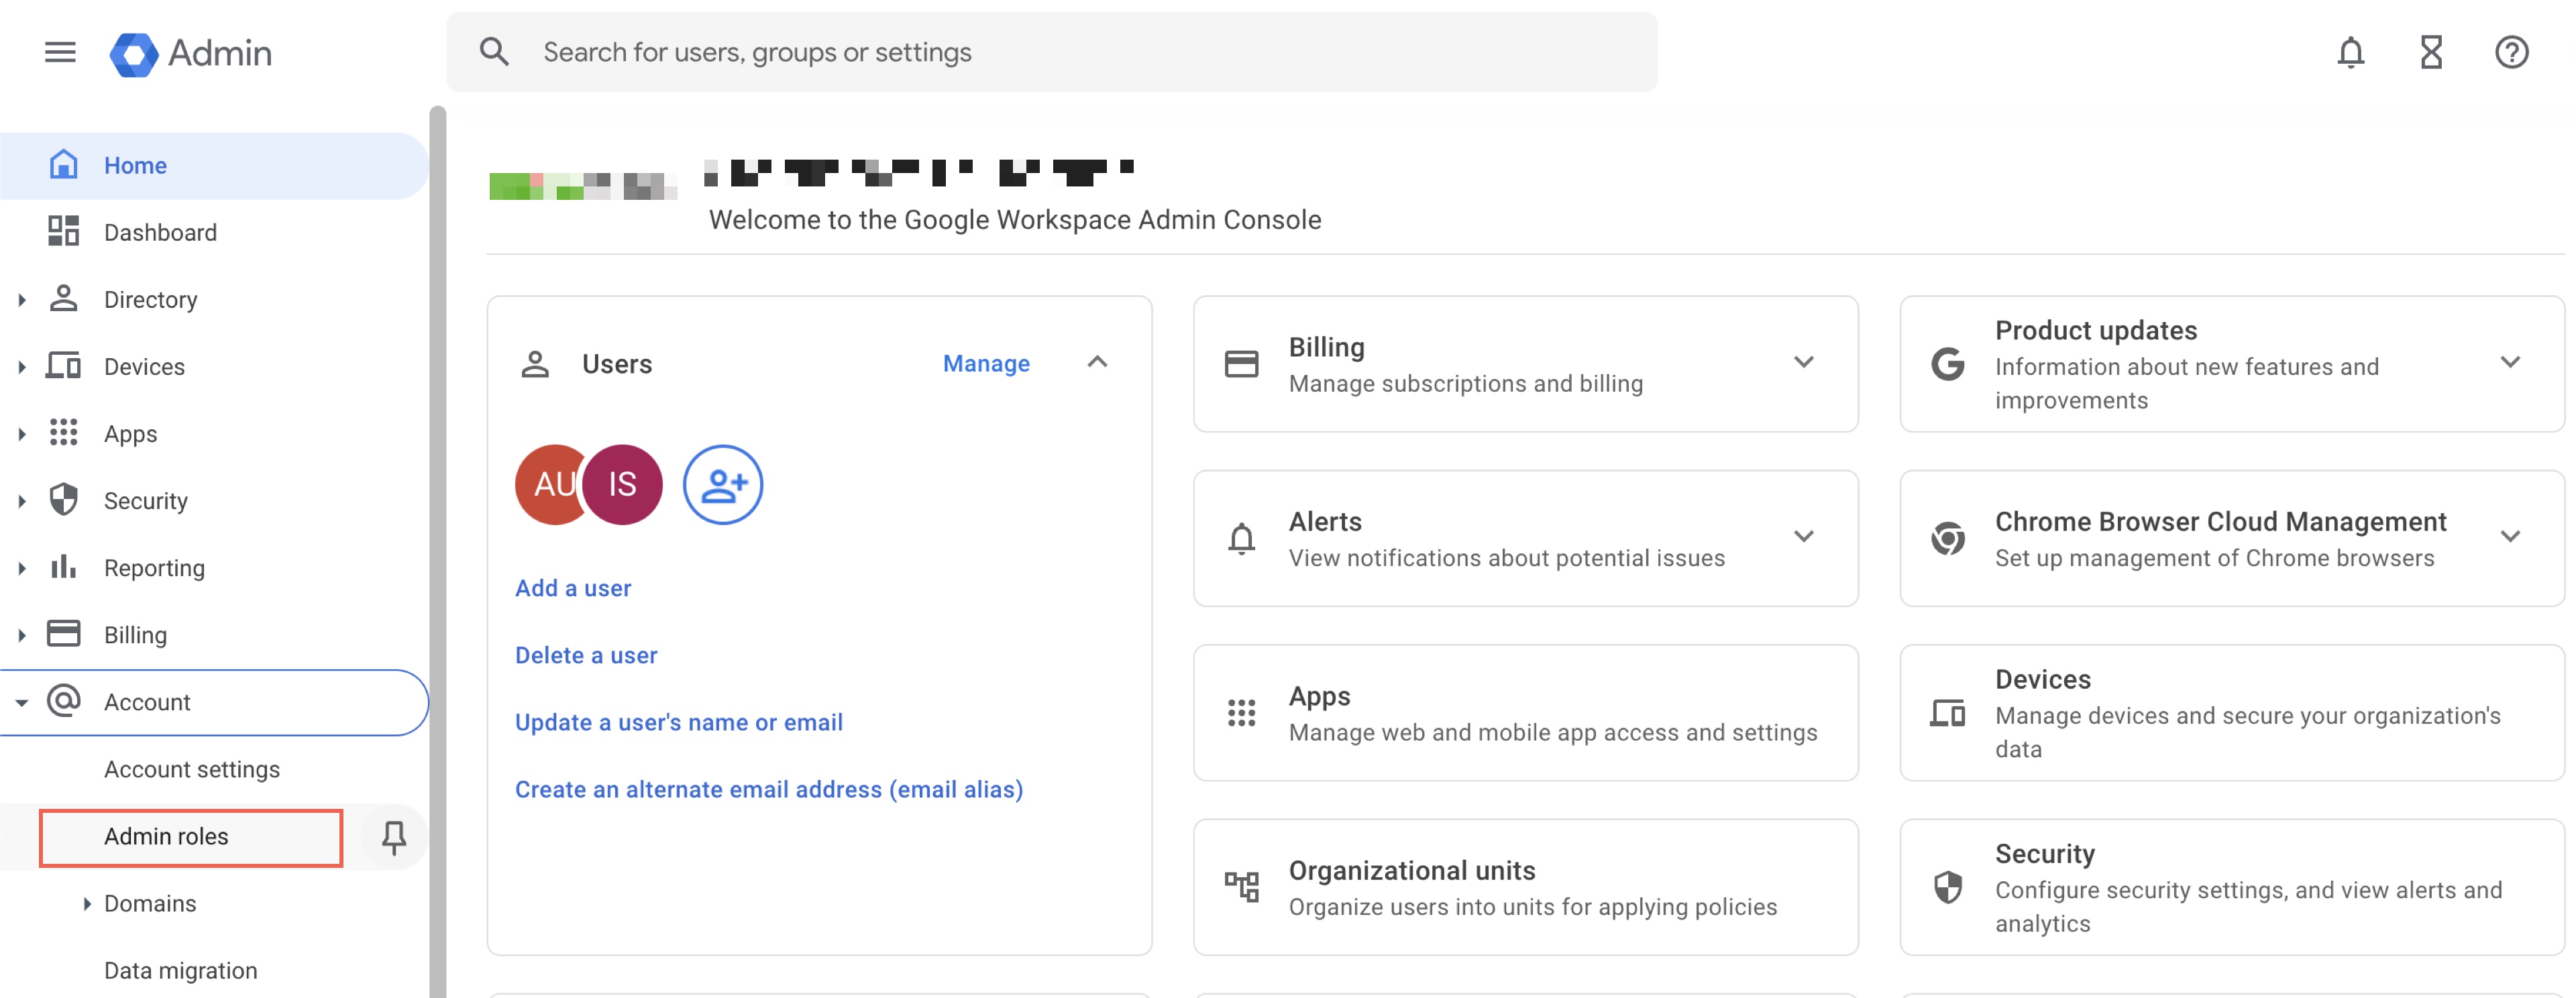
You will be redirected to the user role list page by clicking the same, as illustrated in Figure 5 below.

Figure 5:  Google Admin Console Manage Role List Screen” style=
Figure 5: Google Admin Console Manage Role List Screen

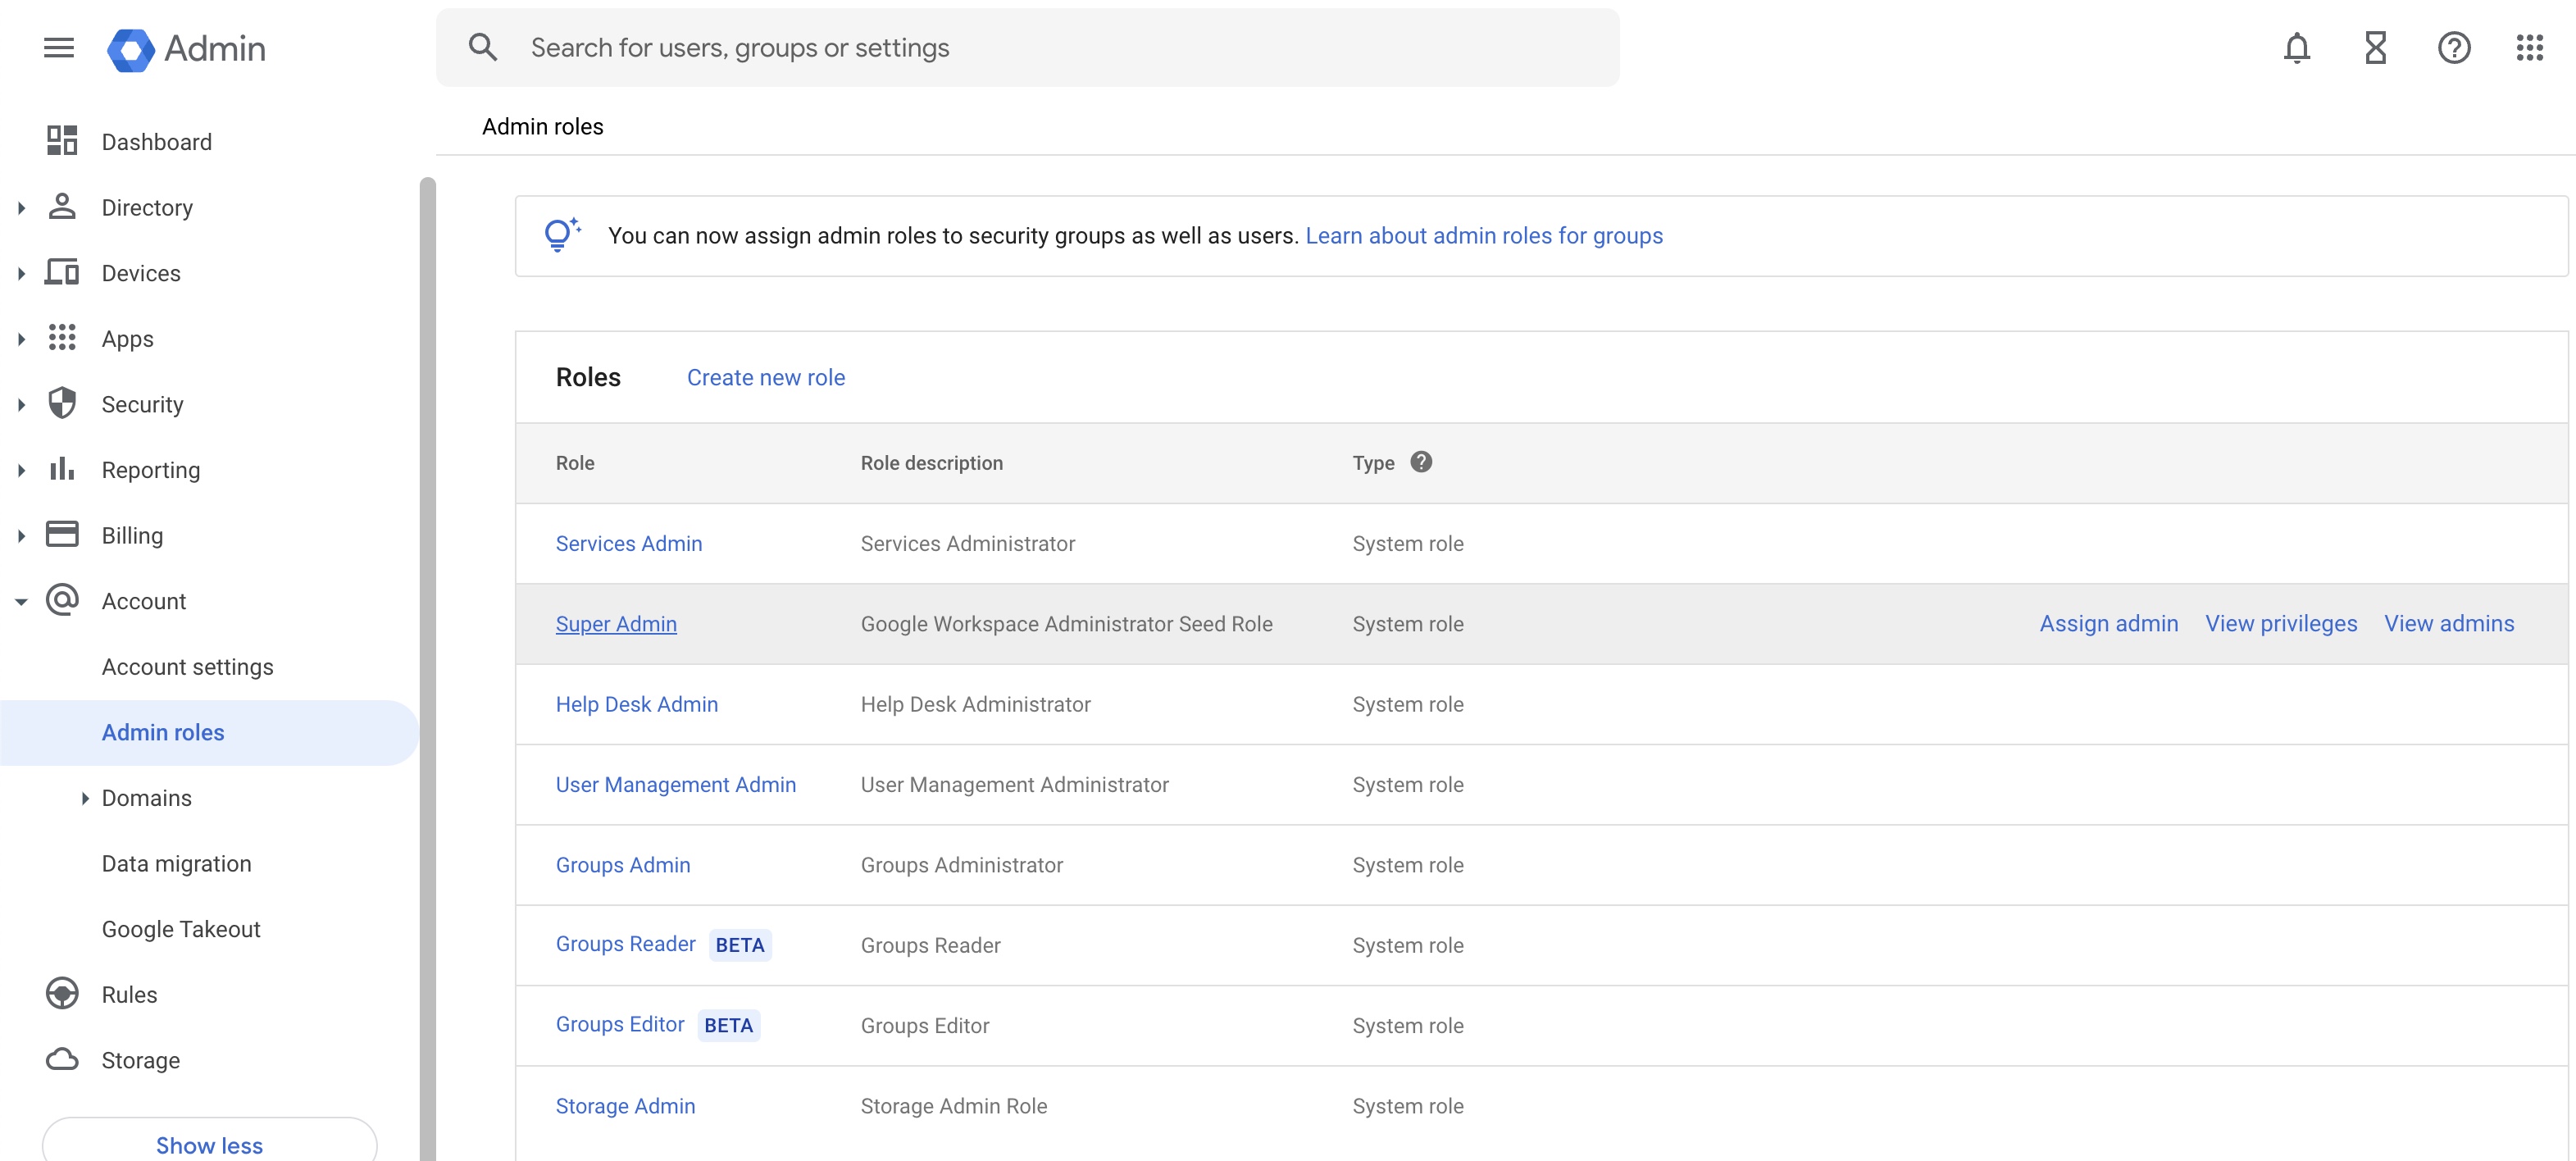
On the role list page, you can view all the types of roles available to assign for a particular user in a tabular form, as illustrated in Figure 5 above.

Click on the Super Admin role link to assign a new user to it.

After clicking the Super Admin link, the system will redirect to the page where all the users assigned as Super Admin will be listed, as illustrated in Figure 6 below.

Figure 6: Google Admin Console Super Admin User List Screen” style=
Figure 6: Google Admin Console Super Admin User List Screen

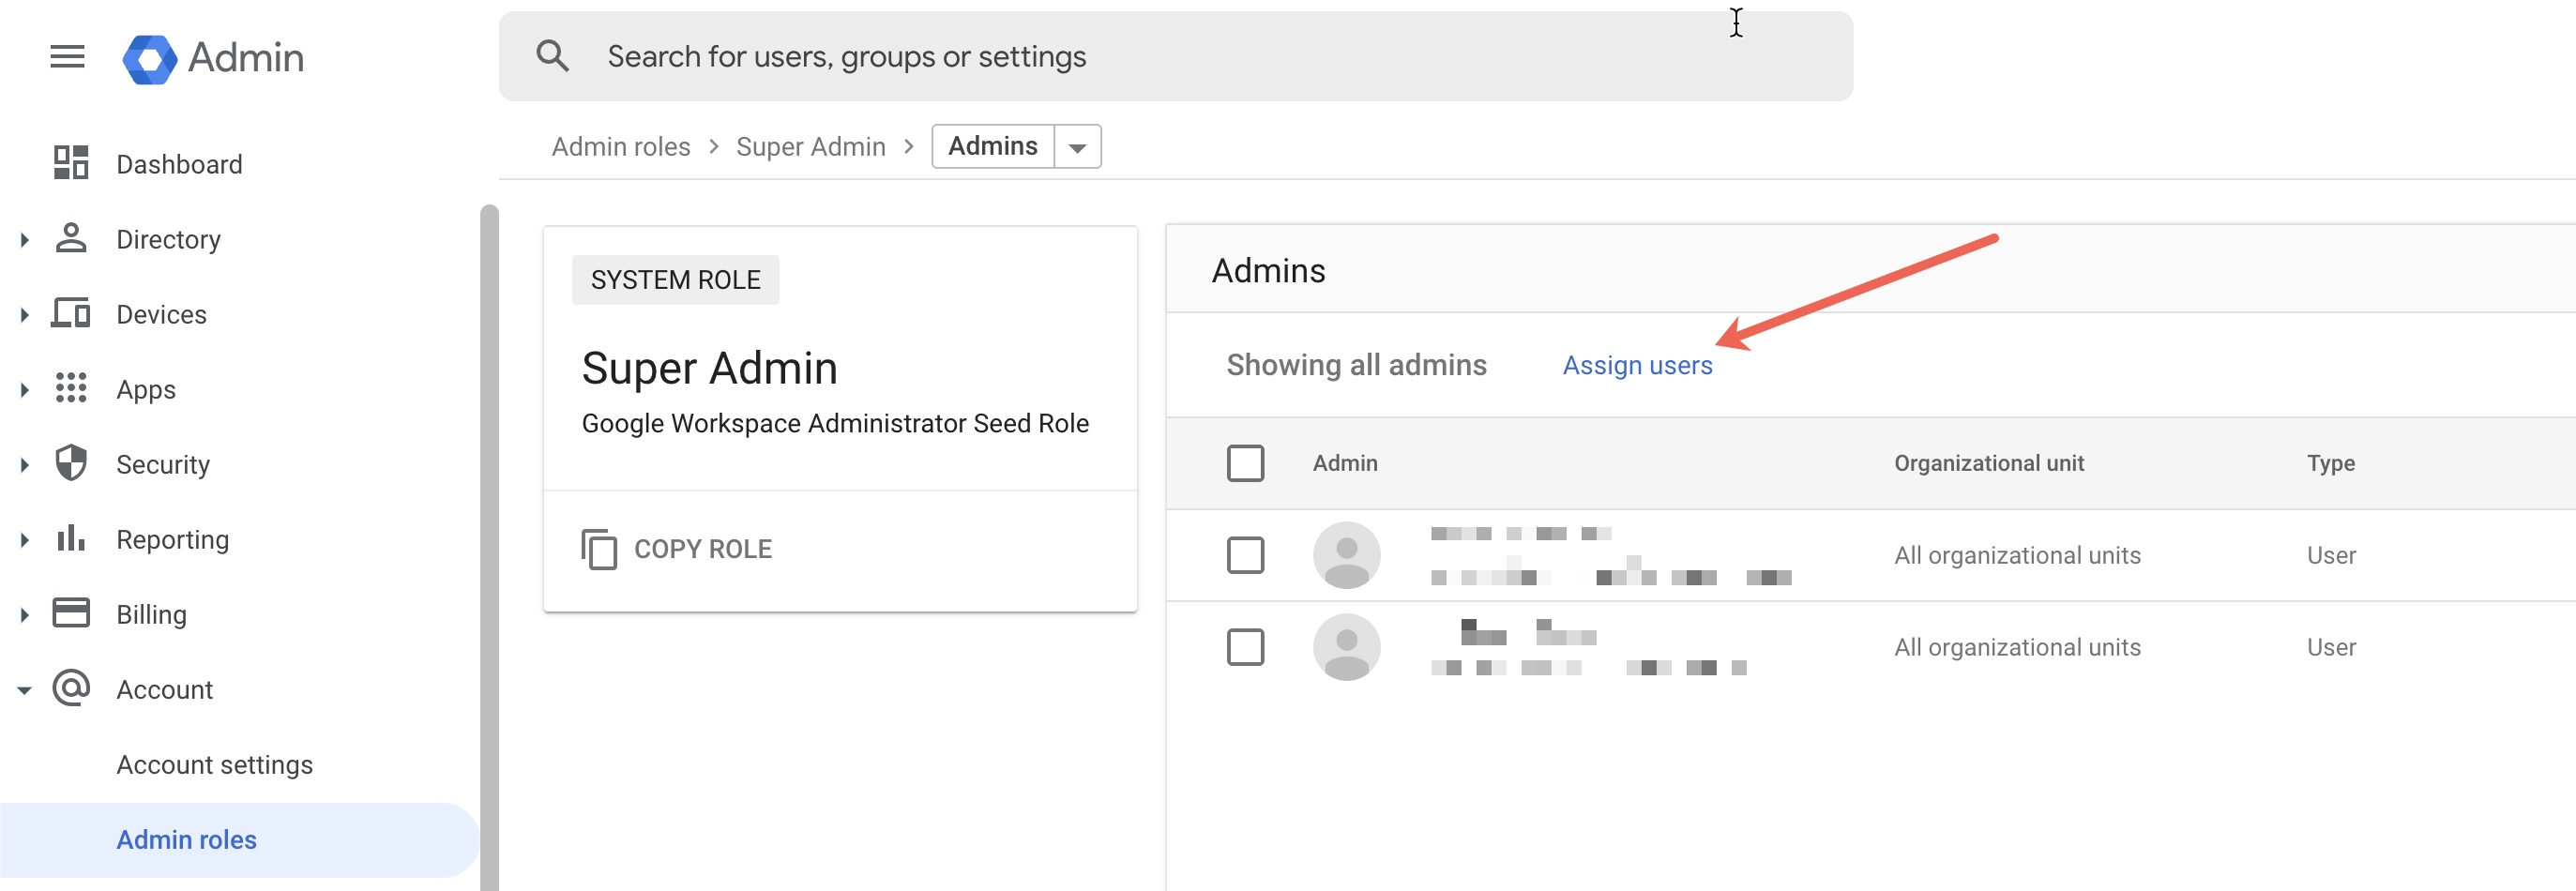
Click on the Assign Users link available on the top of the screen, as illustrated in Figure 6 above, and the system will open a new screen will open, as shown in Figure 7 below.

Figure 7: Google Admin Console Super Admin User Add Screen” style=
Figure 7: Google Admin Console Super Admin User Add Screen

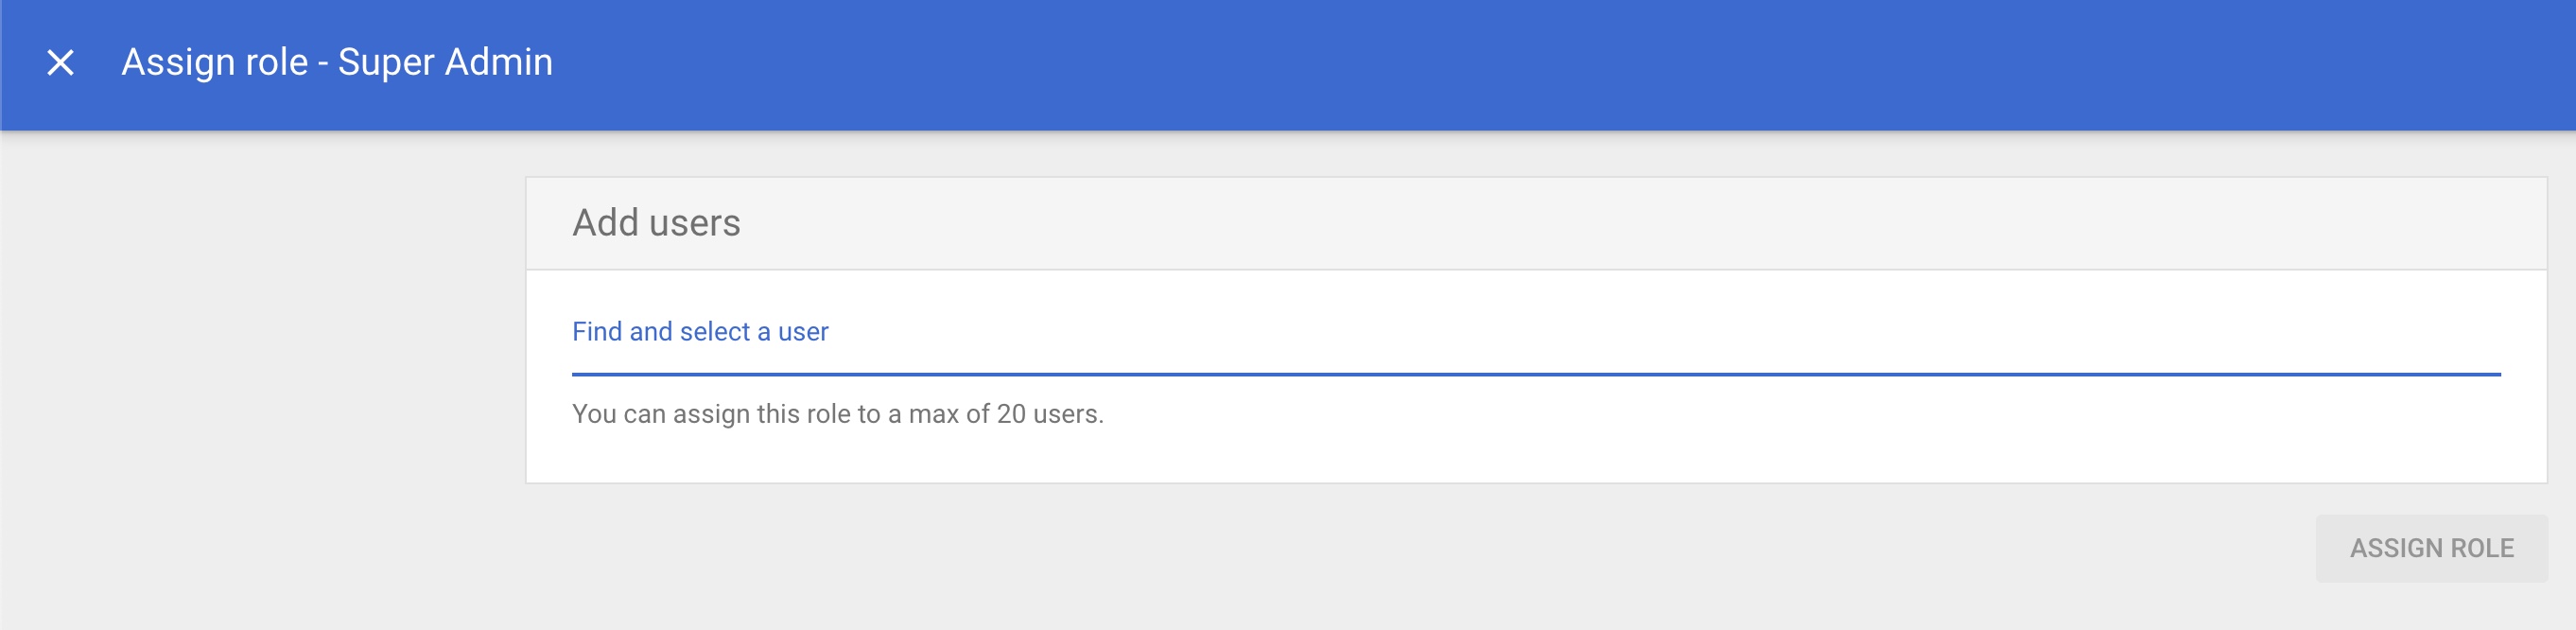
Type the username or email ID to which you want to assign the super admin role in the textbox, as illustrated in Figure 7 above and the system will search the particular user. It will show in the list if it is available, as illustrated in Figure 8 below.

Figure 8: Google Admin Console Super Admin User Add Screen” style=
Figure 8: Google Admin Console Super Admin User Add Screen

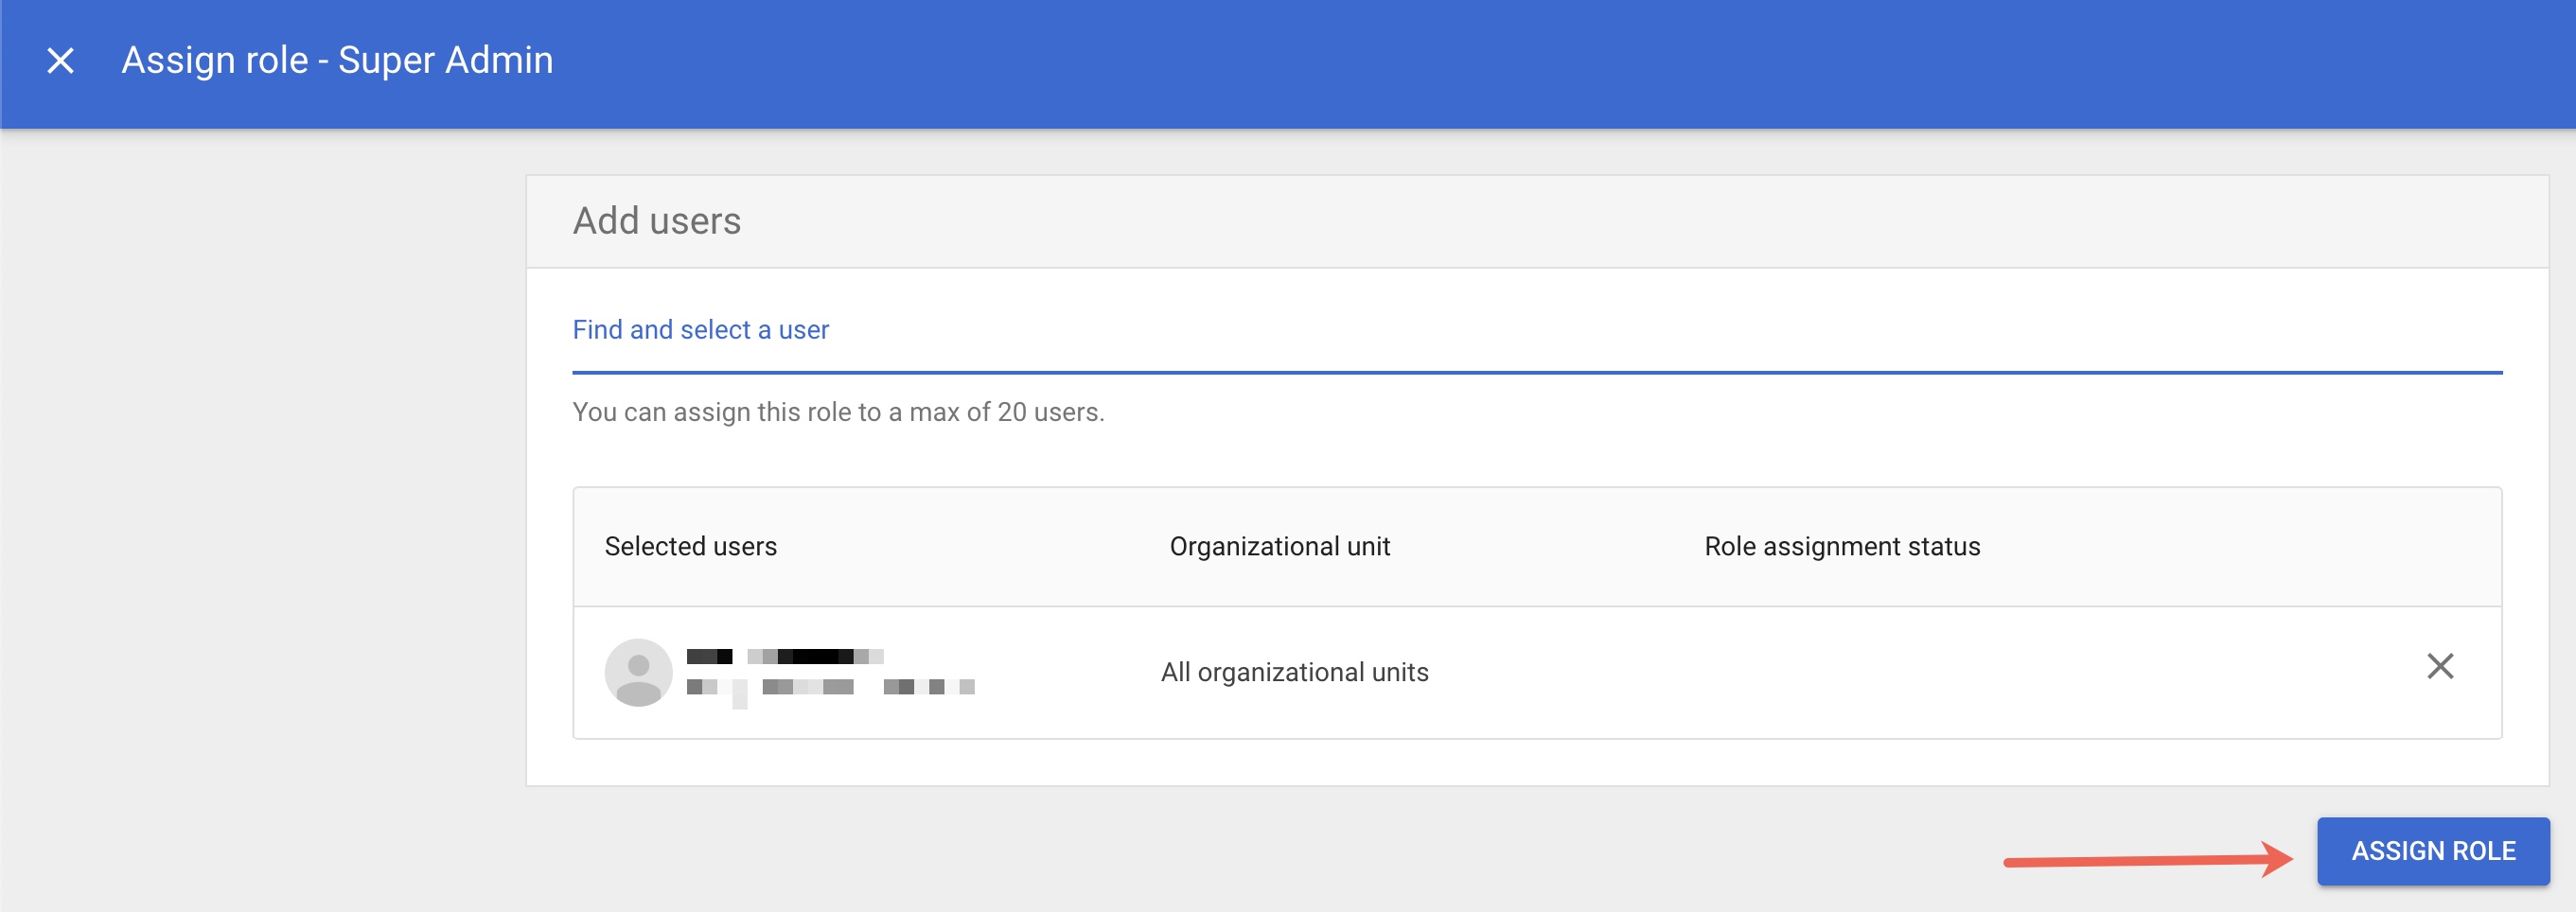
After selecting the user, click on the ASSIGN ROLE button available on the right side of the screen, and Google will add the user as the super admin, as illustrated in Figure 8 above.

The other roles that can be assigned to a user are:

  • Services Admin
  • Help Desk Admin
  • User Management Admin
  • Groups Admin
  • Groups Reader (Currently on the Beta version)
  • Groups Editor (Currently on the Beta version)
  • Storage Admin

Conclusion

Managing users and assigning roles in Google Workspace can be a manageable task. This guide aims to streamline the process, ensuring that even those with limited experience can efficiently perform these tasks. For more advanced functionalities and custom solutions, contact the Batoi Support Team.