 Batoi Support
Discover the step-by-step method to backup, restore, and manage your Linux hosting account using cPanel.
Introduction
cPanel's Backup interface grants users the ability to store their site data in a backup file and, when needed, to restore that site from the said file.
Section 1: Accessing cPanel
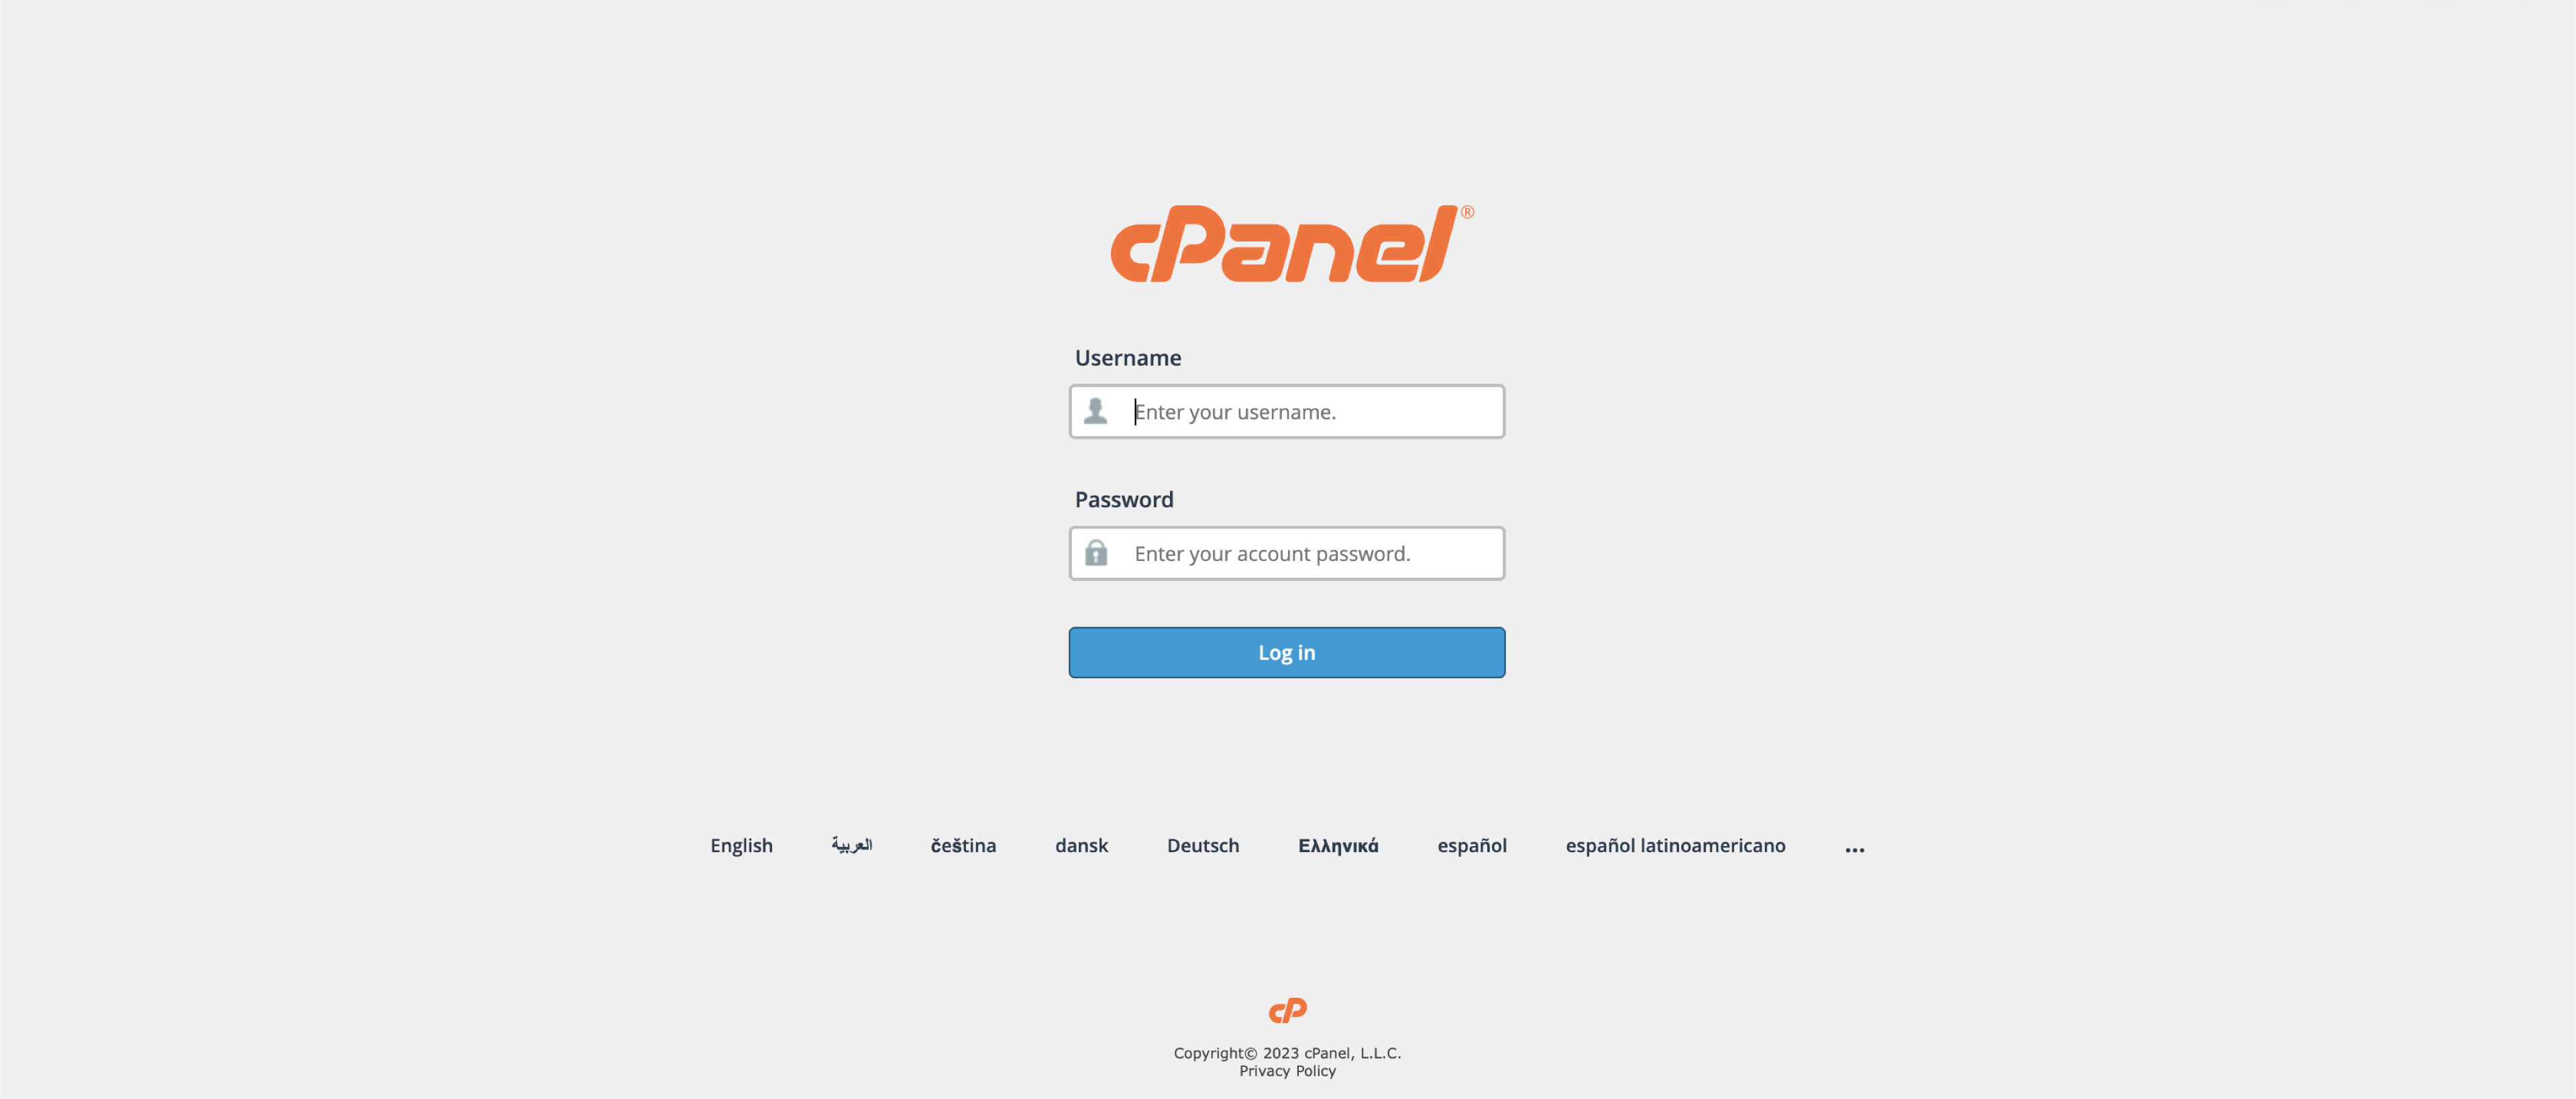
You can reach your cPanel by appending /cpanel to your domain, like so: https://[your-domain-name]/cpanel. Alternatively, utilize the link provided by our Support Team. Use your username and password to log in, as illustrated in Figure 1 below.
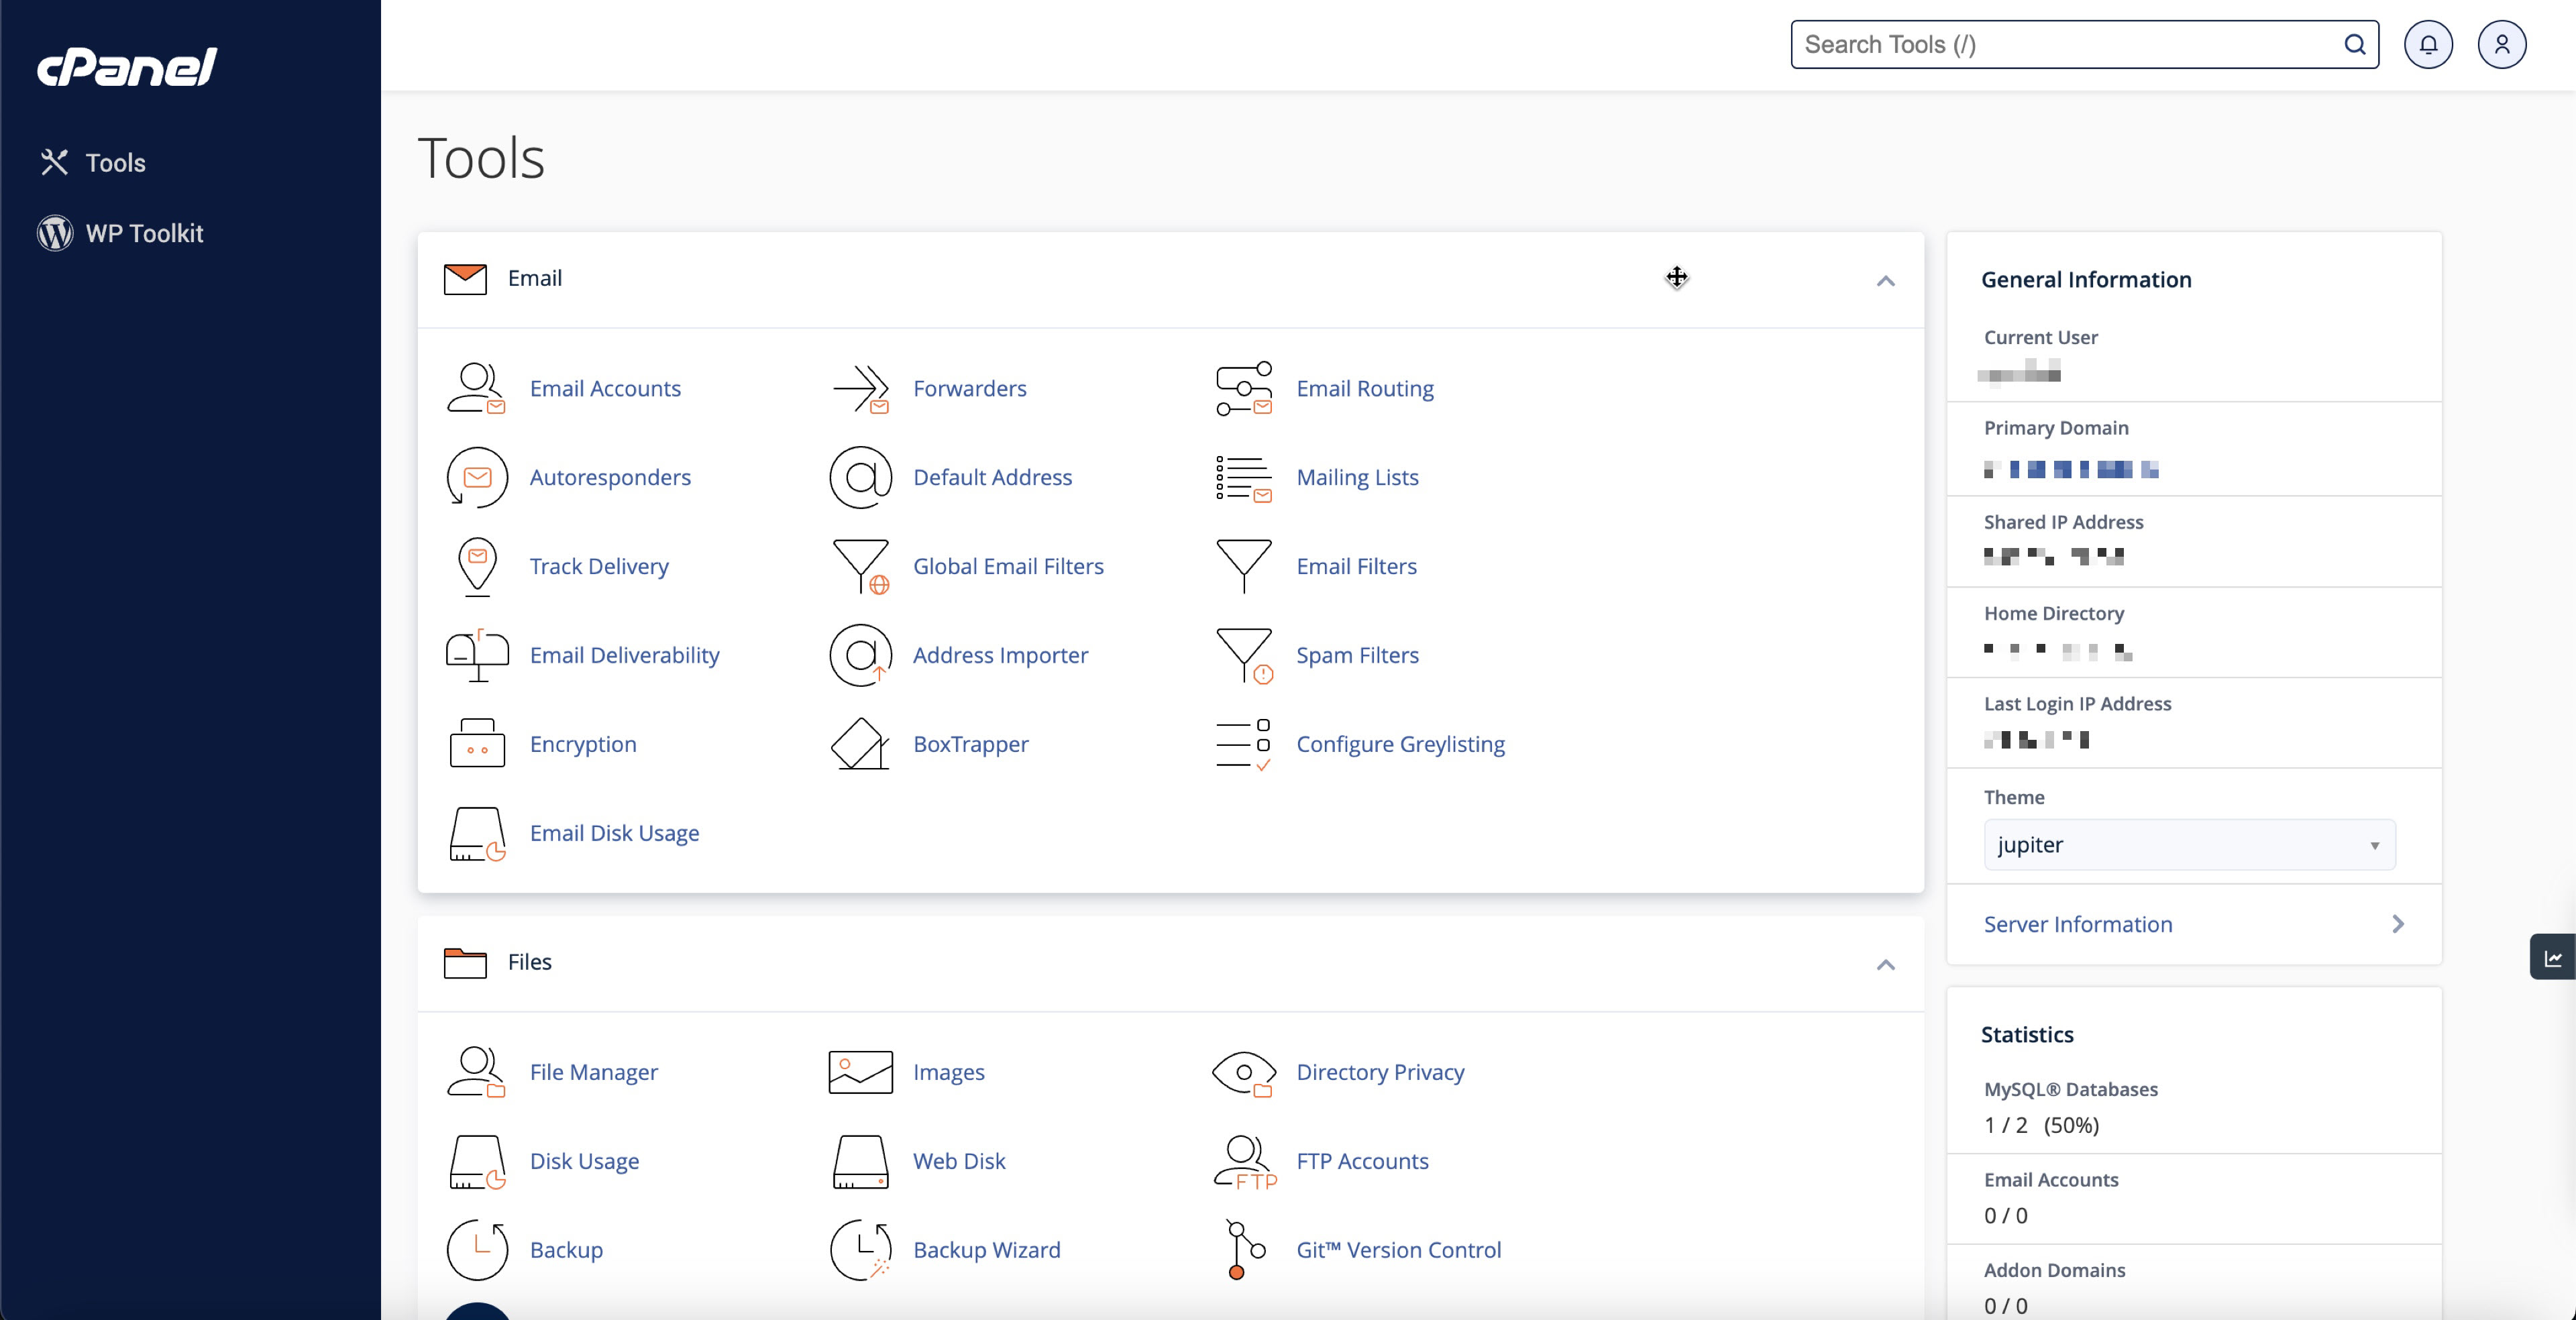
You will land on the dashboard page upon successful login, as illustrated in Figure 2 below.
Section 2: Generate a Full Backup
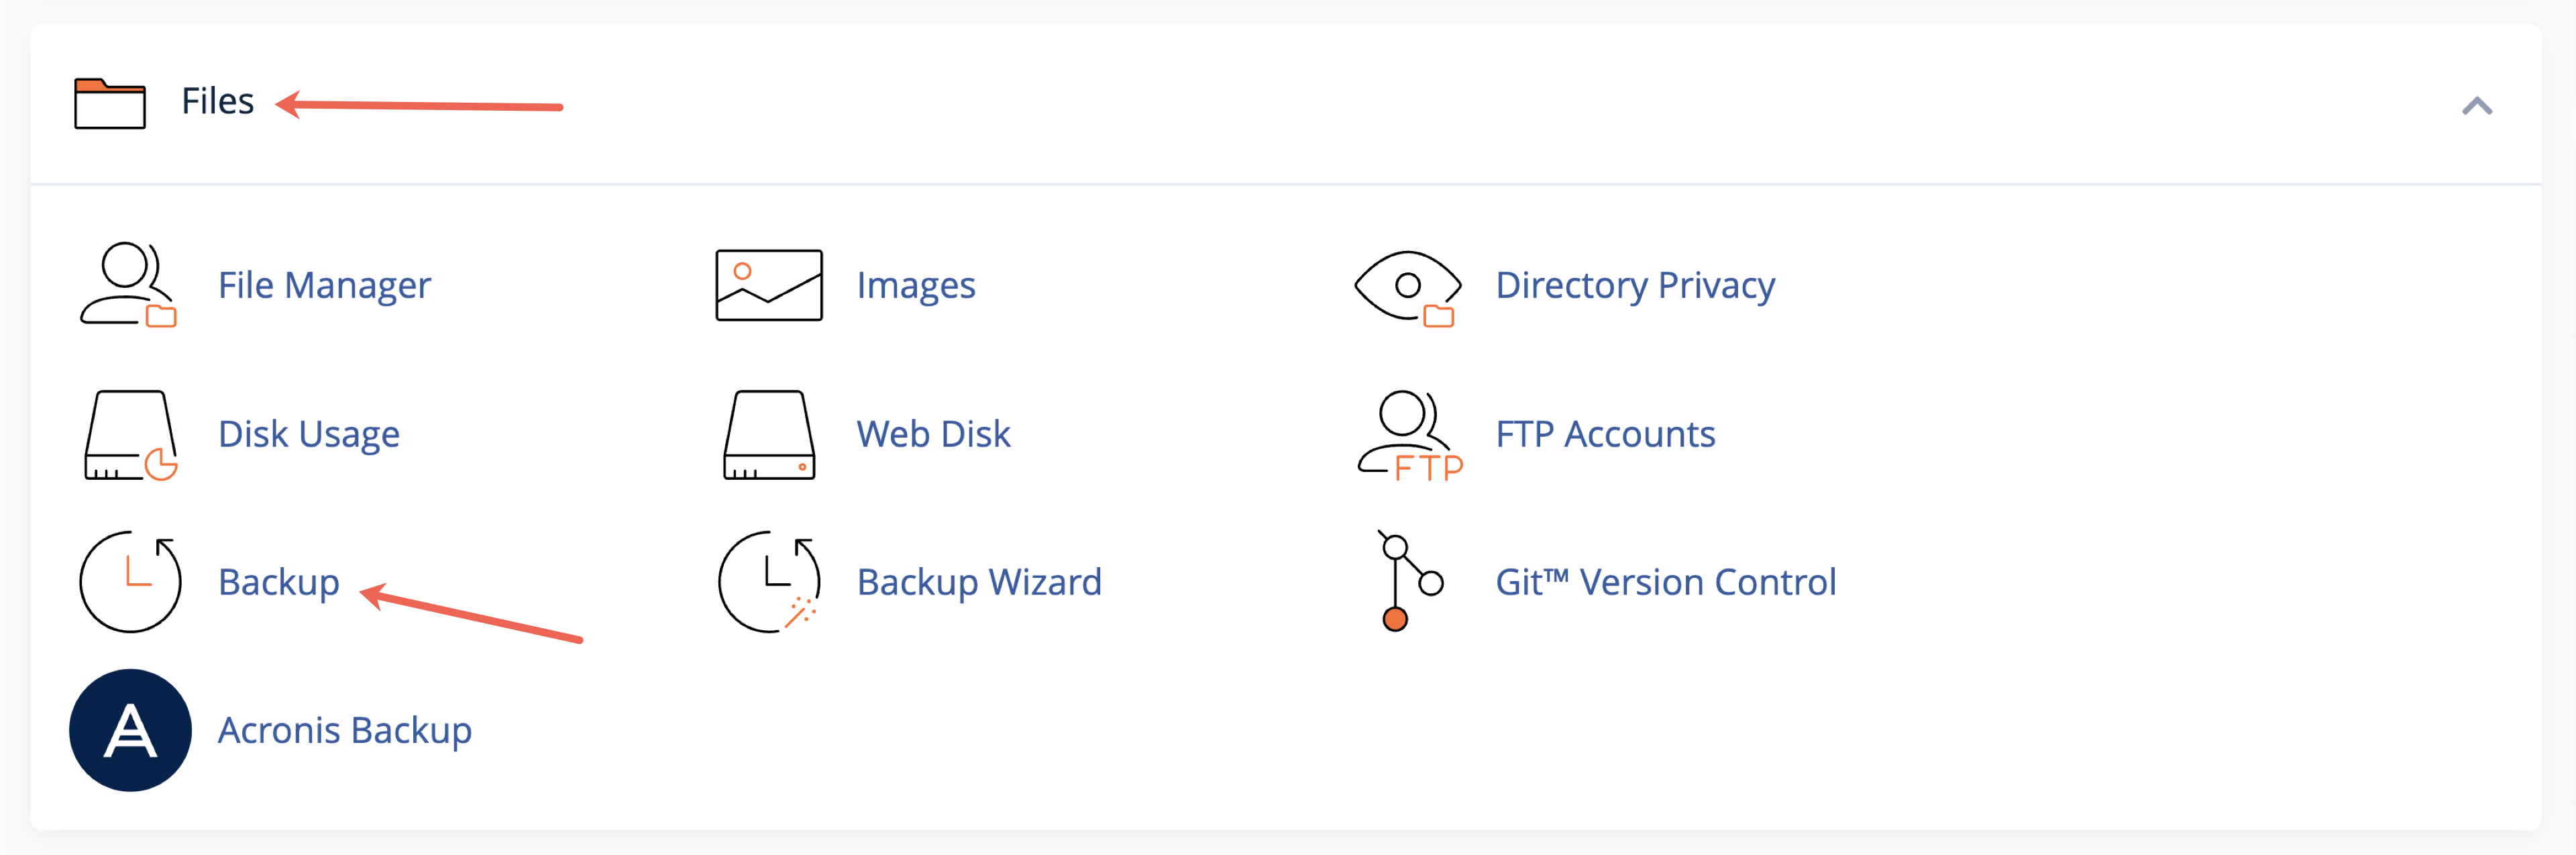
Go to the Files section in the dashboard and click on the Backup link, as illustrated in Figure 3 below.
You will land on the page after clicking the Backup link, as illustrated in Figure 4 below.
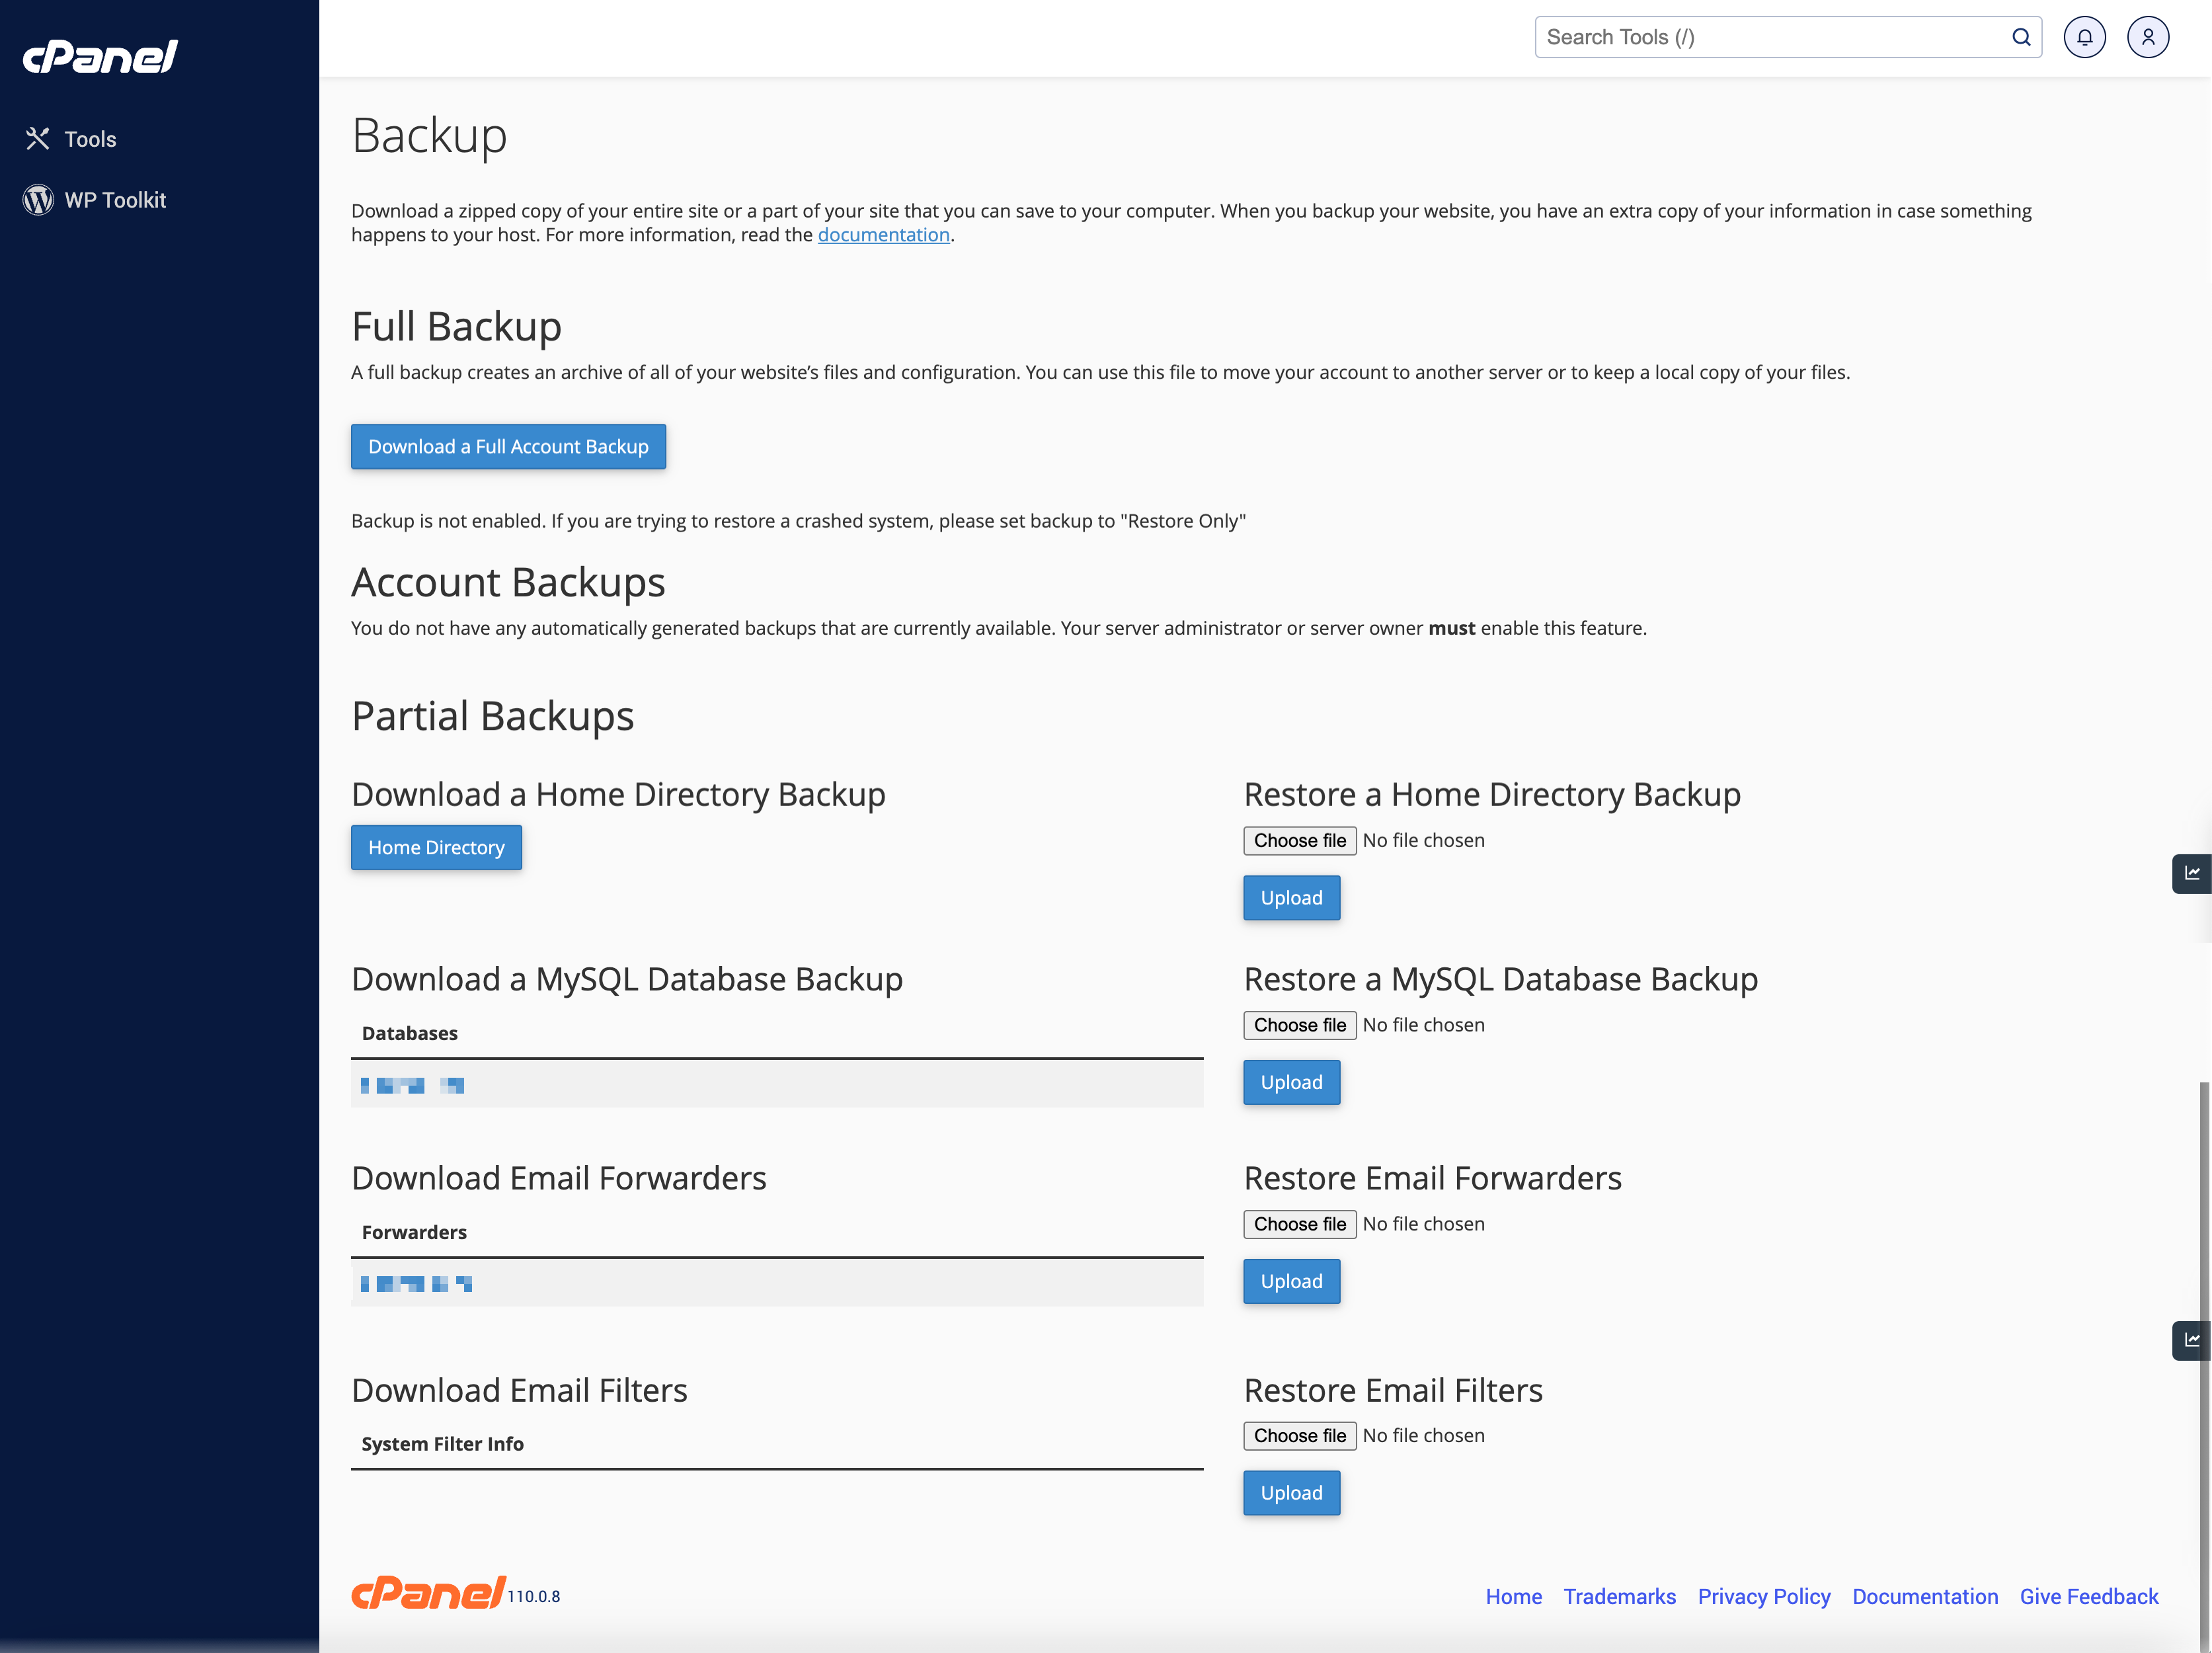
Click the Download a Full Account Backup button to download and store the full backup file. By clicking the button you will be redirected to the Generate a Full Backup page, as illustrated in Figure 5 below.
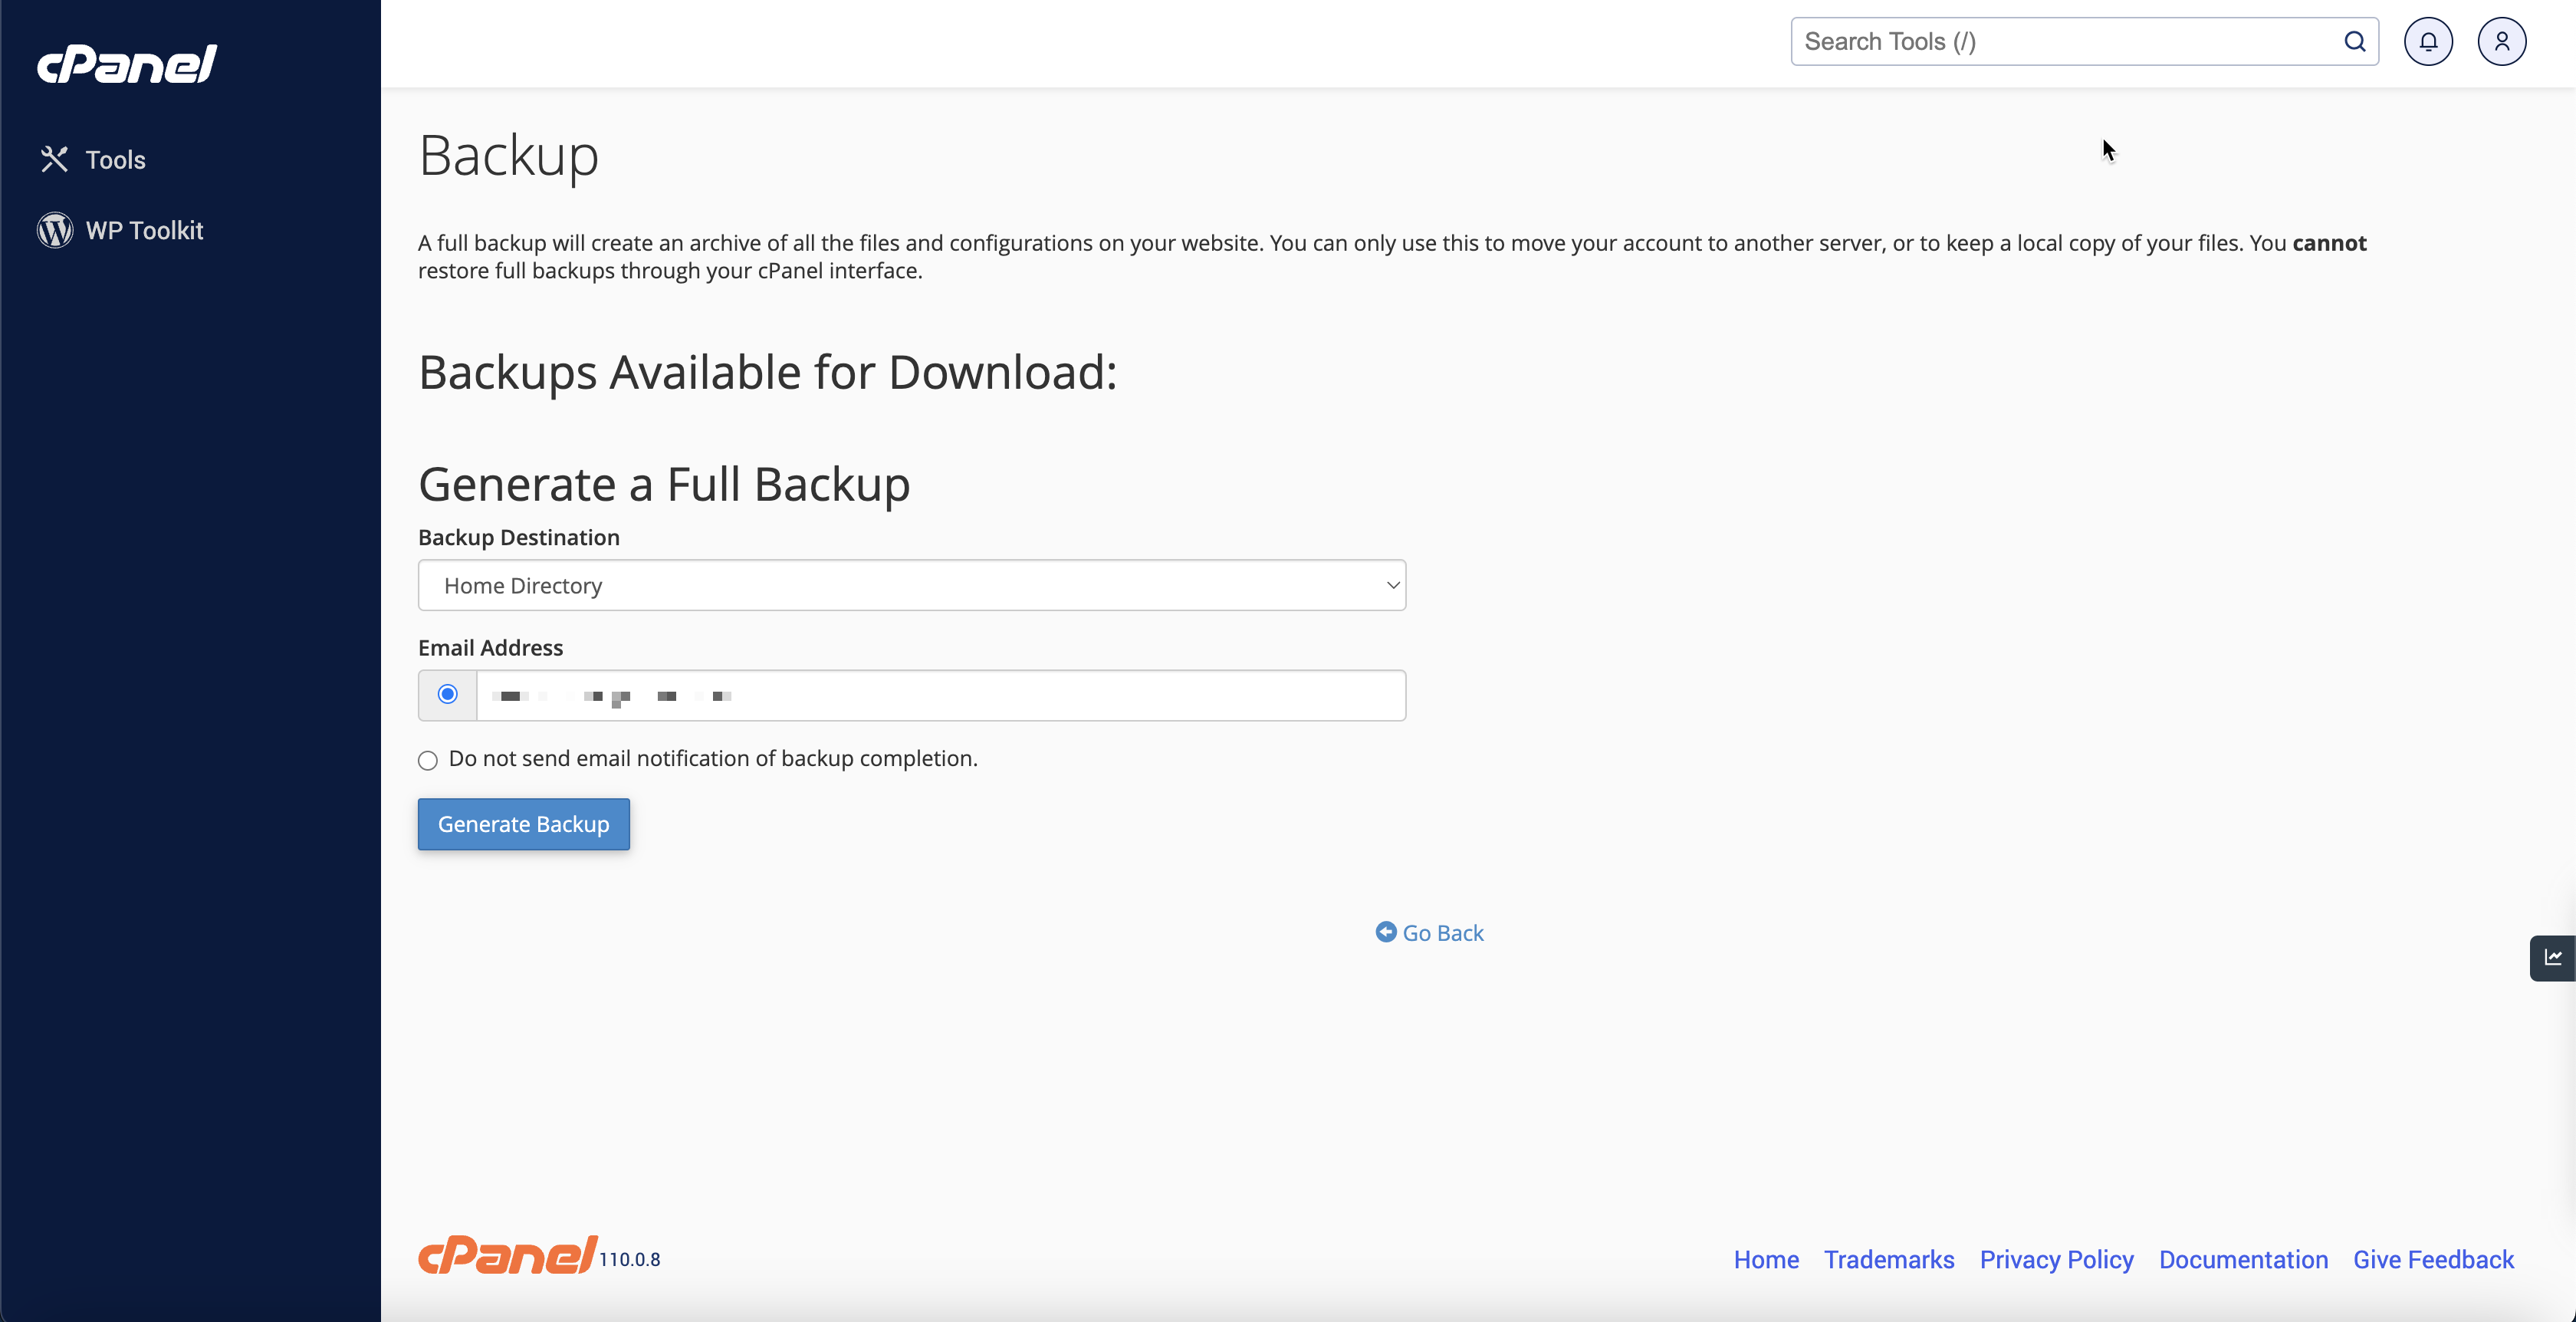
- The Home Directory will be selected by default as the backup destination. You can change the backup destination to ‘Remote FTP Server’, ‘Remote FTP Server (passive mode transfer)’ and ‘Secure Copy (SCP)’ from the drop menu as per your requirement.
- Home Directory: Select this setting to save the backup file on the server.
- Remote FTP Server: Select this setting to use FTP to store the backup file on a remote server.
- Remote FTP Server (passive mode transfer): Select this setting to use passive FTP to store the backup file on a remote server.
- Secure Copy (SCP): Select this setting to use secure copy protocol (SCP) to store the backup file on a remote server.
- Enter the email ID in the Email Address box to send a notification once the backup is over or you can select the radio button ‘Do not send email notification of backup completion’
- Click on the button ‘Generate Backup’ to initiate the process.
- Direct restoration from a full backup through cPanel isn't possible; reach out to your hosting provider in such instances.
- Prior to restoring, you'll need to decompress the backup file.
- Decompression allows you to upload and restore specific website components from the full backup.
Section 3: Downloading Account Backups
You can download an existing full backup file to your computer by selecting the desired backup file from the Account Backups menu from the cPanel Backup Screen as illustrated in Figure 4 above.
Section 4: Understanding Partial Backups
Partial backup files store individual sections of your account from the cPanel Backup Screen as illustrated in Figure 4 above.
Section 5: Downloading a Partial Backup
You can download a specific item by clicking the desired items. This method downloads the backup file as a .gz file to your computer.
Section 6: Implementing a Partial Backup Restore
You can use a partial backup to restore a portion of your website. Follow the below steps to restore the backup:
- Click Choose File under the appropriate heading. For example, to restore a MySQL database, click Choose File under the Restore a MySQL Database heading.
- Select the backup file from your computer.
- Click Upload to restore that portion of your website from the cPanel Backup Screen as illustrated in Figure 4 above.
Conclusion
Efficiently backing up and restoring your website is crucial for site maintenance and recovery. By familiarizing yourself with cPanel's backup interface, you can ensure the safety and longevity of your online presence.