List of Help Articles
Overview of Batoi Hosting Renew Your Domain Name with Batoi Protect or Lock Your Domain Name with Batoi View Action History of Your Domain Name Manage Name Servers for a Domain Name Forward a Domain Name to a Different Website Handle Privacy Protection for a Domain Name Domain Name Whois Data Reminders from Batoi Modify the Contact Details of Your Domain Name Backup Your Website with cPanel on Linux Managing DNS Records in Linux Hosting via cPanel: A Comprehensive Guide Create FTP Accounts in Your Linux Hosting using cPanel Backup and Restore Your Linux Hosting Account via cPanel Effortless 301 and 302 Redirects in Linux Hosting: A Detailed cPanel Guide How to Seamlessly Manage DNS Records with Batoi's Premium DNS Service through Your Domain Control Panel Mastering Contact Management within Batoi's Domain Control Panel Step-by-Step Guide: Managing Business/Enterprise Email via My Domain Control Panel How to Efficiently Manage Users and Assign Administrative Roles in Google Workspace A Complete Guide to Purchasing and Managing Google Workspace through Batoi Hosting Control Panel Effortless Migration from cPanel Email to Google Workspace: Your Step-by-Step Guide Setting Up Google Workspace Using cPanel: A Comprehensive Guide How to Add an SPF Record to Your DNS Settings for Email Security Setup of Microsoft Office 365 Using cPanel: A Comprehensive Guide Reviewing Your Linux Hosting Resource Allocation and Usage in cPanel Creating and Managing Sub-domains with cPanel on Linux How Do I Emulate DNS Change on My PC? Effortless Migration from cPanel Email to Microsoft Office 365: Your Step-by-Step Guide How to Set up MFA for Your Microsoft Office 365 Outlook Account Setting up POP or IMAP Email on an Apple iPhone Creating and Managing MySQL Databases with cPanel on Linux How to Fix the Error '0x800CCC1A' in Microsoft Outlook? How to Fix the Error '0x800CCC78' in Microsoft Outlook? Setting up Email Account on Your Mac Mail Application Installing WordPress within Your Hosting Account with cPanel on Linux Setting up POP or IMAP Email on an Android Phone Setting up Mozilla Thunderbird as Your Email Client in Windows PC Setting up Microsoft Outlook as Your Email Client in Your Windows PC Setting up Mozilla Thunderbird as Your Email Client in Mac Creating Email Accounts with cPanel on Linux Creating More FTP Accounts with cPanel on Linux Accessing cPanel and Webmail on Linux Generate a Certificate Signing Request (CSR) Generate the Domain Secret or the Authorization Code for Your Domain Name How to Fix the Error '0x800CCCDD' in Microsoft Outlook with IMAP Server? Comprehensive Guide to Managing PHP Settings in cPanel on Your Linux Hosting Account Integration of Google Analytics on Your Website My Emails Are Bouncing Back. What Should I Do? What should I do when I cannot access my email or website on My Windows PC? Password Protect Files and Folders with cPanel on Linux Transfer Your Domain Name from your Current Registrar to Batoi Uploading Your Files with an FTP client (FileZilla)

How to Seamlessly Manage DNS Records with Batoi's Premium DNS Service through Your Domain Control Panel


Master the art of DNS management with Batoi's Premium DNS service. Our comprehensive guide walks you through every step, from accessing your Domain Control Panel to activating and managing your Premium DNS records.

Introduction

Navigating the world of Domain Name System (DNS) records doesn't have to be daunting. With Batoi's Premium DNS service, you get the ease and flexibility of managing DNS records right from your Domain Control Panel, even if you're not using any hosting services. This guide provides a detailed walkthrough of efficiently creating and managing your DNS records.

Section 1: Accessing Domain Control Panel

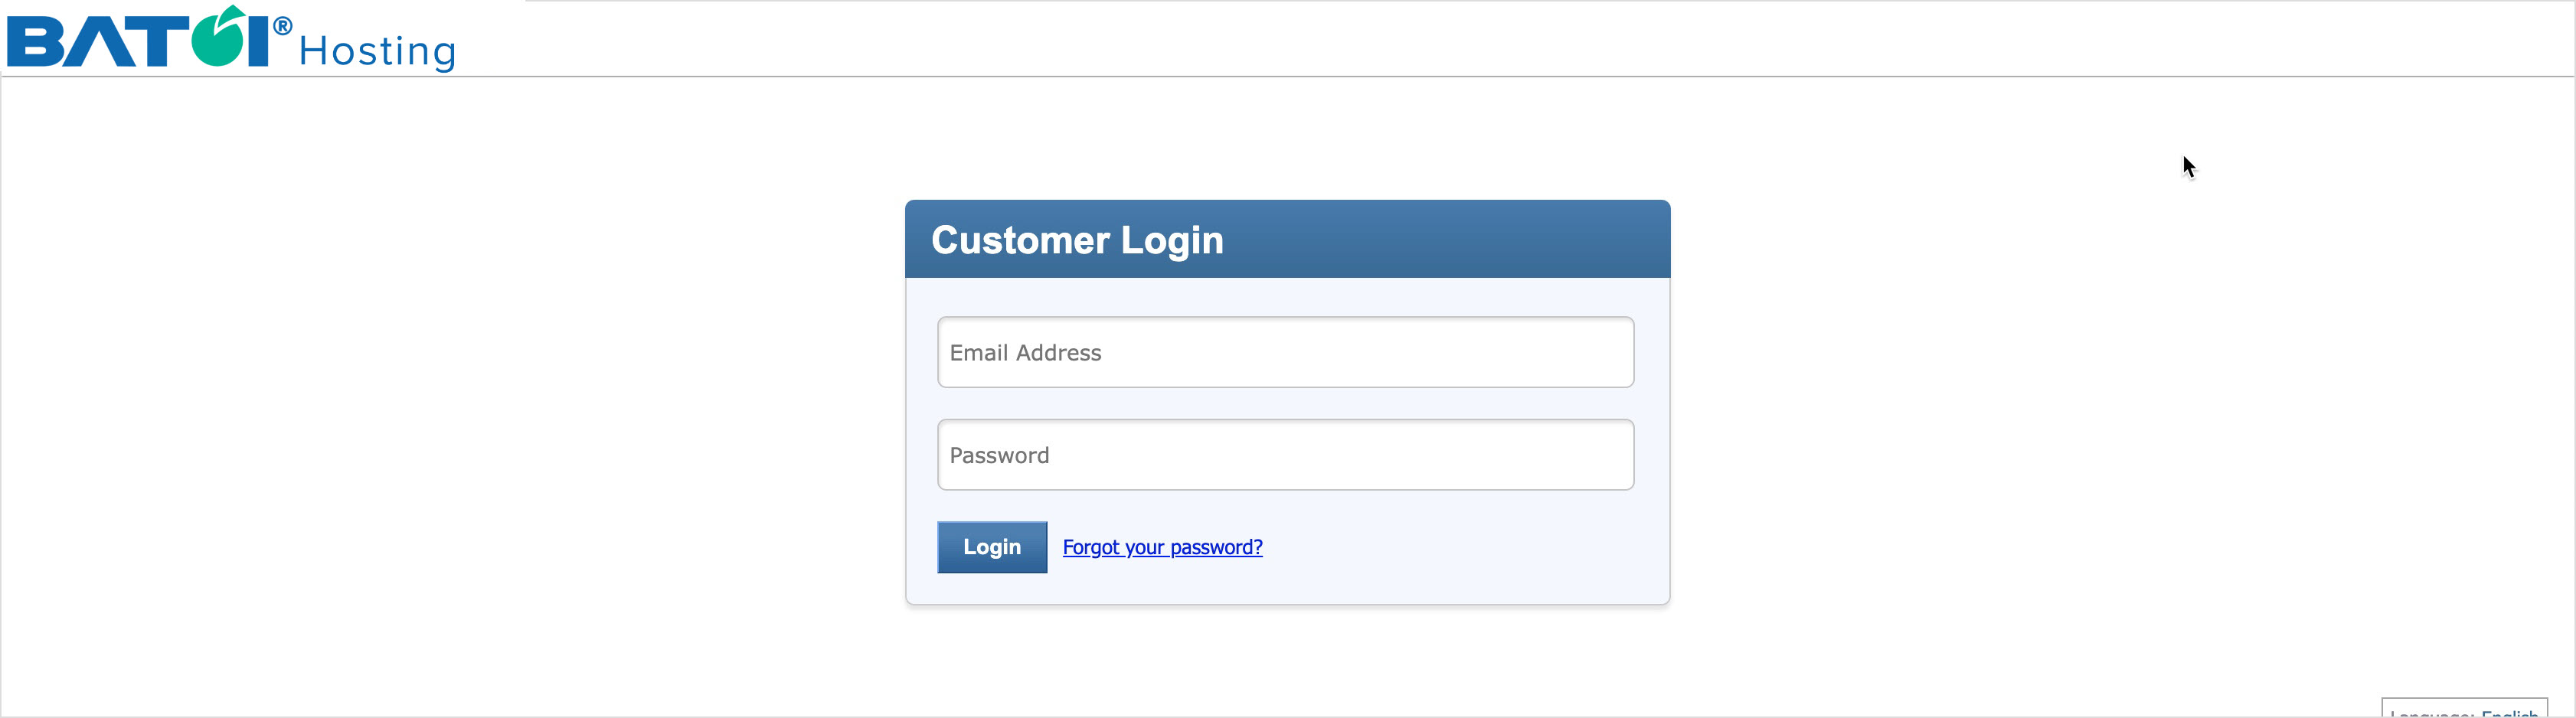
Login to HostMart: To start, you need to access your domain control panel at Batoi. You can do this by typing the URL https://myhostmart.batoi.com/customer or via the link provided by our Support Team. Use your username and password to log in, as illustrated in Figure 1 below.

Figure 1: HostMart Login Screen

Section 2: Accessing Services in Domain Control Panel

You will land on the dashboard page upon successful login, as illustrated in Figure 2 below.

Figure 2: My HostMart Dashboard Screen

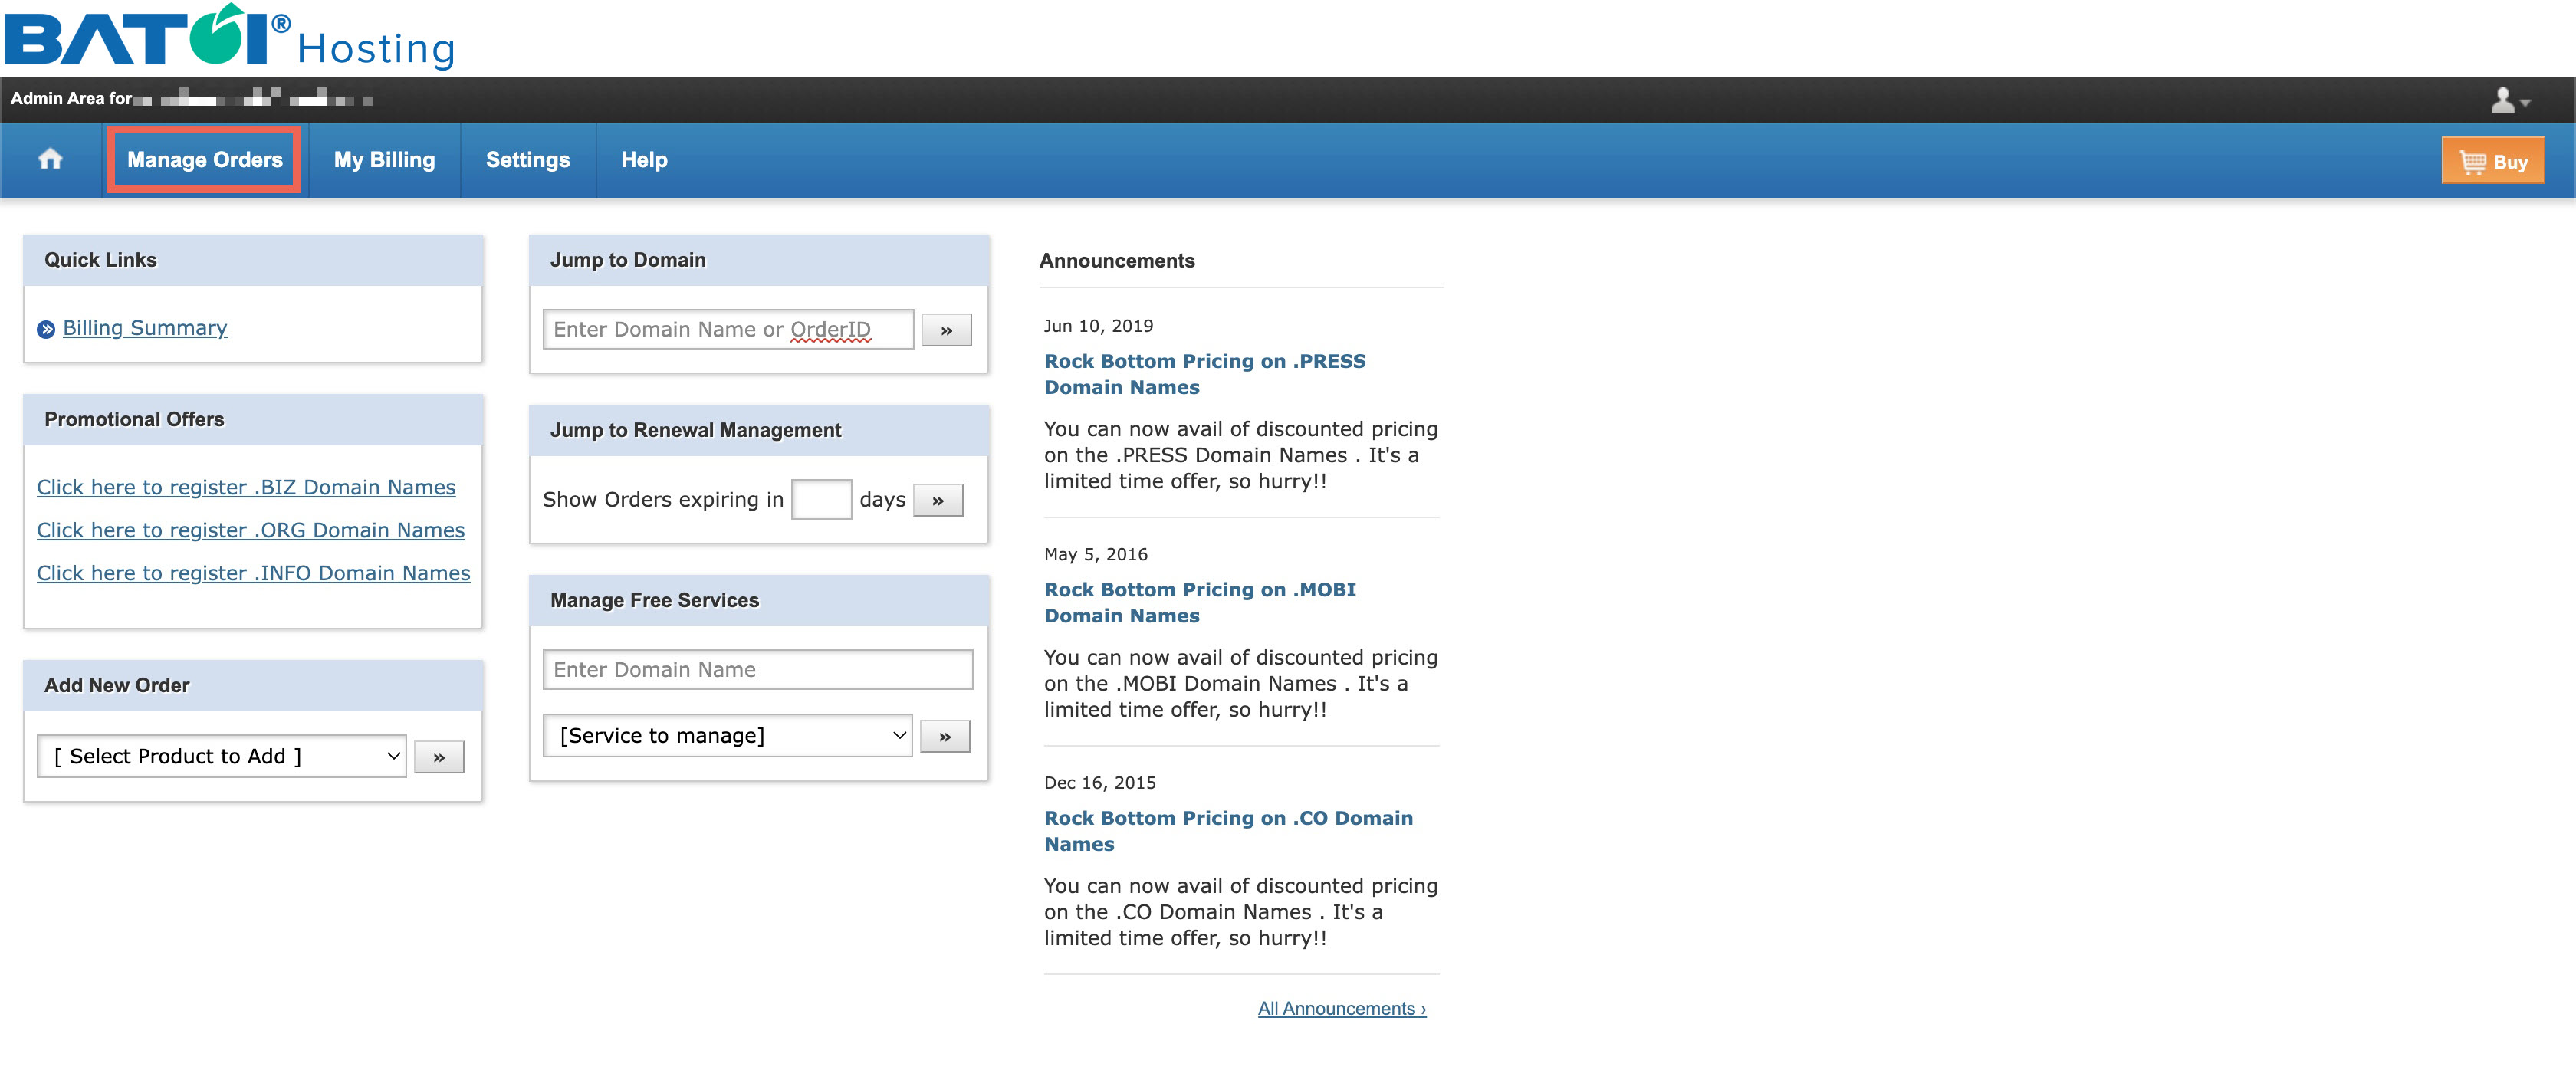
Click on the Manage Orders link as illustrated in Figure 2 above, and the system will take you to the list of service page.

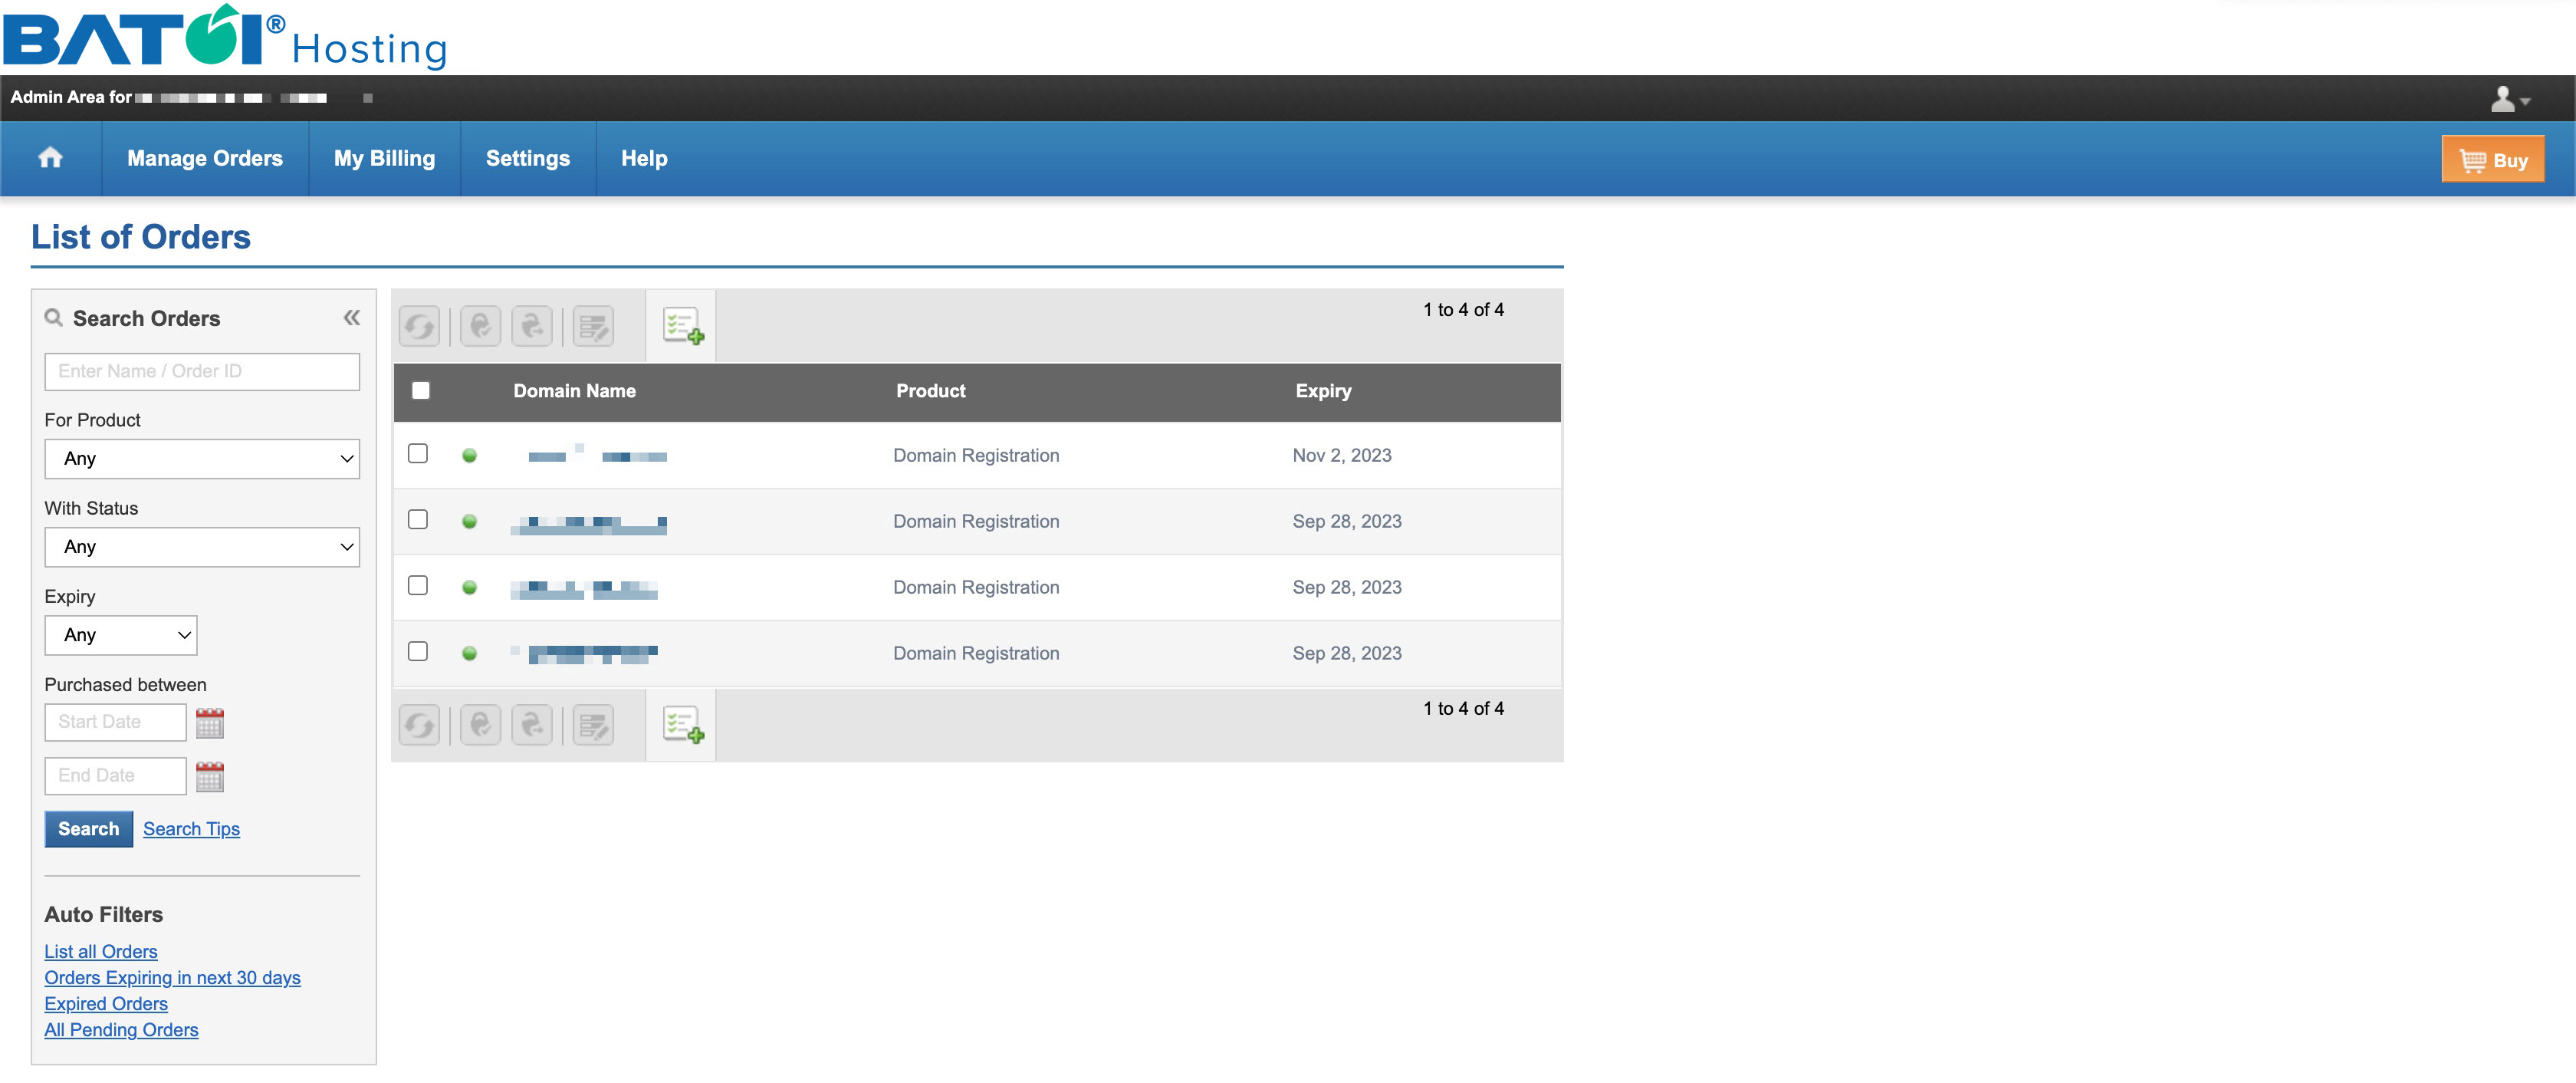
All the products allocated to you with the Product Type and Expiry Date will be listed on the List of Orders page in the tabular format, as illustrated in Figure 3 below.

Figure 3: My HostMart Manage Orders List Screen

Section 3: Accessing Individual Domain Registration Details

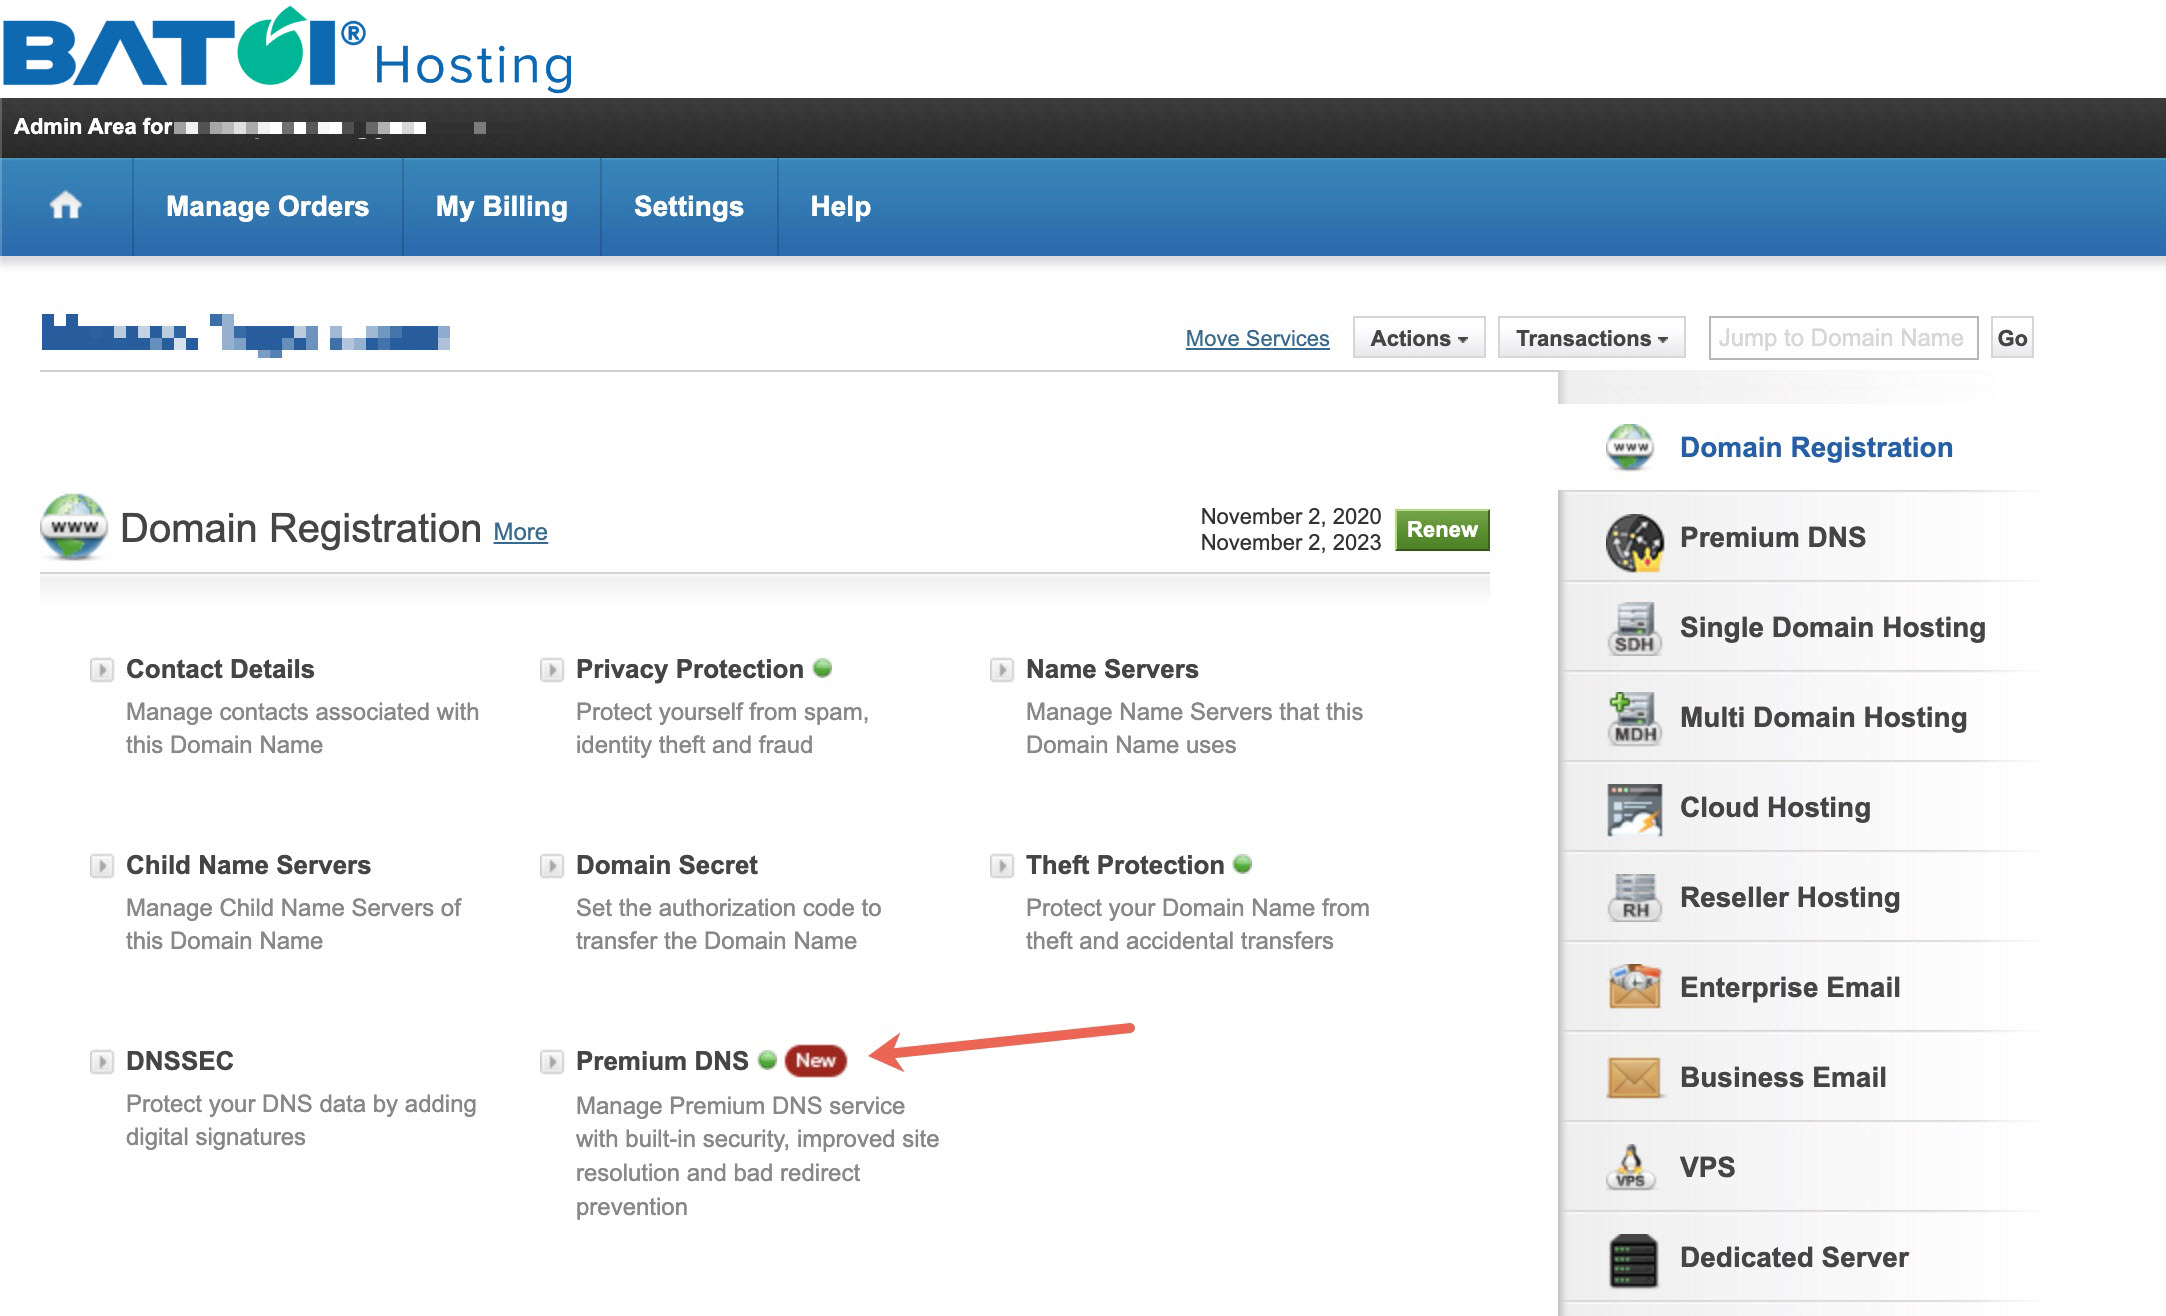
Click on the Domain Name for which you want to add or modify the DNS record from the list, and you will be redirected to the detail page for the particular domain, as illustrated in Figure 4 below.

Figure 4: My HostMart Individual Domain Detail Screen

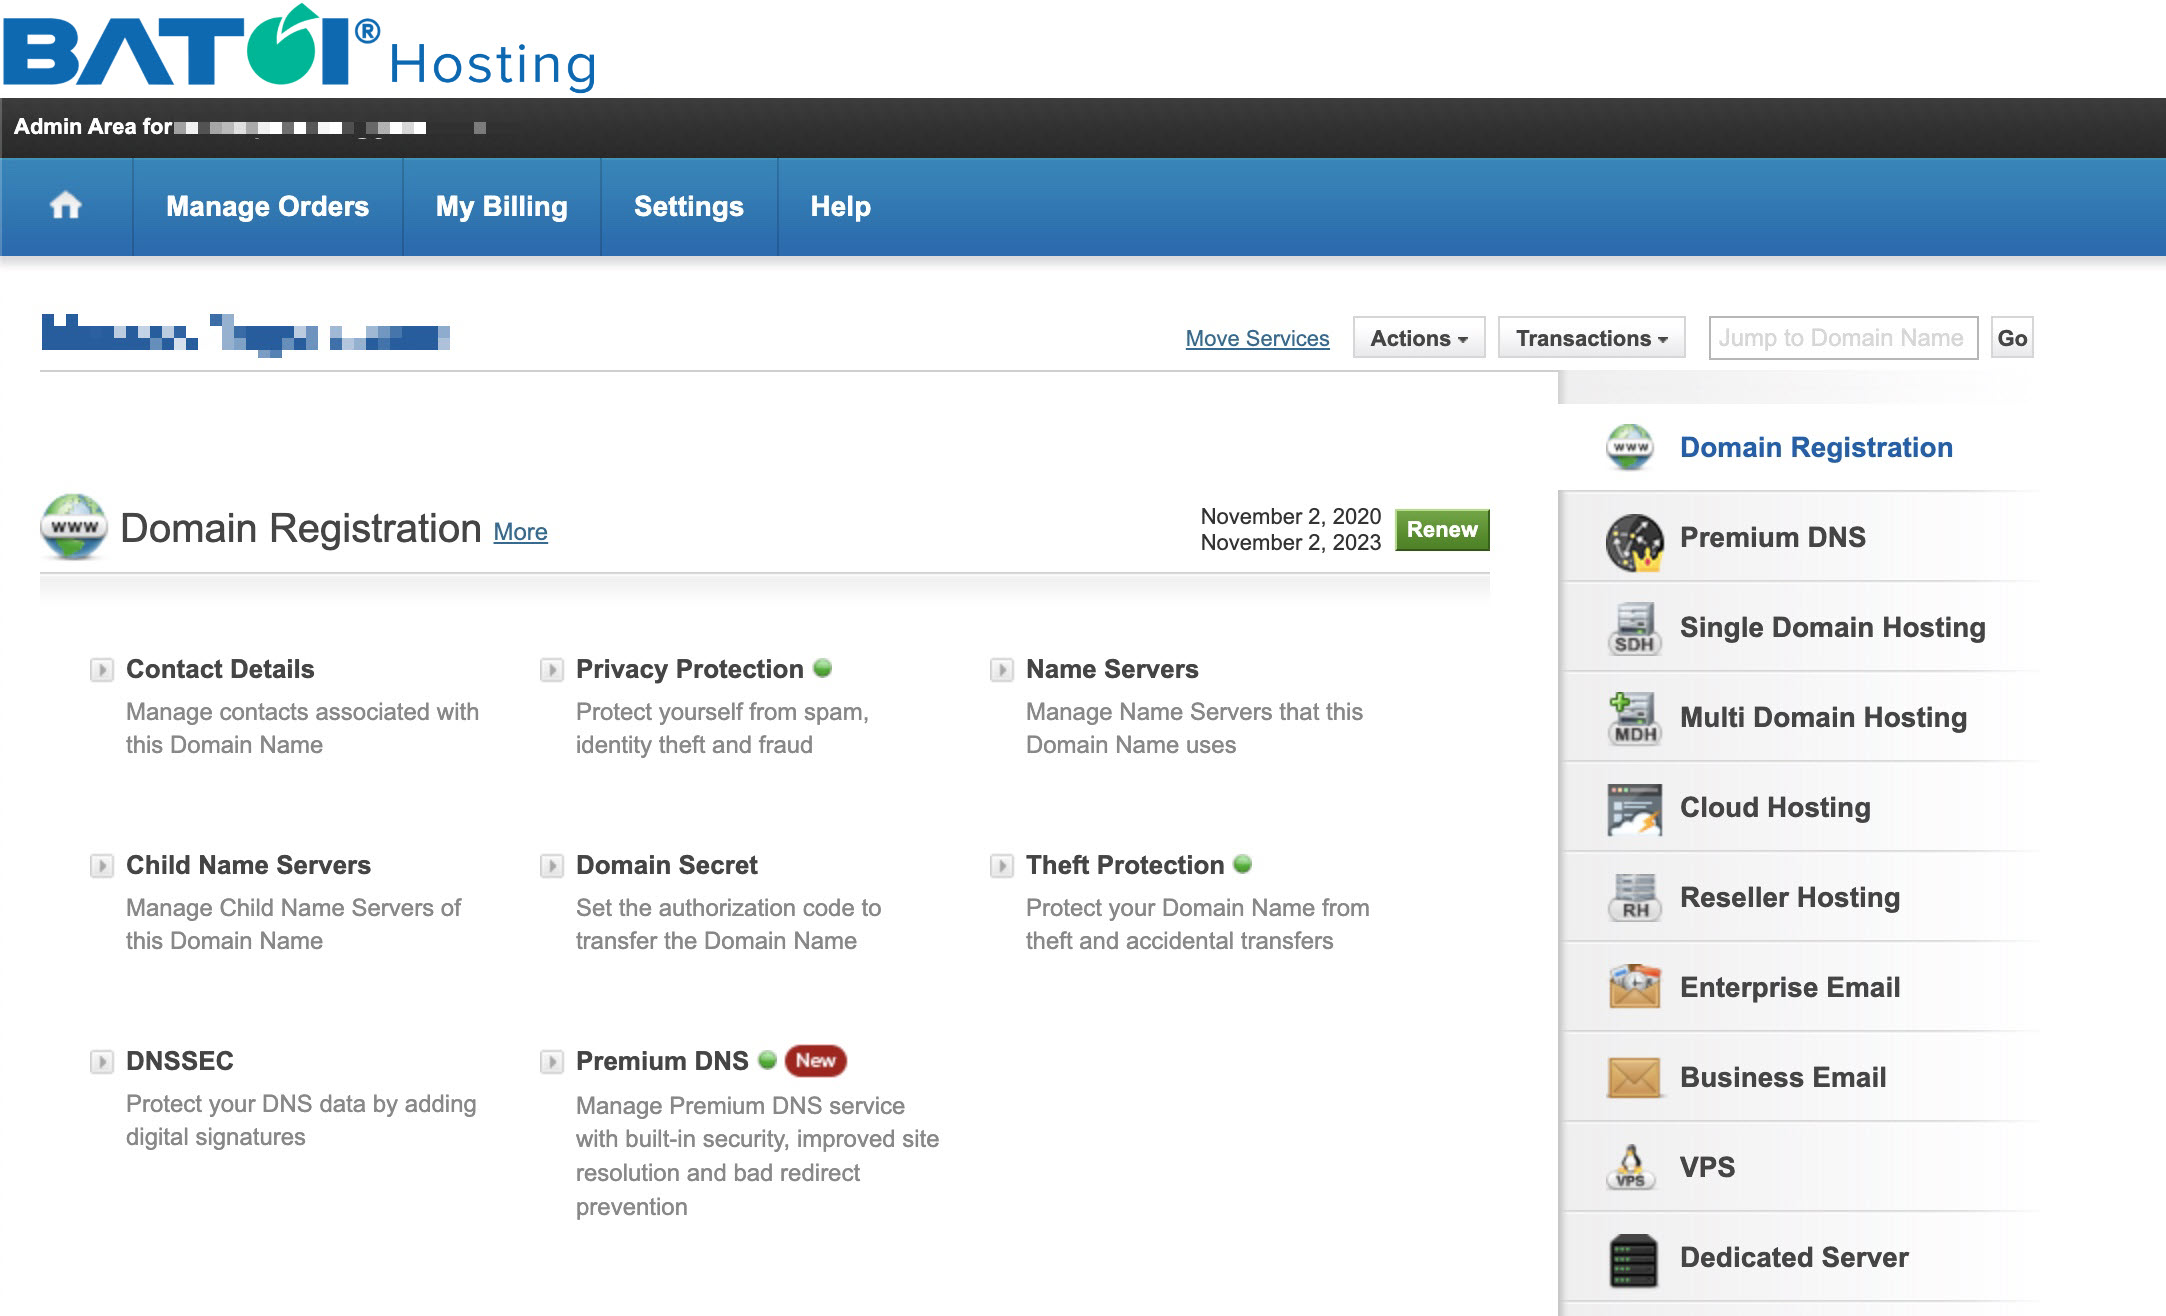
In the Domain Registration section, you can find the below services:

  • Contact Details
  • Privacy Protection
  • Name Servers
  • Child Name Server
  • Domain Secret
  • Theft Protection
  • DNSSEC
  • Premium DNS

To manage all the domain registration-related services, you can follow our help article (Manage Individual Domain Registration Details)

Section 4: Activate Premium DNS Service

As the premium DNS service is an add-on service, you need to contact our Support Team to activate the service for you for the particular domain name.

NOTE: The activation of premium DNS service will cost additional and not be included in the registration or renewal of domain name service for the particular domain name.

Once the Premium DNS service is activated, the small dot just right to the name will turn green, as illustrated in Figure 4 above.

Section 5: Add/Update Premium DNS Service

Click on the Premium DNS link available in the domain registration section, as illustrated in Figure 5 below.

Figure 5: My HostMart Individual Domain Detail Screen

Upon clicking the Premium DNS link, a popup window will open where you can able to see the Name Server detail, as illustrated in Figure 6 below.

Figure 6: My HostMart Premium DNS Popup Screen

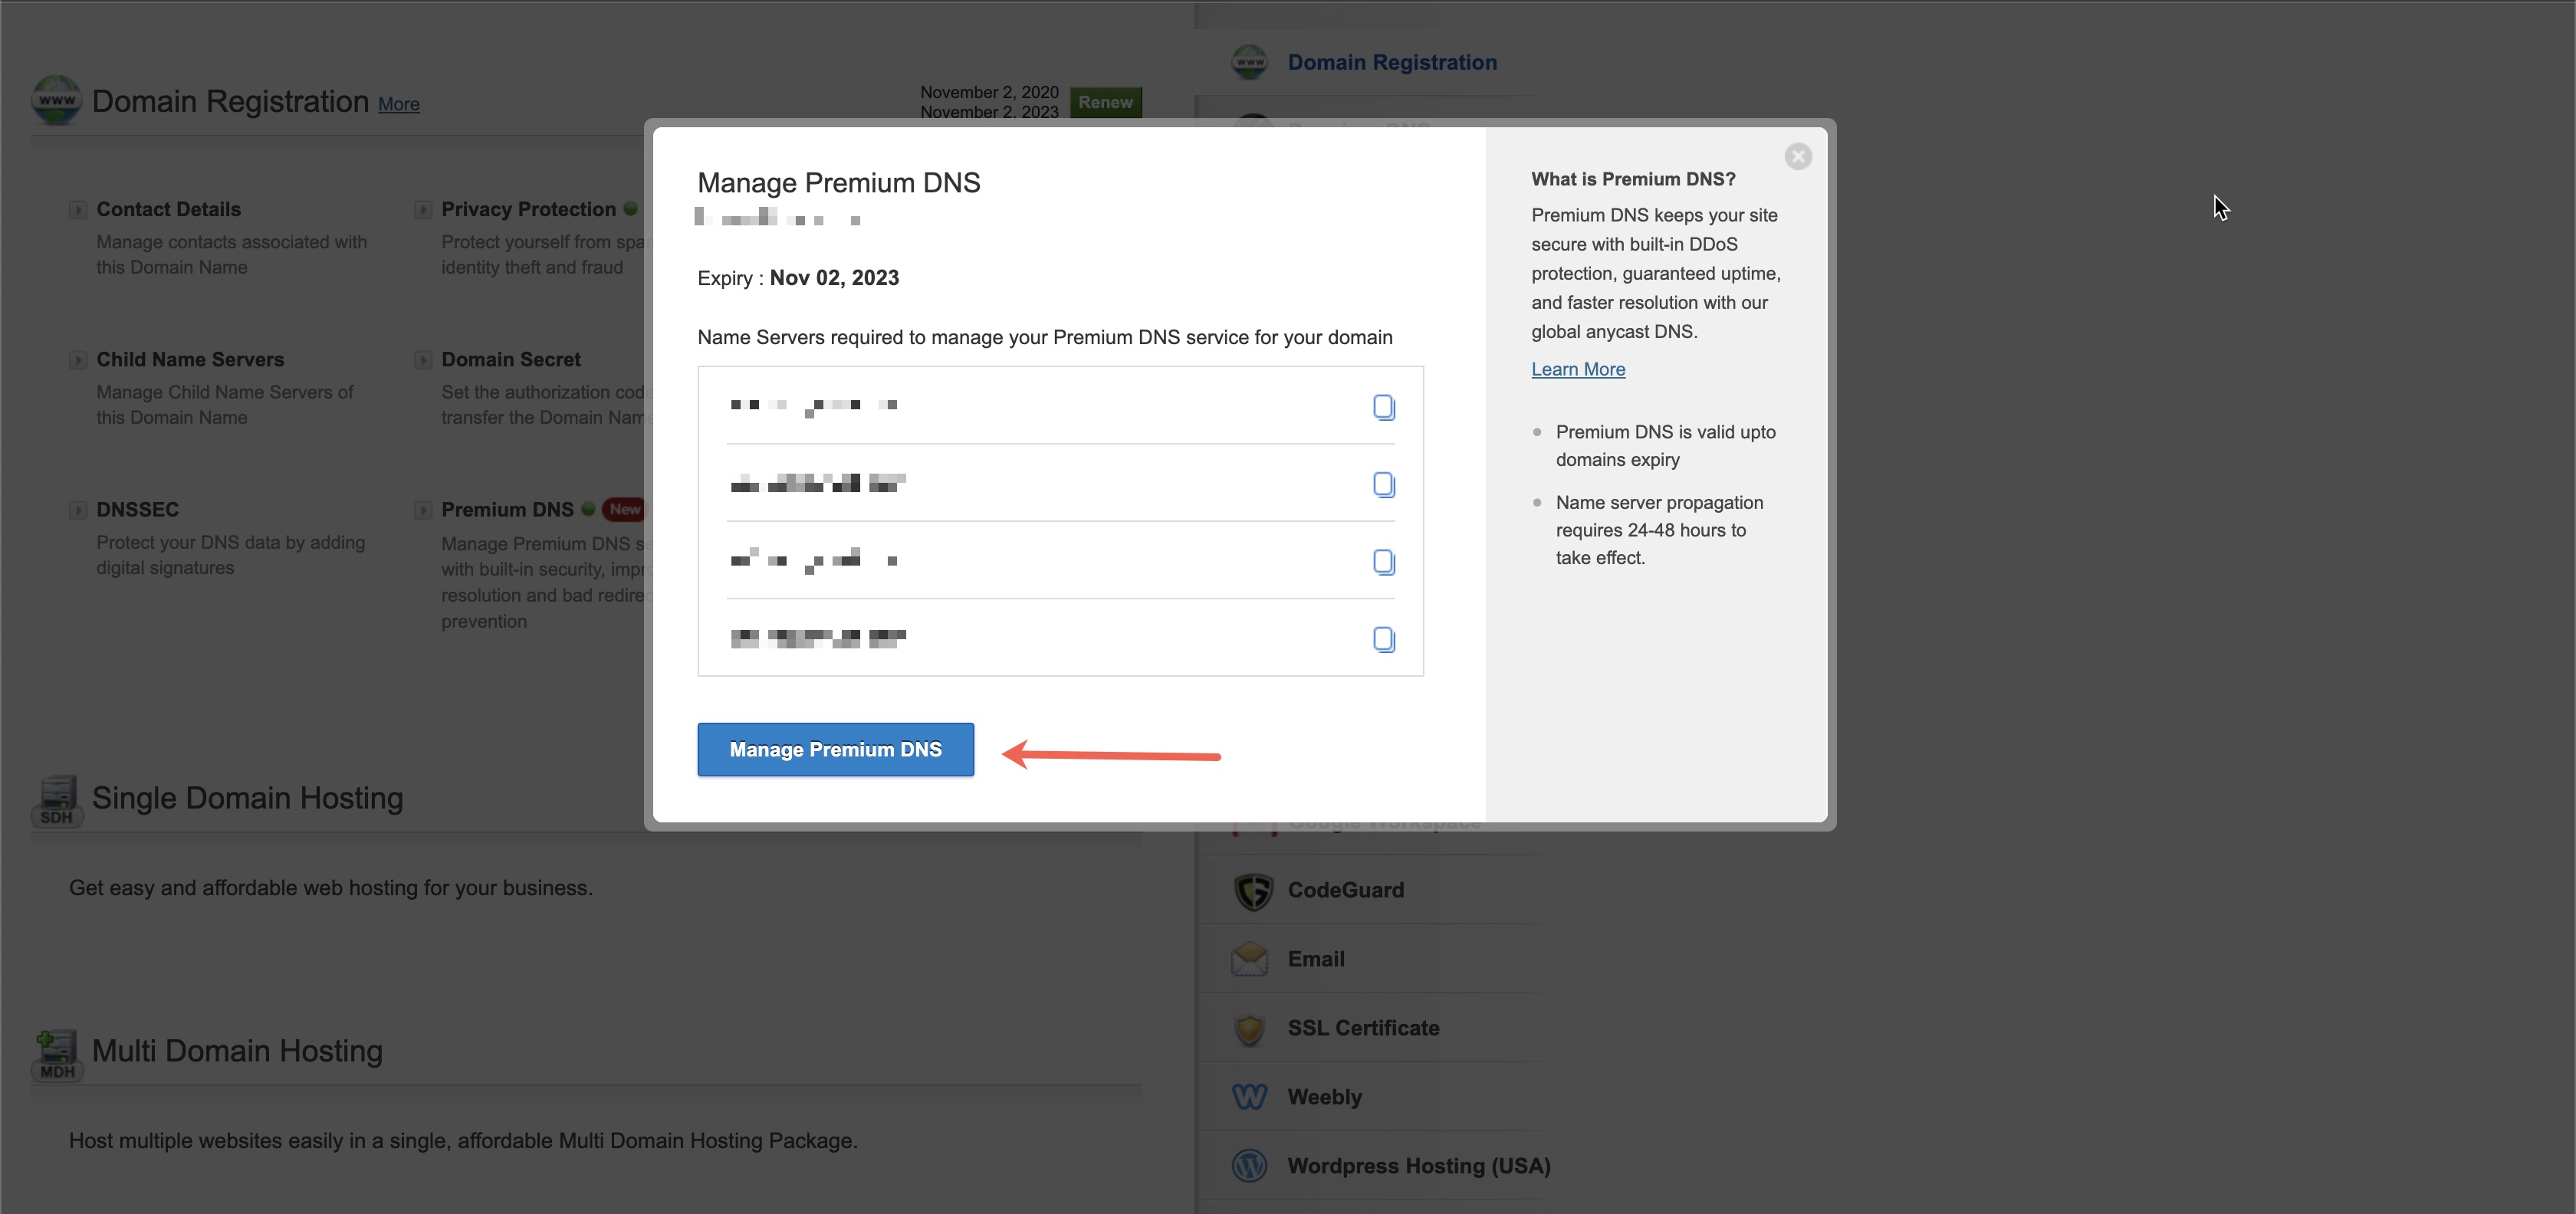
Click on the Manage Premium DNS link a new window will open with all the details, as illustrated in Figure 7 below.

Figure 7: Premium DNS Dashboard Screen

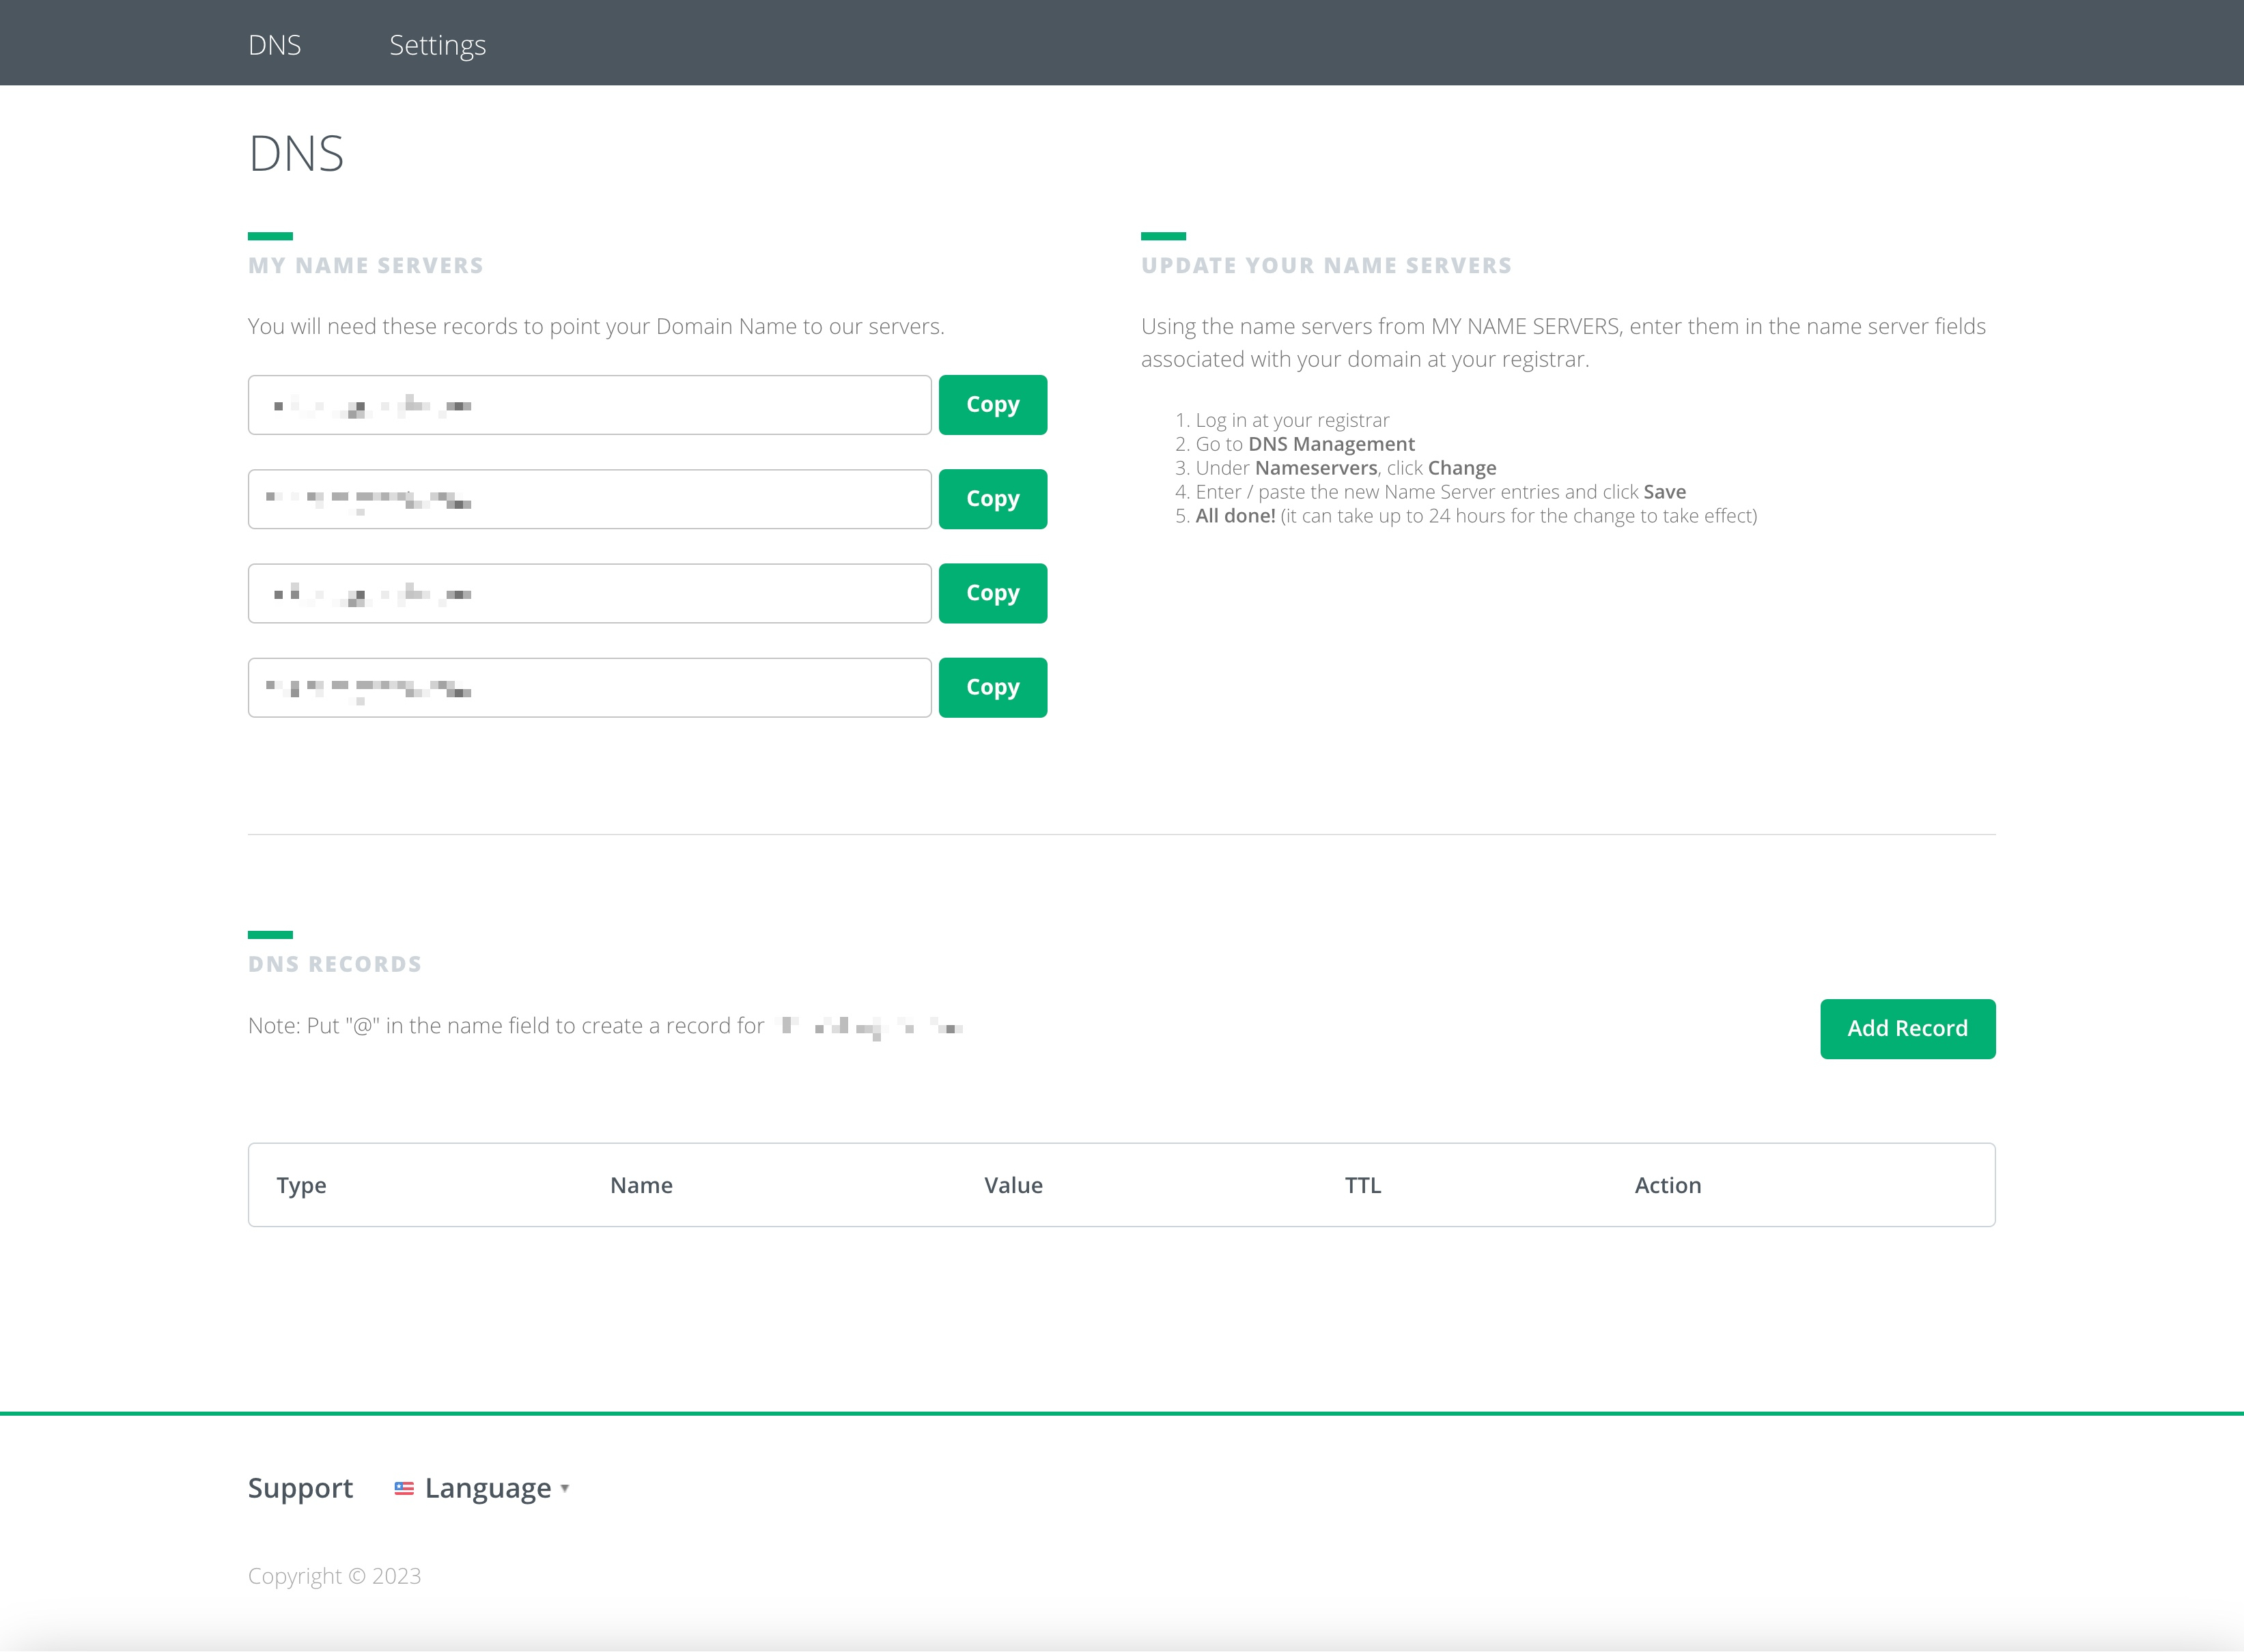
To add new DNS records, please click the button Add Record available on the right side of the DNS record section, as illustrated in Figure 7 above.

The Add Record button will expand the table with the Type, Name, Value, TTL, and Action fields, as illustrated in Figure 8 below.

Figure 8: Premium DNS Add Record Screen

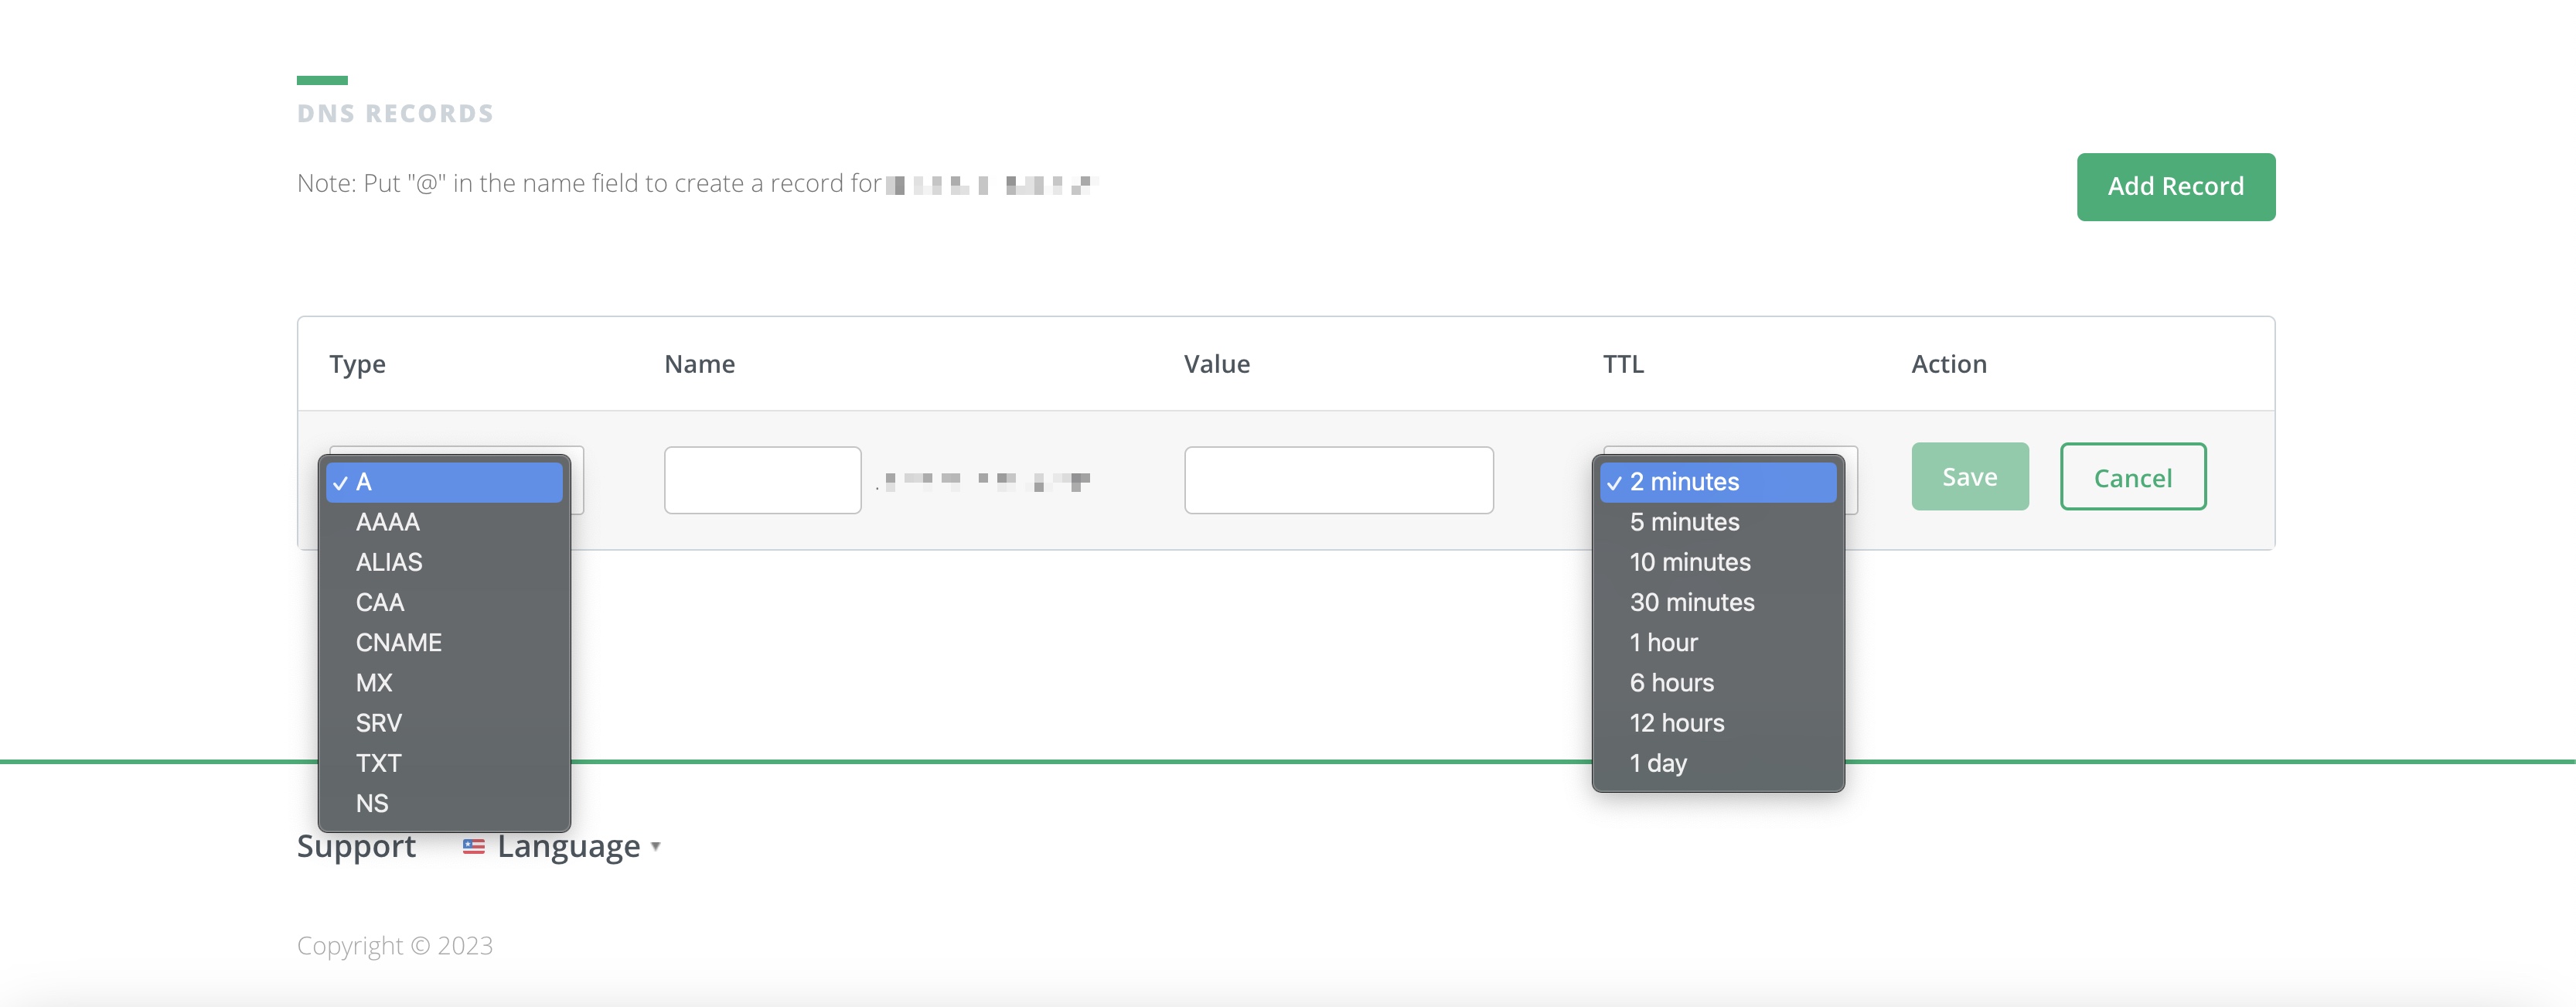
Select the DNS record type with the values you want to add and click the Save button.

NOTE: To know about the different types of DNS record types, read our help article (Create and Manage DNS Records in My Linux Hosting Account using cPanel)

Conclusion

Managing DNS records with Batoi's Premium DNS service offers you an unparalleled level of control and flexibility. By following this guide, you're well on your way to becoming a DNS management expert. For additional support or questions, our dedicated team is always here to assist you.

Remember, effective DNS management is just a click away with Batoi!