Maximize your Linux hosting capabilities by mastering PHP configurations in cPanel. Our definitive guide covers the PHP Version Selector, MultiPHP Manager, and MultiPHP INI Editor, ensuring your website runs optimally.
Introduction
Effective PHP management is essential for running a dynamic website or application. This guide walks you through using cPanel's integrated tools like PHP Version Selector, MultiPHP Manager, and MultiPHP INI Editor to manage your PHP settings comprehensively.
Section 1: Accessing cPanel
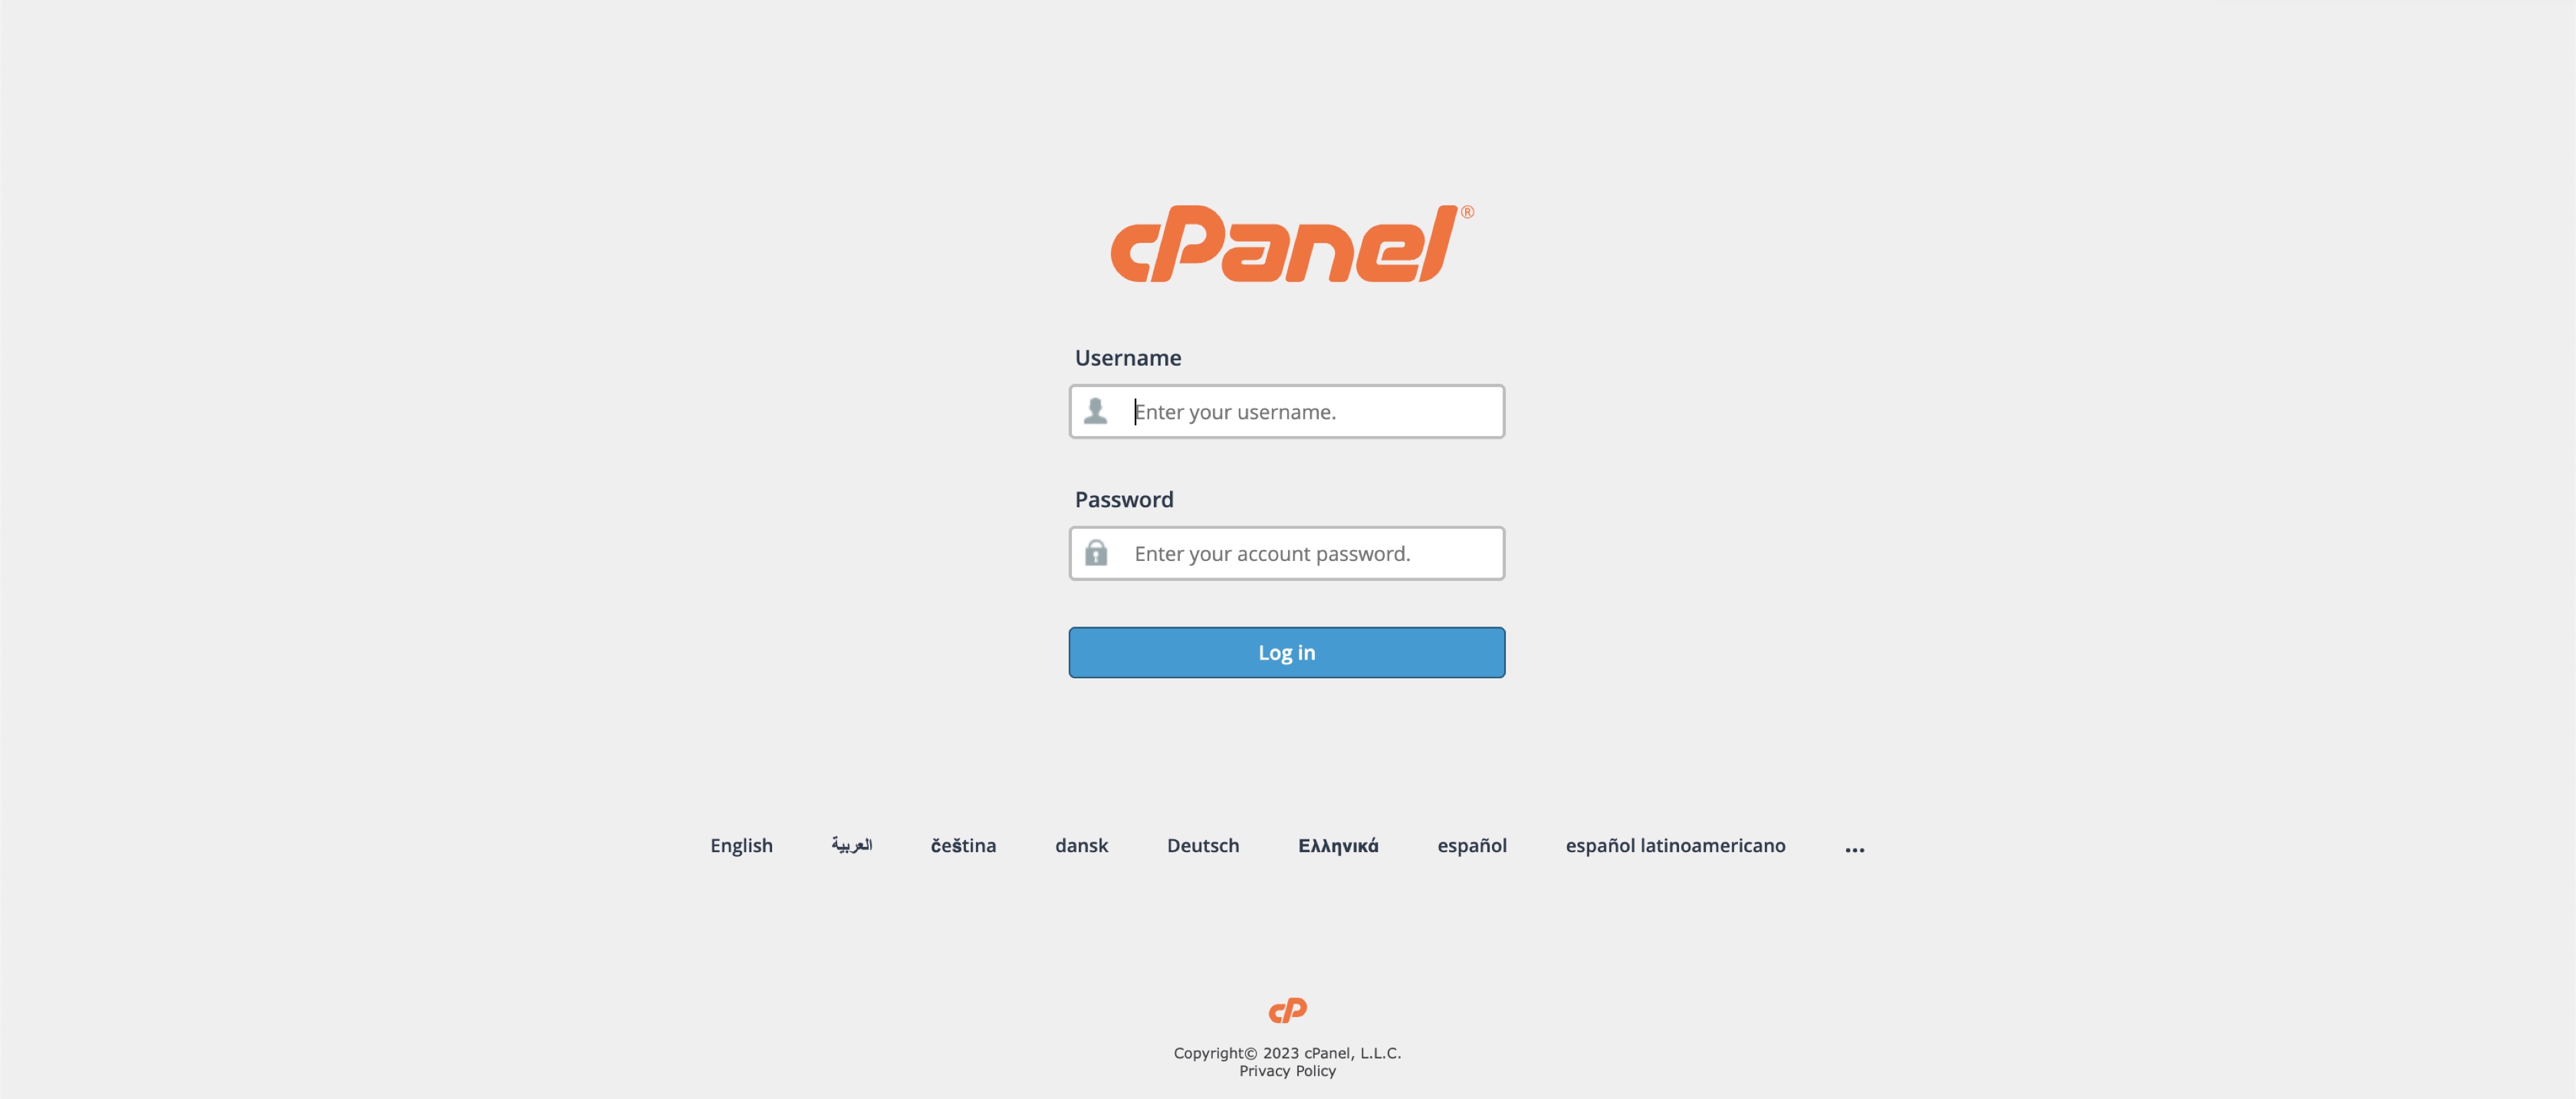
Login to cPanel: To start, you need to access your cPanel account. You can do this by appending '/cpanel' to your domain name (e.g., https://<your-domain-name>/cpanel) or via the link provided by our Support Team. Use your username and password to log in, as illustrated in Figure 1 below.
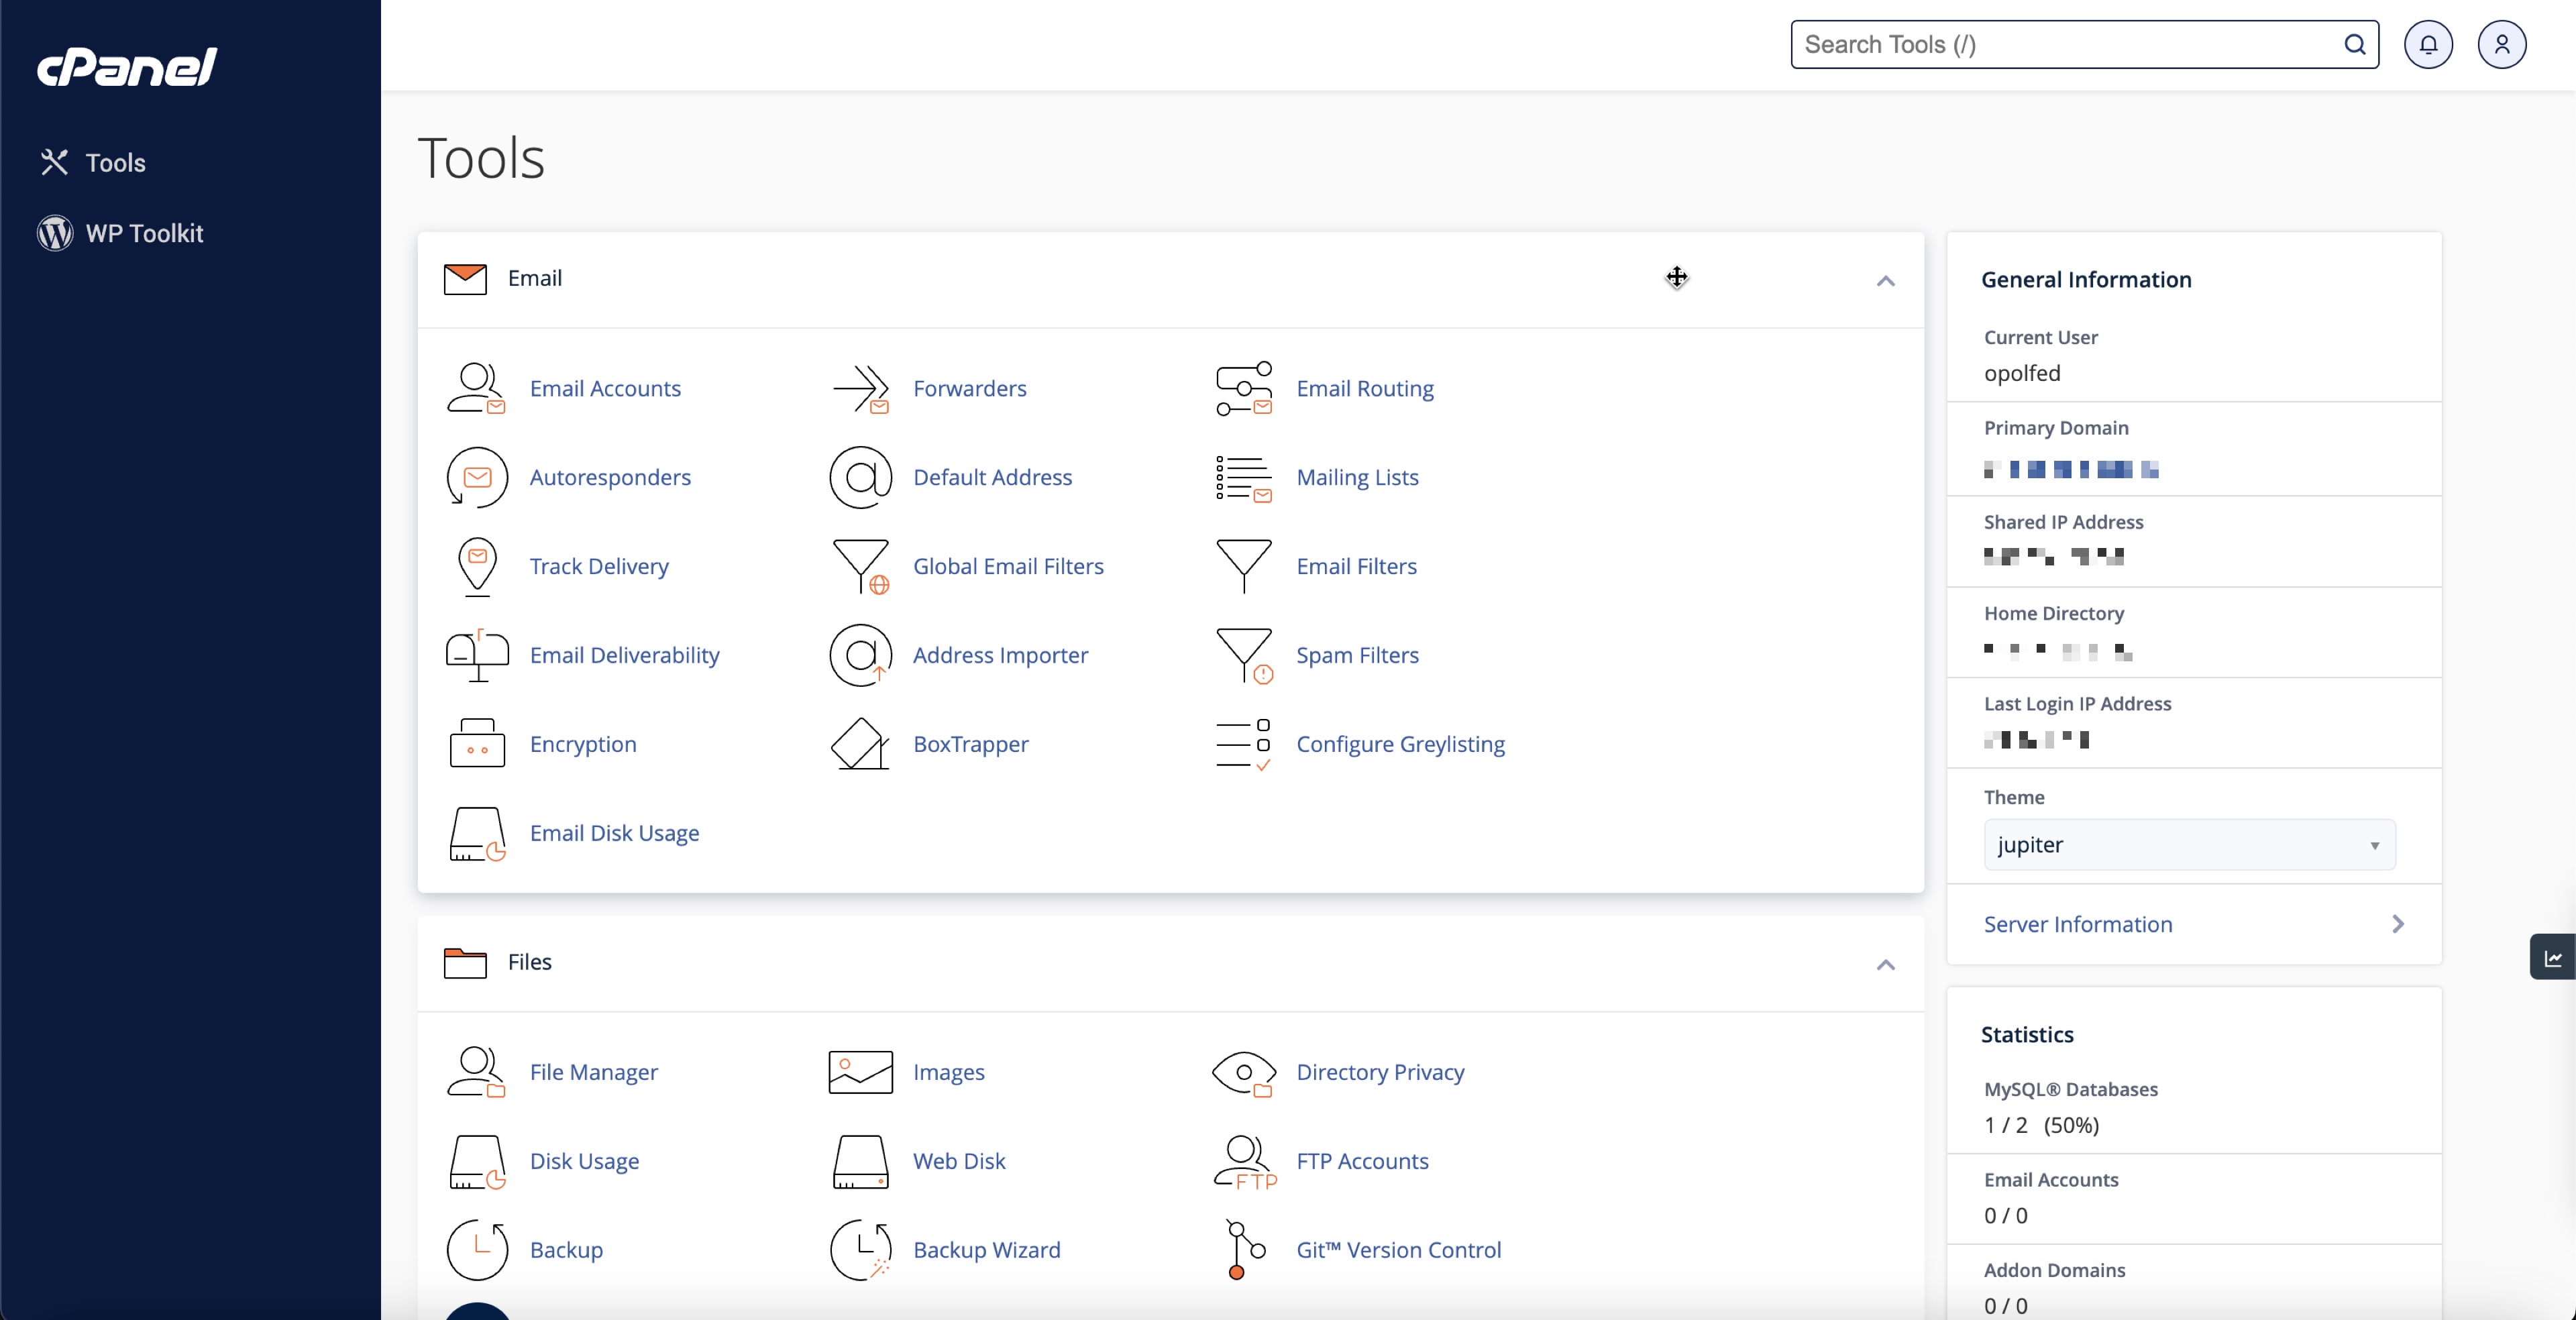
You will land on the dashboard page upon successful login, as illustrated in Figure 2 below.
Section 2: Select PHP Version
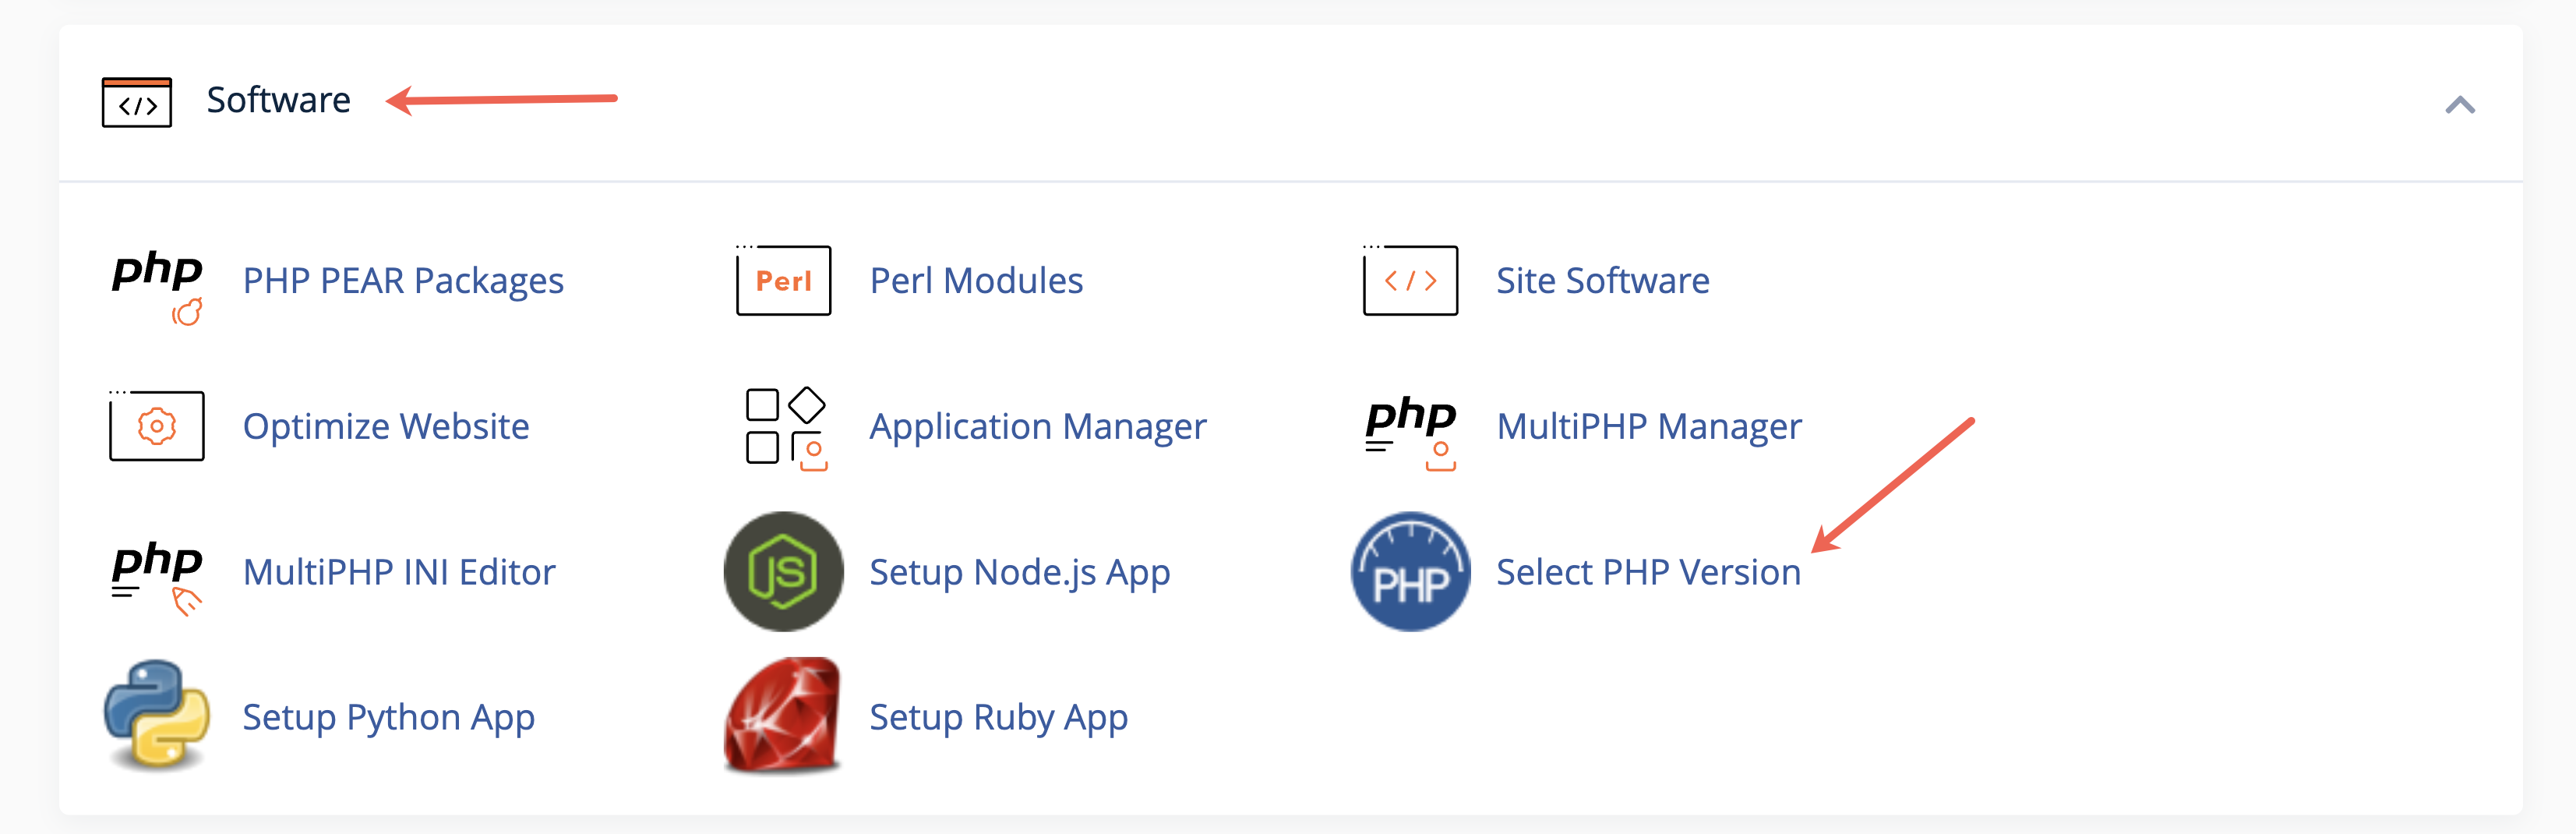
Go to the Software section in the dashboard and click on the Select PHP Version link, as illustrated in Figure 3 below.
You will land on the page after clicking the Select PHP Version link, as illustrated in Figure 4 below.
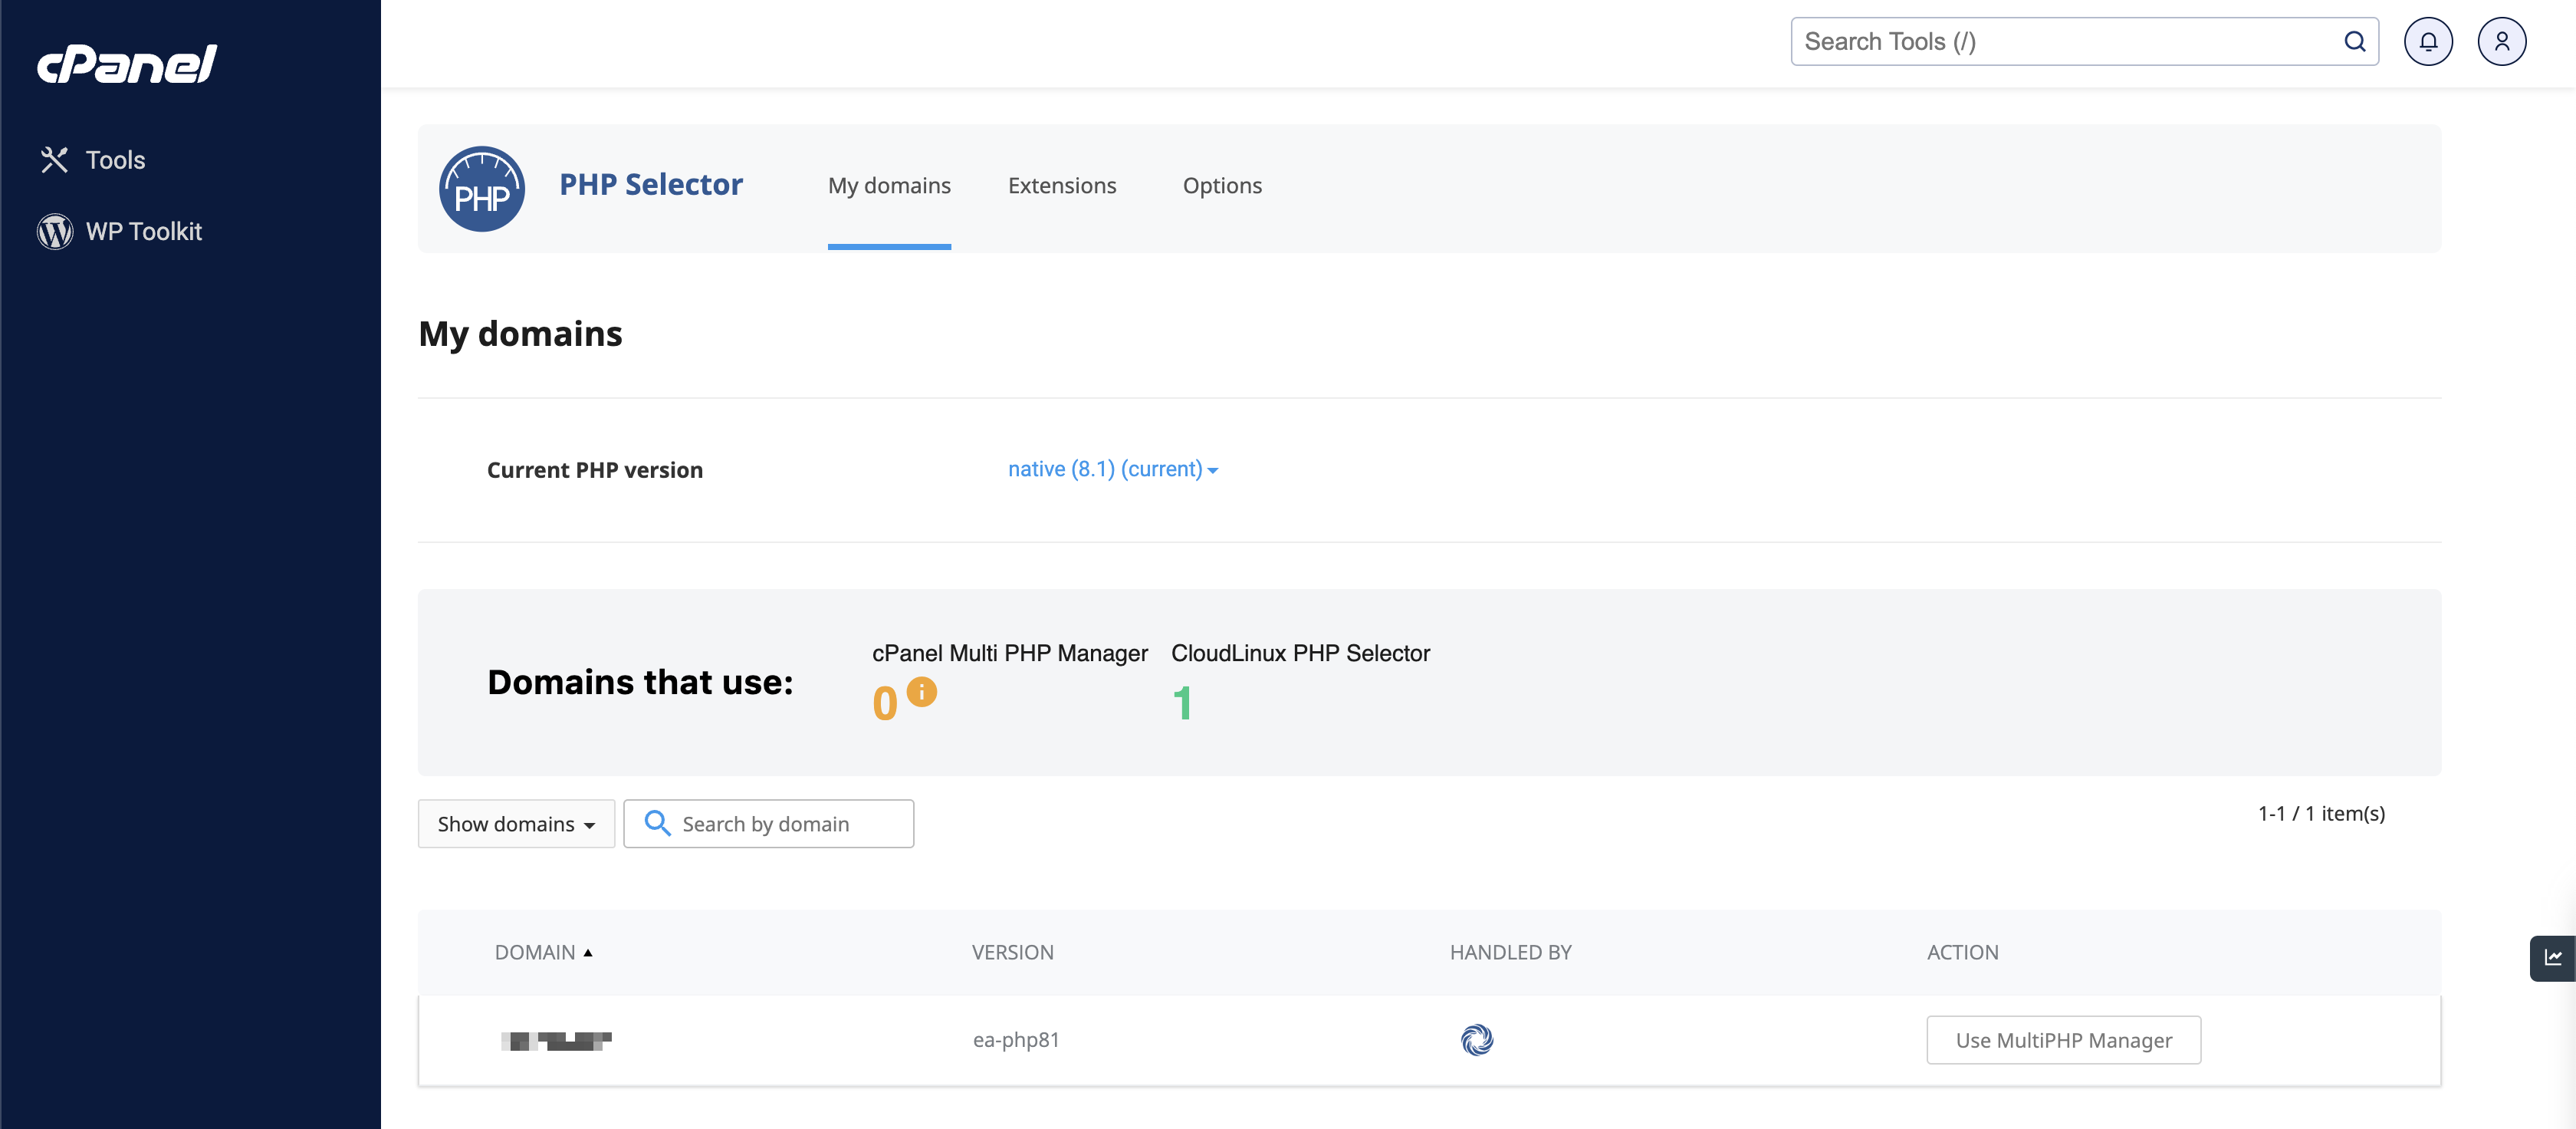
You can select the PHP version from the My Domains list and click on the drop menu to change the version. By default, the server host PHP version will be inherited.
Section 3: Multi-PHP Manager
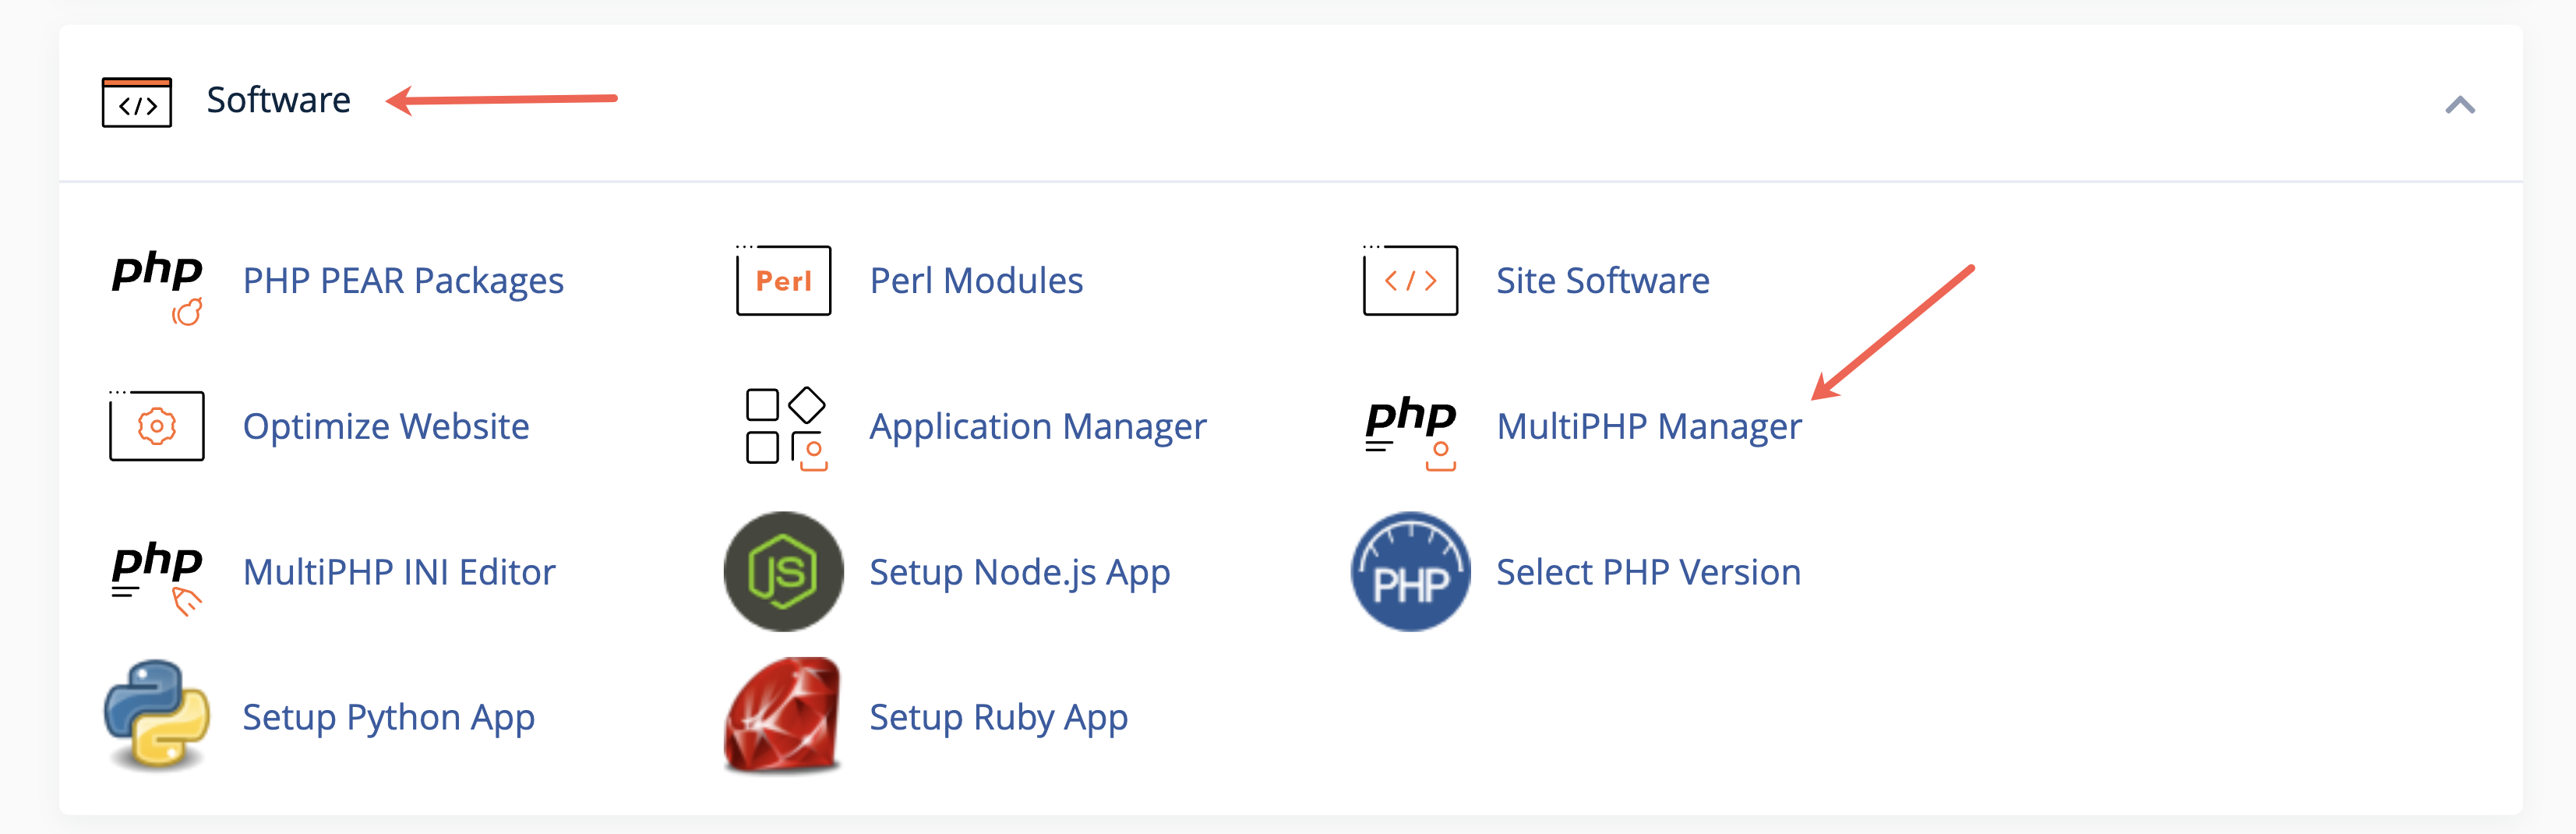
Go to the Software section in the dashboard and click on the MultiPHP Manager link, as illustrated in Figure 5 below.
You will land on the page after clicking the MultiPHP Manager link, as illustrated in Figure 6 below.
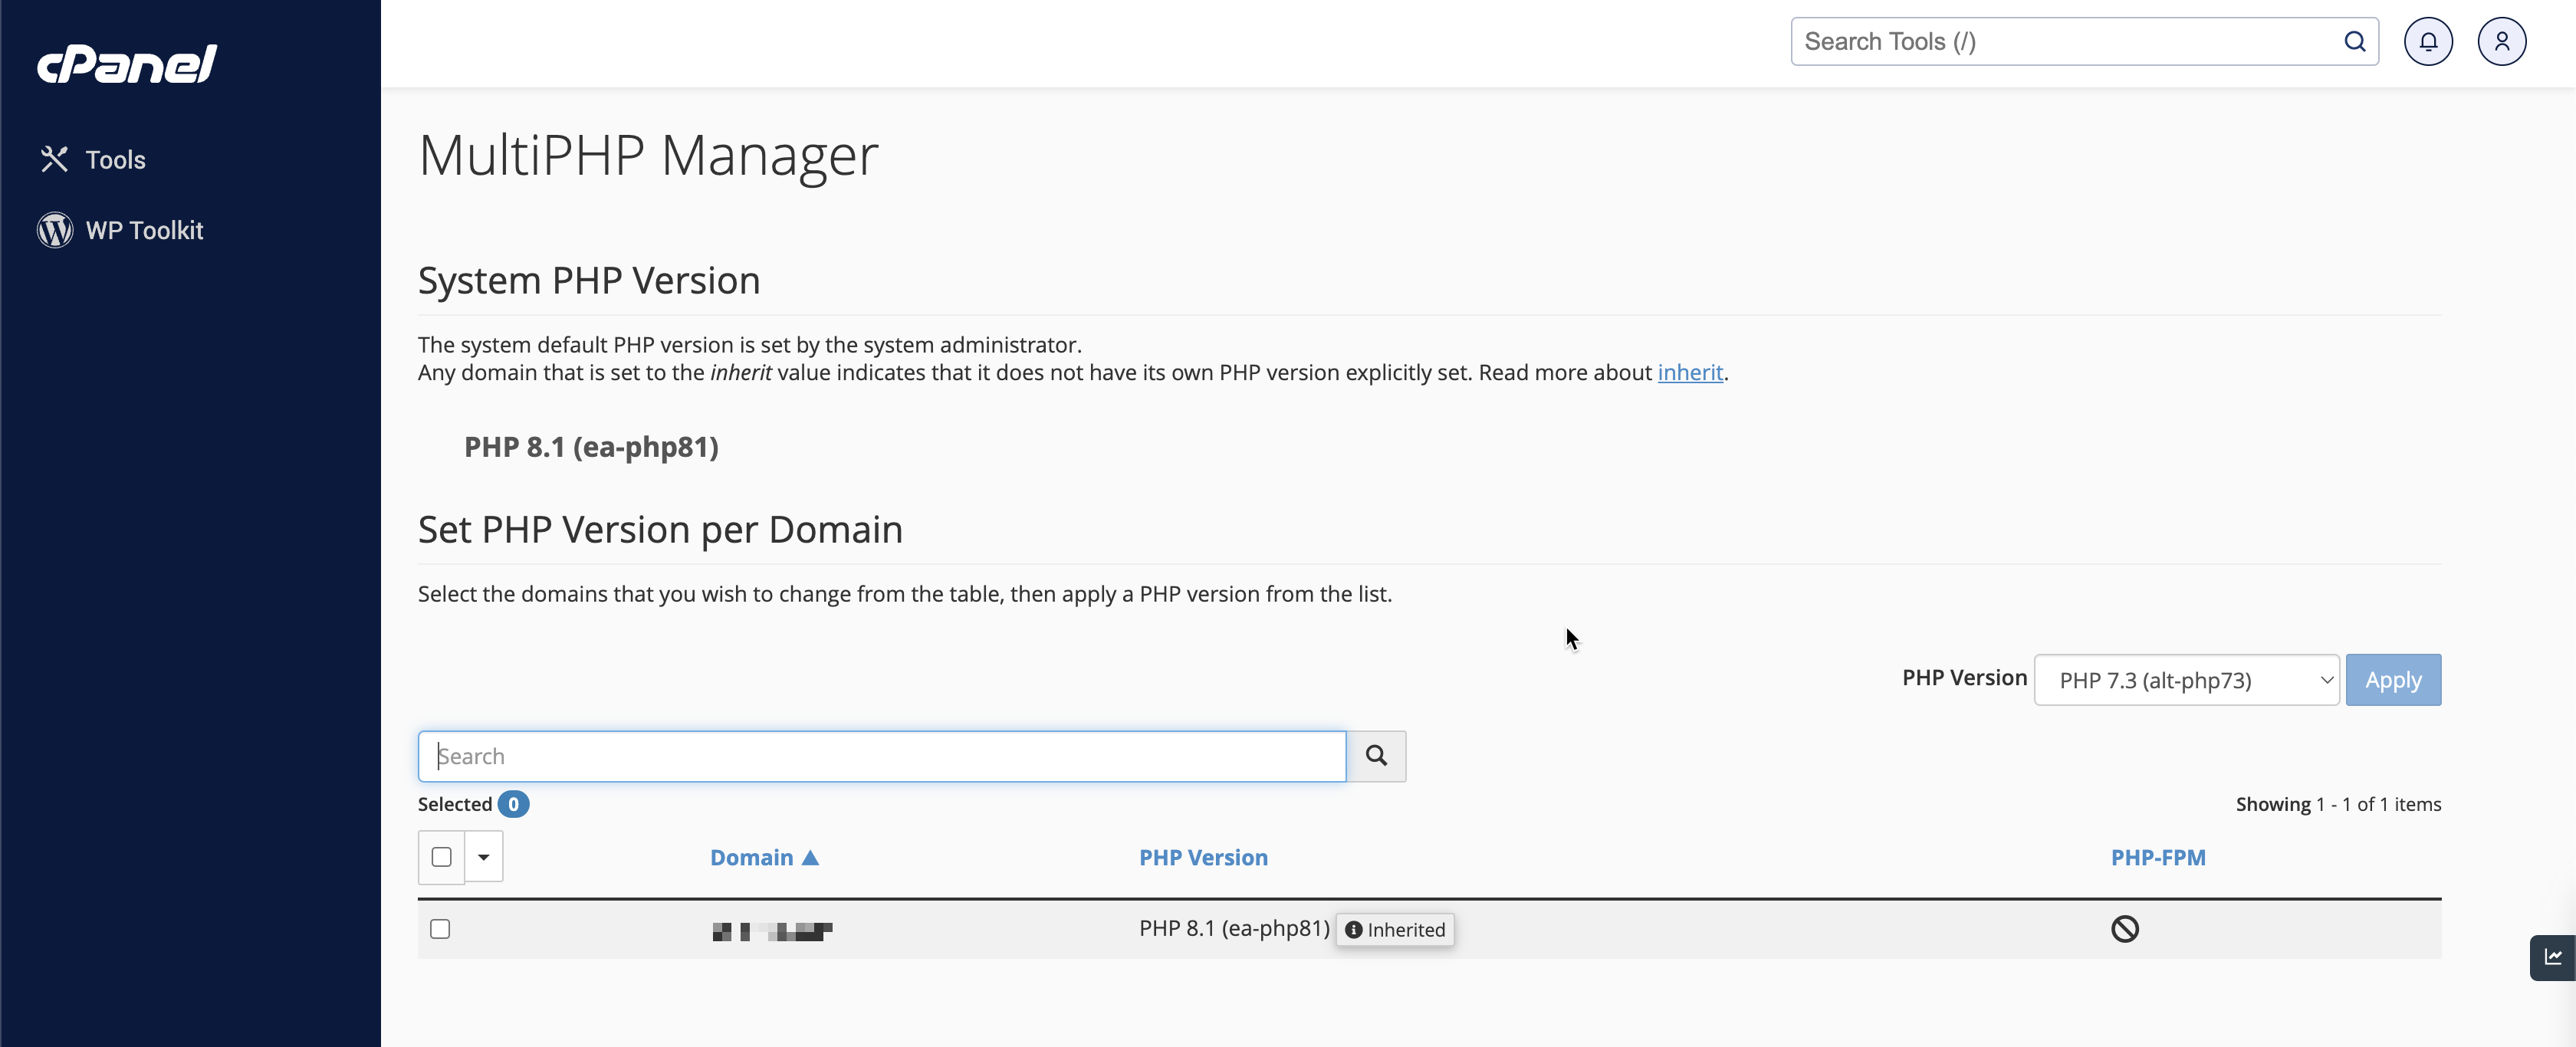
On the MultiPHP Manager dashboard, all the domains and subdomains will be listed along with their current PHP version, as illustrated in Figure 6 above.
Select the check box for the domain or sub-domains for which you would like to change the PHP version from the dashboard, as illustrated in Figure 7 below.
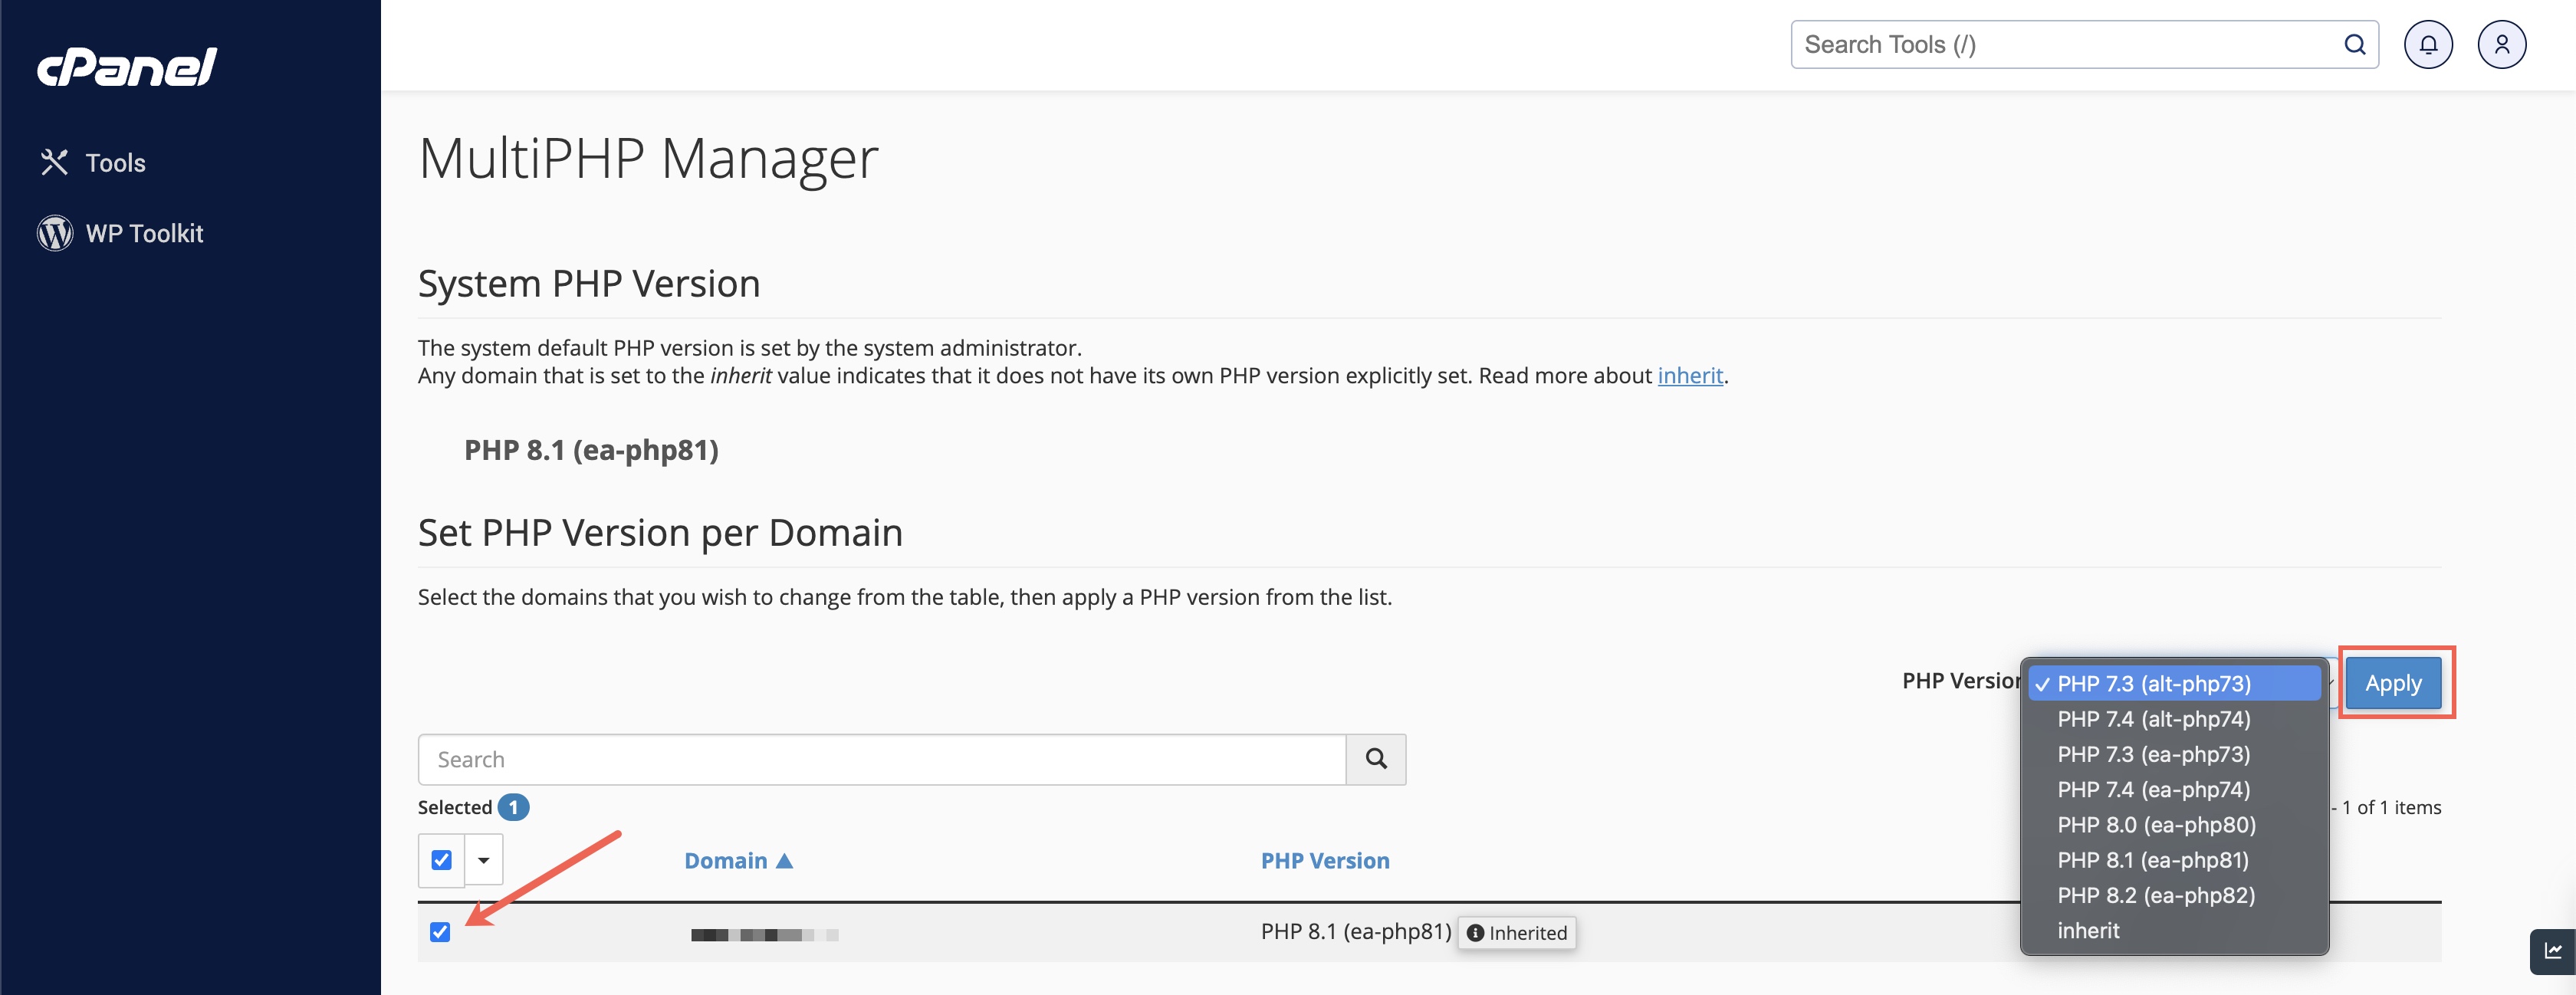
Click on the PHP version drop menu from the top, and you will able to see all the versions available for you in the dropdown list, as illustrated in Figure 7 above.
After selecting the version, click the Apply button to save the changes you made.
Section 4: MultiPHP INI Editor
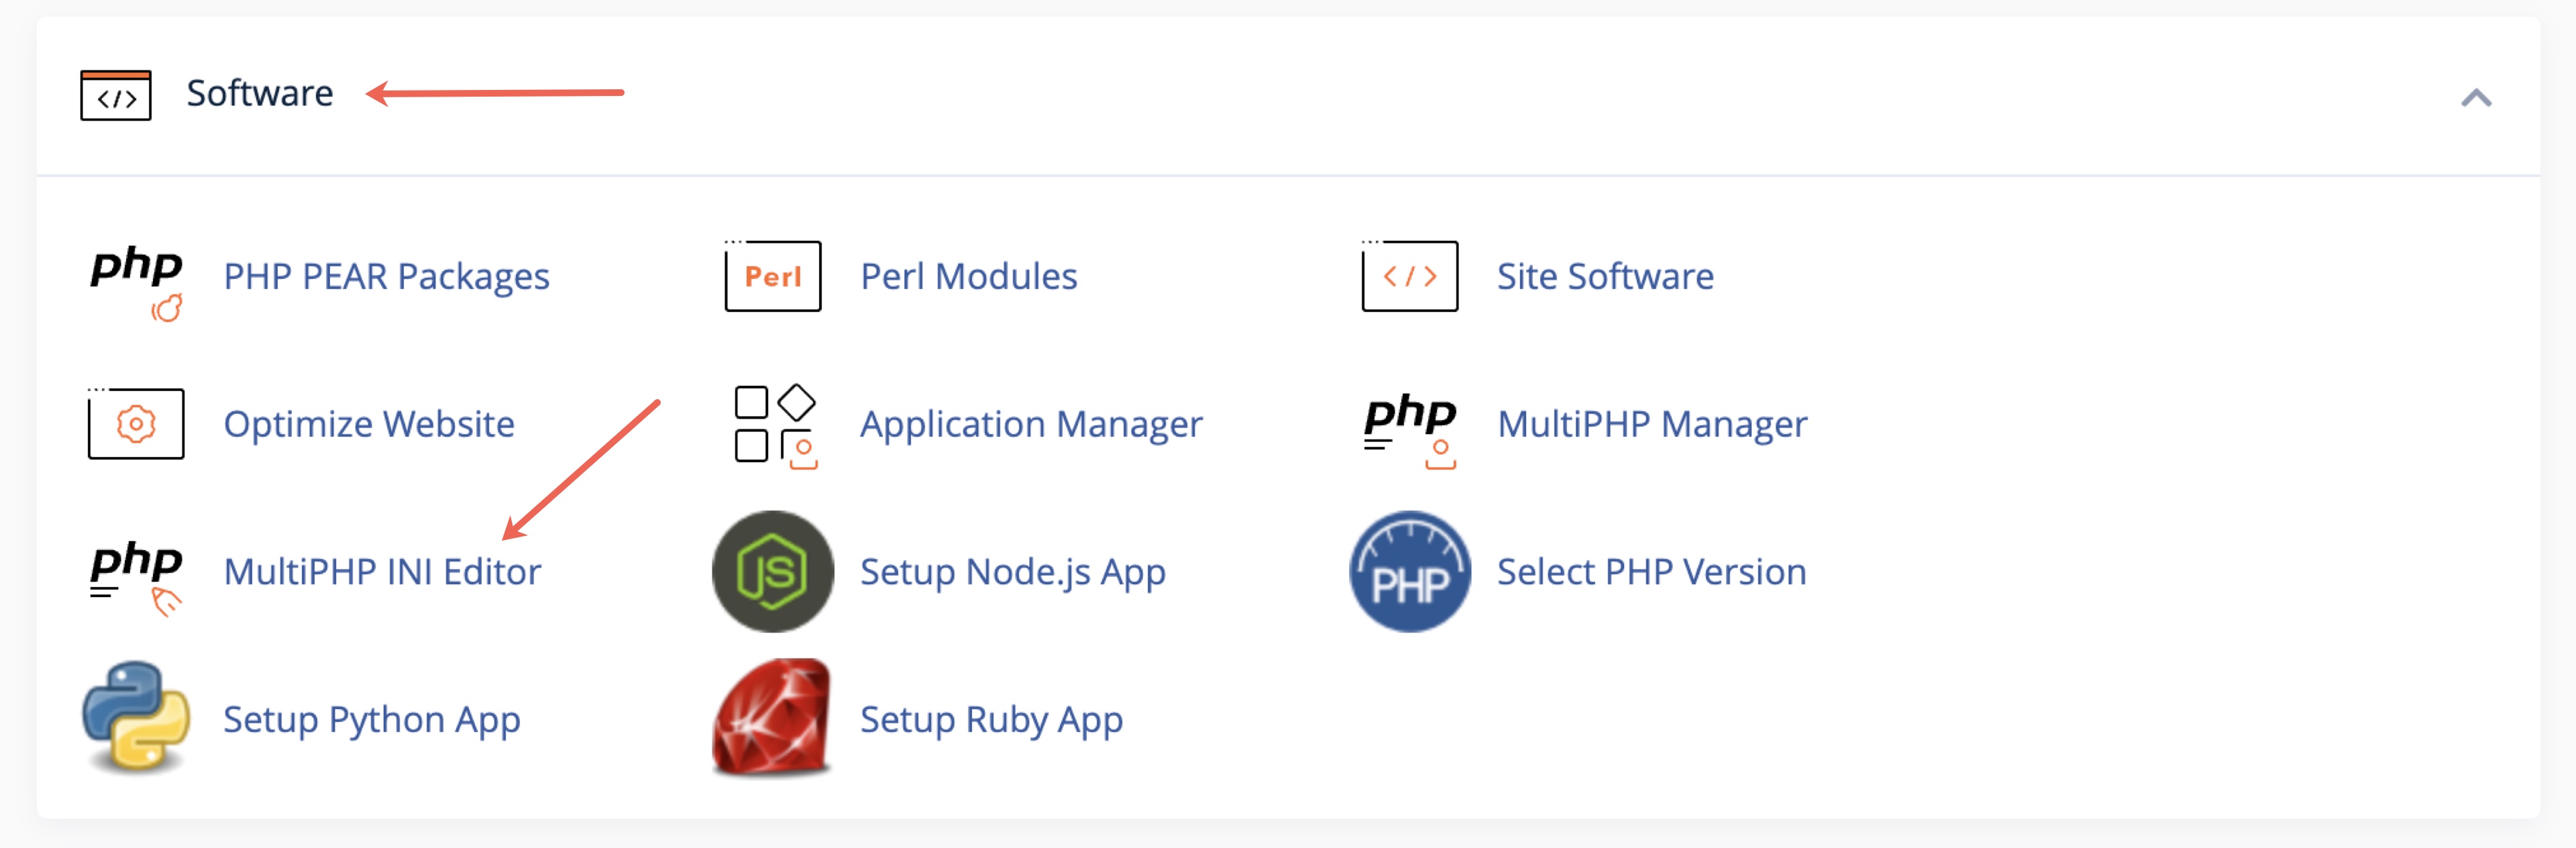
Go to the Software section in the dashboard and click on the MultiPHP INI Editor link, as illustrated in Figure 8 below.
You will find two modes on the INI editor dashboard, as illustrated in Figure 9 below.
- Basic Mode
- Editor Mode
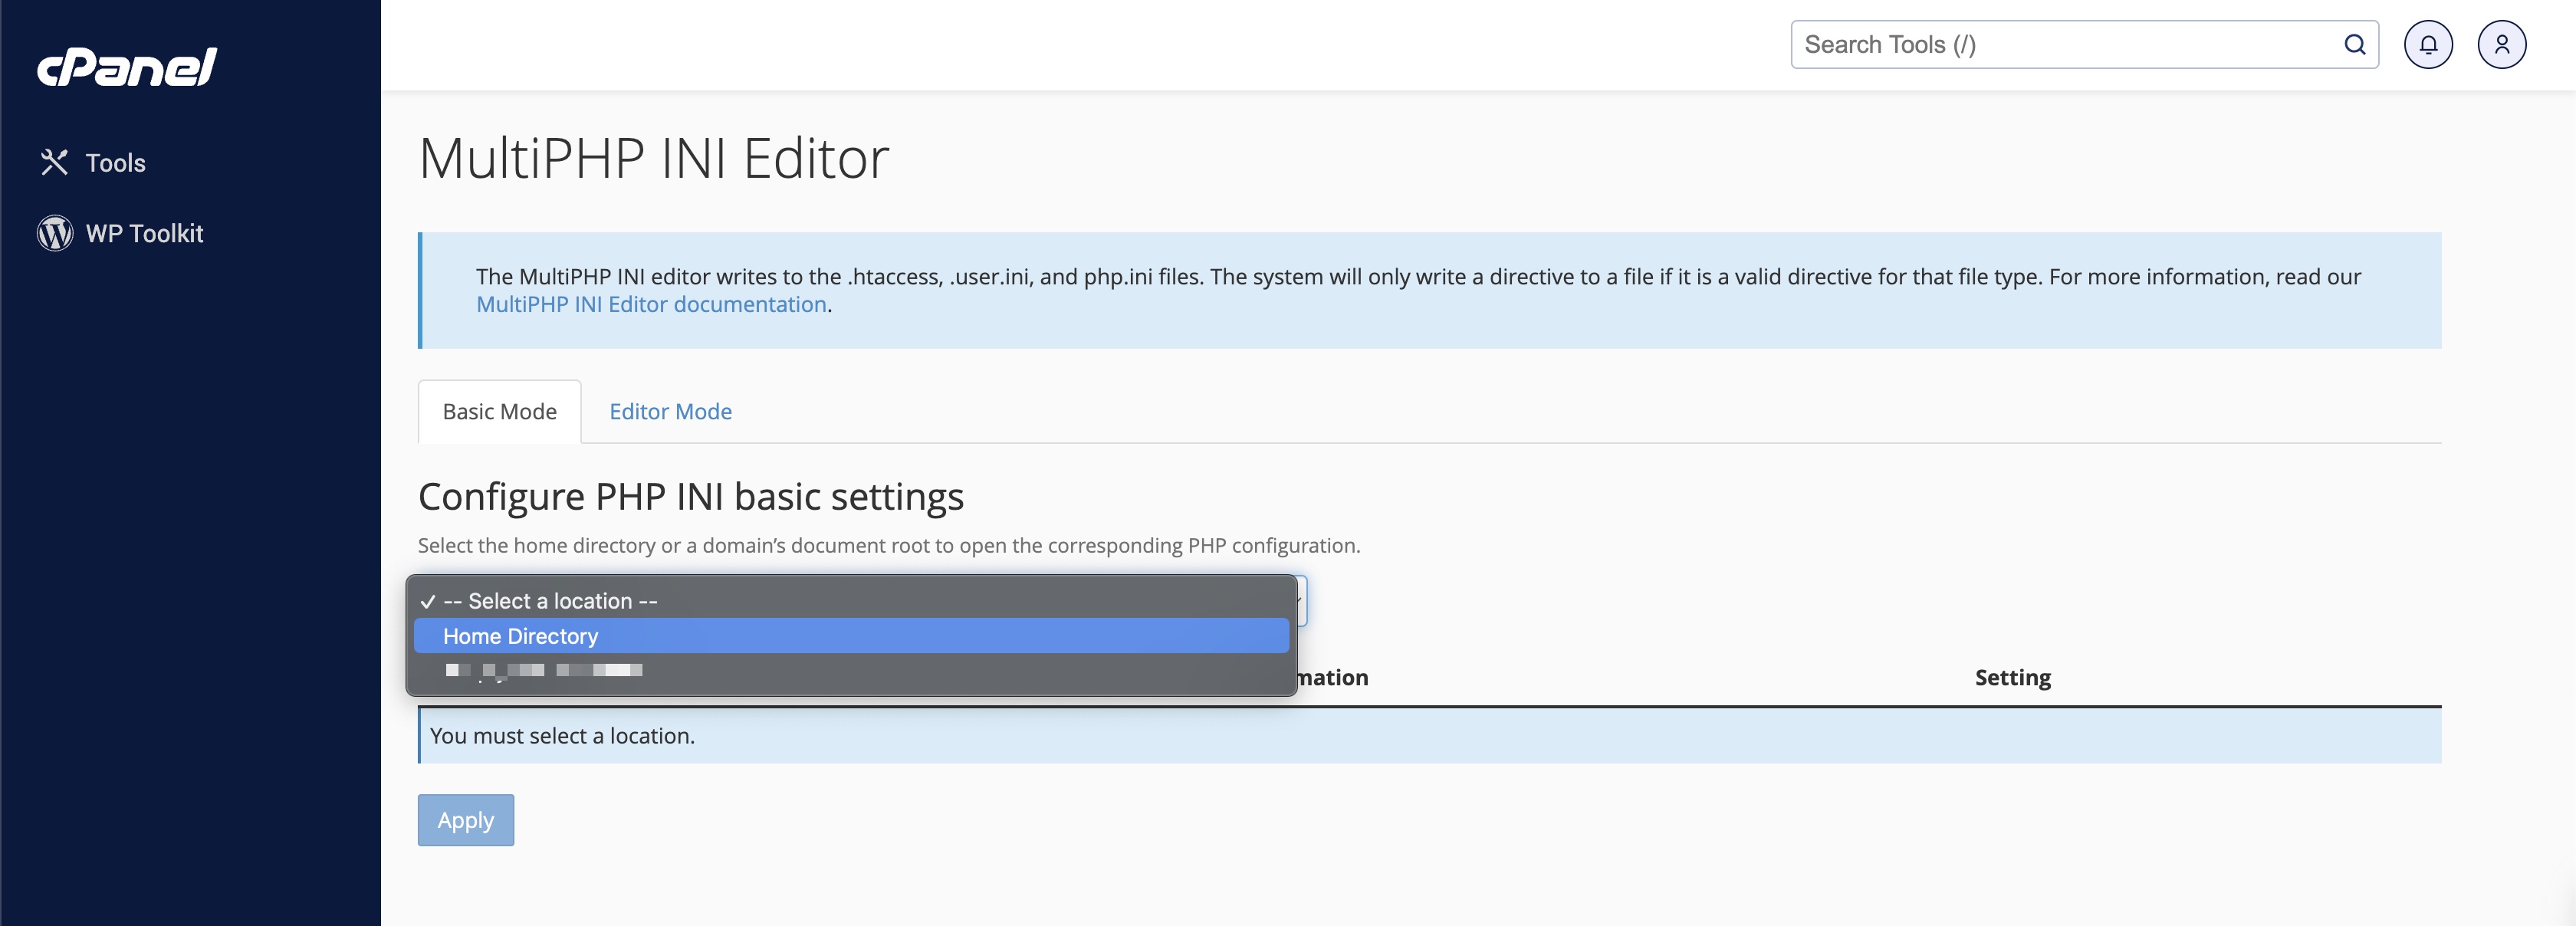
Basic Mode
By default, you will land on the Basic Mode. Select the location from the drop menu as Home Directory, as illustrated in Figure 9 above. You can also select the domain name for which you want to change the setting.
Once you select the location a table will appear with PHP Directive and their settings, as illustrated in Figure 10 below.
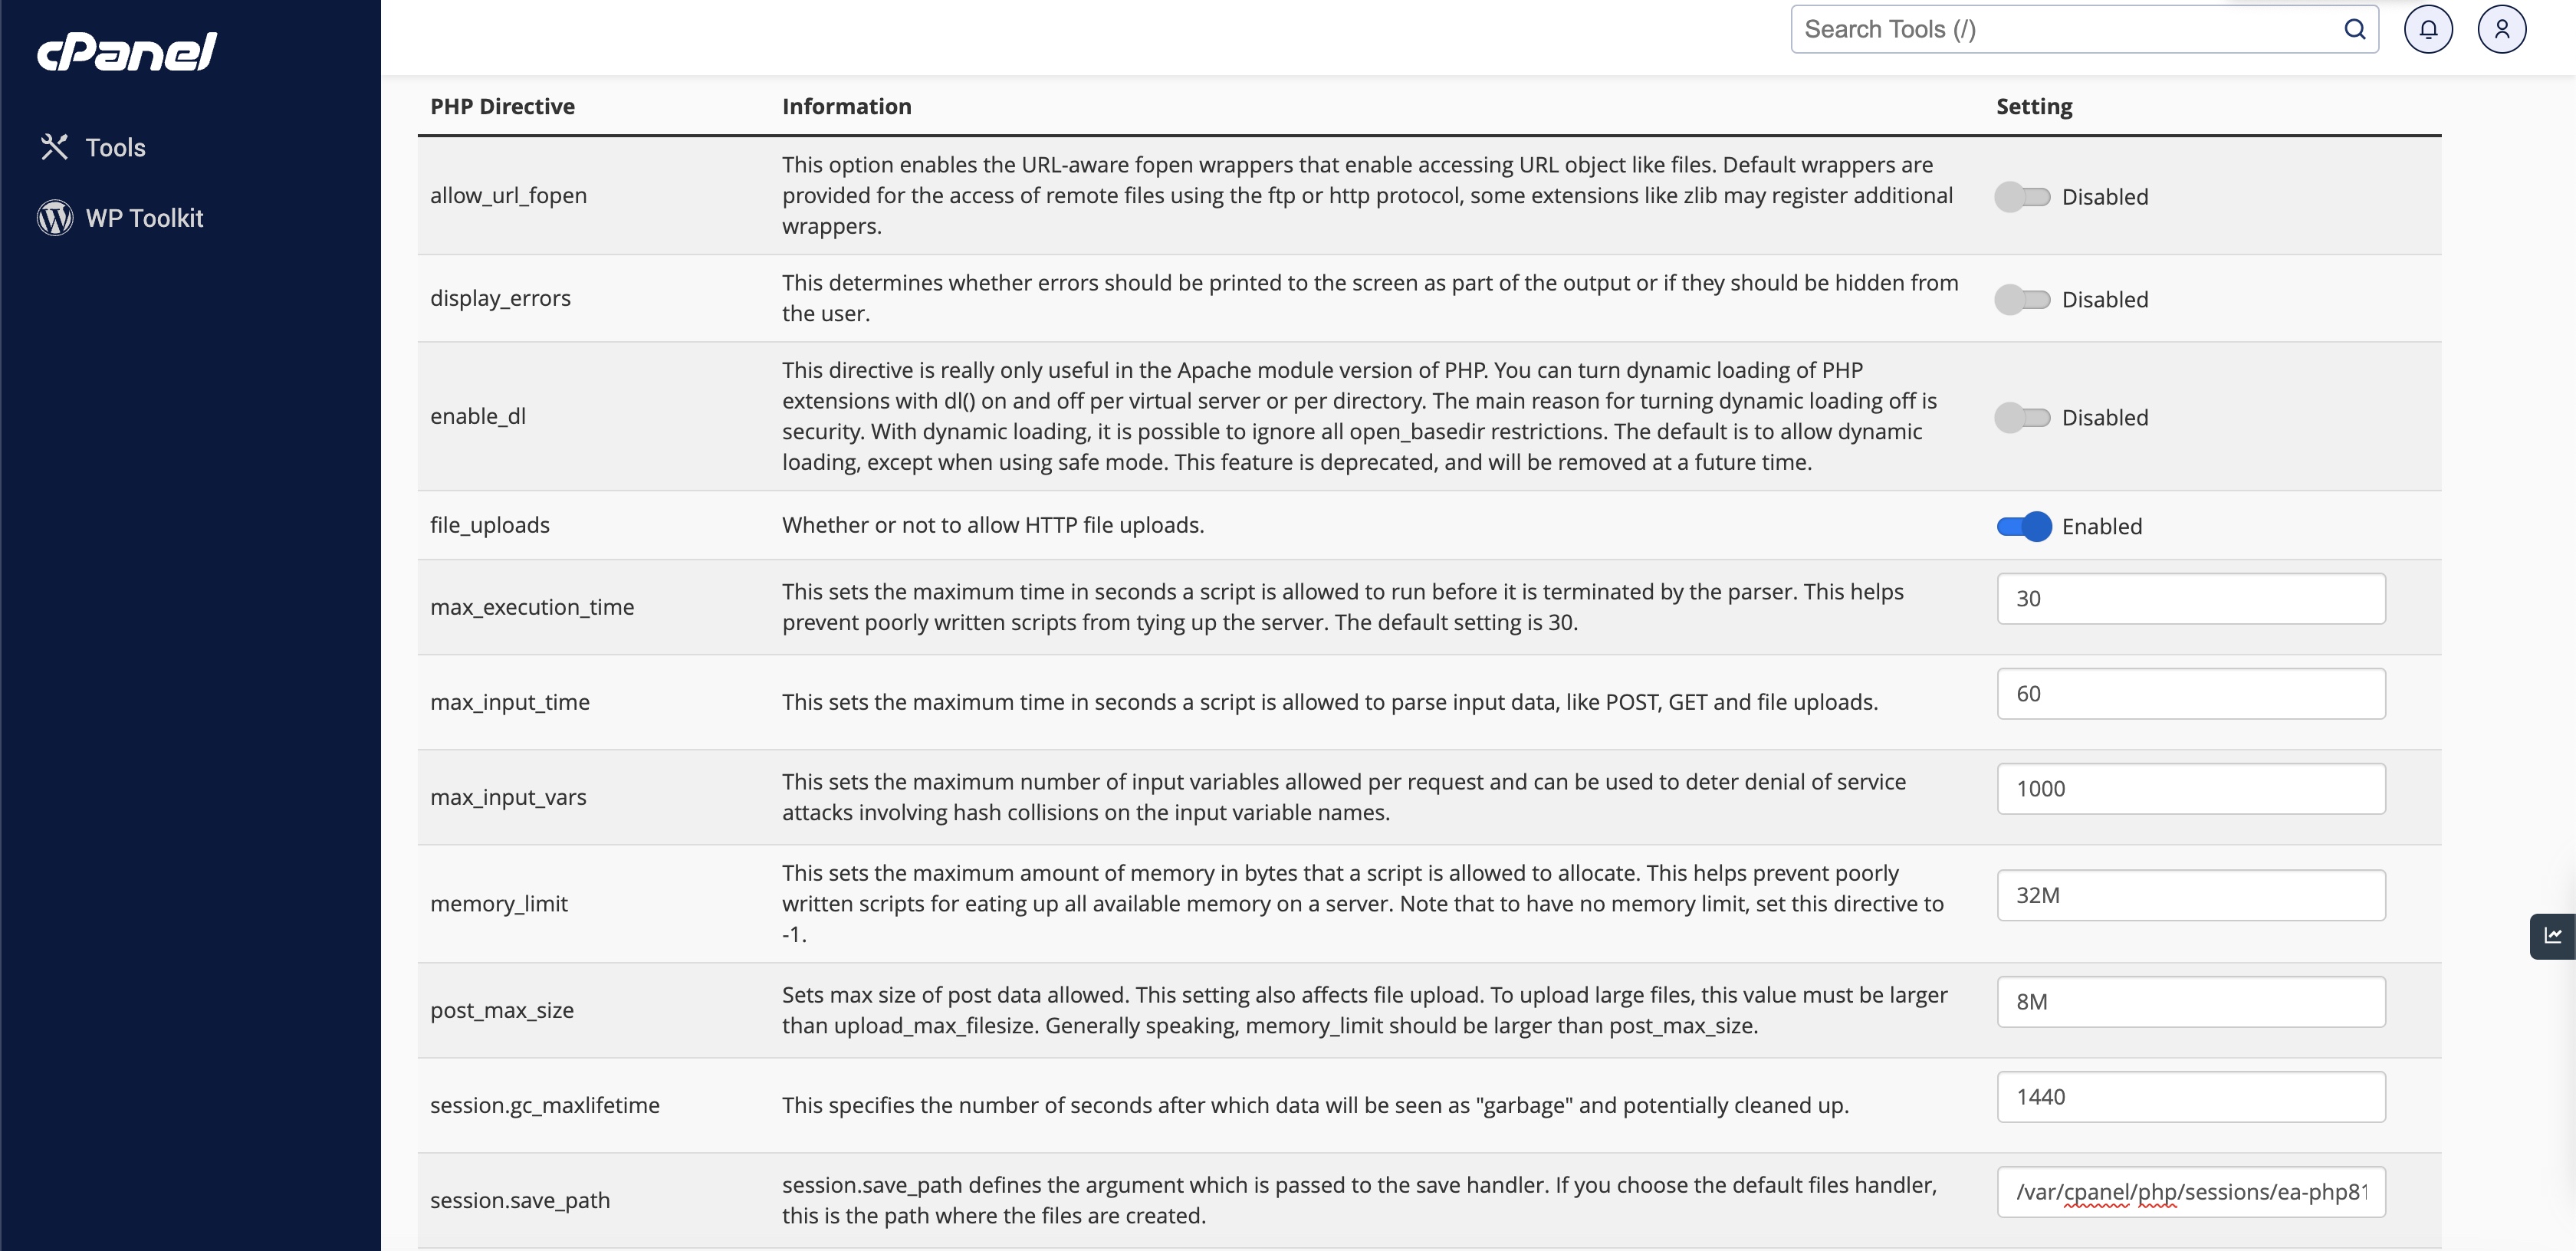
Here, you can set your preferences, and do not forget to click the Save button at the bottom of the screen.
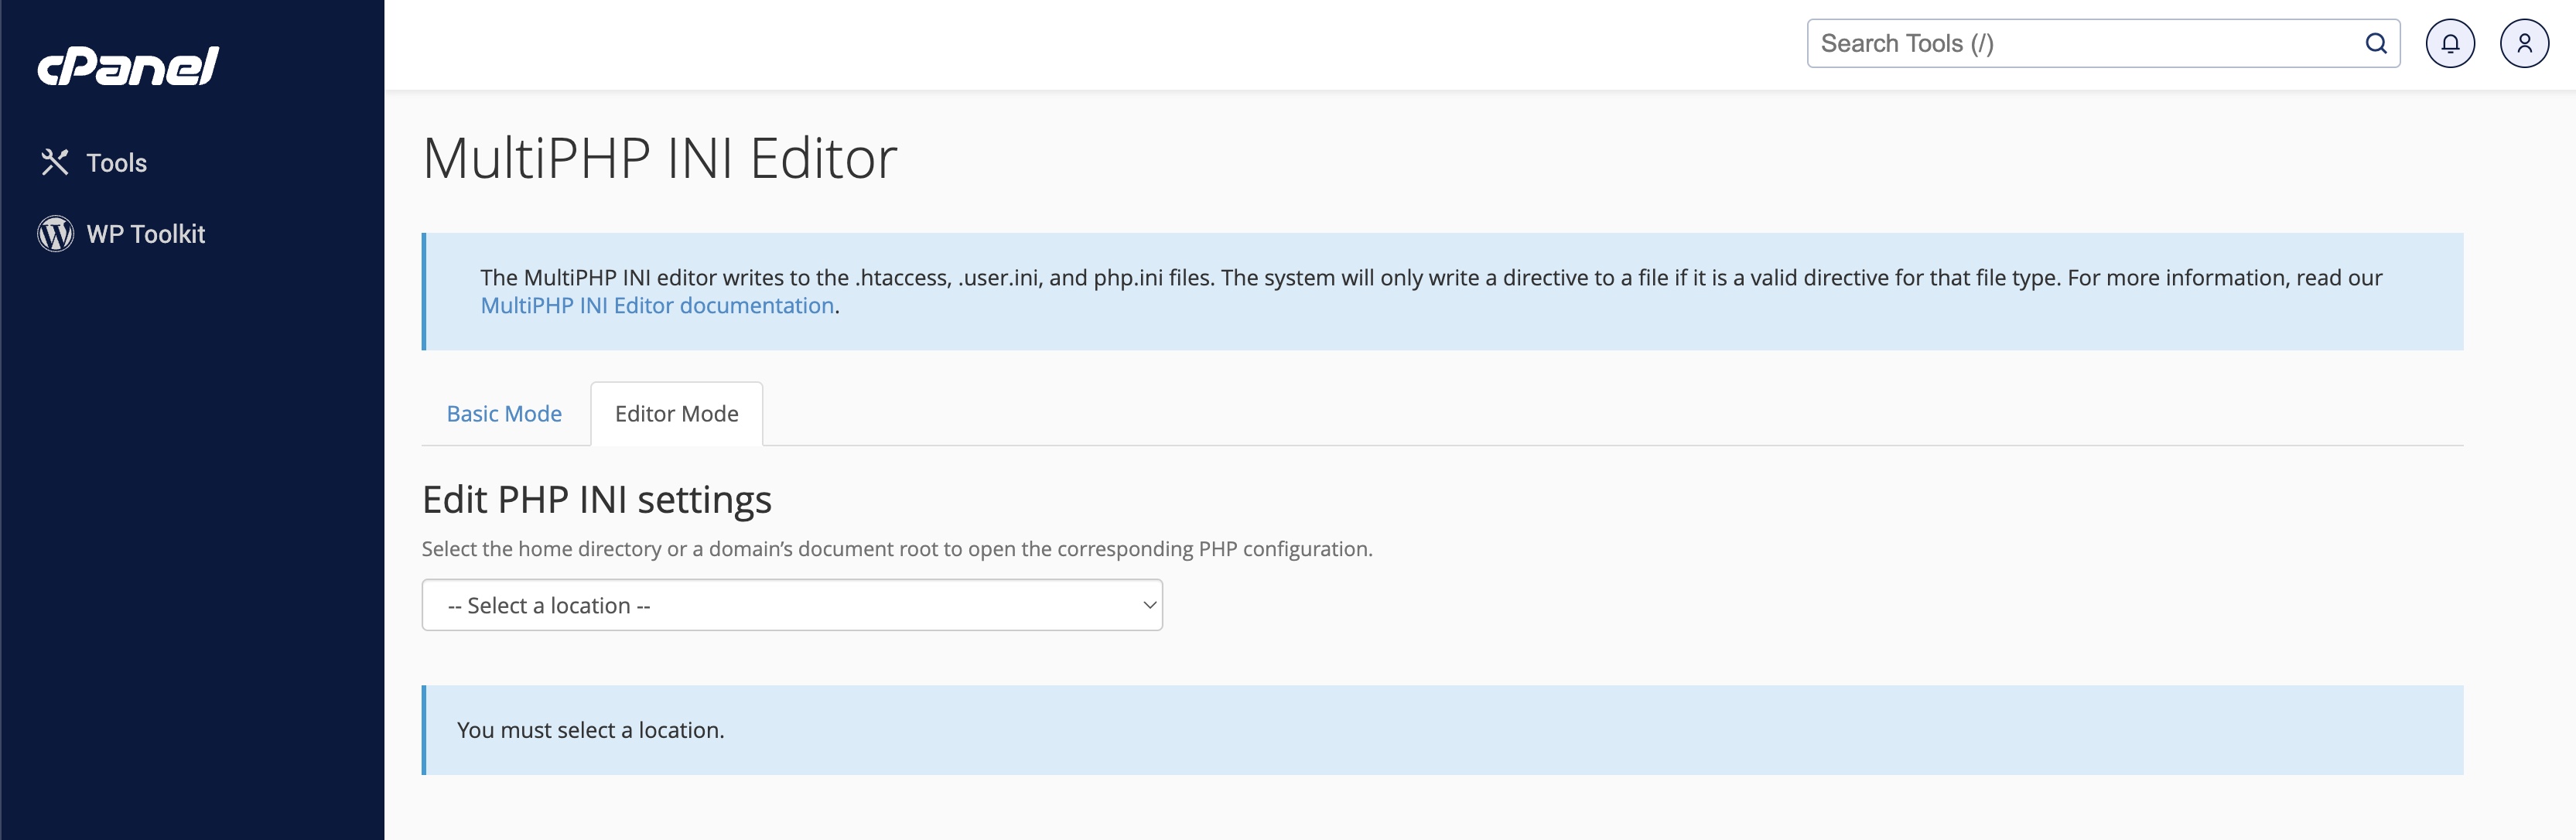
Editor Mode
Select the location that you wish to configure from the menu. You can edit either the user account’s home directory or the domain’s document root. If you want changes made to reflect on any website under this cPanel user, edit the home directory, as illustrated in Figure 11 below.
Once you select the location, a text area will appear, as illustrated in Figure 12 below.
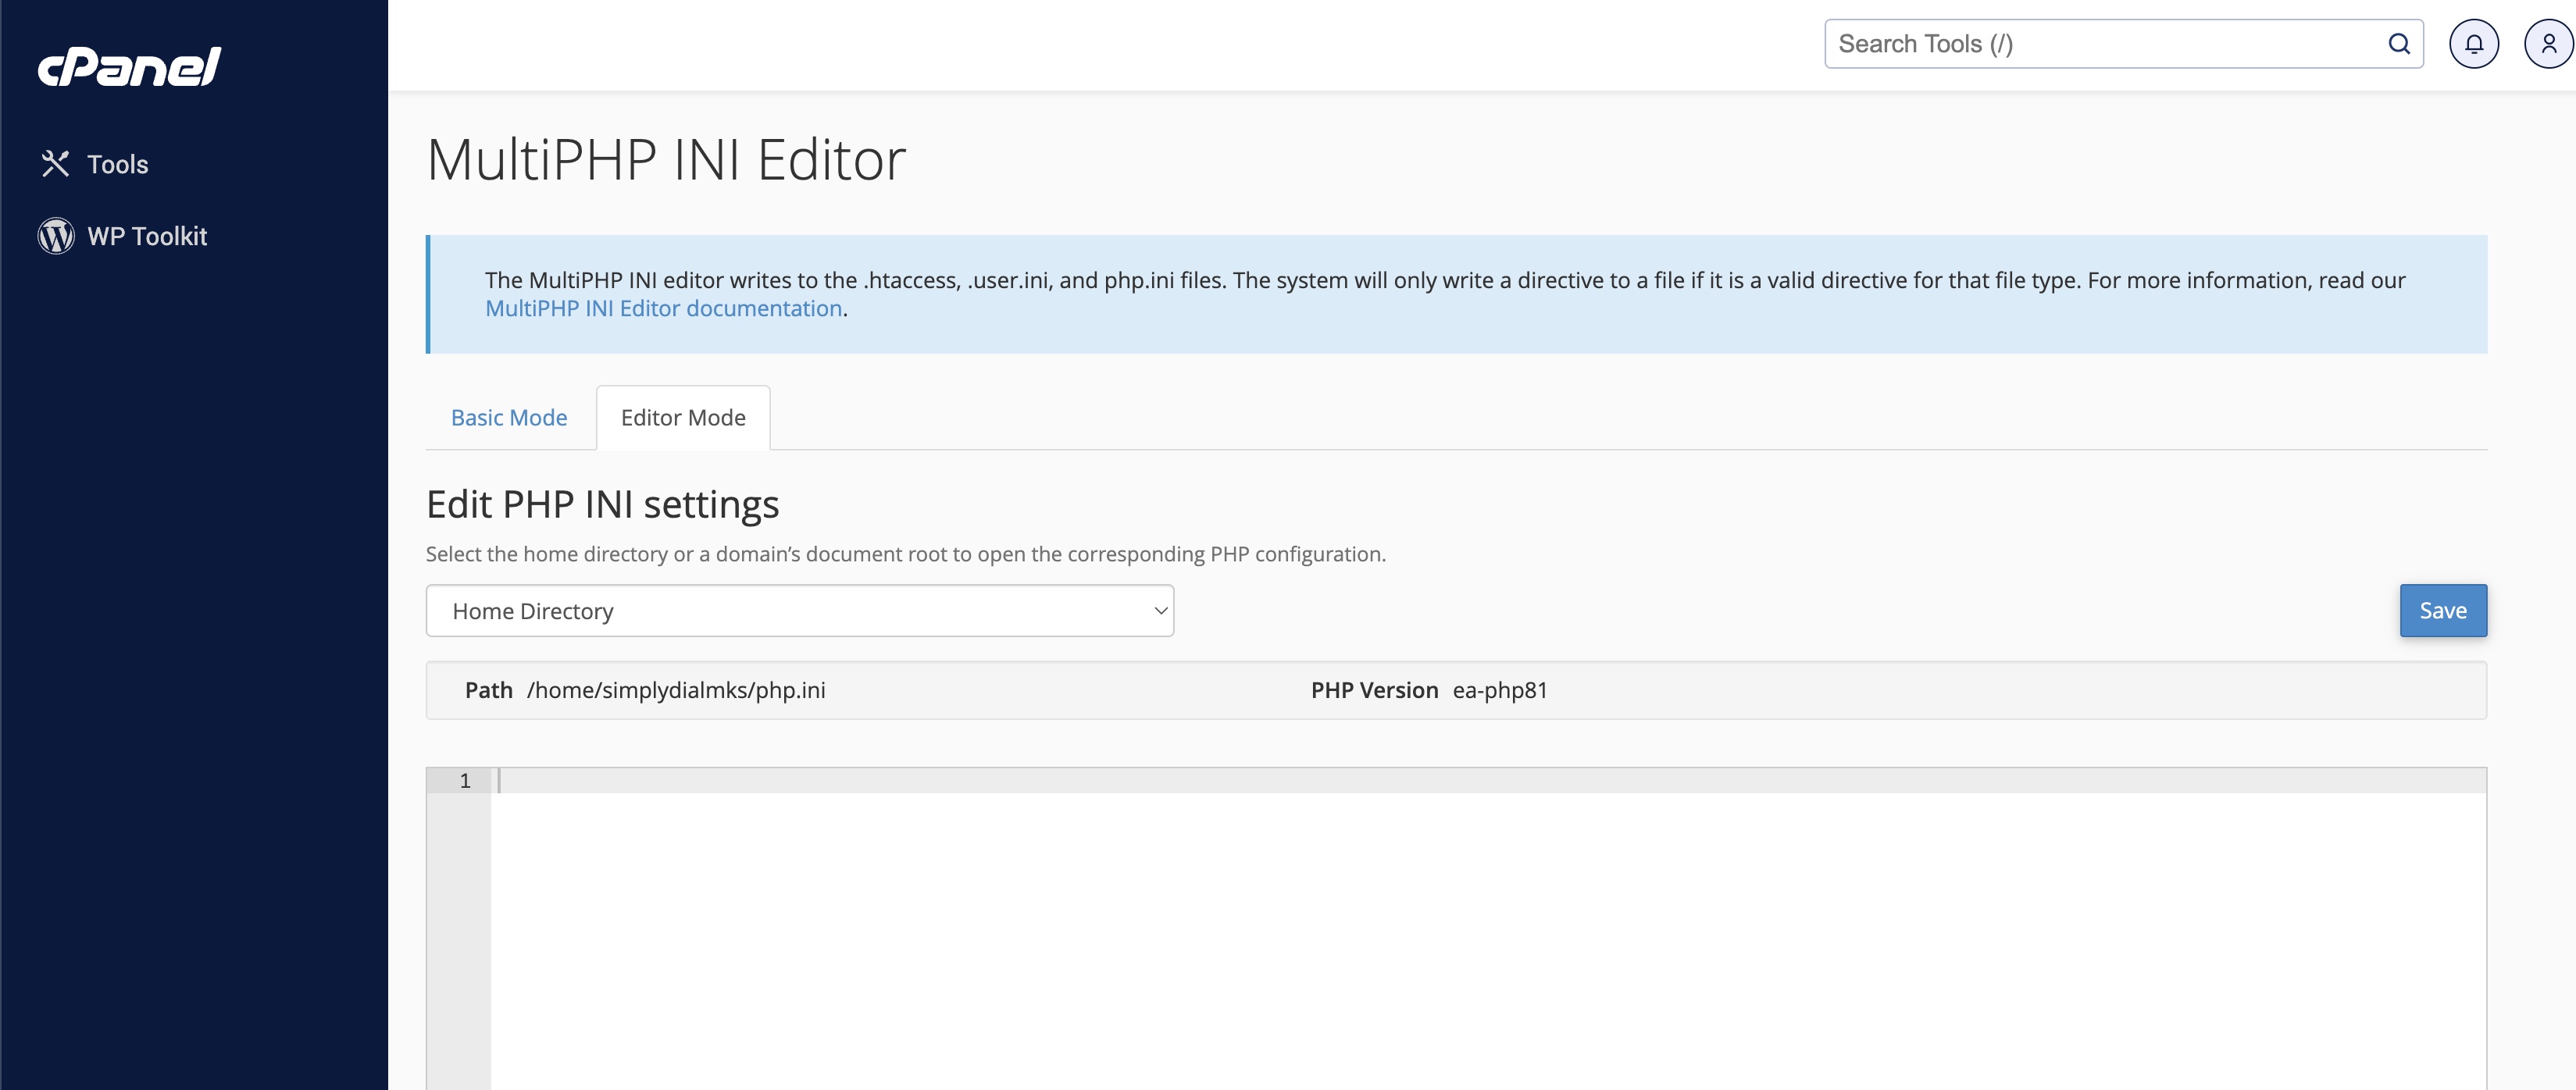
The Editor Mode section will load the contents of the php.ini file for your selected domain if it exists. If the php.ini file does not exist, the interface loads a blank editor so that you can create your own file. Make your changes to the desired directives and click the Save button.
Once you save, both the php.ini file and the user.ini file will be updated. This will also save these changes to your .htaccess file.
Conclusion
Managing your PHP settings is integral to the successful operation of your website or application. This guide equips you with all the necessary skills to use the cPanel to manage PHP effectively. Mastering these tools will be crucial for scalability and performance as you grow your venture. Our Support Team is always available to assist you if you have any questions or require further clarification.