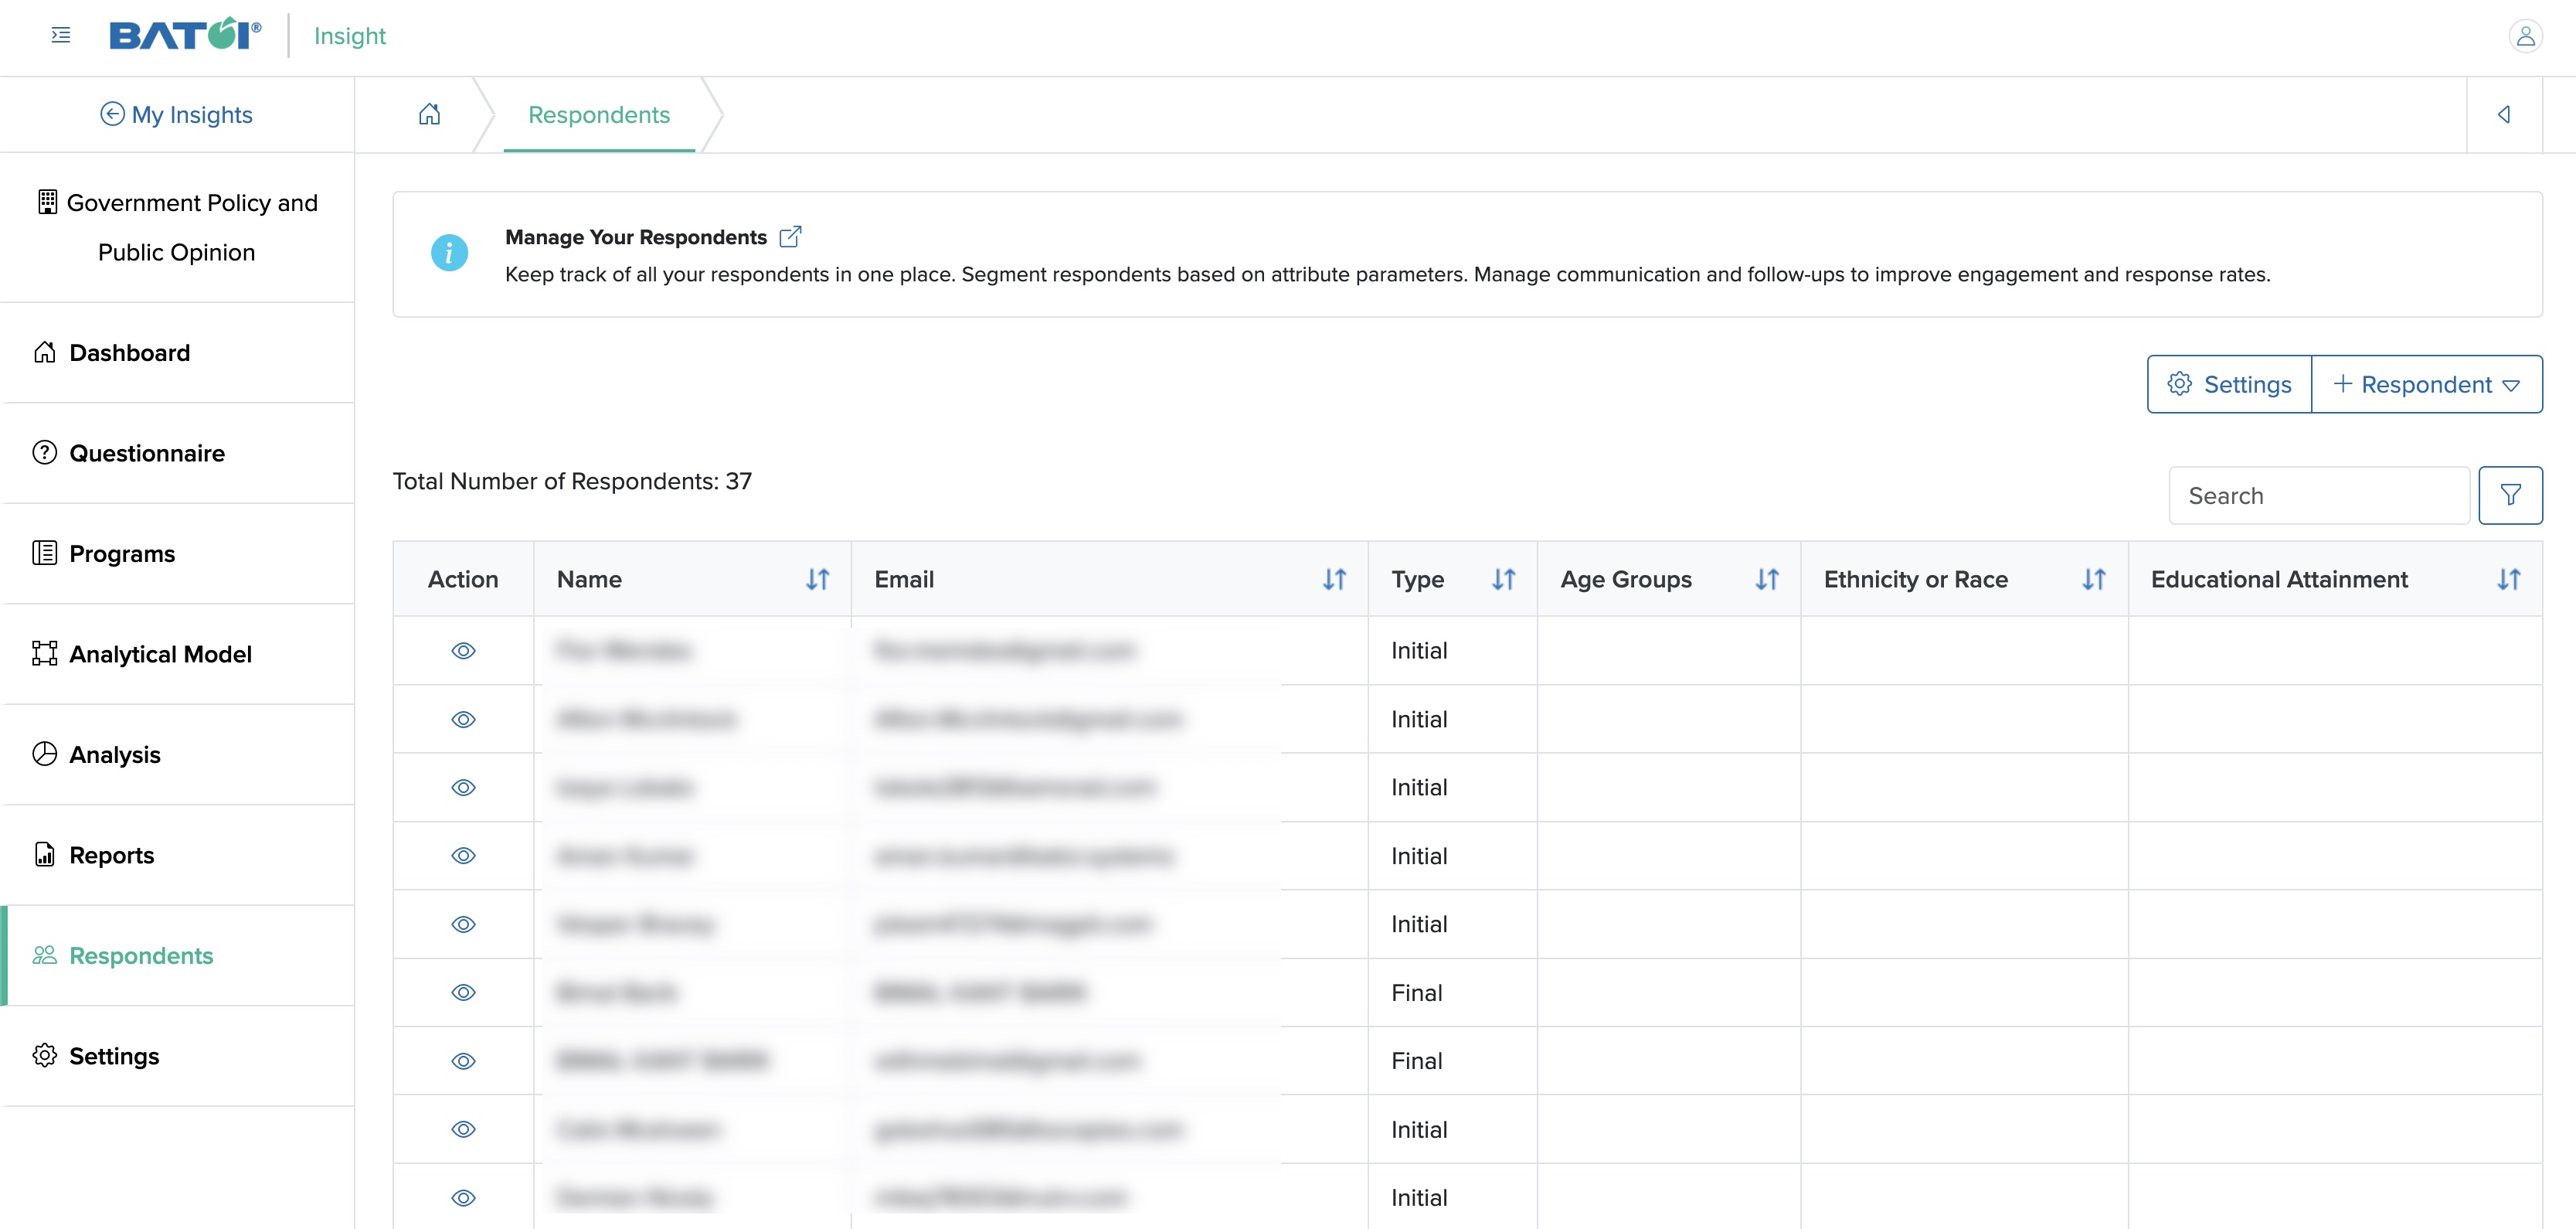
Click the Respondents menu from the primary menu section, and the respondents list page opens, as shown in Figure 1 below.
Archived Respondents
Click the Archived Respondents button on the top right side of the Respondents screen, as shown in Figure 1 above, and the archived respondents list page appears, as shown in Figure 2 below.
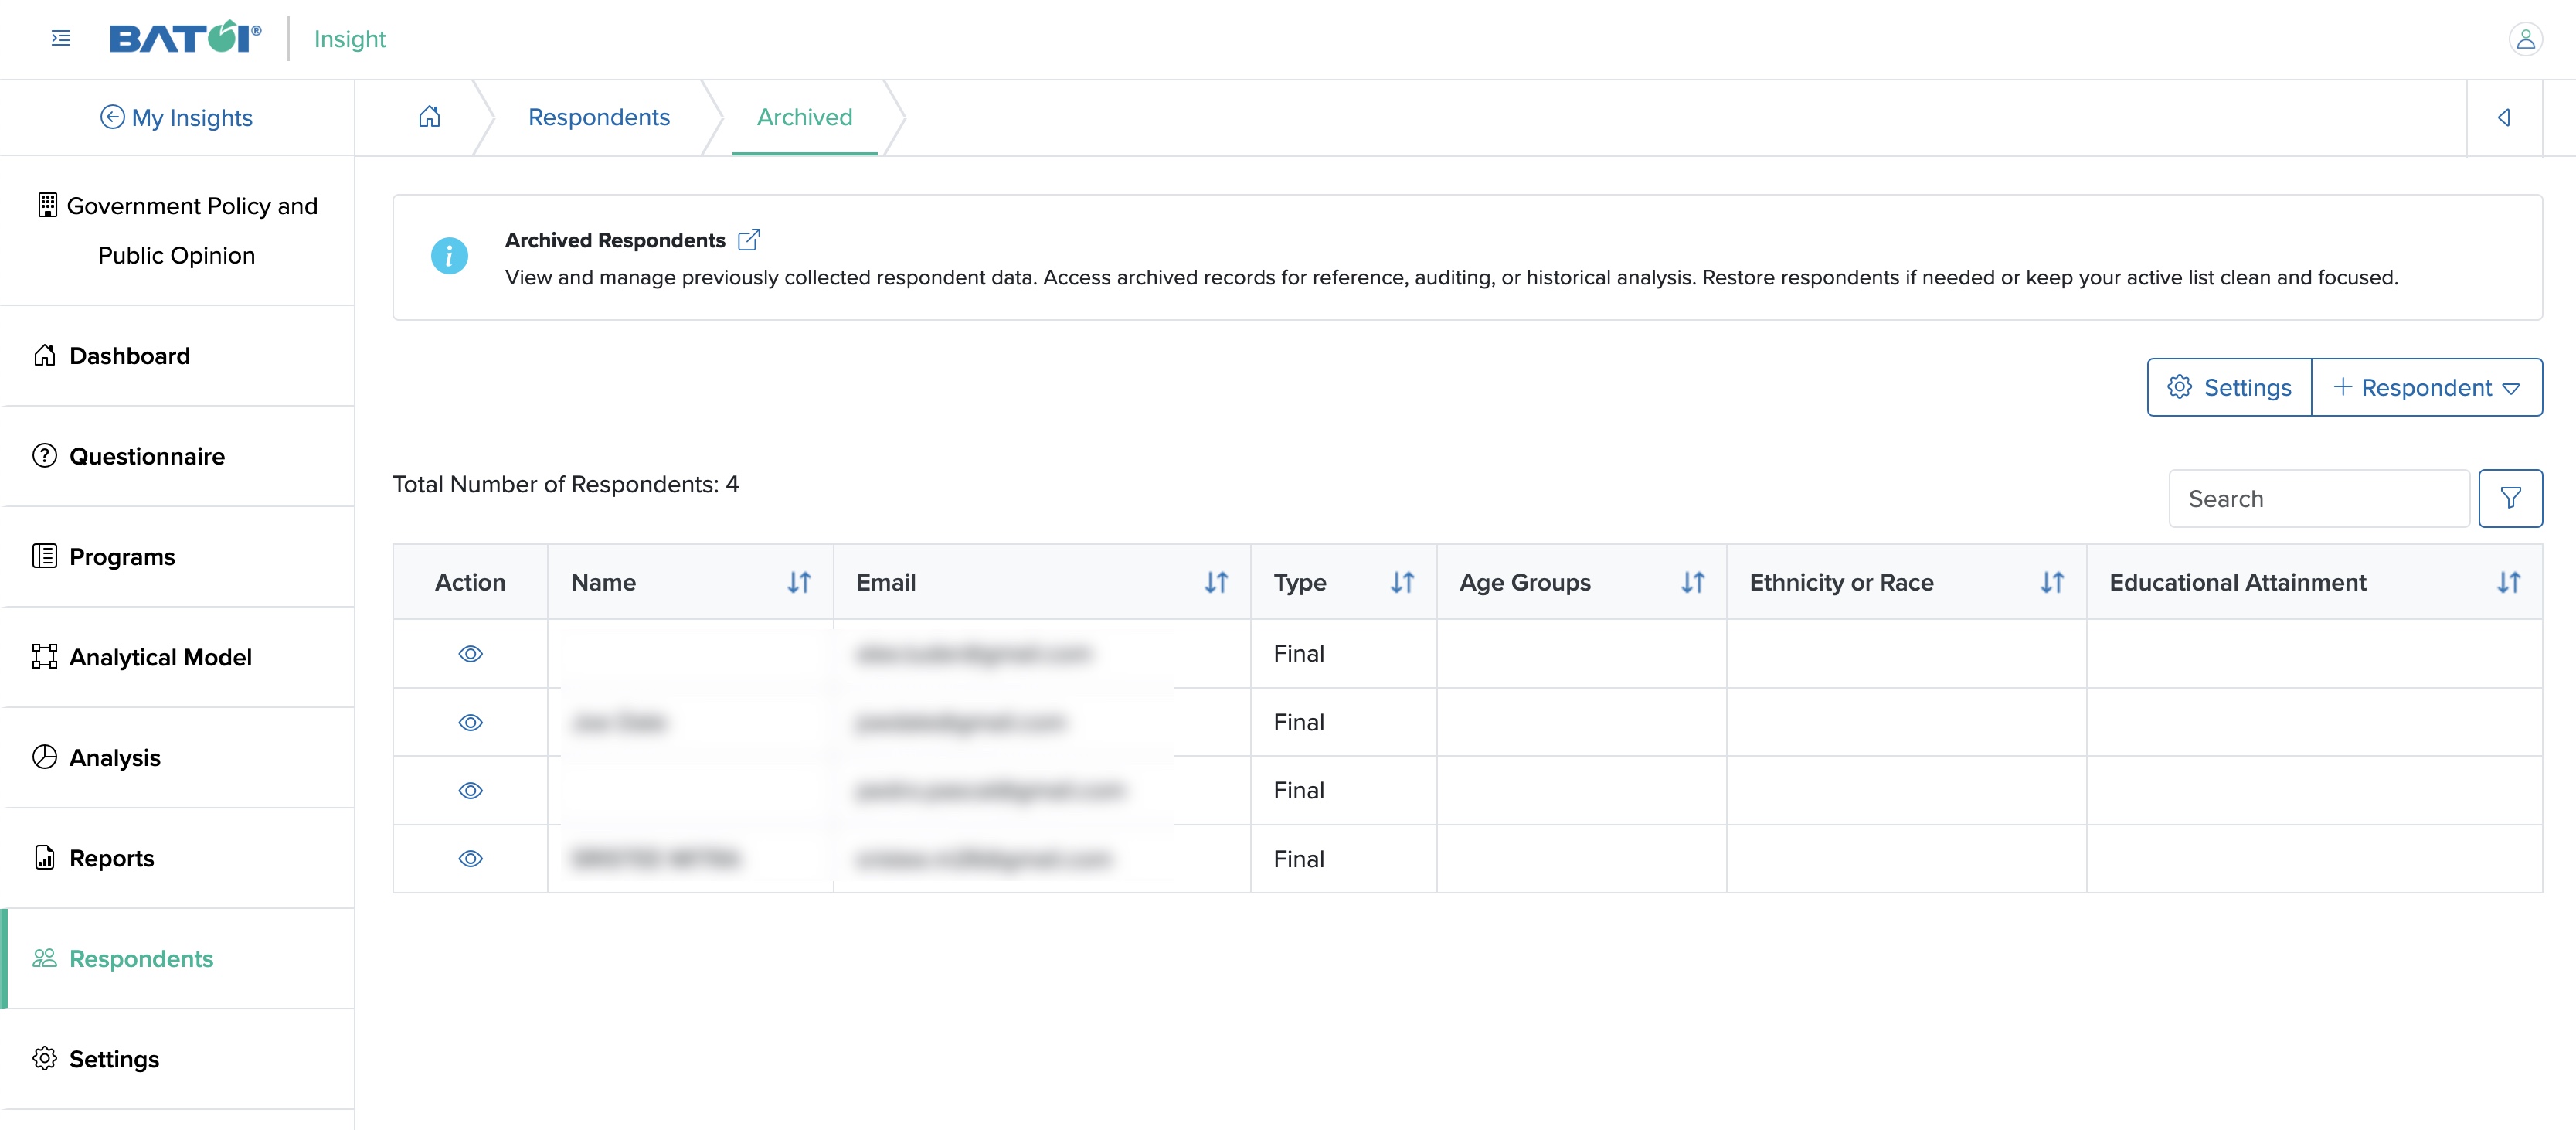
Click the View icon associated with each respondent, as shown in Figure 2 above, and the View Respondent Details page appears for the archived respondent, as shown in Figure 3 below.

Click the Clean Up Data button on the top right side of the View Respondent Details page, as shown in Figure 3 above, and you will be redirected to a new page for confirmation to remove the data of the respondent from all programs.
Click the Unarchive button on the top right side of the View Respondent Details page, as shown in Figure 3 above, and the confirmation pop-up screen will appear, and upon clicking the OK button, the respondent will be unarchived.
Settings
The Respondent Settings are initially performed at the time of the Insight setting. Refer to Settings >> Respondent Settings for more information.
Add Respondents
Click the Respondent (drop-down menu) button, and the drop-down menu with the values Add Respondent appears. Click the Add Respondent menu, and the page opens, as shown in Figure 4 below.
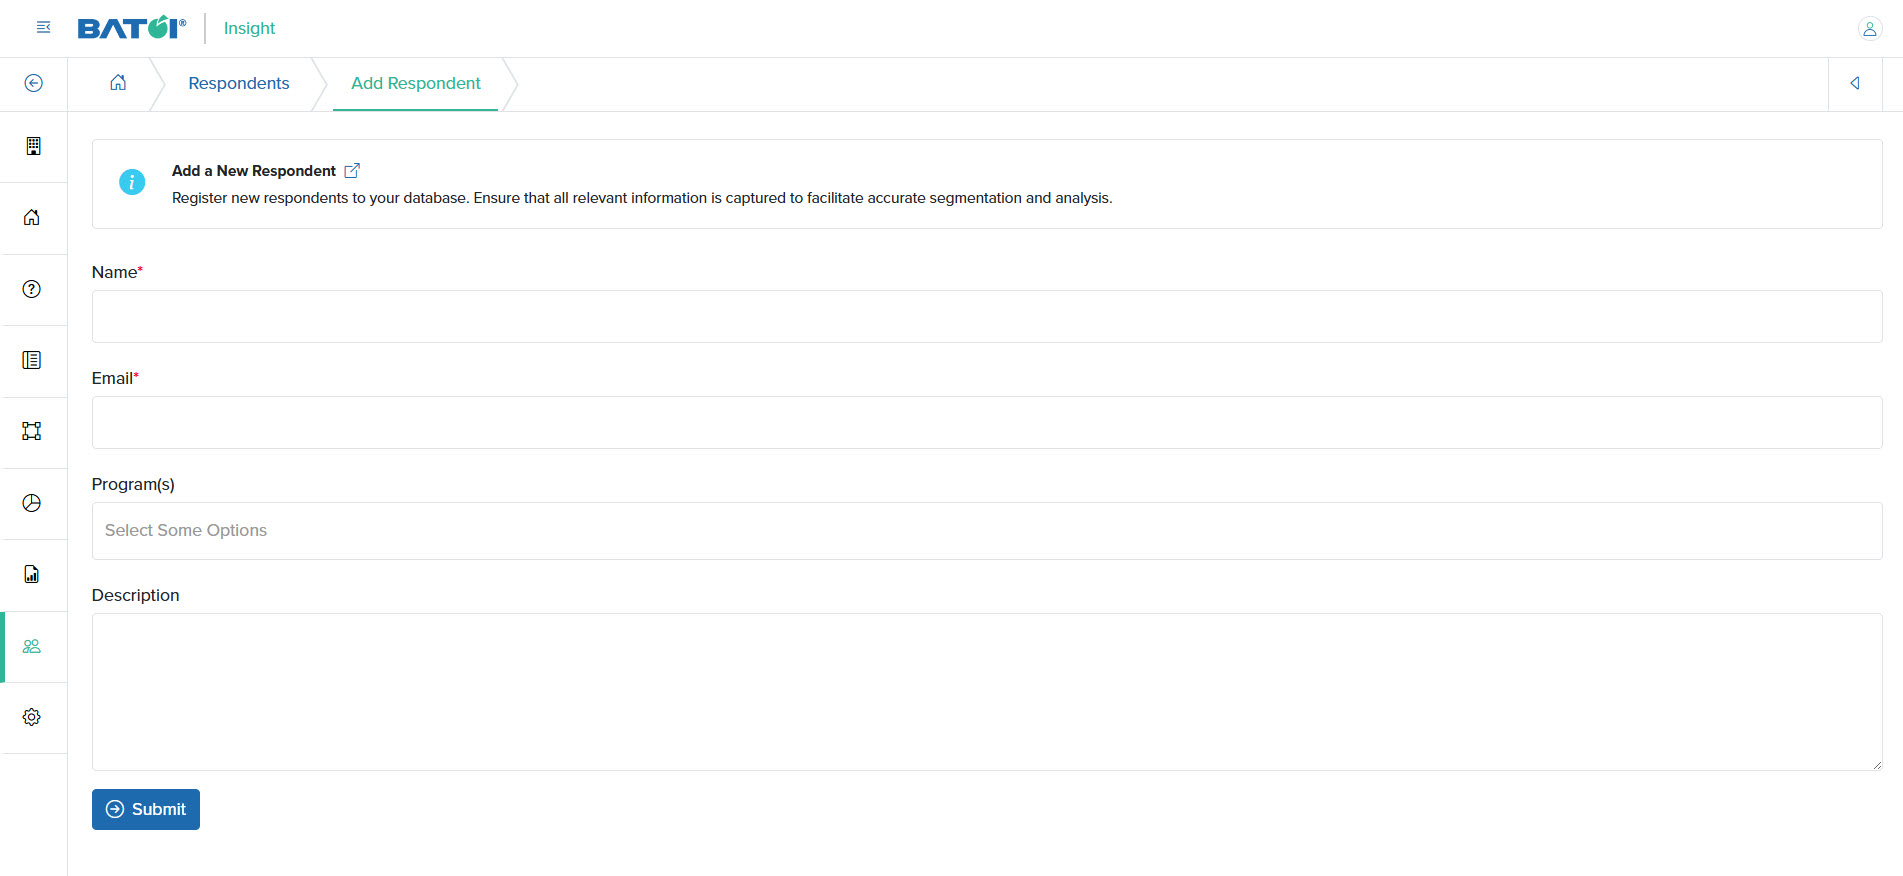
You can enter the details below and click the Submit button to save the respondent, as shown in Figure 4 above. The details that need to be filled in are:
- Name (Textbox - Mandatory): Name of the Respondent
- Email (Textbox - Mandatory): Email ID of the Respondent
- Respondent Type (dropdown menu - Mandatory): Initial or Final
- Program(s) (dropdown - Optional): Name of the program from the drop-down menu
- Description (text area - Optional): Description of the Respondent
View Respondents
To view the responses, click the View icon associated with the individual respondent row, as shown in Figure 1 above, the list of responses submitted page opens, as shown in Figure 5 below.
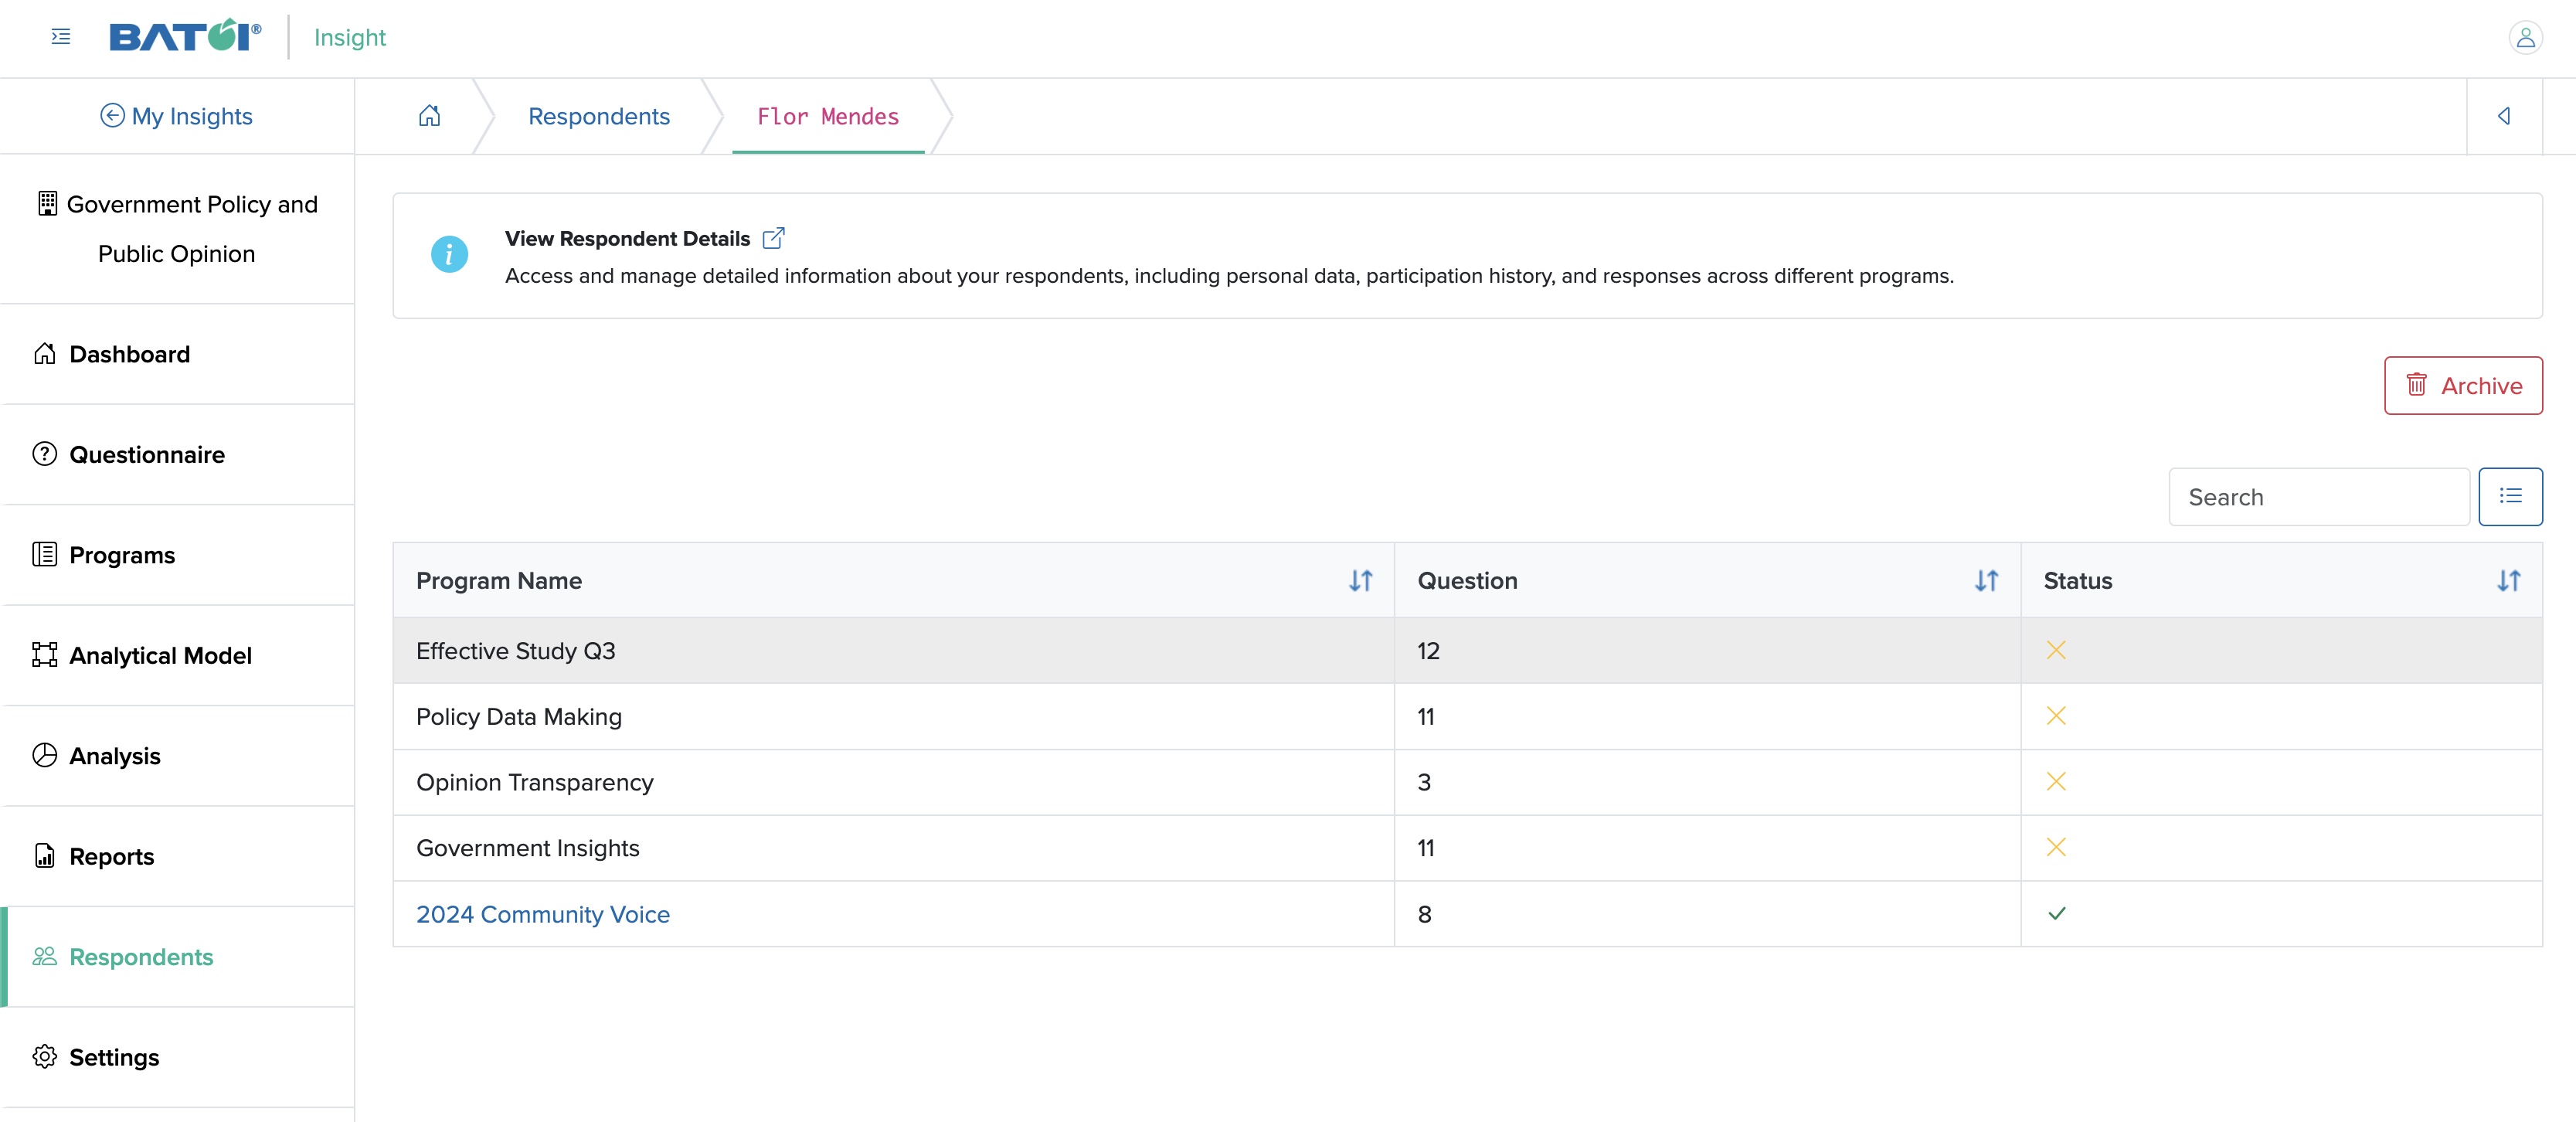
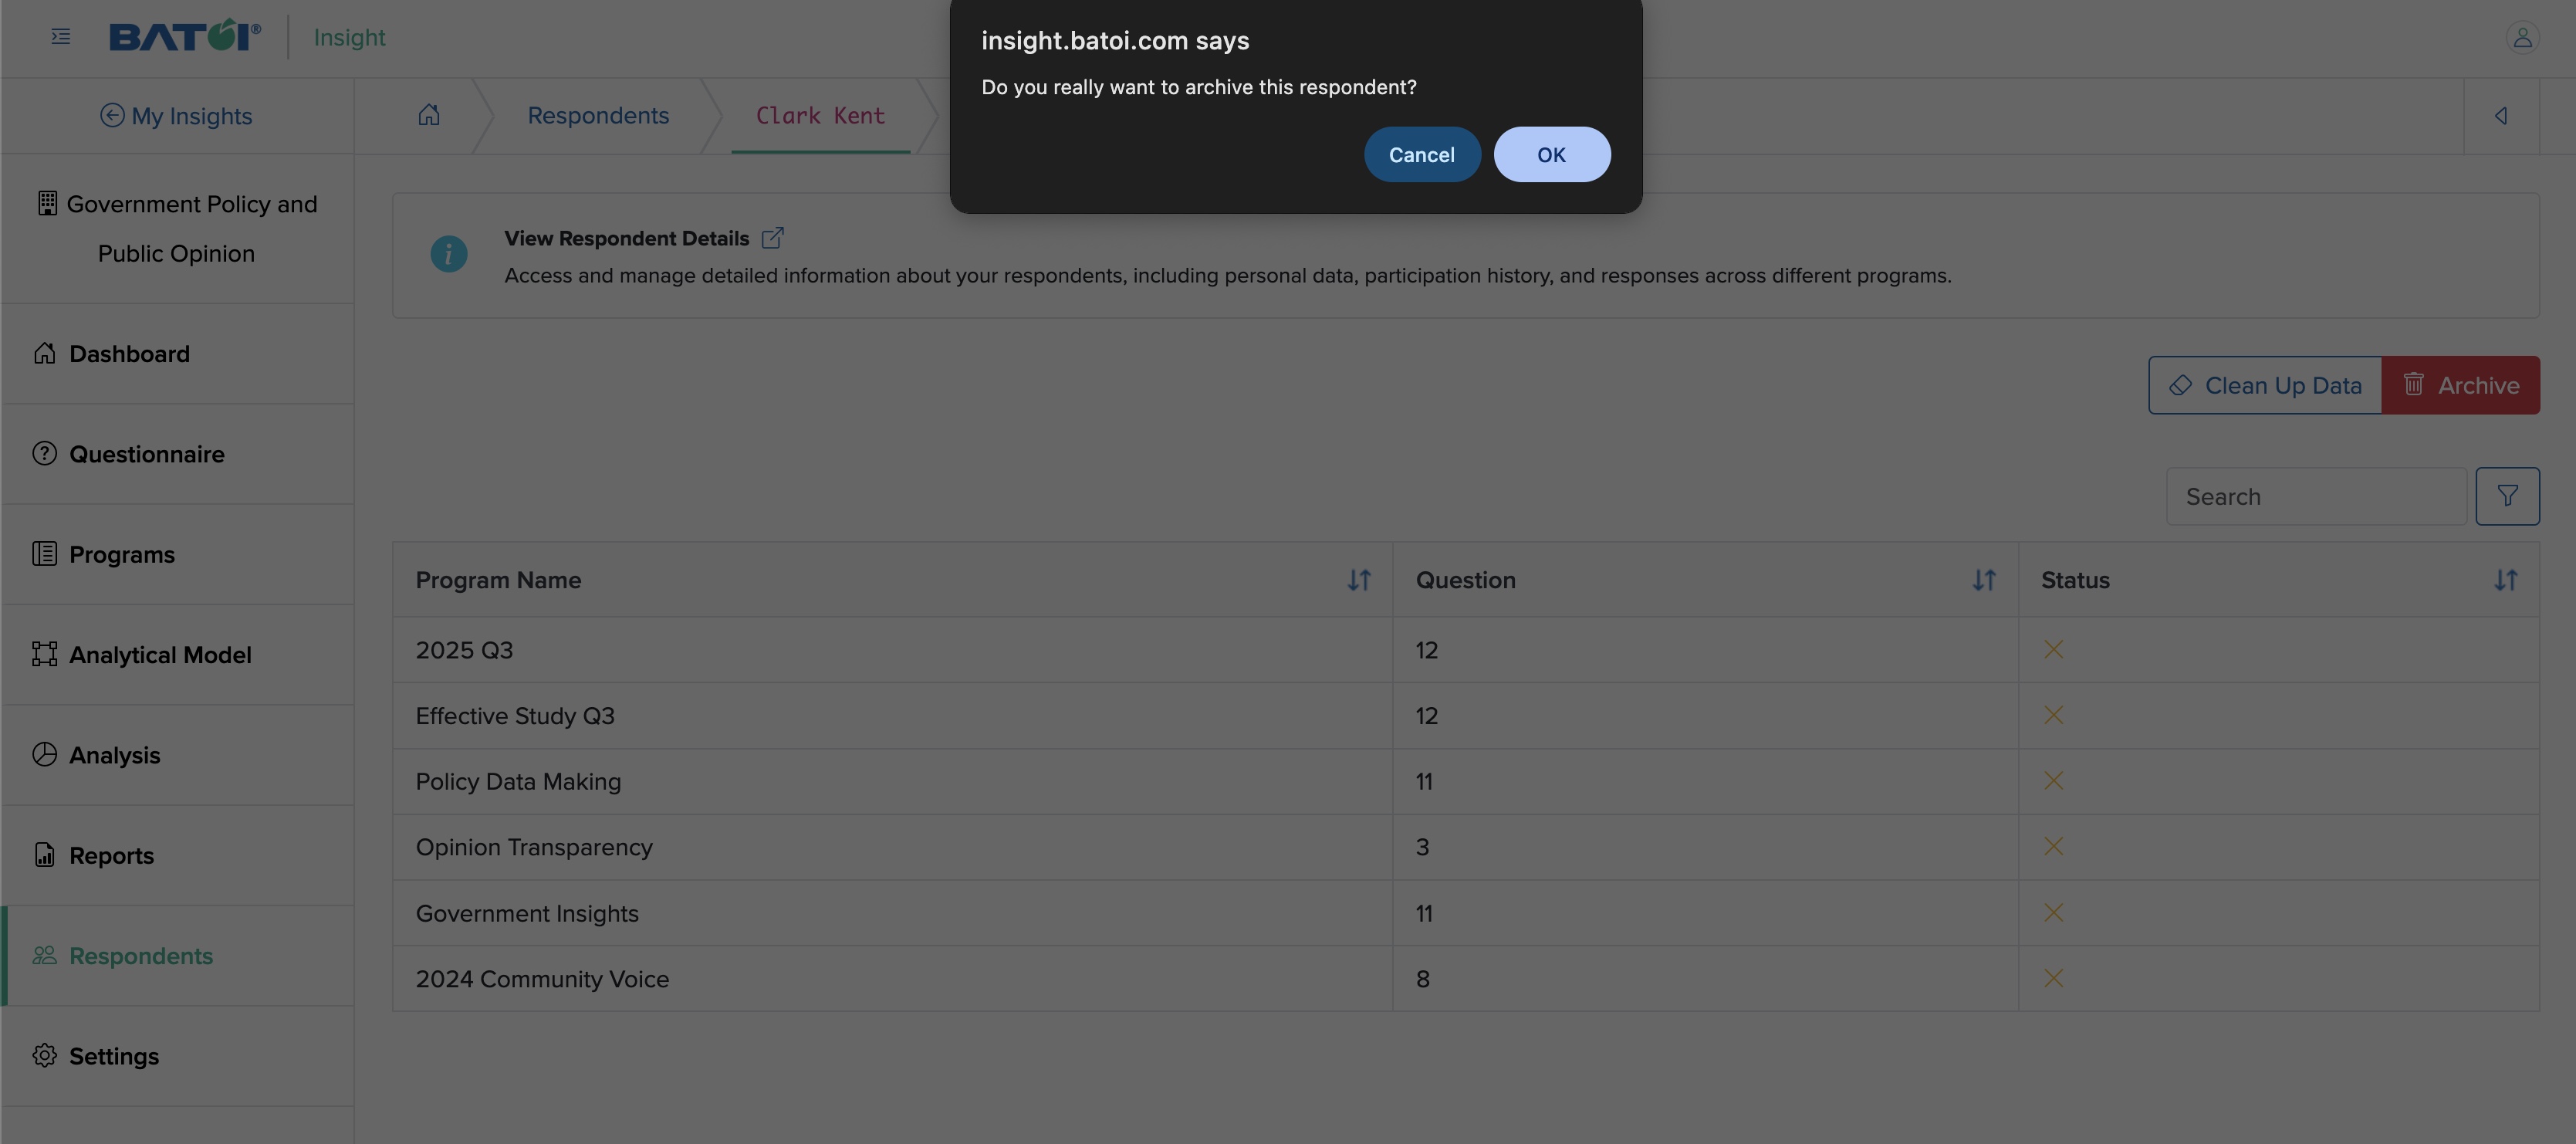
Click the Archive button on the top right side of the View Respondent Details screen, as shown in Figure 5 above, and the pop-up appears, as shown in Figure 6 below. Click the OK button to confirm the archive, as shown in Figure 6 below.
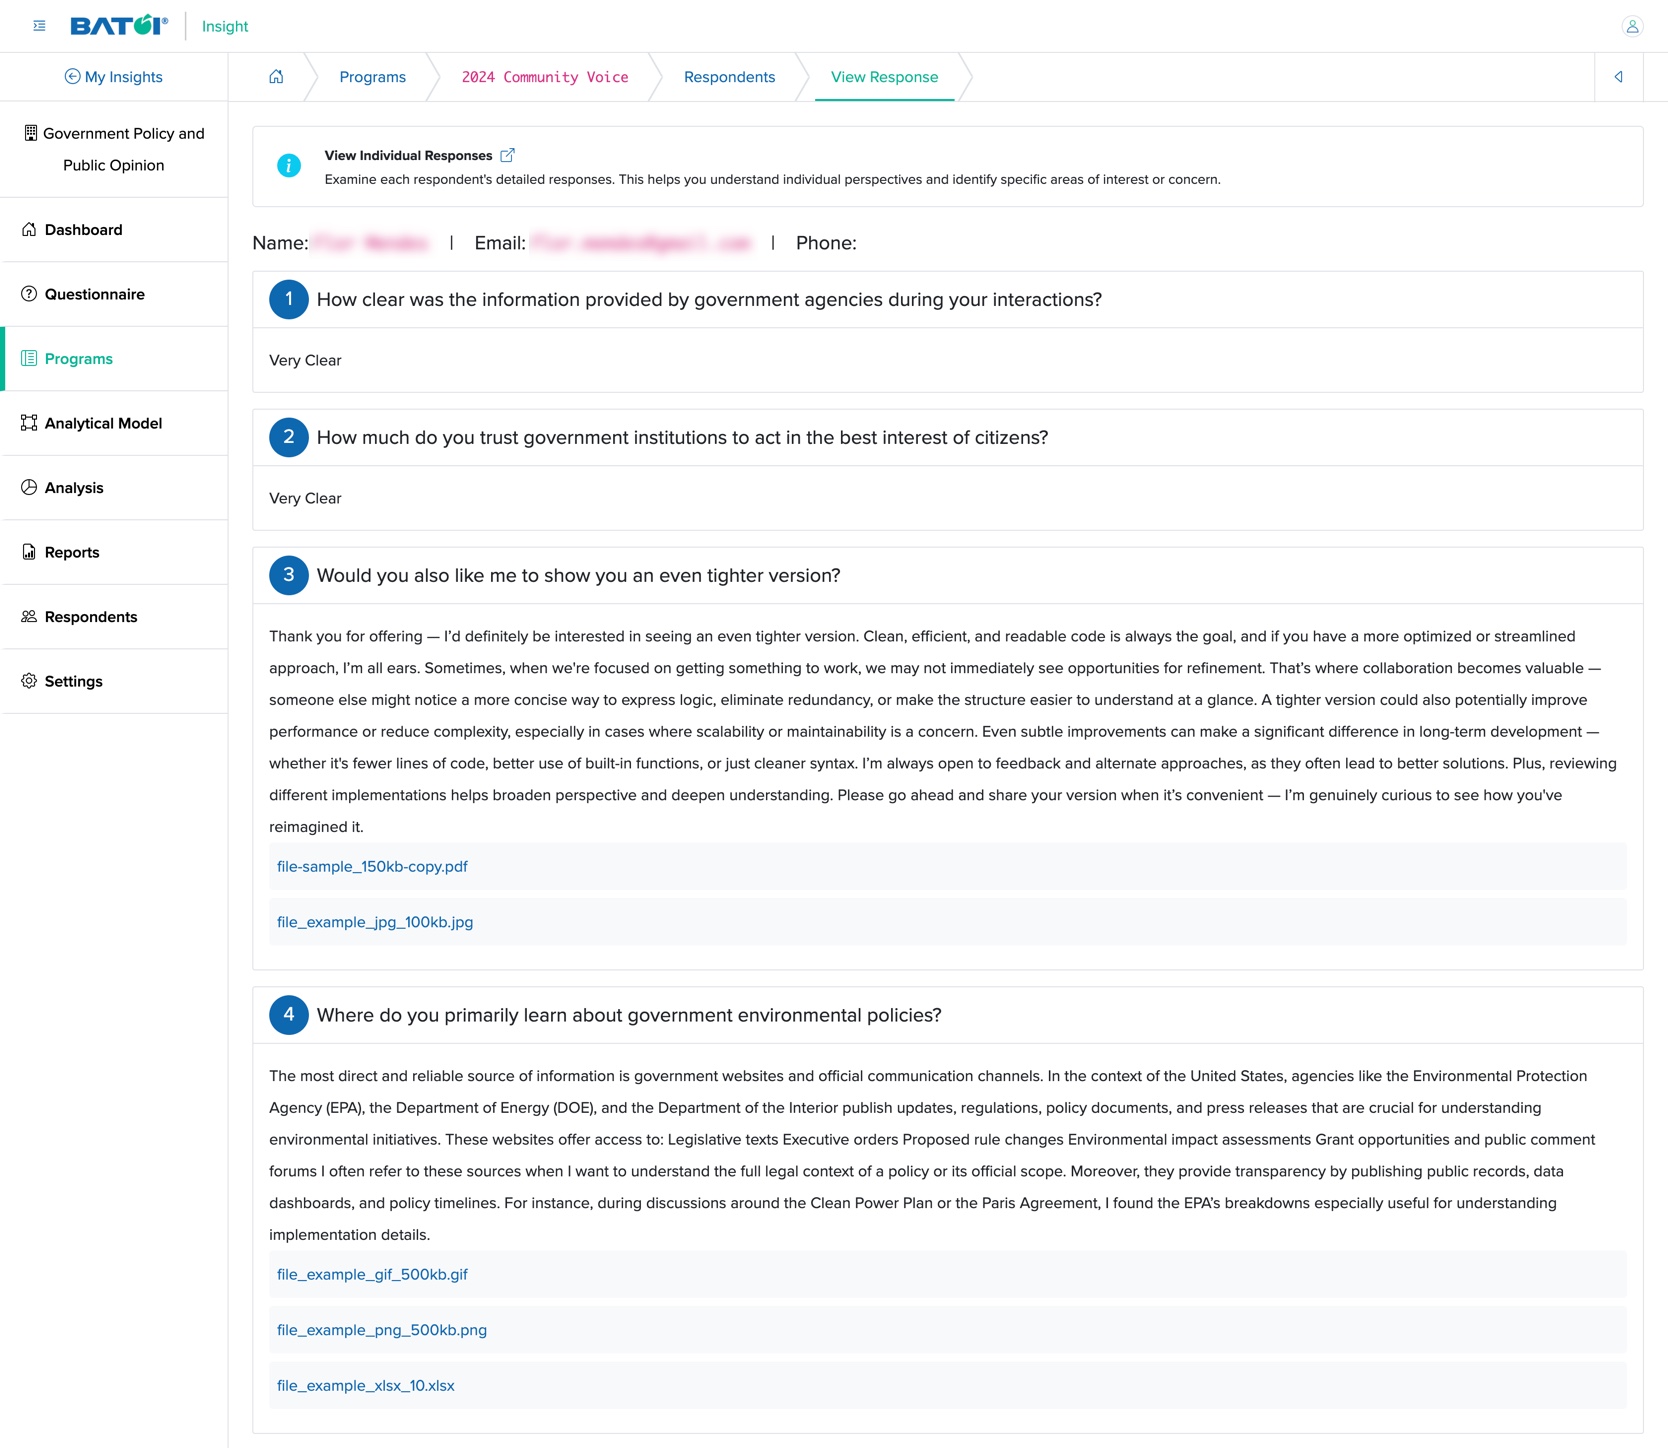
Click the Link associated with the individual program name, as shown in Figure 5 above, and the details responses submitted for each question open, as shown in Figure 7 below.
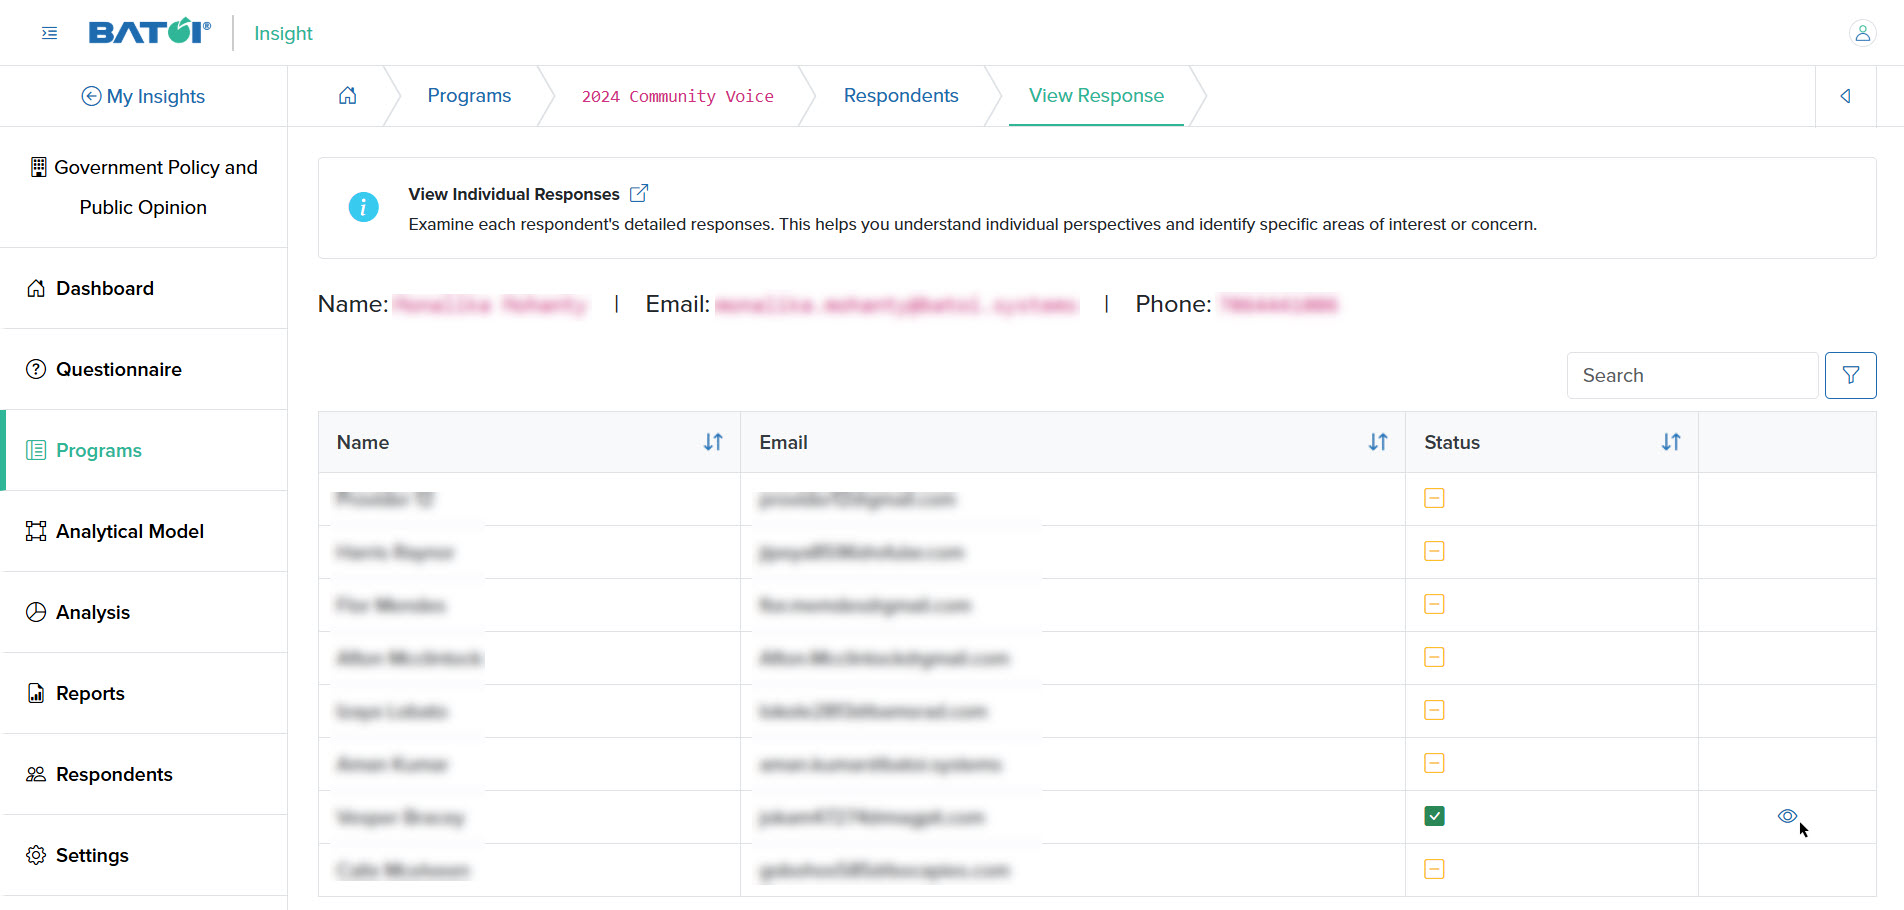
If it is a ‘Double Tier’ program, then the list of ‘Initial Responses’ submitted will be shown in a tabular format, as shown in Figure 8 below.
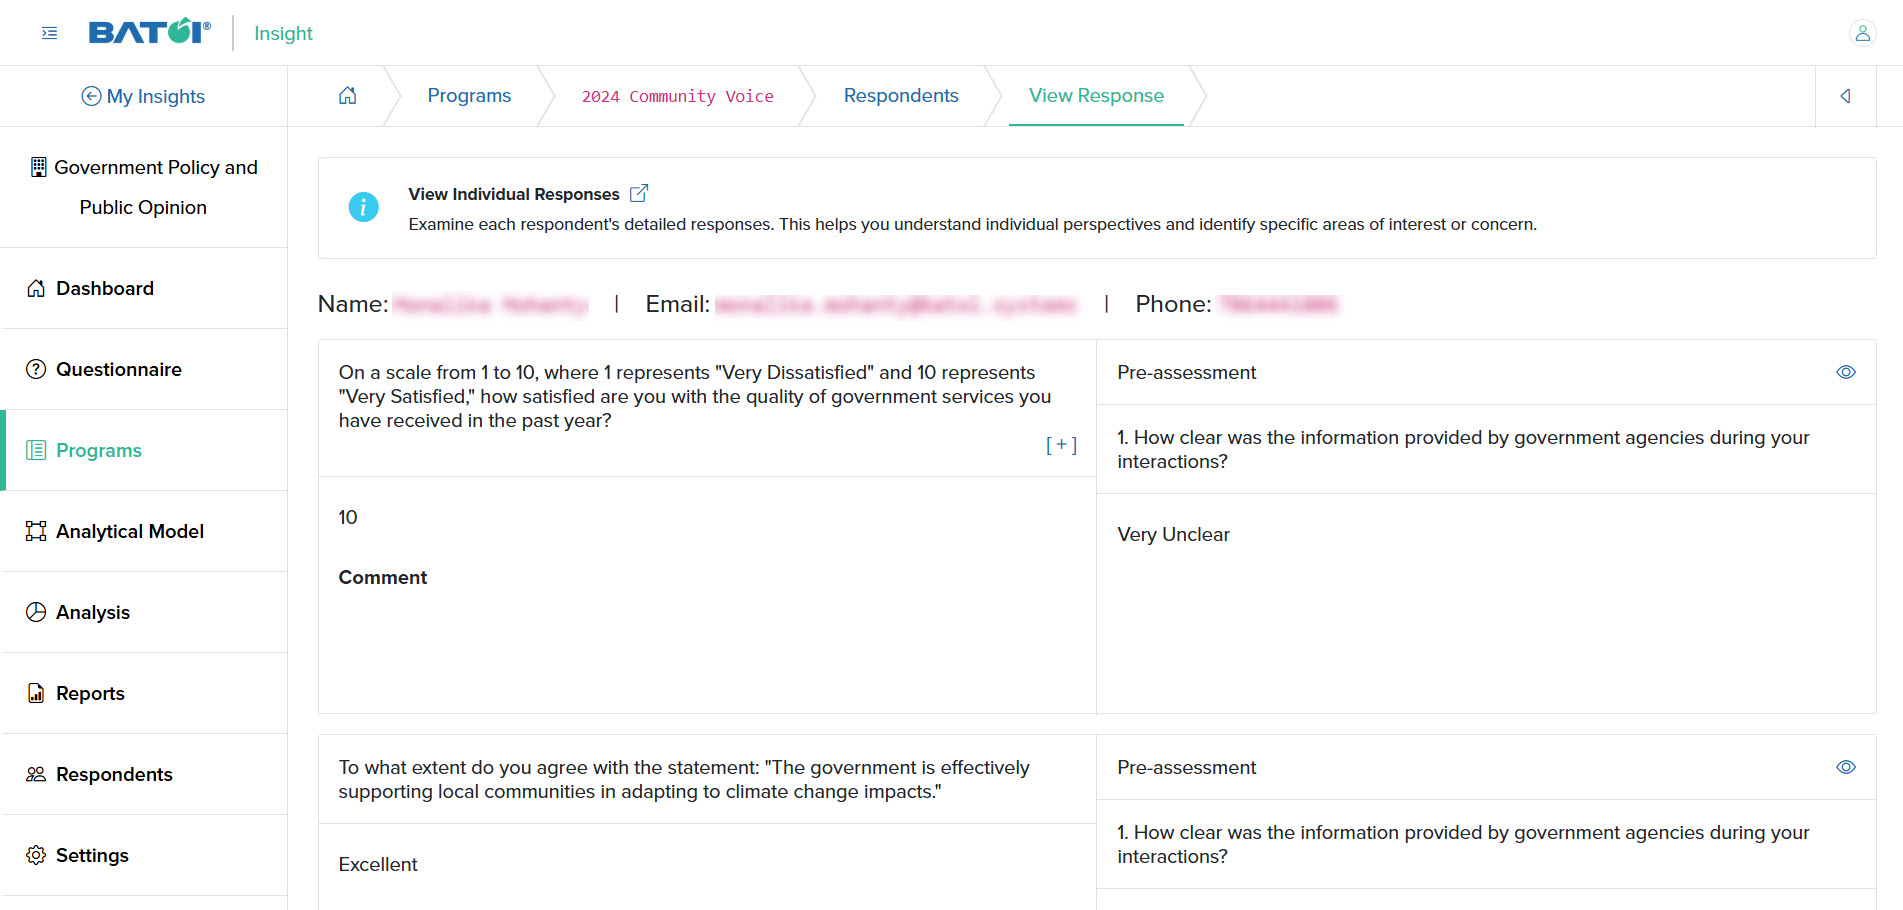
Click on the View icon associated with each ‘Initial Response’ and the detail response view page will appear, as shown in Figure 9 below.
Clean Up Respondent Data
Click the Clean Up Data button on the top right side of the View Respondent Details screen, as shown in Figure 5 above, and you will be redirected to a new page for confirmation to remove the data of the respondent from all programs, as shown in Figure 10 below.

Upon clicking the Confirm button on the page, as shown in Figure 10 above, the respondent will be removed from all the programs, and the respondent’s data will be removed.