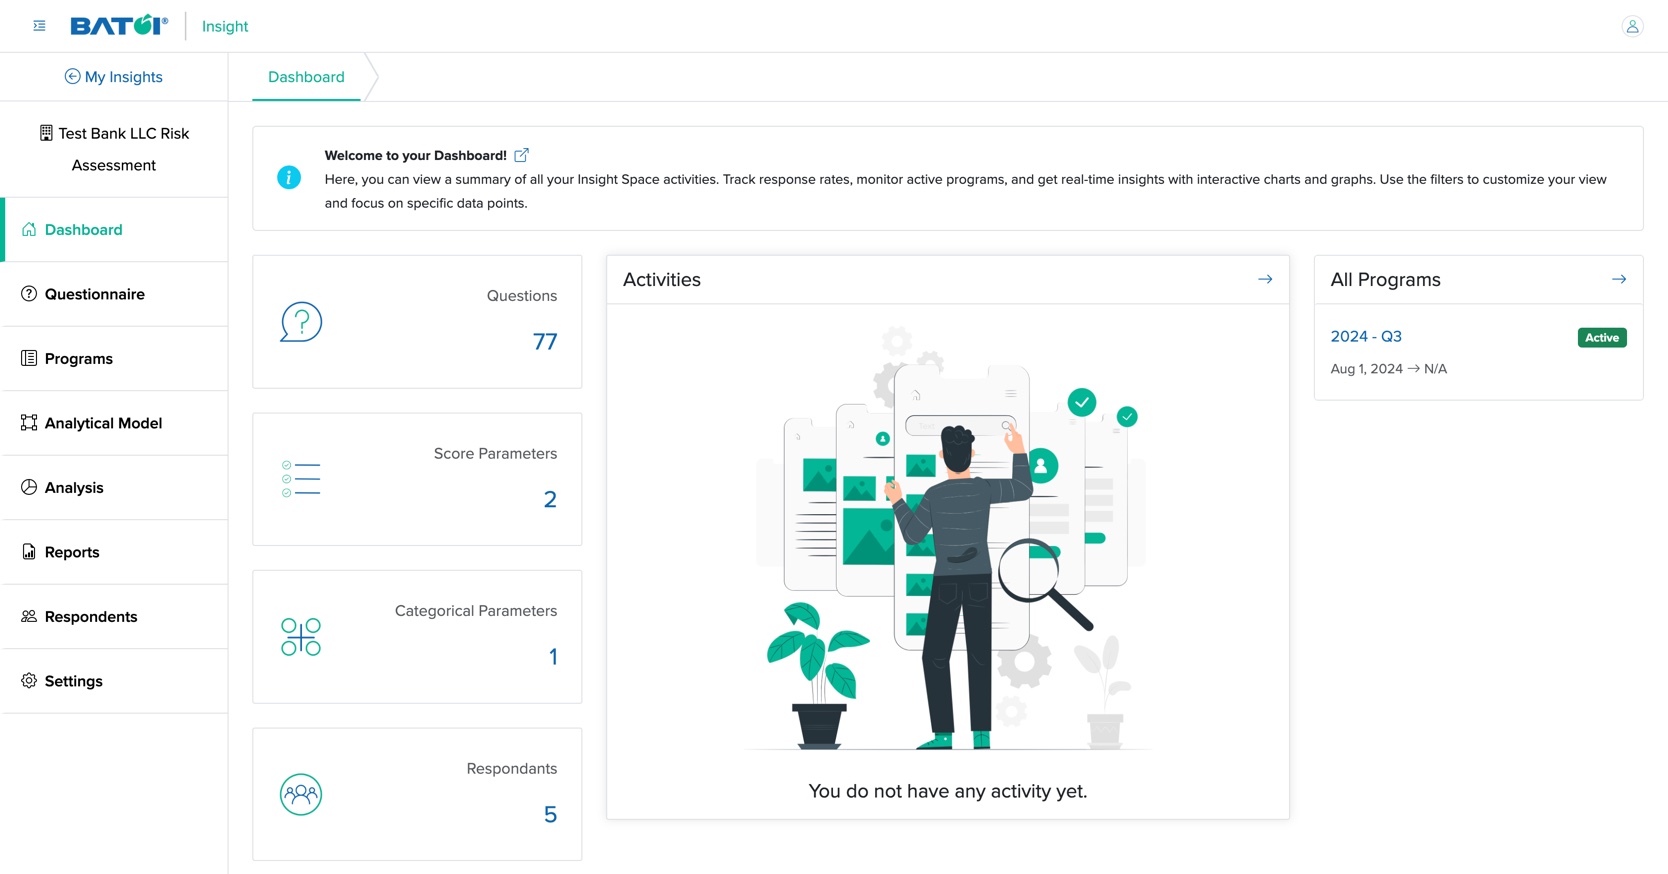
Once you create an Insight, the first thing you need to do is add the Settings. Click the Settings menu, as shown in Figure 1 below.
The settings page opens, as shown in Figure 2 below.
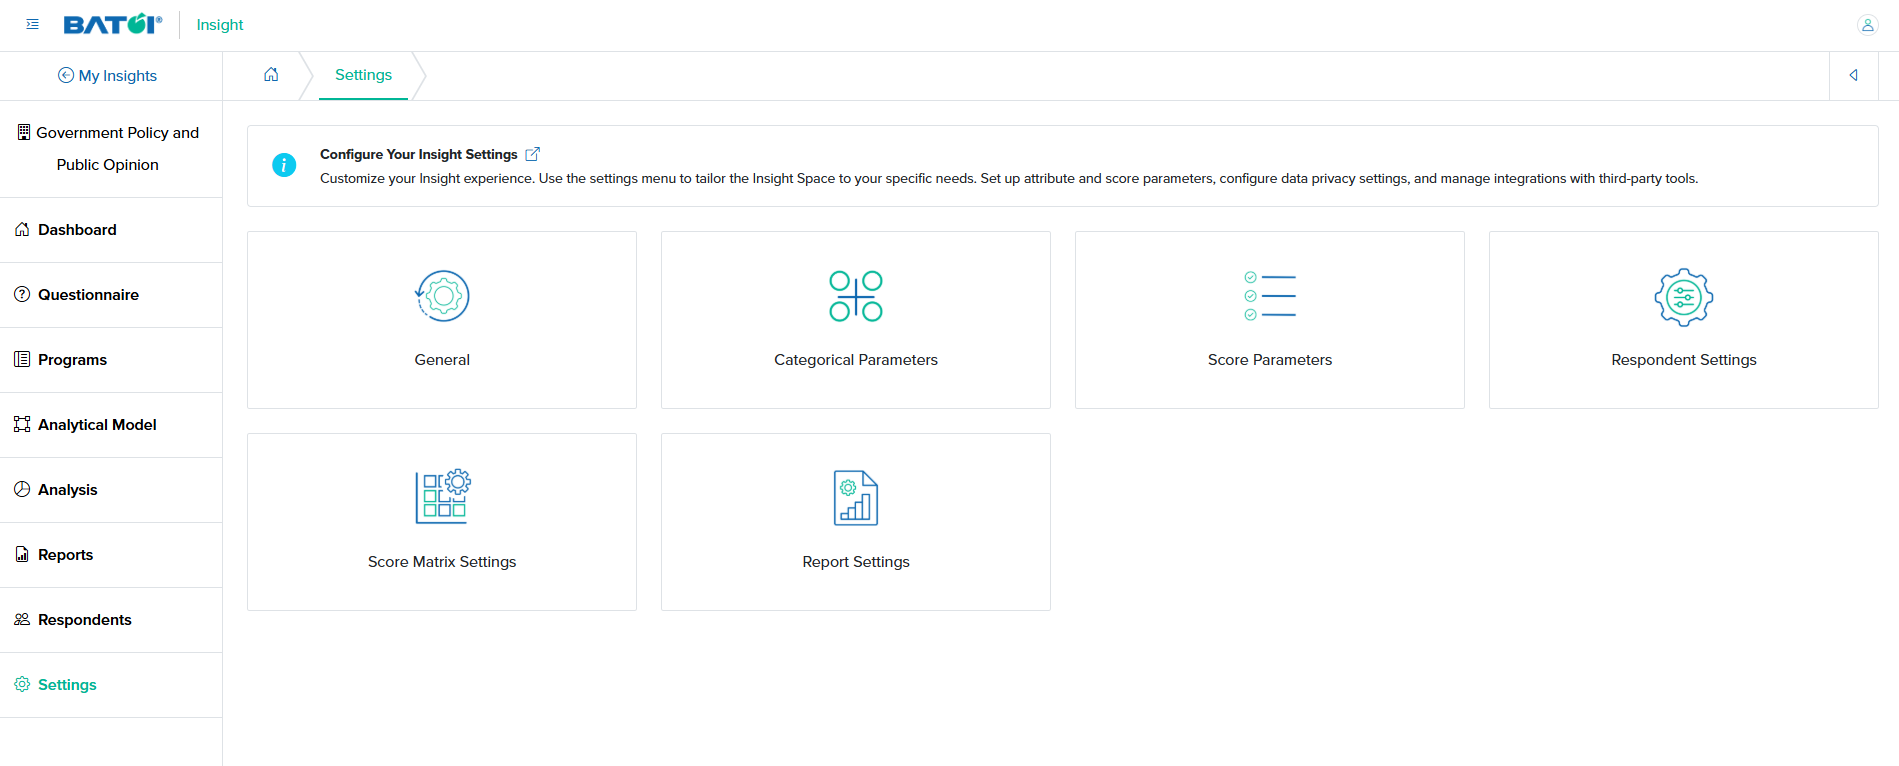
You can find six types of settings, as shown in Figure 2 above.
- General
- Categorical Parameters
- Score Parameters
- Respondent Settings
- Score Matrix Settings
- Report Settings
General
Click the General card, as shown in Figure 2 above, and the general settings page opens, as shown in Figure 3 below.
You can edit the details below and click the Submit button to save the general settings for Insight, as shown in Figure 3 below. The details that need to be filled in are:
- Title (Textbox - Mandatory): Title of the Insight
- Insight Survey Type (Select One - Mandatory): There are three types of survey
- No Step: All the questions will be displayed to the audience in one go.
- Multi-Step: The survey will be displayed to the audience in multiple steps, with one or more questions appearing in each step.
- Multi-step with Group: The survey will be displayed to the audience in multiple steps, with questions from one category appearing in each step.
- Groups Mapped: The survey will be displayed to the audience in spreadsheet, which displays only Likert Scale response type questions in a tabular format.
- Scope for Distribution (Radio Button - Optional): One option to be selected from the radio button.
- Enable Insight Features (Check Box - Optional): Multiple options can be selected from the check box
- Design: If unchecked, users won't be able to add/edit the questionnaire, response, group, weight, and Analytical Model.
- Data Collection: If unchecked, you can view the previously created programs but are not able to add/edit new programs, respondents can't submit the pre-assessment or assessment surveys, you can not add new respondents, and responses.
- Analysis: If unchecked, you can not do analysis and view reports.
- Is Assessment Double Tier? (Optional): Yes or No
- For Single Tier: select ‘No’. This will be effective for the surveys in which multiple entities give their feedback or opinions to a single final respondent.
- For Double Tier: select ‘Yes’. This will be effective for the surveys in which multiple entities give their feedback or opinions to multiple final respondents.
- Display comment for Assessment Question? (Optional): Yes or No
- Anonymous Data Collection (Optional): Yes or No
- Allow Save as Draft (Slider - Optional): Yes or No
- Respondents will see the Save as Draft button while responding only when you enable this option on the General Settings page.
- Allow sending to select respondent (Slider - Optional): Yes or No
- Response limited to select a subject (Slider - Optional): Yes or No
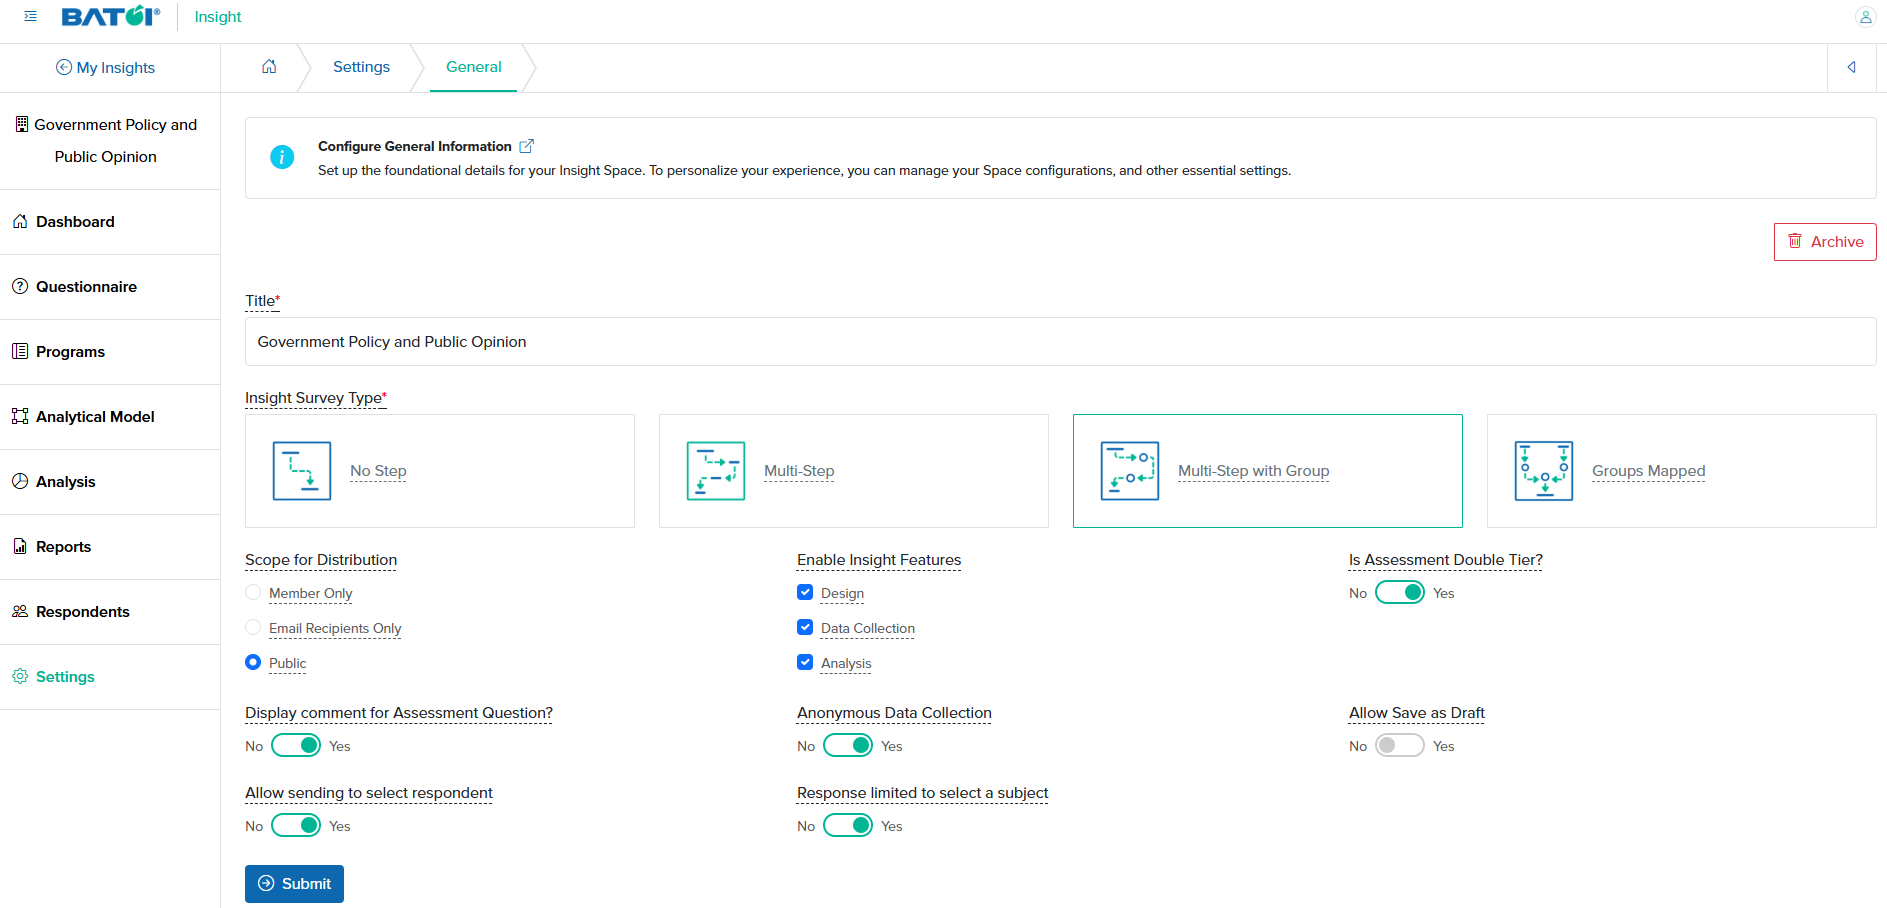
You can also archive an Insight by clicking the Archive button on the top right side of the screen, as shown in Figure 3 above.
Categorical Parameters
Click the Categorical Parameters card, as shown in Figure 3 above, and the categorical parameter settings page opens, as shown in Figure 4 below.

Click the + Add or Add Categorical Parameter button to create a new categorical parameter, as shown in Figure 4 above.
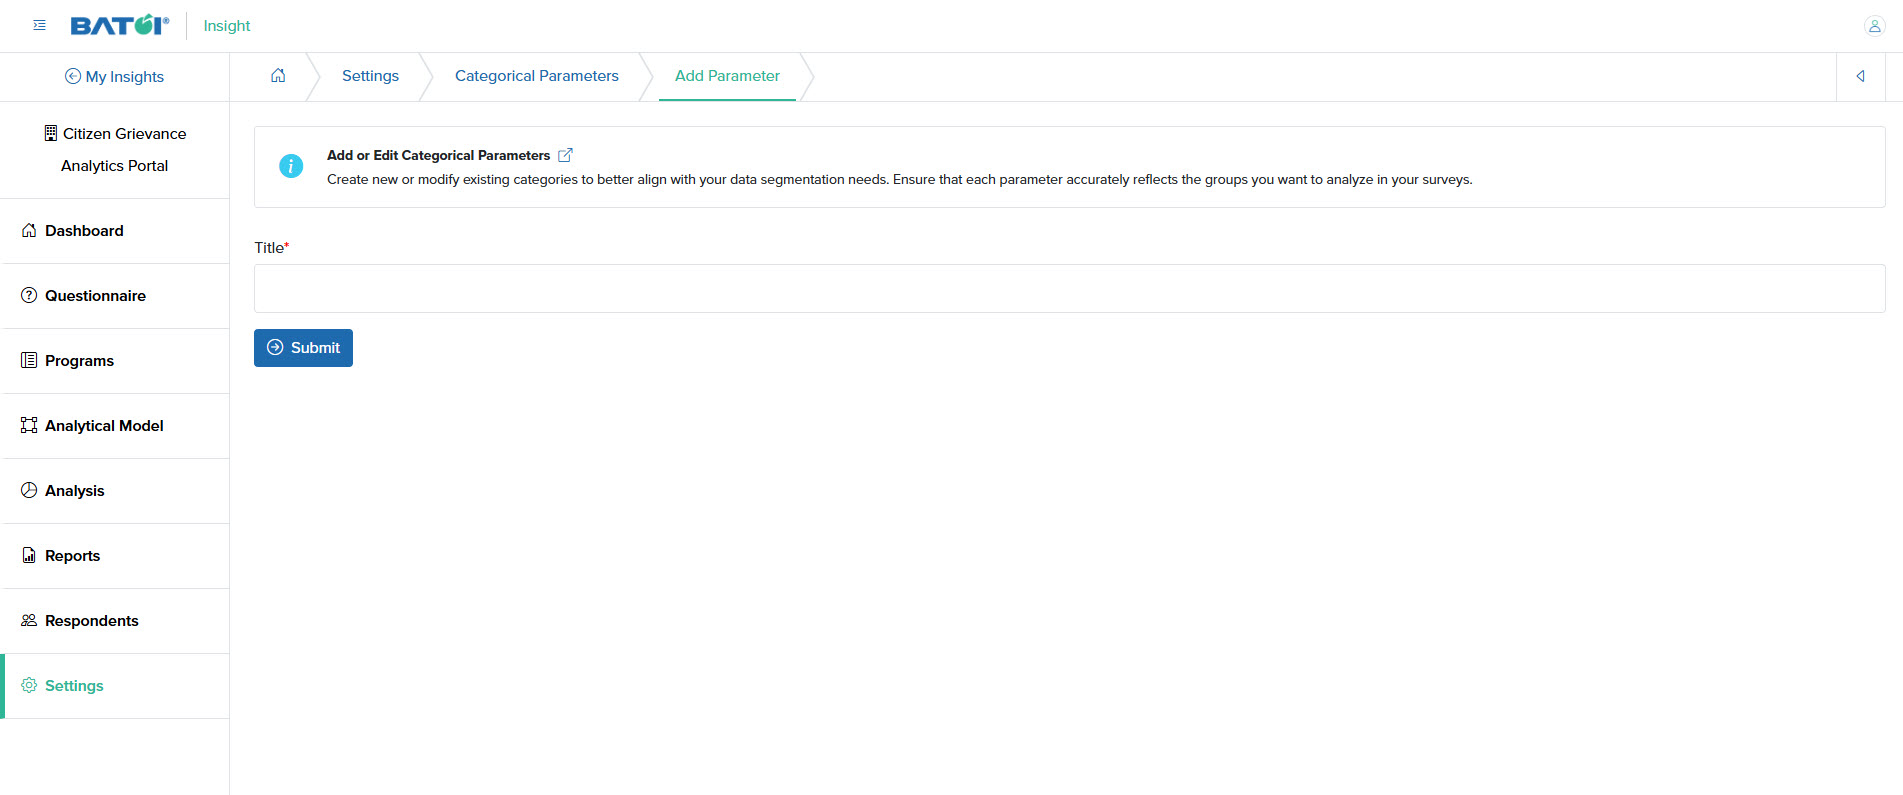
On the Add Categorical Parameter screen, enter the Title and click the Submit button to create a new categorical parameter, as shown in Figure 5 below.
You can find all the Categorical Parameters created on the list page, as shown in Figure 6 below.
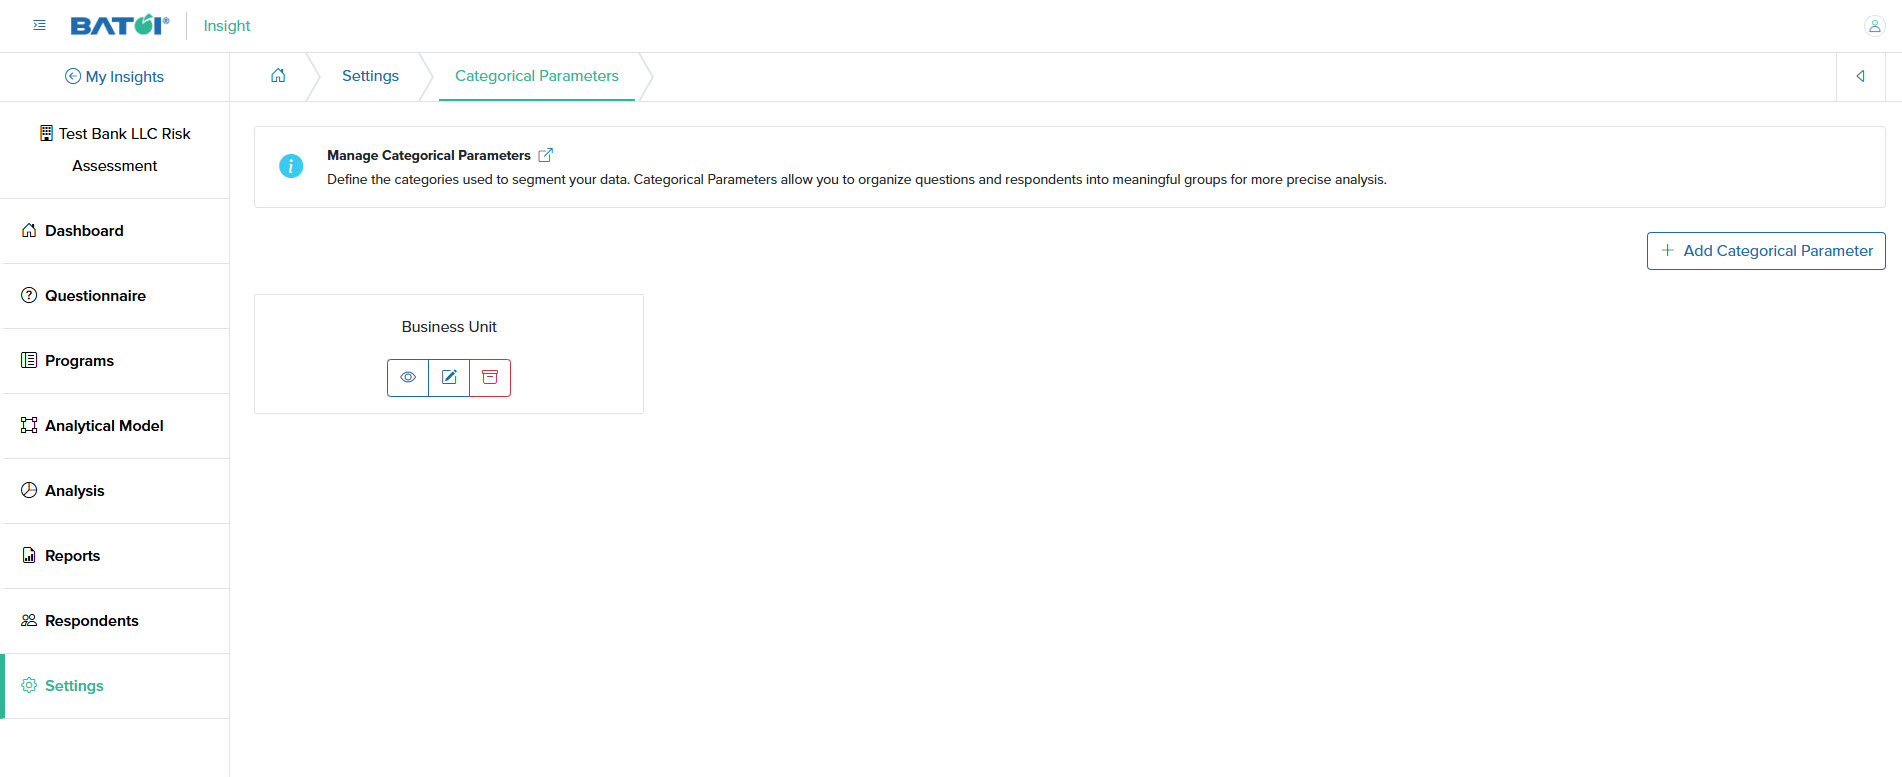
Each Categorical Parameter is displayed as a card on the list page, as shown in Figure 6 above, and is associated with the 'View', 'Edit', and 'Archive' functions, as shown in Figure 6 above.
View Categorical Parameter
Click the view icon for the Categorical Parameter you want to see, as shown in Figure 6 above, and the view page opens, as shown in Figure 7 below.
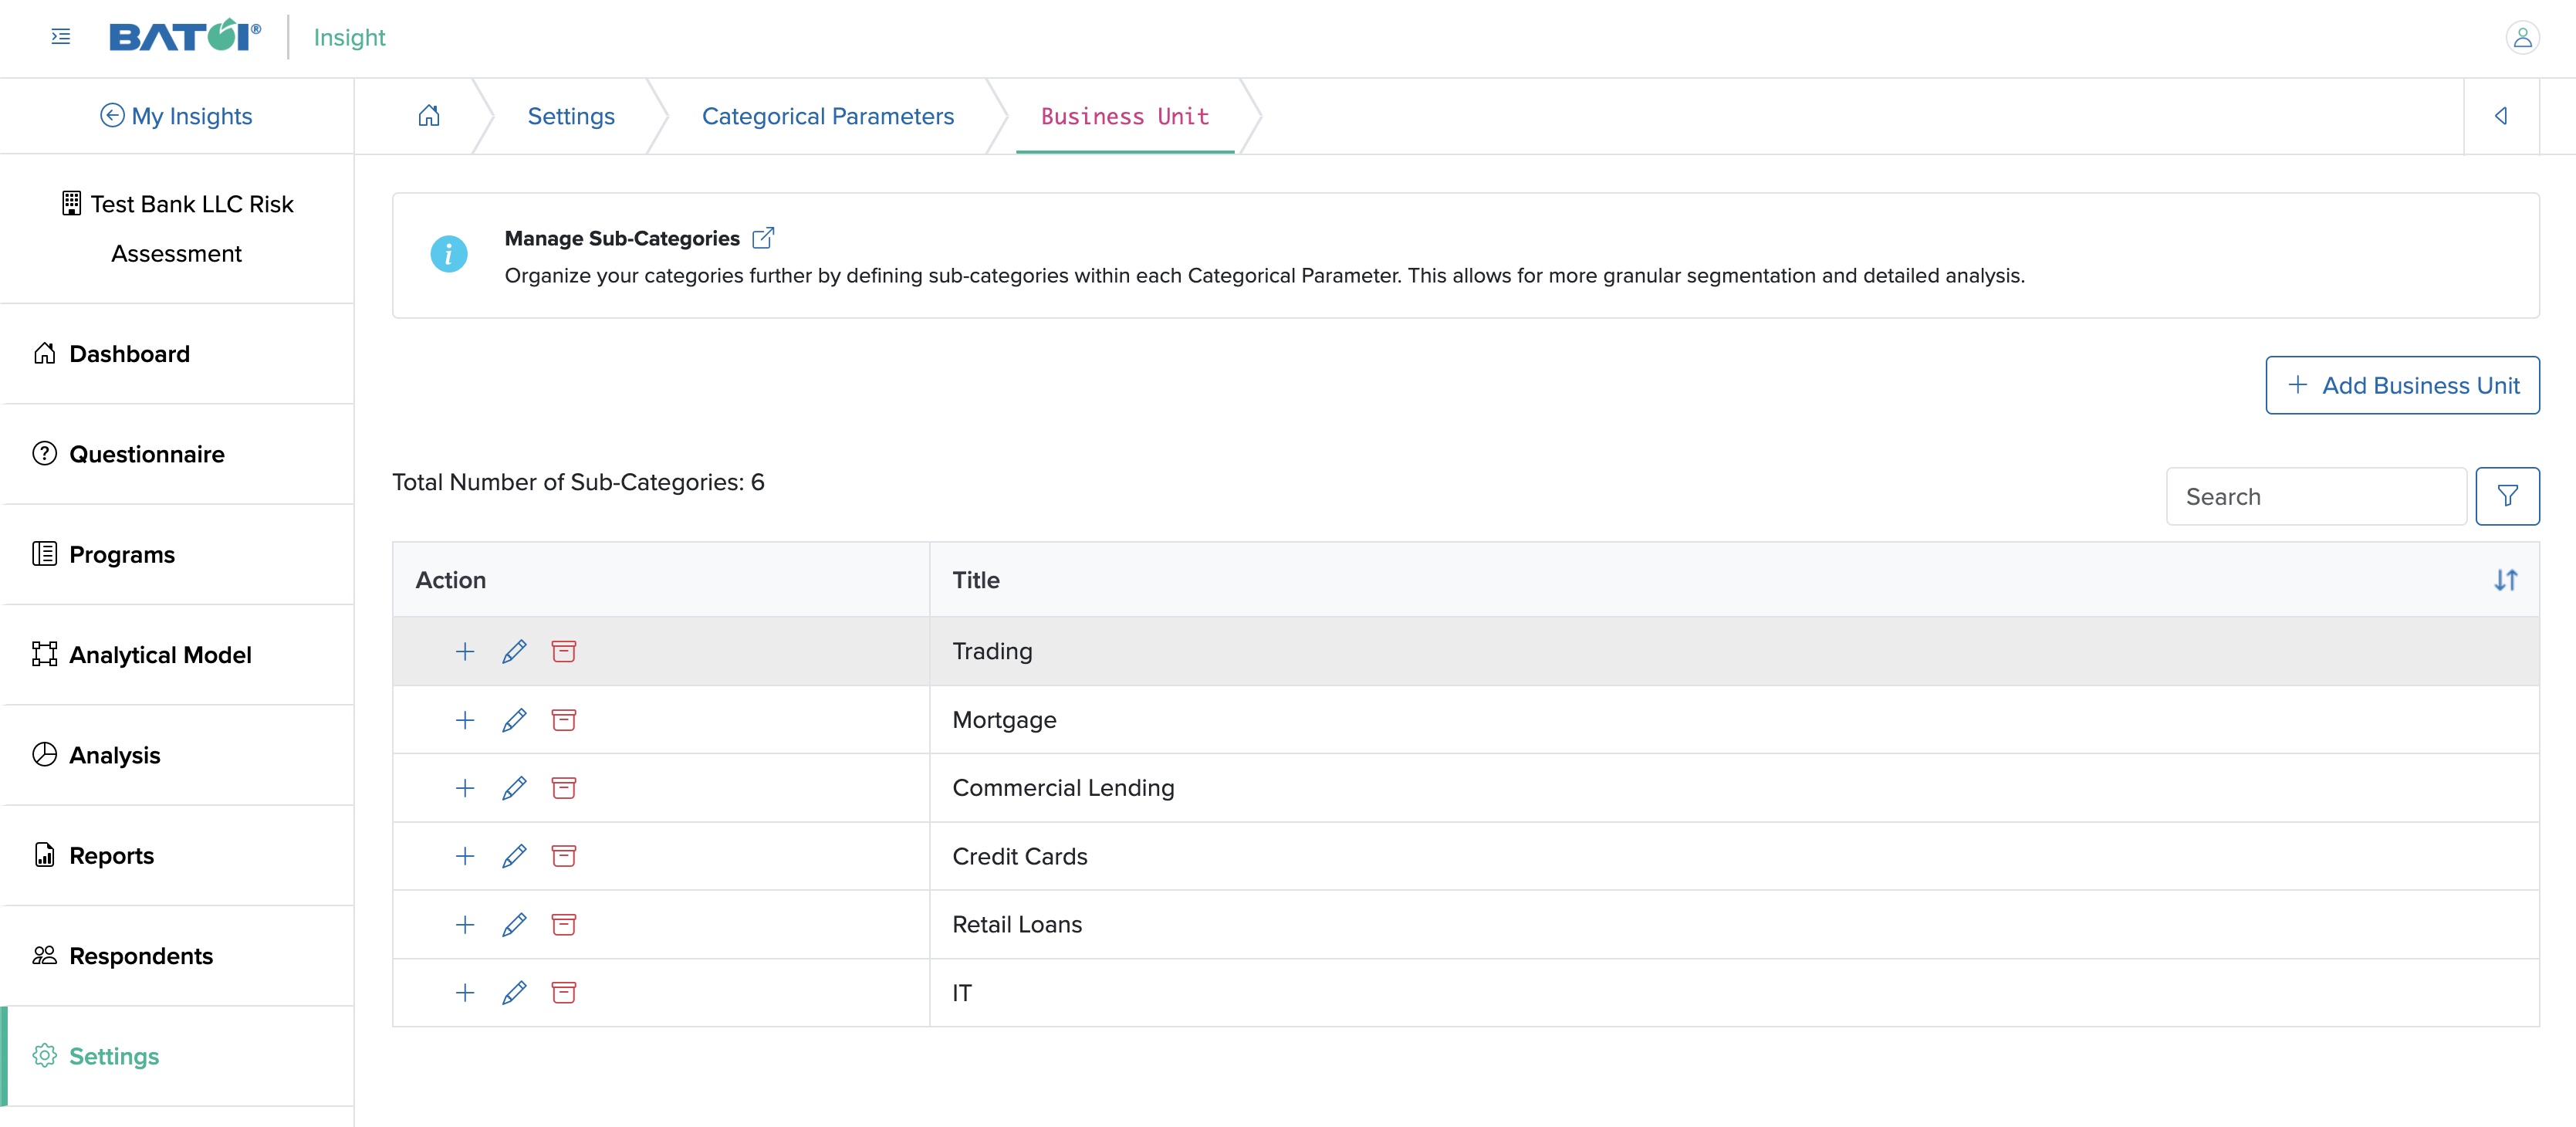
You can add different parameters on the individual categorical parameter page by clicking the Add Business Unit button, as shown in Figure 7 above. All the categorical parameters inside a categorical parameter appear in a list format, as shown in Figure 7 above.
Each categorical parameter is associated with the 'Add', 'Edit', and 'Archive' functions.
To add a child categorical parameter, click the 'Add' icon associated with the individual category row, as shown in Figure 7 above.
You can sort the parameters by clicking the sort icon on the table header, as shown in Figure 7 above.
Score Parameters
Click the Score Parameters card, as shown in Figure 2 above, and the score parameter settings page opens, as shown in Figure 8 below.
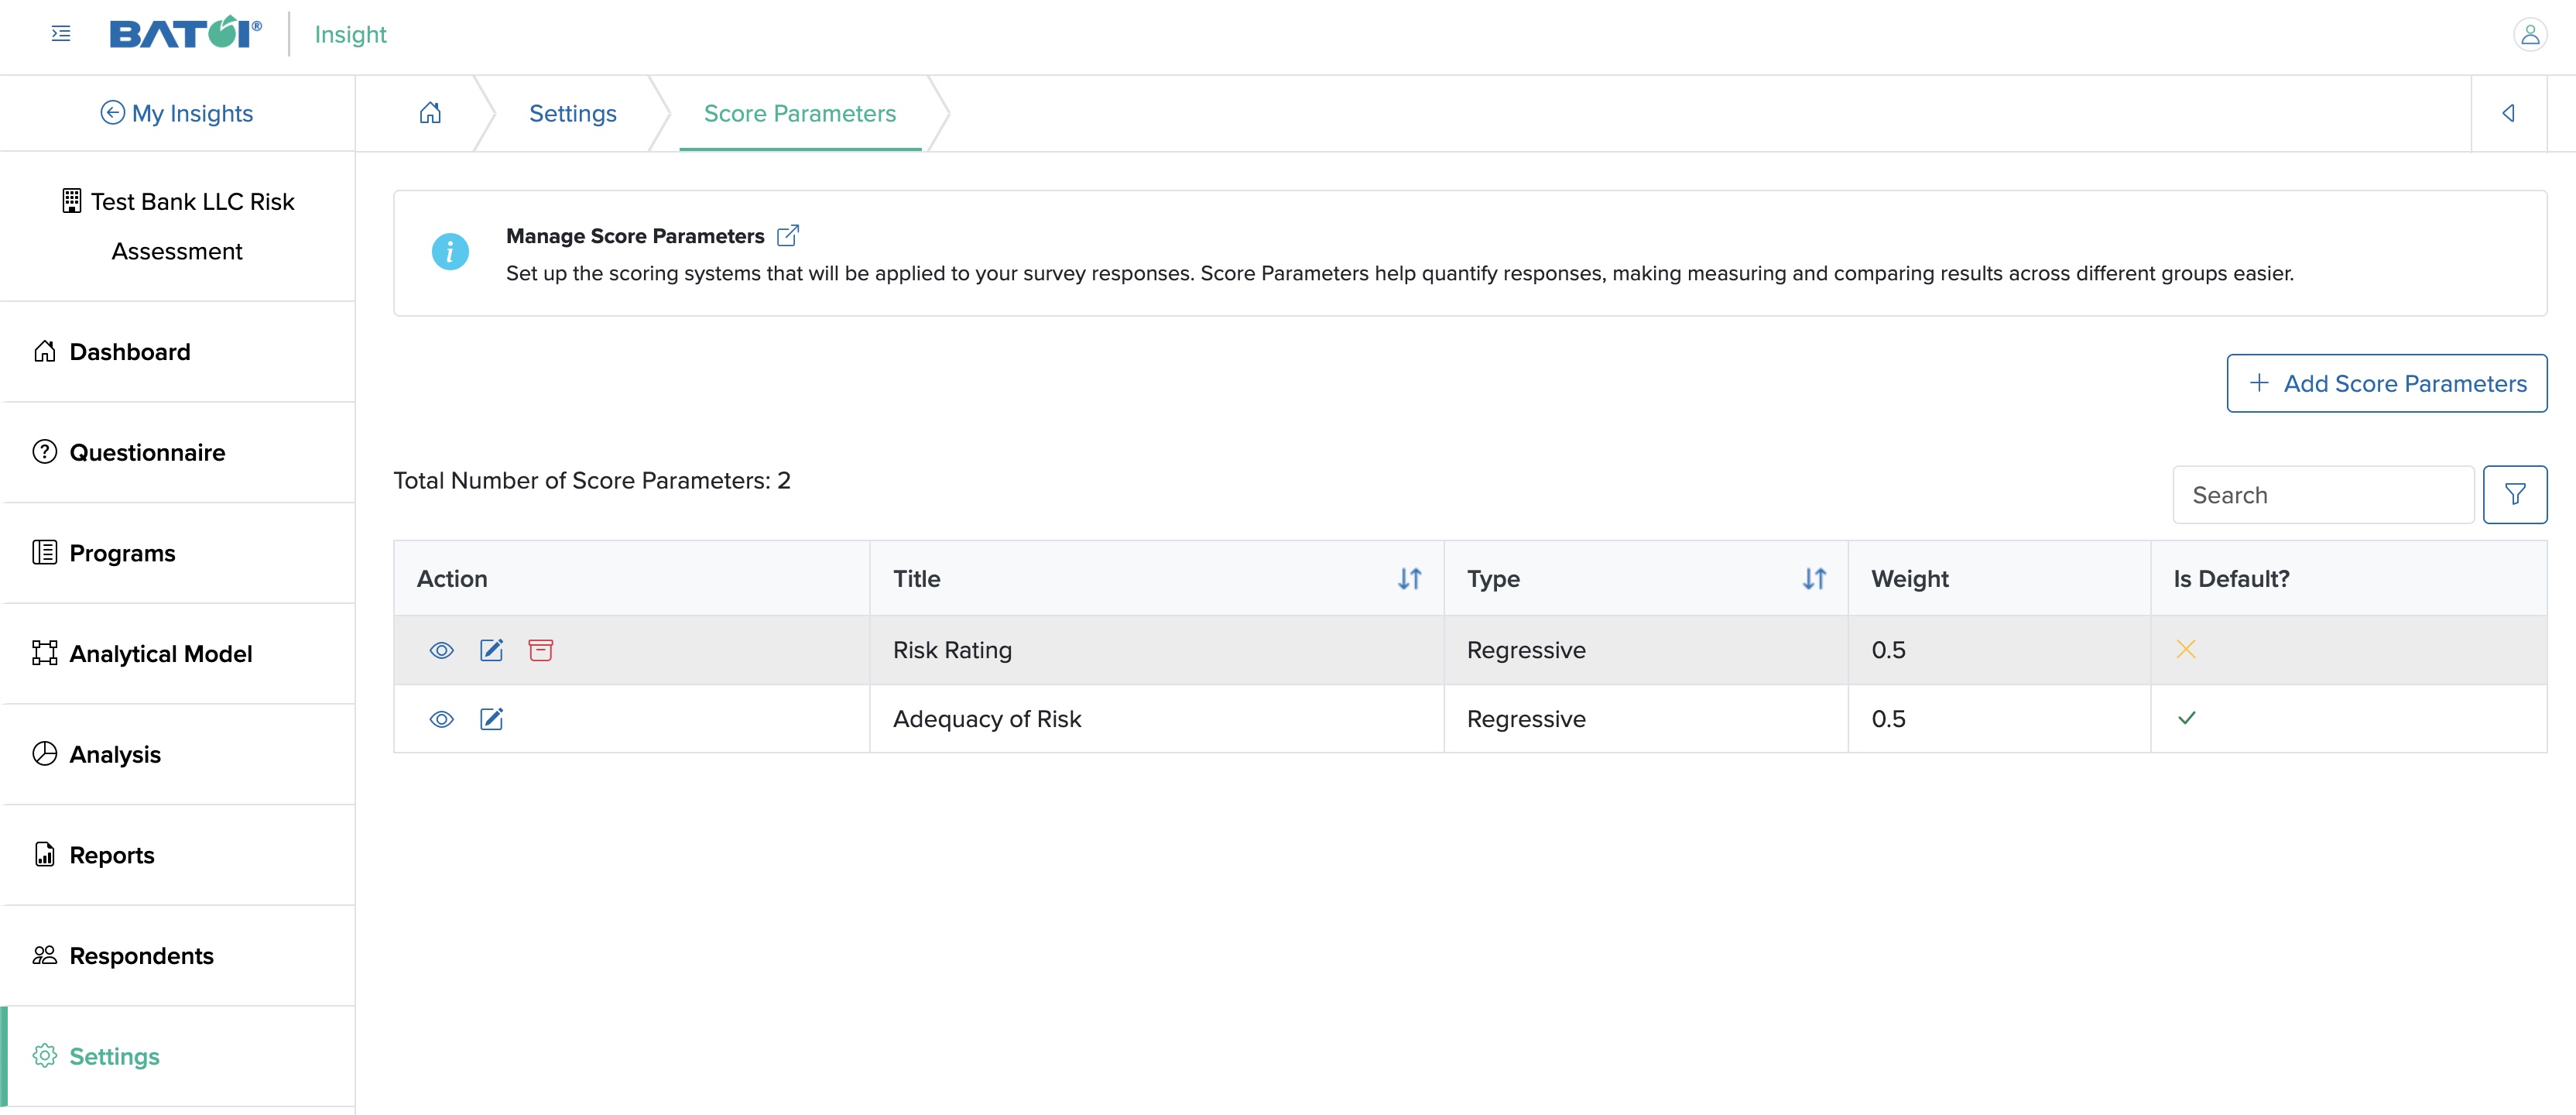
You can add different score parameters by clicking the Add Score Parameters button, as shown in Figure 8 above.
All the score parameters added appear in a list format, as shown in Figure 8 above.
Each score parameter is associated with the 'View', 'Edit', and 'Archive' functions.
Add Score Parameters
Click the Add Score Parameters button, and the Add Score parameter screen opens, as shown in Figure 9 below.
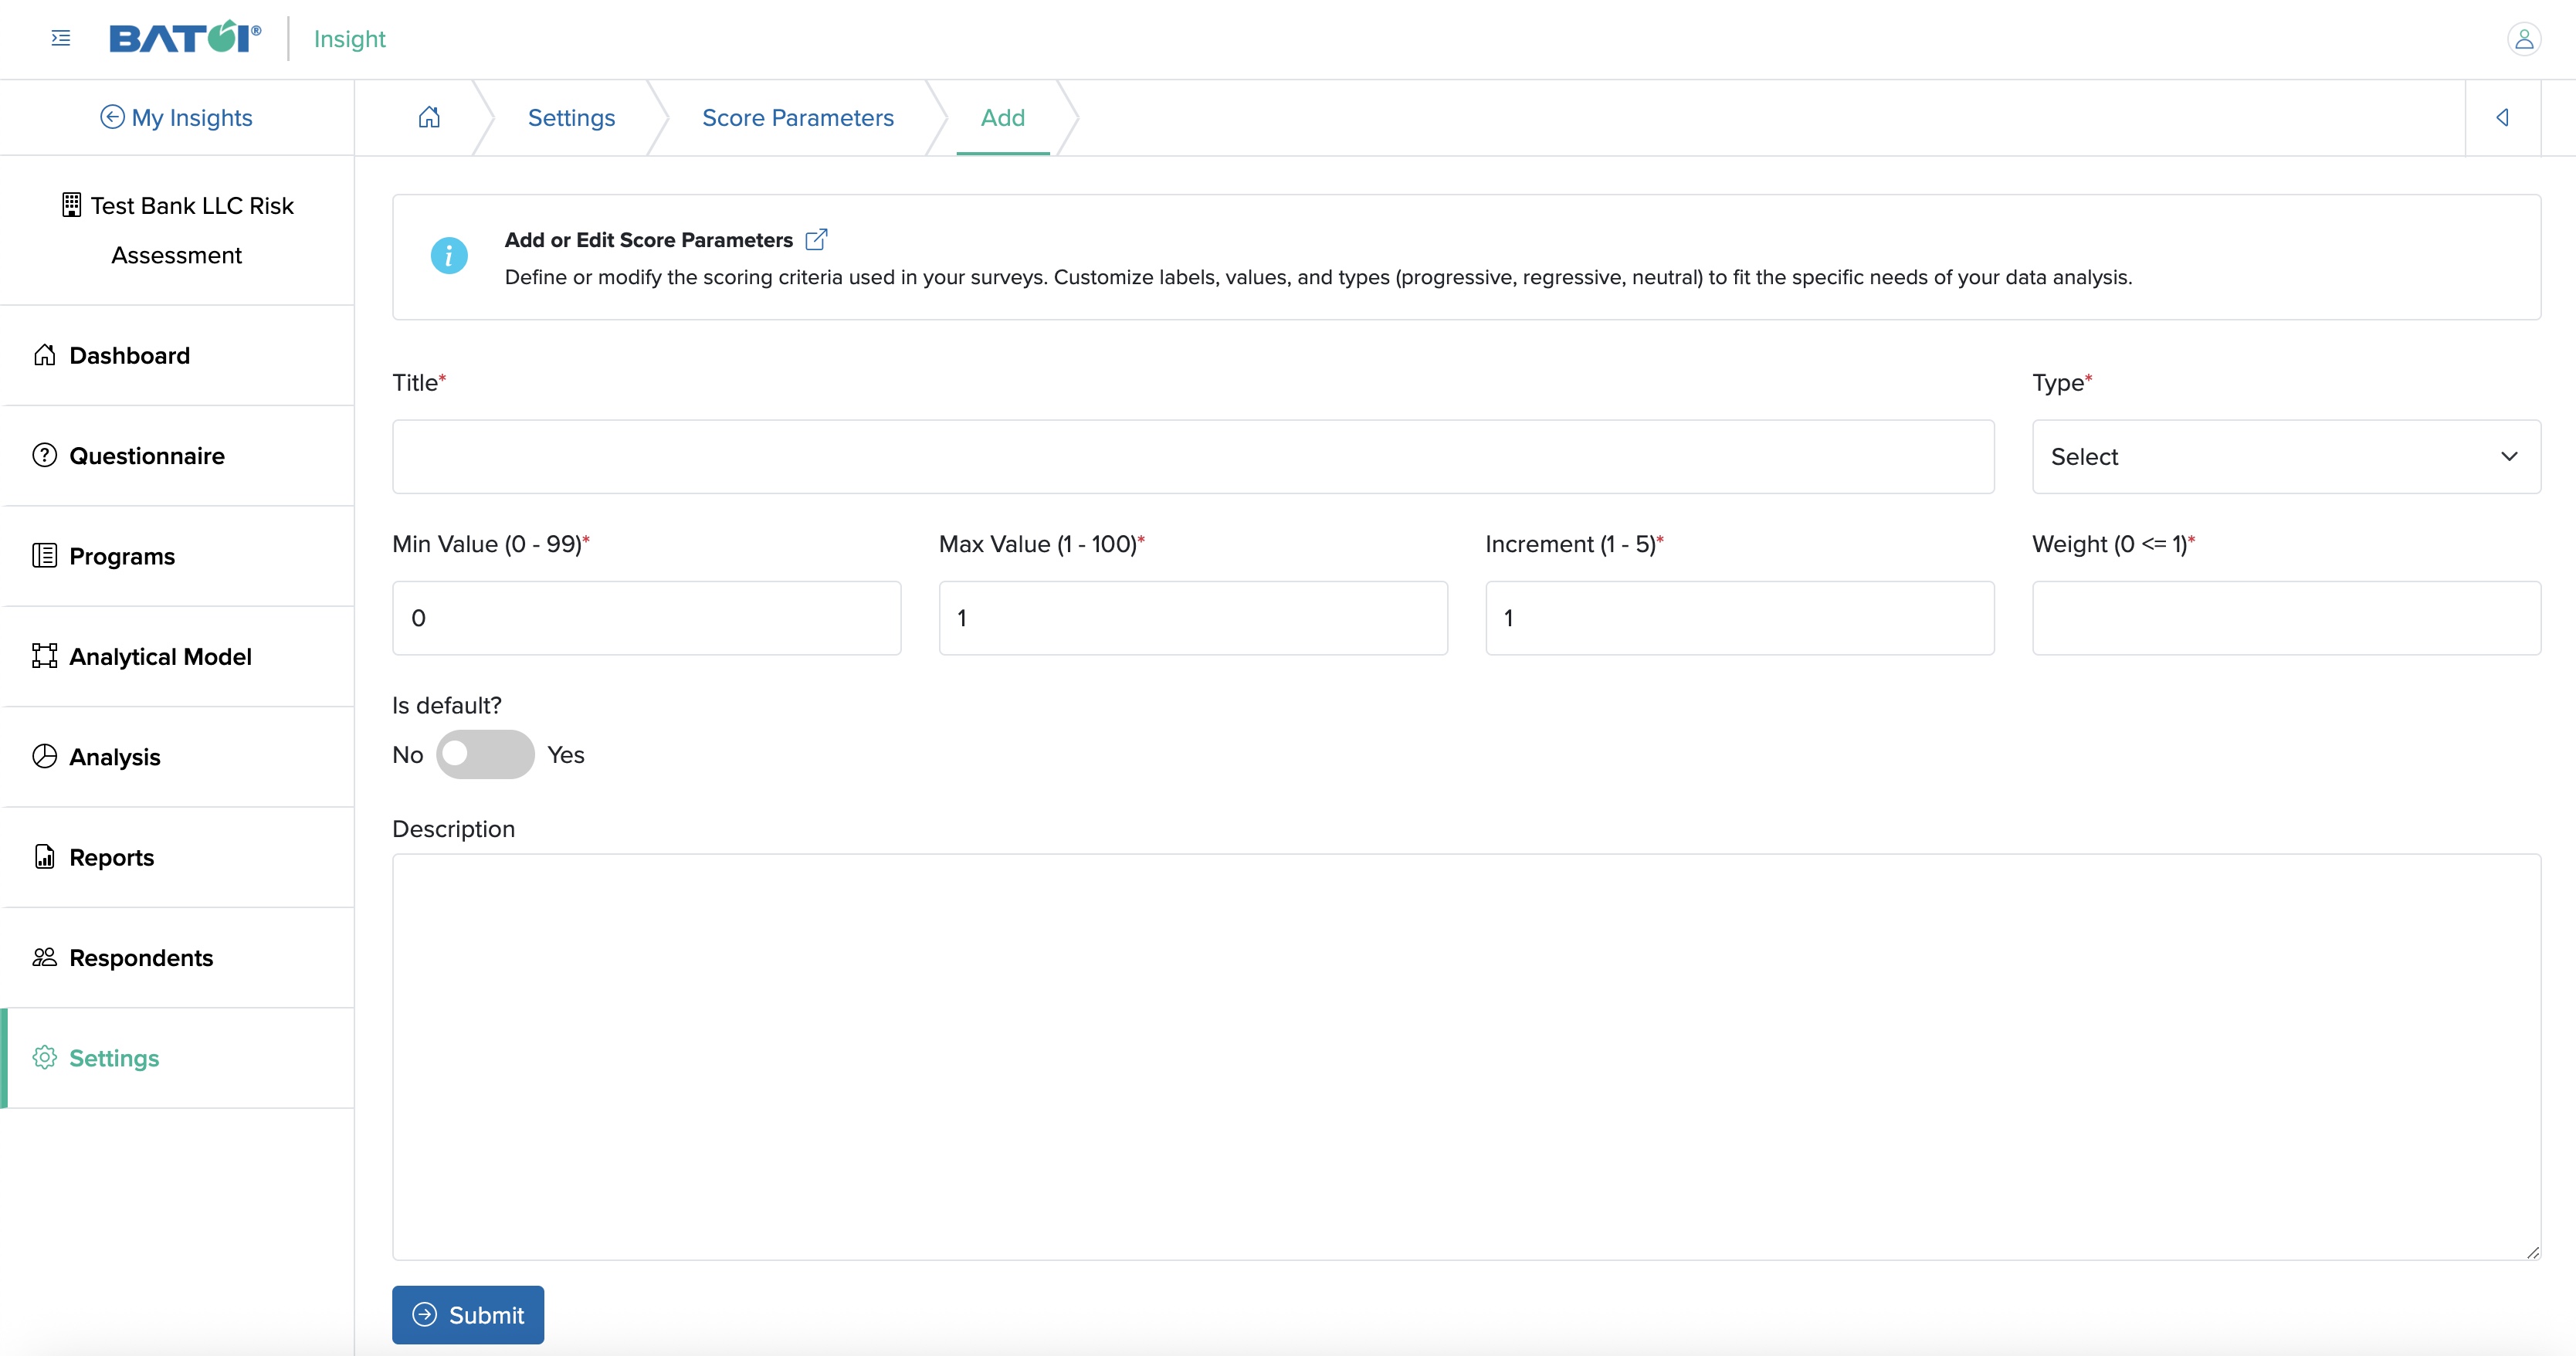
You can enter the details below and click the Submit button to save the score parameter as shown in Figure 9 above. The details that need to be filled in are:
- Title (Textbox - Mandatory): Title of the score parameter
- Type (Dropdown menu - Mandatory): Type of the score parameter
- Progressive
- Regressive
- Min Value (0 - 99) (Select box - Mandatory): Minimum value of the score parameter
- Max Value (1 - 100) (Select box - Mandatory): Maximum value of the score parameter
- Increment (1 - 5) (select box - Mandatory): Increment order of the score parameter
- Weight (0 <= 1) (Select box - Mandatory): Weight value of the score parameter
- Is default? (Slider - Optional): Yes or No
- Description (Text area - Optional): Description of the score parameter
Edit Score Parameters
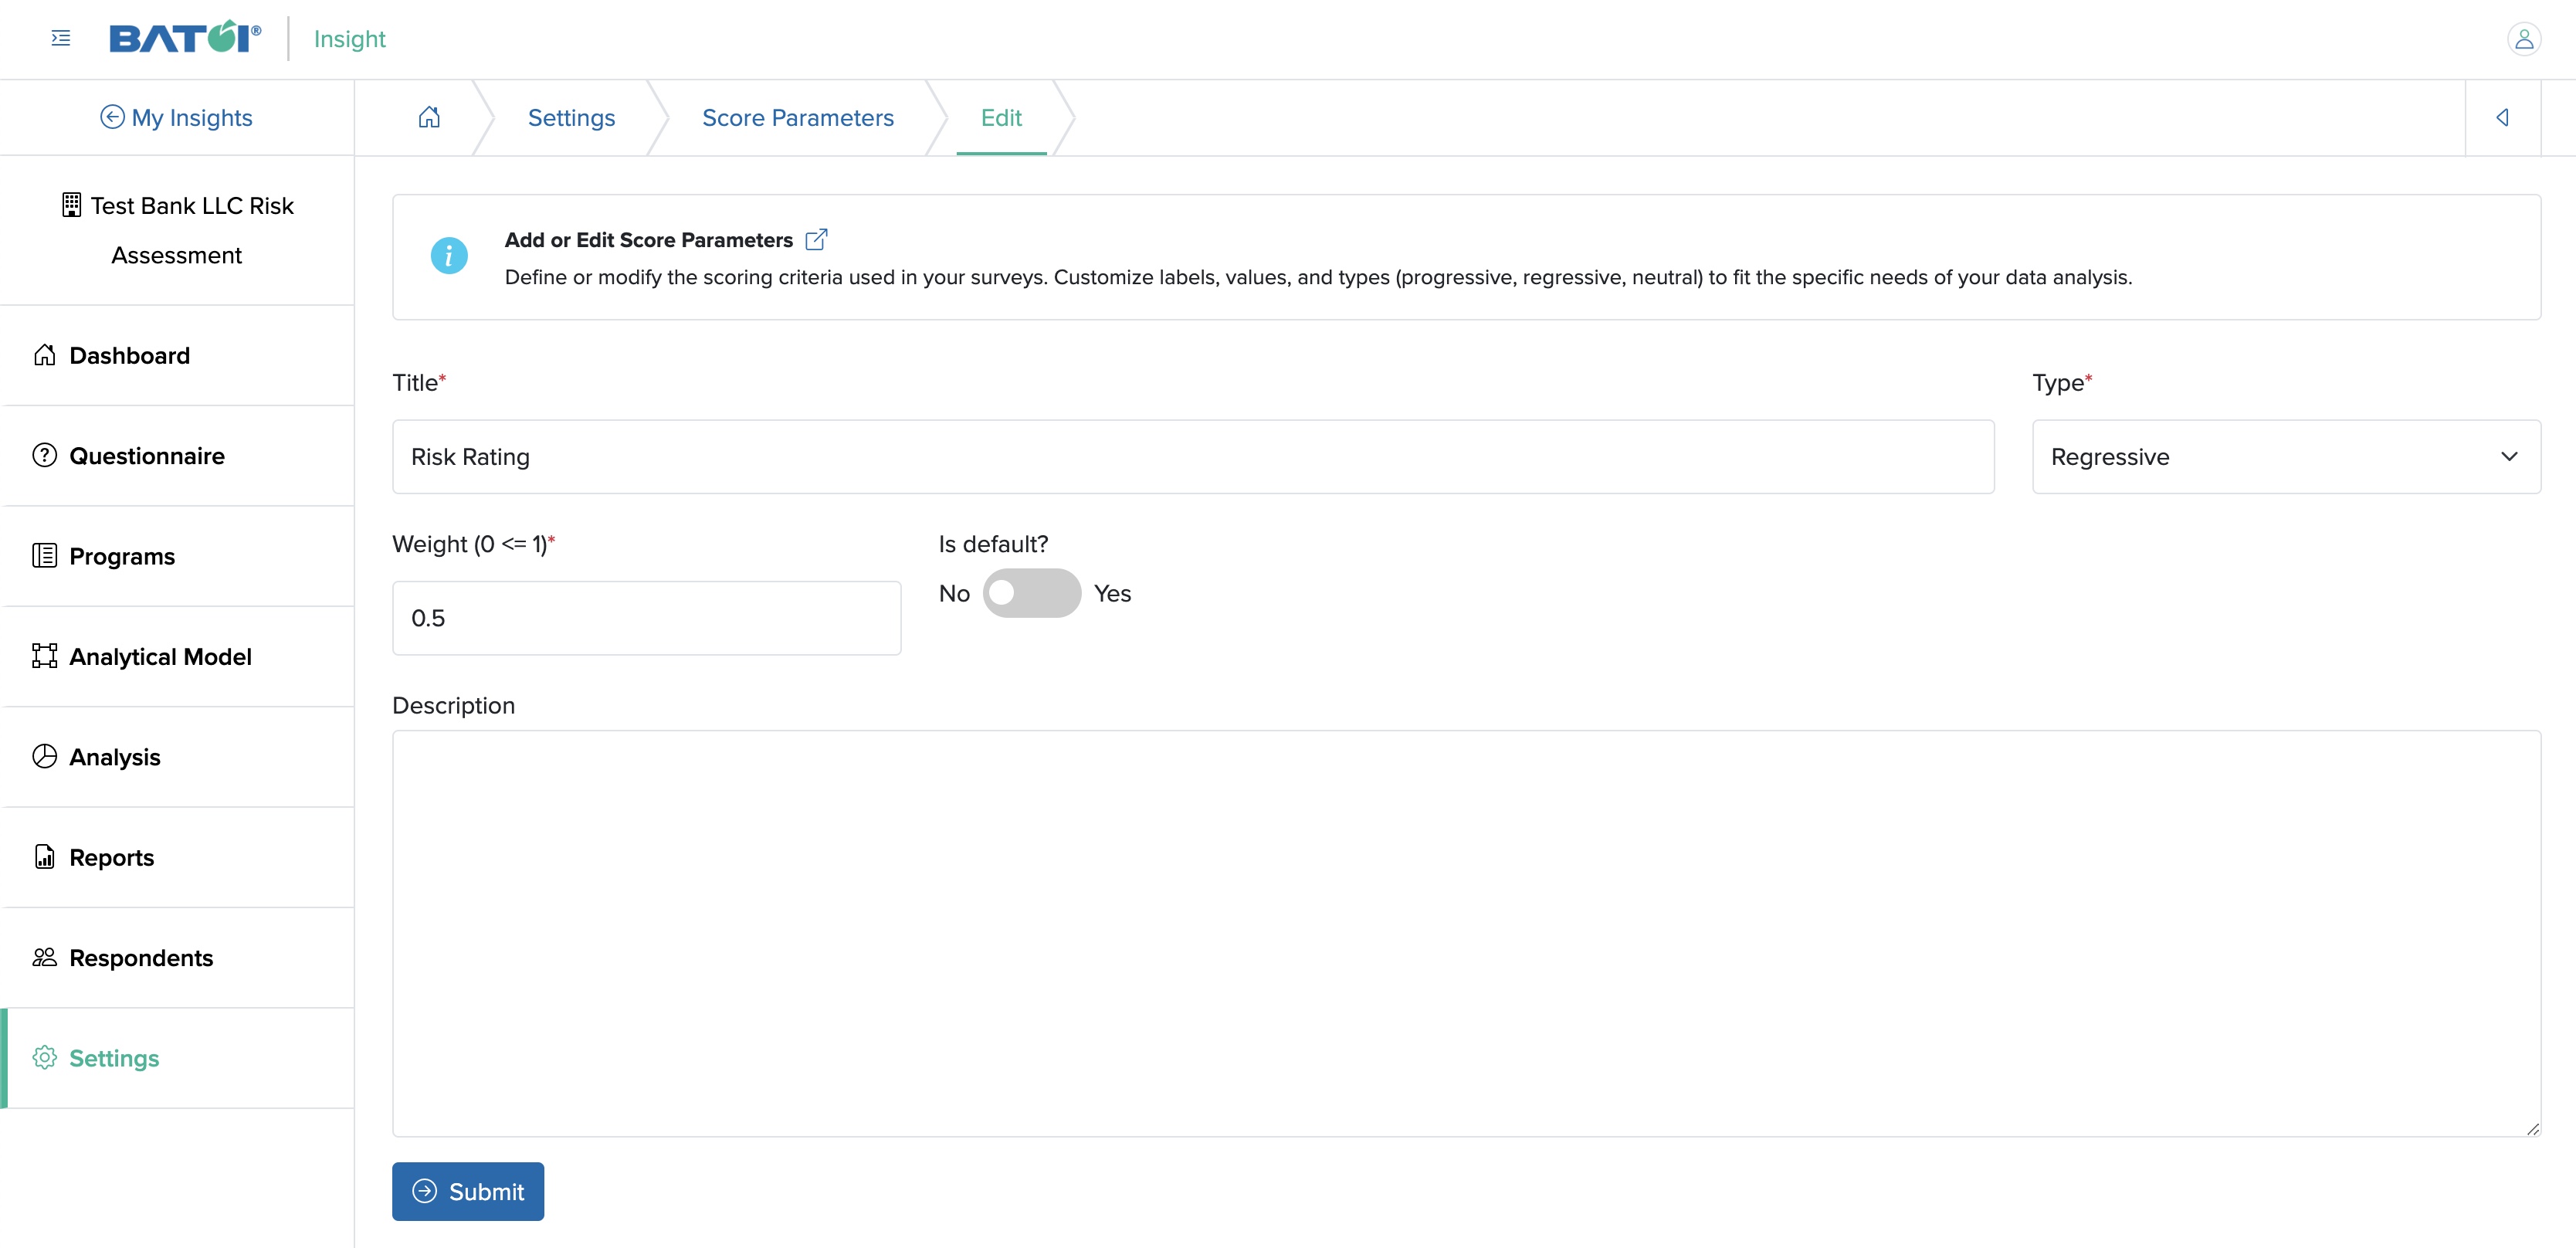
Click the Edit linked icon associated with the score parameter, as shown in Figure 8 above, and the edit page opens, as shown in Figure 10 below. You can only edit the following details.
- Title (Textbox - Mandatory): Title of the score parameter
- Weight (0 <= 1) (select box - Mandatory): Weight value of the score parameter
- Is default? (Slider - Optional): Yes or No
- Description (Text area - Optional): Description of the score parameter
View Score Parameters
Click the View linked icon associated with the score parameter as shown in Figure 8 above, and the view page opens, as shown in Figure 11 below.
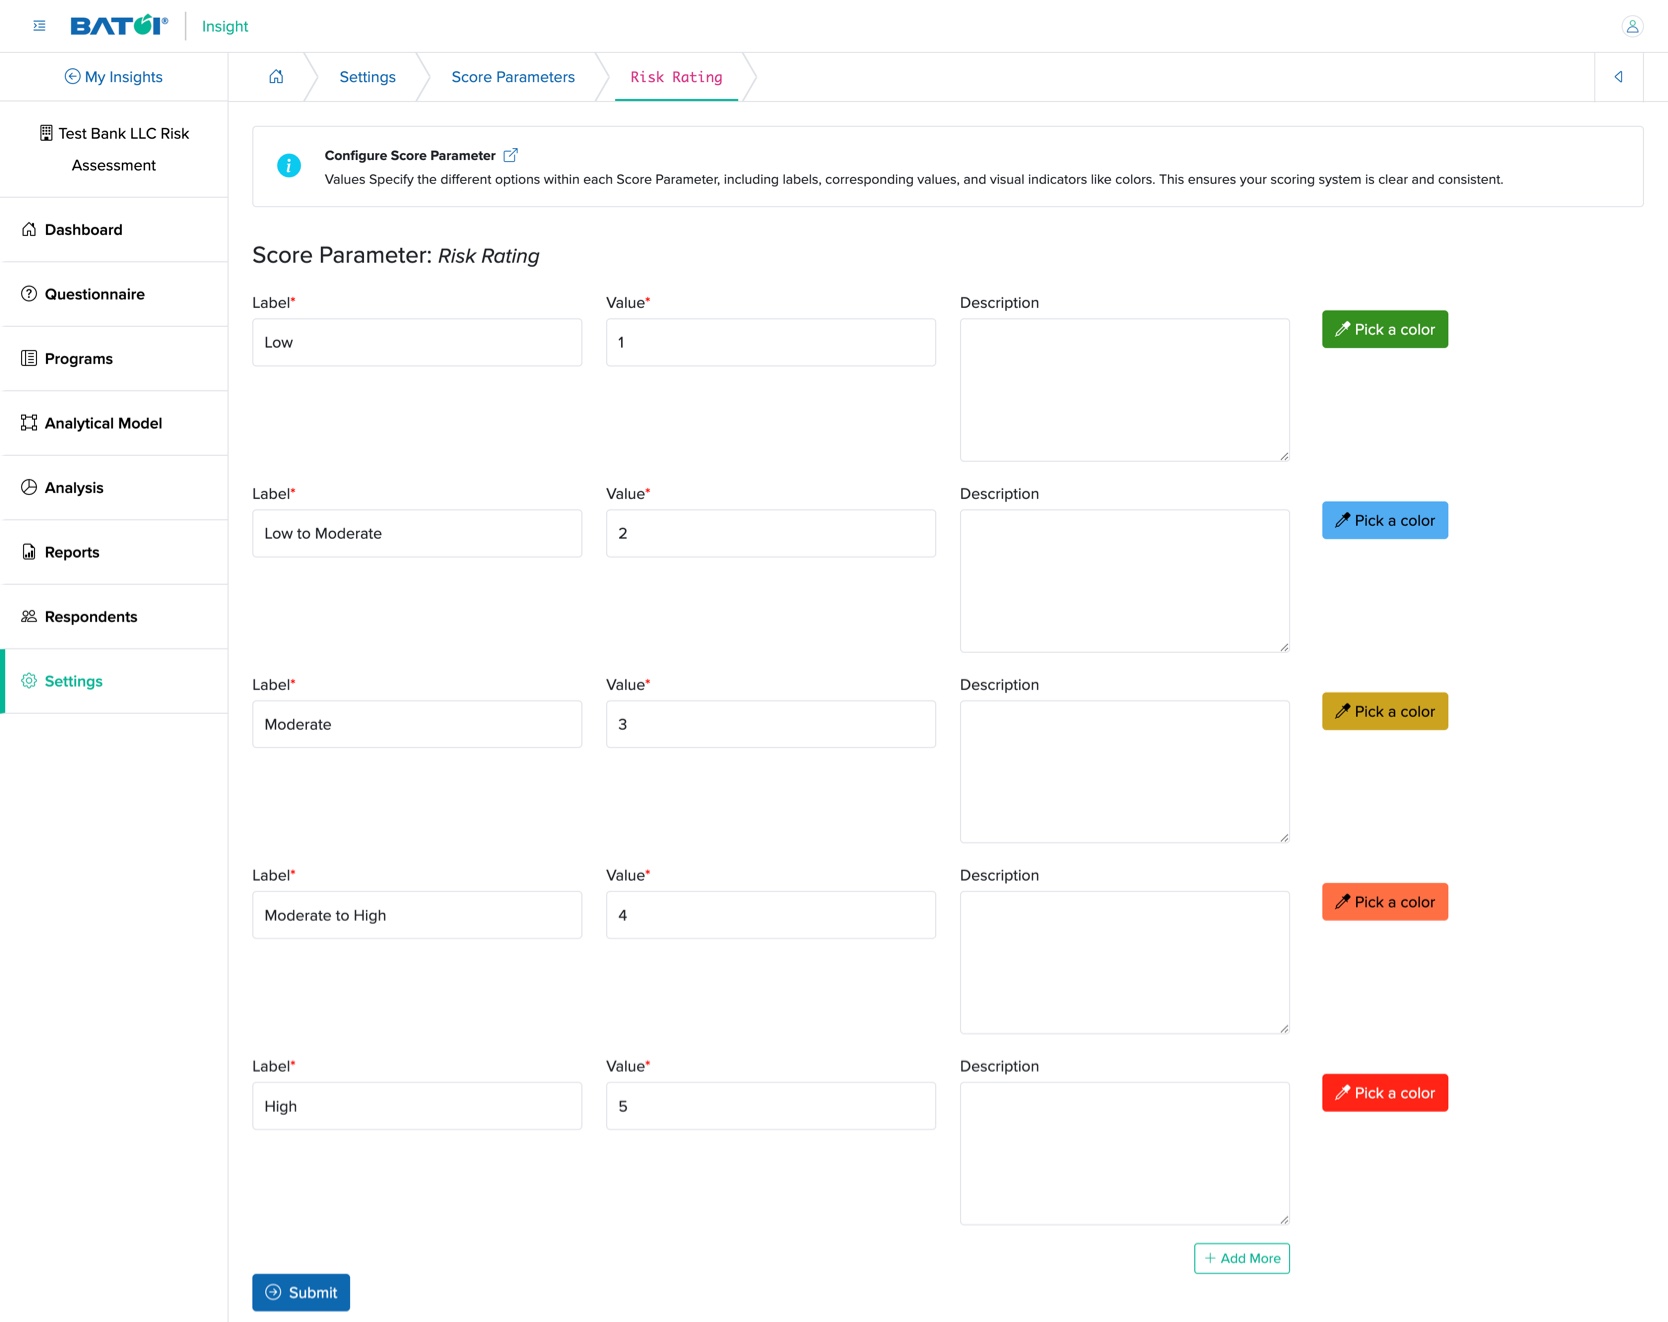
In the view score parameter page, you can edit the following details:
- Labels of each score parameter
- Value of each score parameter
- Description of each score parameter
- Set the Color of each score parameter
Click the Submit button once you finish to save the edits, as shown in Figure 11 above.
Respondent Settings
Click the Respondent Settings card, as shown in Figure 2 above, and the Respondent Settings page opens, as shown in Figure 12 below.
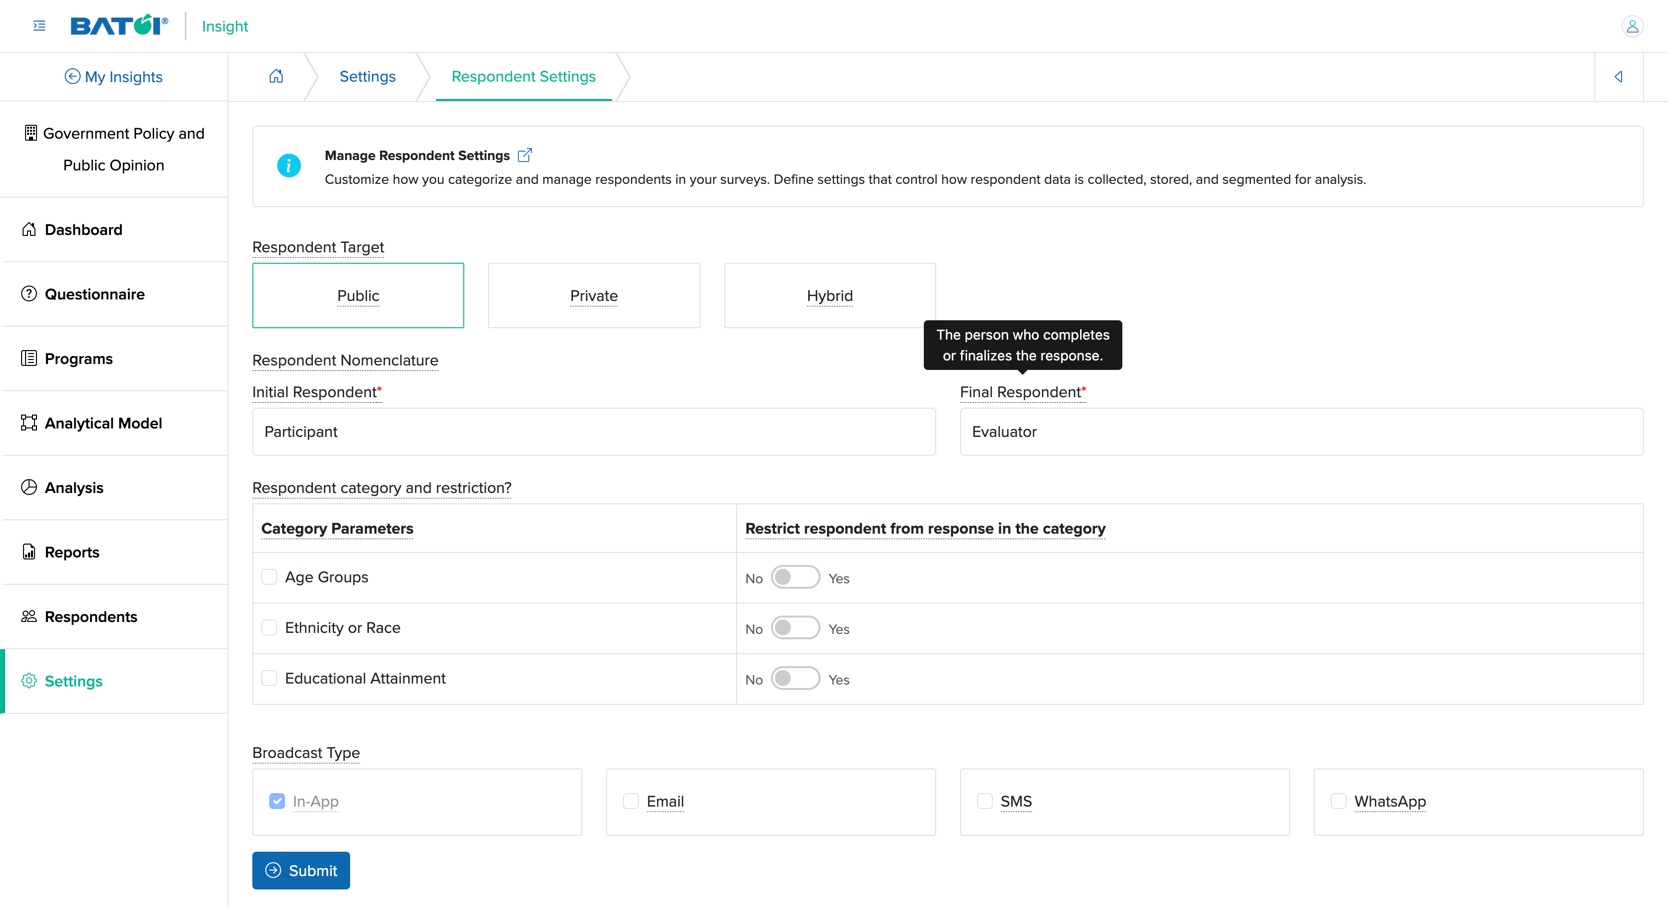
You can enter the details below and click the Submit button to save the Respondent Settings, as shown in Figure 12 above. The details that need to be filled in are:
- Respondent Target (Optional): Select one option
- Category Parameters (Checkbox - Optional): Check the parameter you want
- Restrict respondents from responding in the category (Slider - Optional): Yes or No
- Broadcast Type (Checkbox - Optional): Select multiple options. By default, In App will be checked. You can check more options based on your requirements.
Score Matrix Settings
Click the Score Matrix Settings card, as shown in Figure 2 above, and the Score Matrix settings page opens, as shown in Figure 13 below.
You can select the ‘Default Parameter for X axis’ and ‘Default Parameter for Y axis’ from the drop-down menu, select the score colour for an individual score from the colour picker, and click the Submit button to save the Score Matrix Settings, as shown in Figure 13 below.

Report Settings
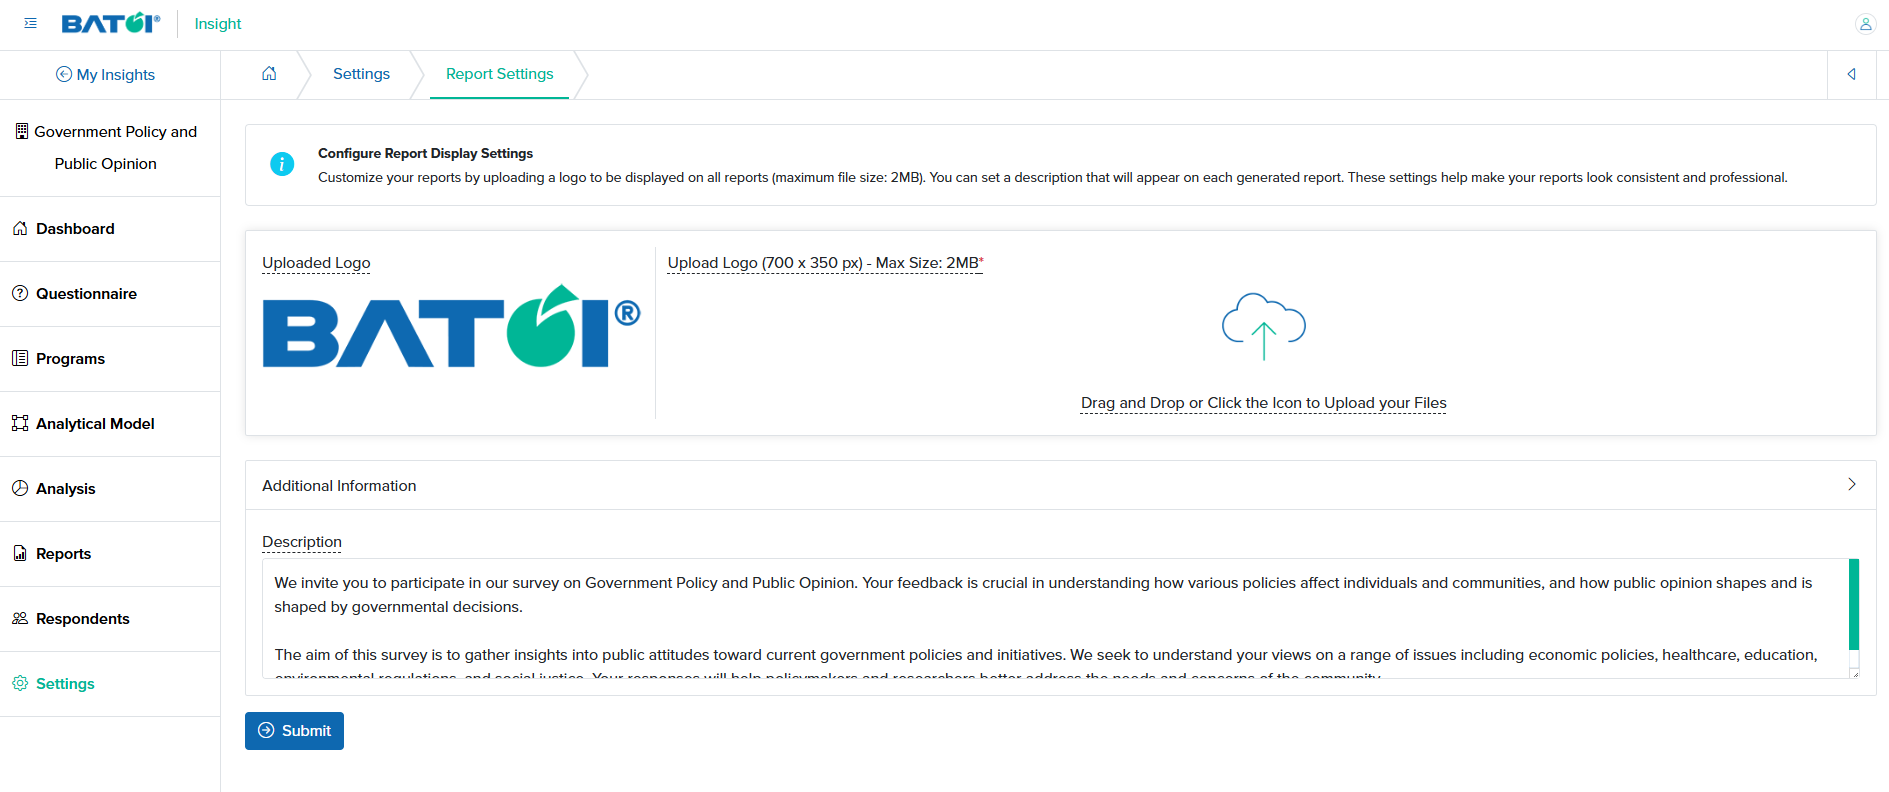
Click the Report Settings card, as shown in Figure 2 above, and the Report settings page opens, as shown in Figure 14 below.
You can upload a logo and add description for the report. By default Batoi logo is displayed as Uploaded Logo. You can add the Description of Report in the Description field in Additional Information section.