Programs
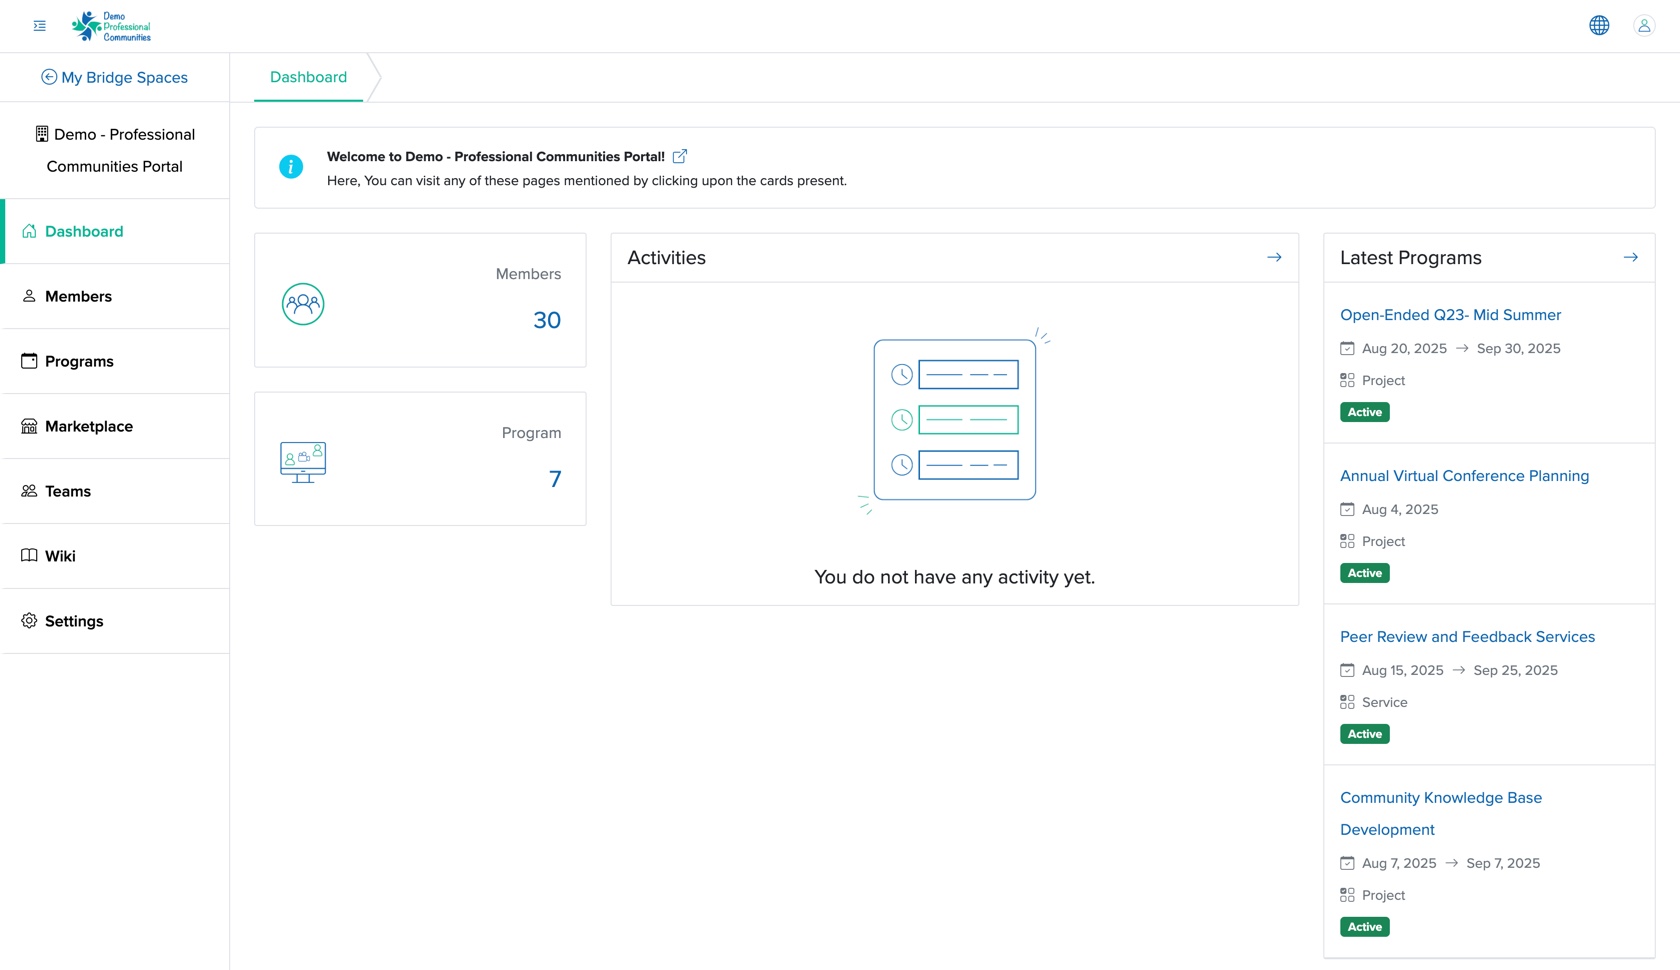
When we click the Programs menu from the Manager Control Panel dashboard, as shown in Figure 1 above, the system redirects us to the program list page, as shown in Figure 2 below.
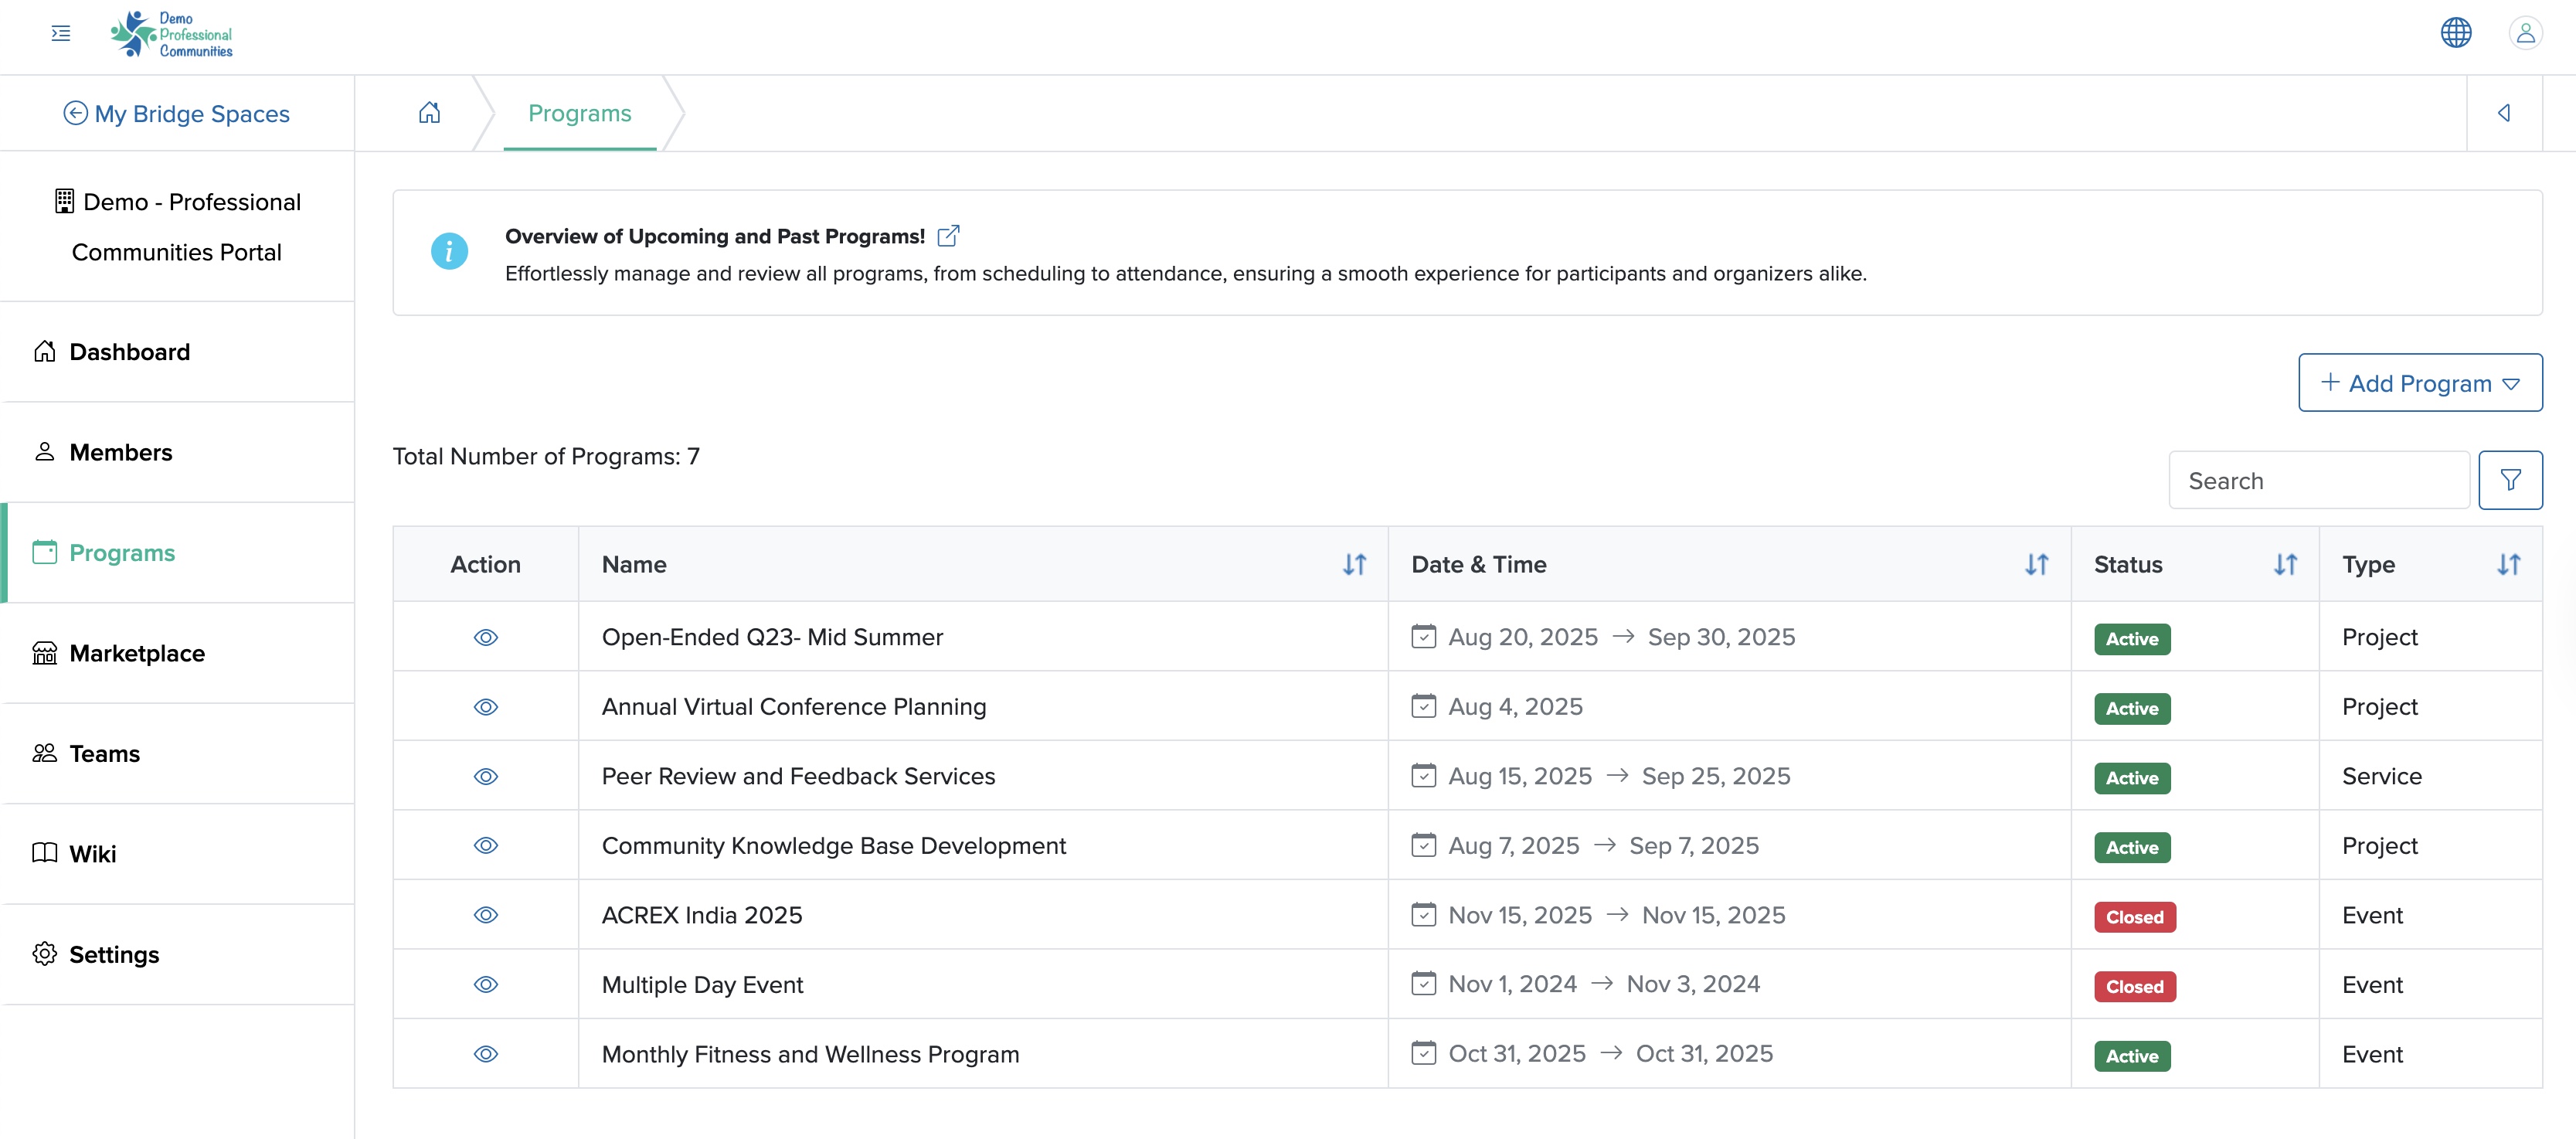
We can see all the programs in a tabular format, as shown in Figure 2 above. We can filter the programs using the filter textbox located at the top right corner of the screen. We can also sort the programs by 'Name', 'Date & Time', 'Status', and 'Type' by clicking the sorting arrow in the corresponding column headers of the table.
Currently, in Batoi Bridge, we can create four types of programs:
Click on the Individual Card to view the details program workfflow.