 Batoi Support
Add Microservice
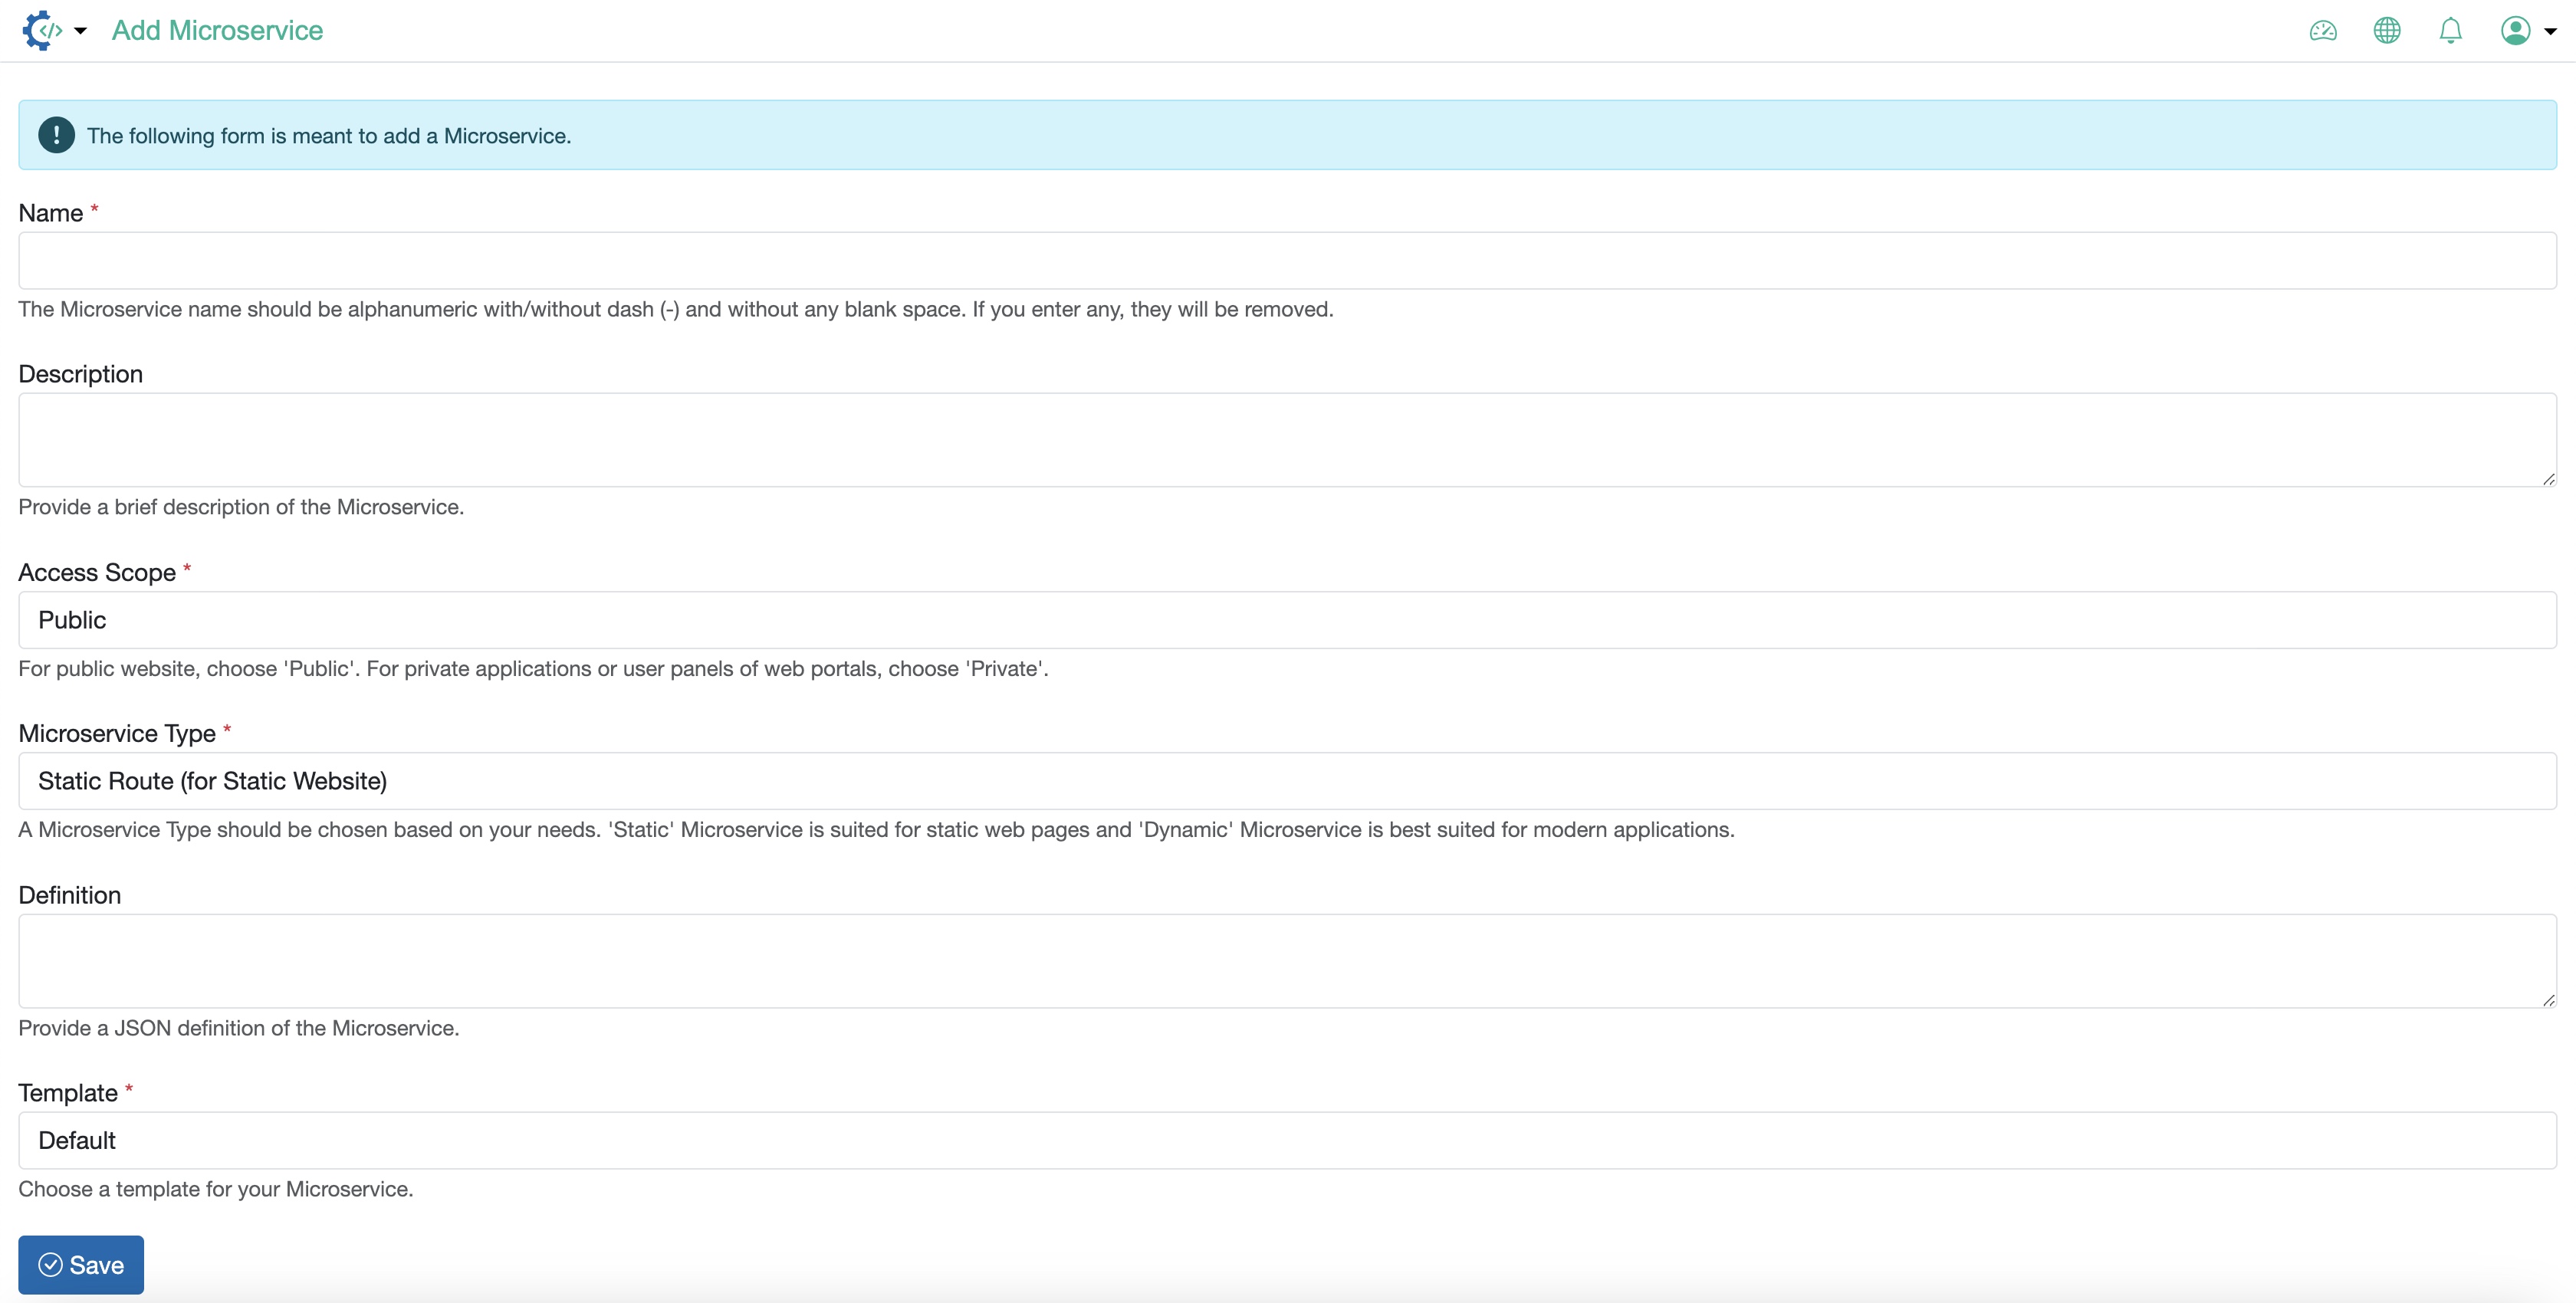
Fill in the below details and click the Save button to add a new microservice, as illustrated in Figure 1 above.
- Name: Name of the Microservice
- Description: Description of the Microservice
- Access Scope: Choose the scope from the dropdown menu (Public or Private)
- Microservice Type: Choose the type from the dropdown menu (Static Route (for static website), Dynamic Route (for modern application), ID-based Route (for RAD Classic applications), or UID-based Route (for RAD Classic applications)
- Definition: Provide a JSON definition of the Microservice
- Template: Choose the template from the dropdown menu (Default or Web)
When the Access Scope is selected as Public, you can choose only the Microservice Type as Static Route (for static website).
When the Access Scope is selected as Private, you can choose any of the Microservice Types.
When the Access Scope is selected as Private, two more fields will be activated:
- Is SaaS?: Choose the option from the dropdown menu (Yes or No)
- Access Role IDs: Select multiple options from the dropdown menu