In this in-depth guide, we'll navigate you through the nuances of configuring and showcasing alerts within an application using the Batoi RAD Platform. Alerts serve as a dynamic conduit for relaying messages to your users - for confirmation of actions, error notifications, or informational bulletins.
Categories of Alerts
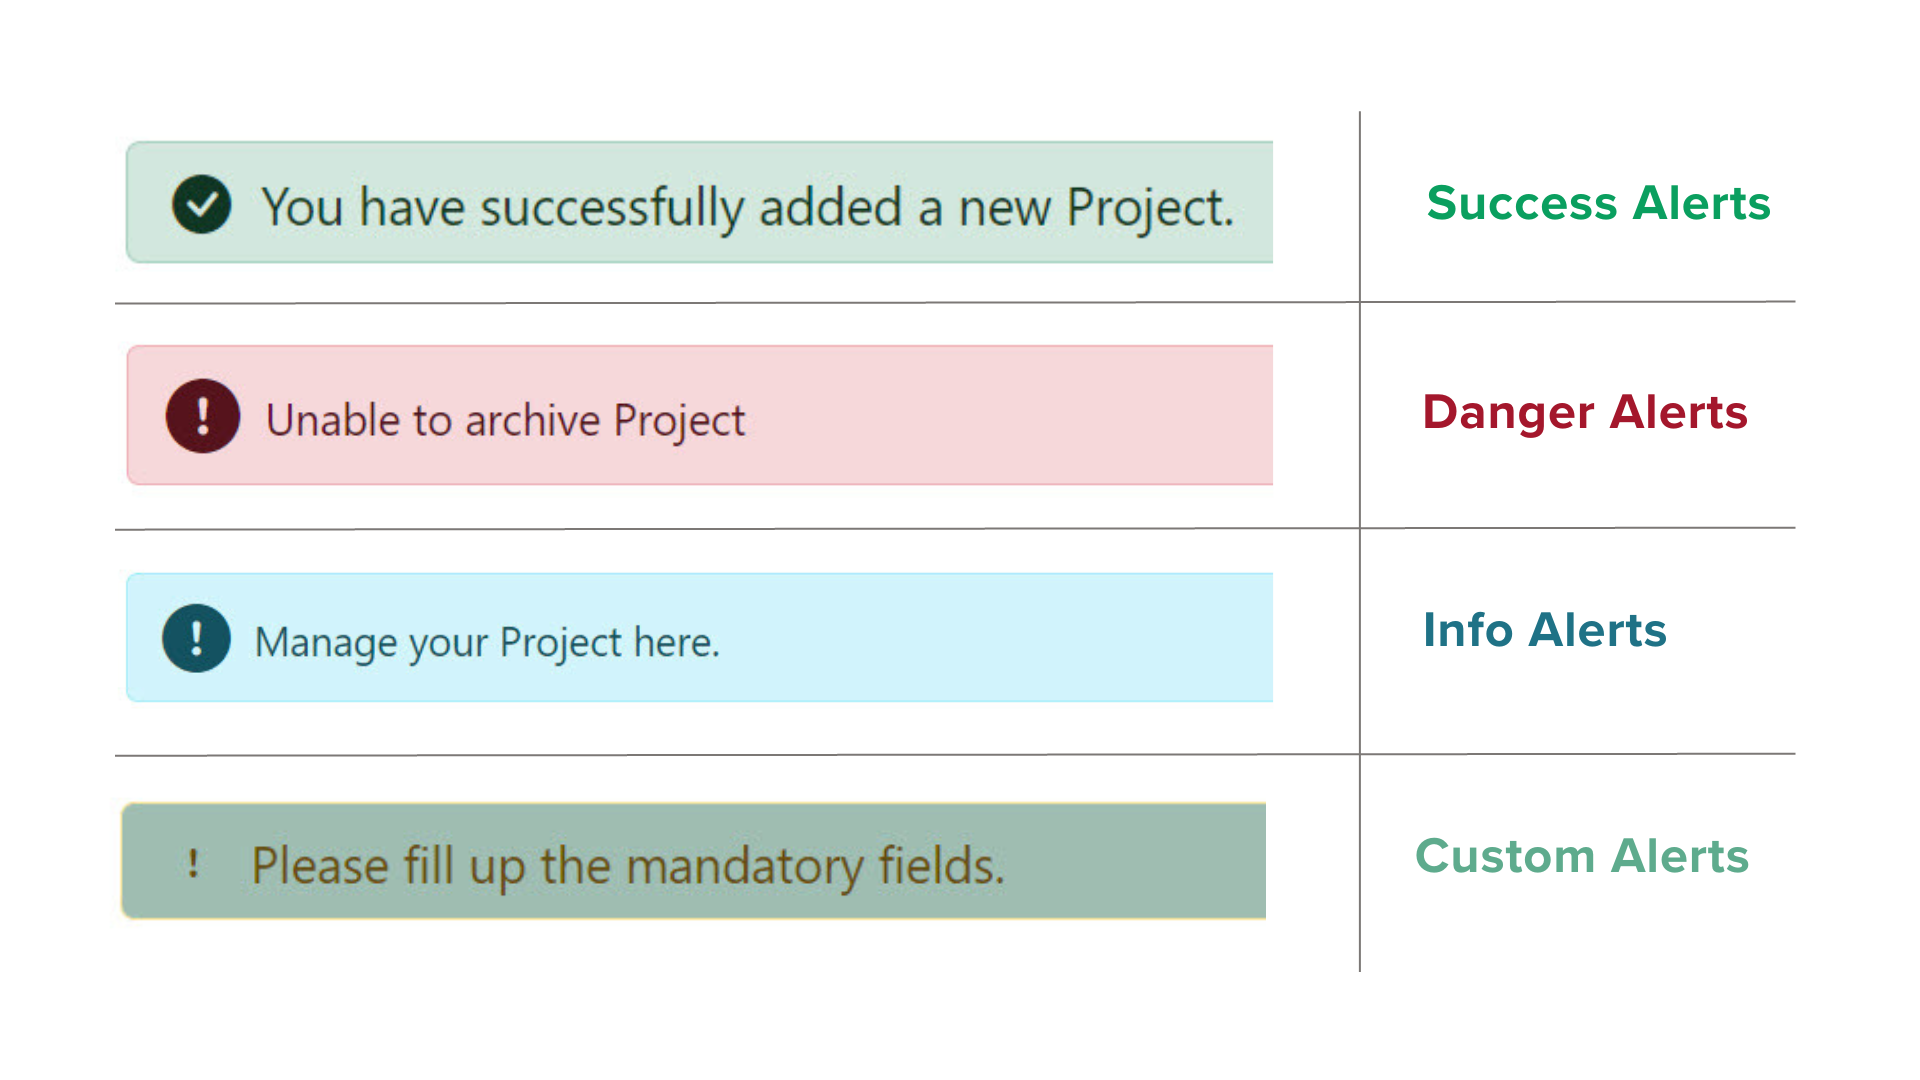
Before delving into the procedural aspects, it's crucial to understand the variety of alerts at your disposal on the Batoi RAD Platform. Alerts are categorized into types, each designed for a specific purpose:
- Success Alerts: Use these to inform users that an action, like data submission, has been successfully executed.
- Danger Alerts: Use these to signify an action's failure or to bring an urgent issue to the user's attention.
- Info Alerts: Designed for dispensing informative tips or critical updates.
- Custom Alerts: Tailor alerts to suit the unique requirements of your application, complete with personalized styles and messages.
Step-by-Step Guide to Configuring and Displaying Alerts
Step 1: Define Alerts
To initialize and configure alerts, you define the conditions under which they should be triggered. It is usually managed within the logical framework of your application using conditional statements. For example:
if (!$this->runData['route']['alert_from_request']) {

$this->runData['route']['alert'] = 'info';

$this->runData['route']['alert_message'] = 'Initiate a new project by specifying its Name, Description, and selecting Project Admins.';

}
Step 2: Exhibit Alerts Post-Redirection
Once alerts are declared, displaying them upon completing an action and redirecting them to a different page is crucial. The example below illustrates this:
if ($sSuccess == '1') {

$this->runData['route']['alert'] = 'success';

$this->runData['route']['alert_message'] = 'Data successfully submitted';

}
// Code for setting alert and redirection
this->runData['request']->setAlert($this->runData['route']['alert_message'], $this->runData['route']['alert']);

$redirectUrl = $this->runData['config']['sys']['base_url'].'/contact';

header("Location: {$redirectUrl}");

exit;
Step 3: Render Alerts in Template Files
Now, let's add the important step of displaying alerts in templates. After defining and setting alerts, you must include code in your templates to display the alerts to users. You can use the following code snippet to achieve this:
<?php if (isset($this->runData['route']['alert']) && !empty($this->runData['route']['alert_message'])){ ?>

<div class="alert alert-<?php echo $this->runData['route']['alert']; ?>">

<?php

switch($this->runData['route']['alert']){

case 'success':

echo '<i class="bi bi-check-circle-fill"></i> ';

break;

case 'danger':

echo '<i class="bi bi-exclamation-circle-fill"></i> ';

break;

case 'info':

echo '<i class="bi bi-exclamation-circle-fill"></i> ';

break;
// Add more cases for other alert types as needed
default:

break;

}

?>


<?php echo $this->runData['route']['alert_message']; ?>

    </div>

<?php } ?>
This code snippet checks the alert type and message defined earlier, and the corresponding alert is displayed with appropriate styling.
Conclusion
Adhering to these three integral steps will empower you to efficiently establish, configure, and showcase alerts on your application using the Batoi RAD Platform. Such alerts are indispensable in supplying users with timely feedback and pivotal information, thereby elevating your web application's user experience.