Files
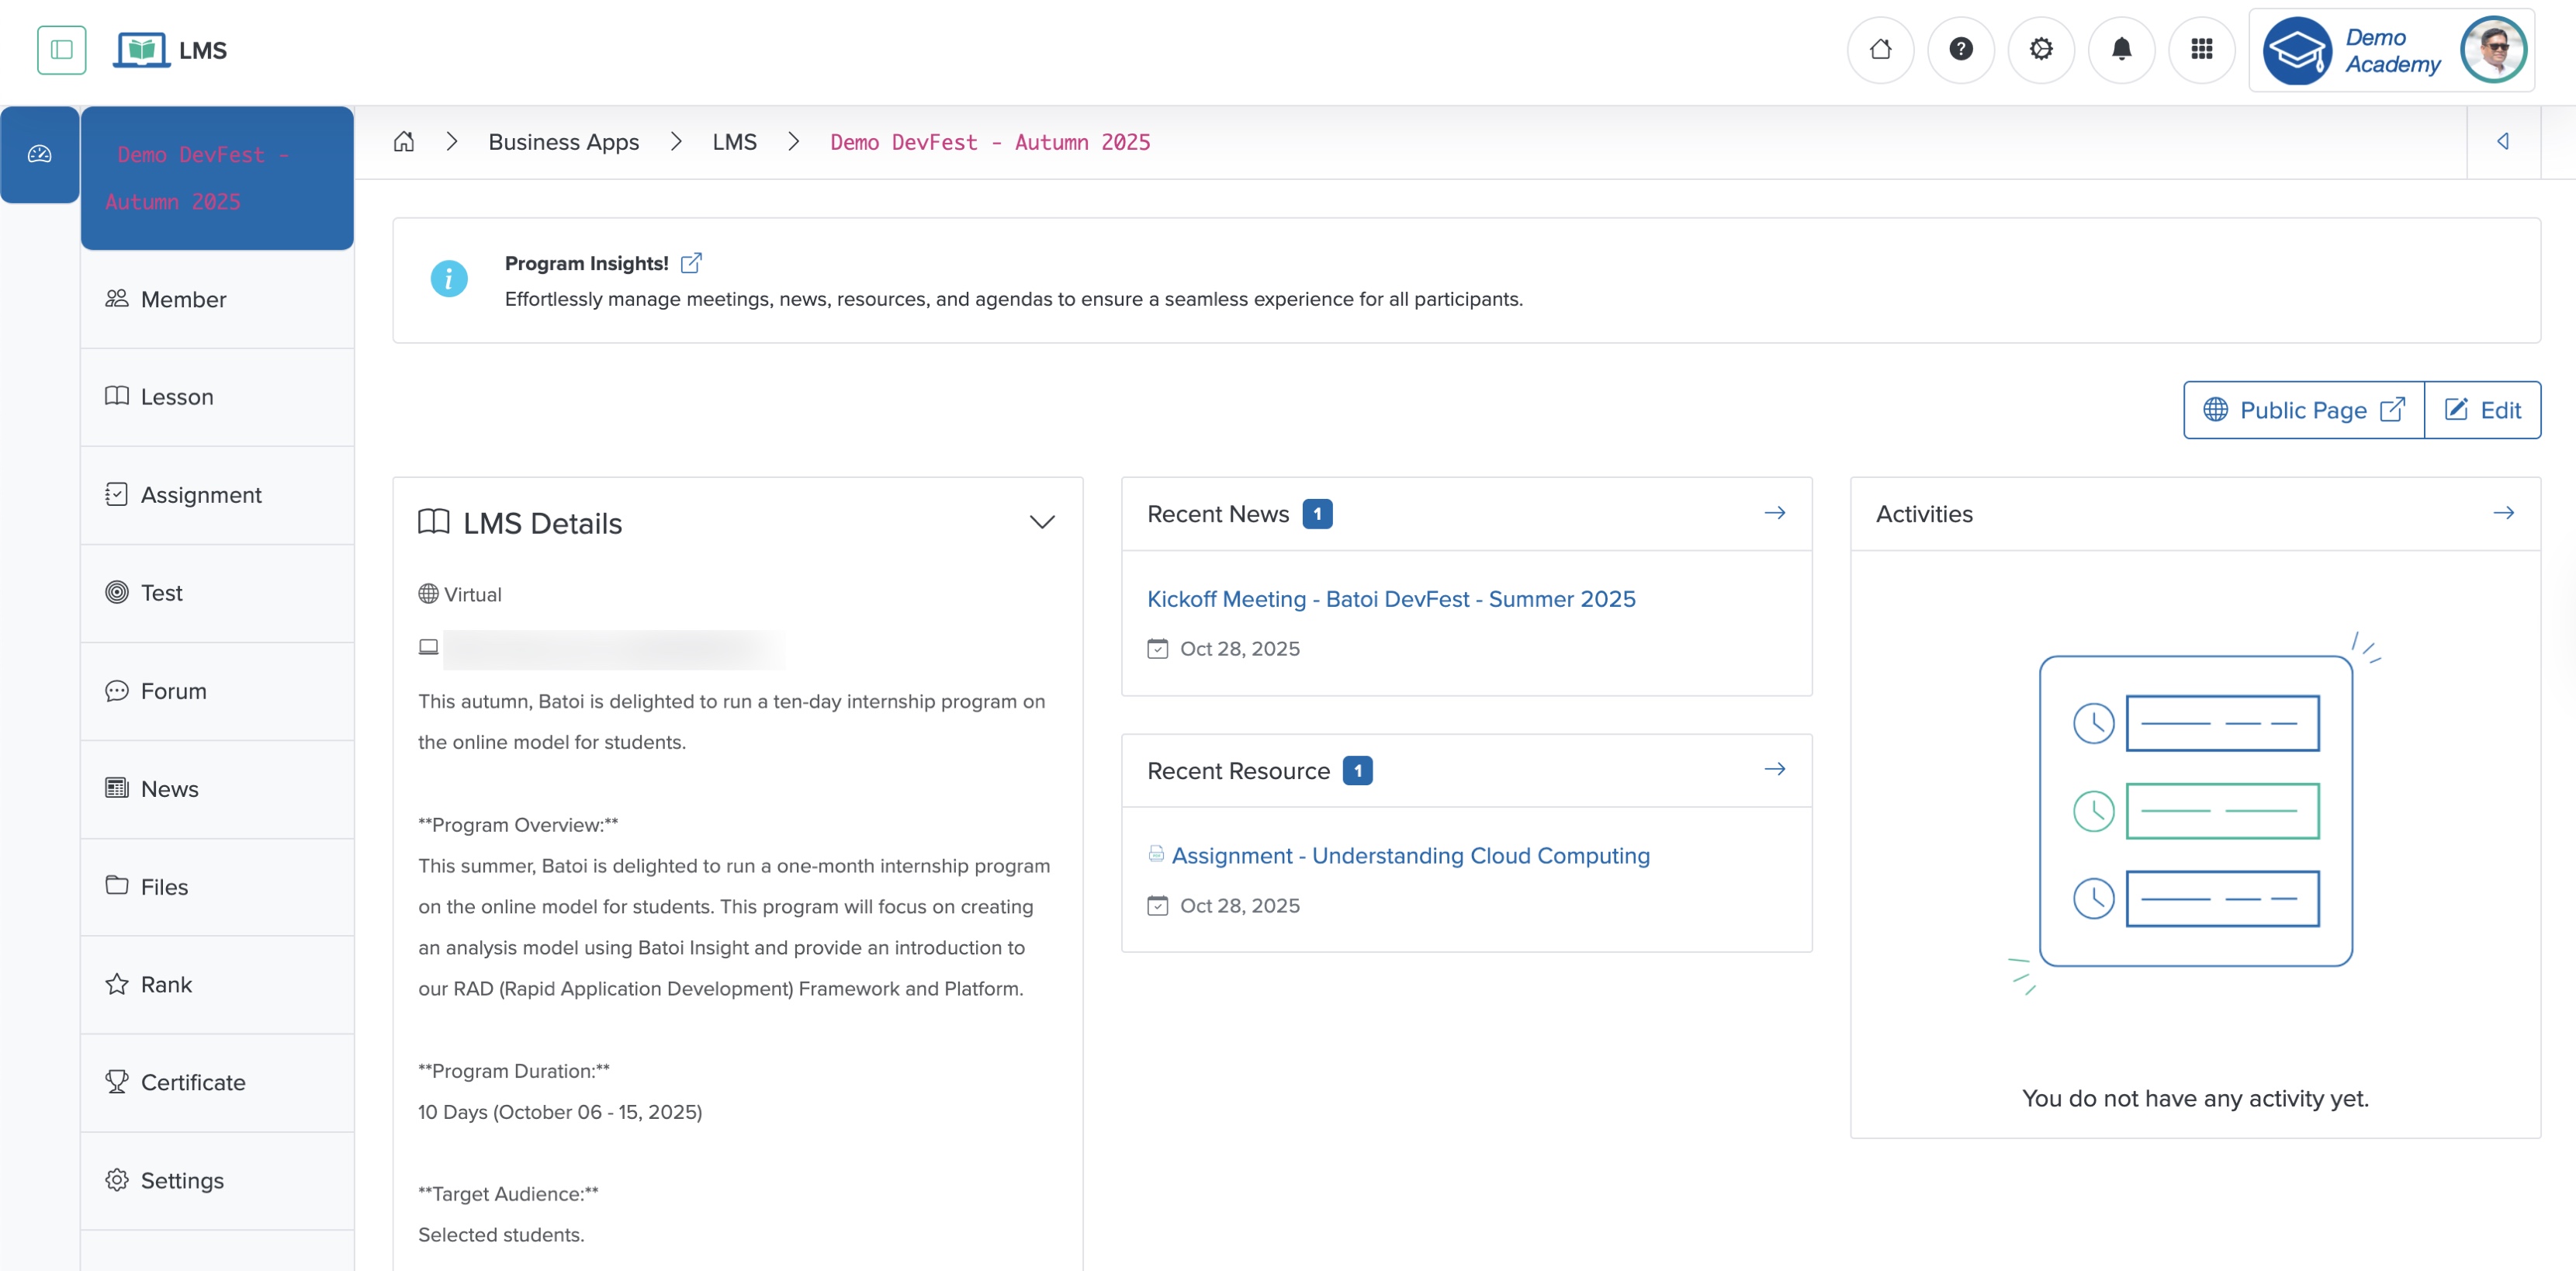
Click the Arrow on the right side of the Resources card on the program dashboard or from the sidebar, as shown in Figure 1 above, and the system redirects you to the resource list screen, where all the resource files related to the program appear in a card format, as shown in Figure 2 below.
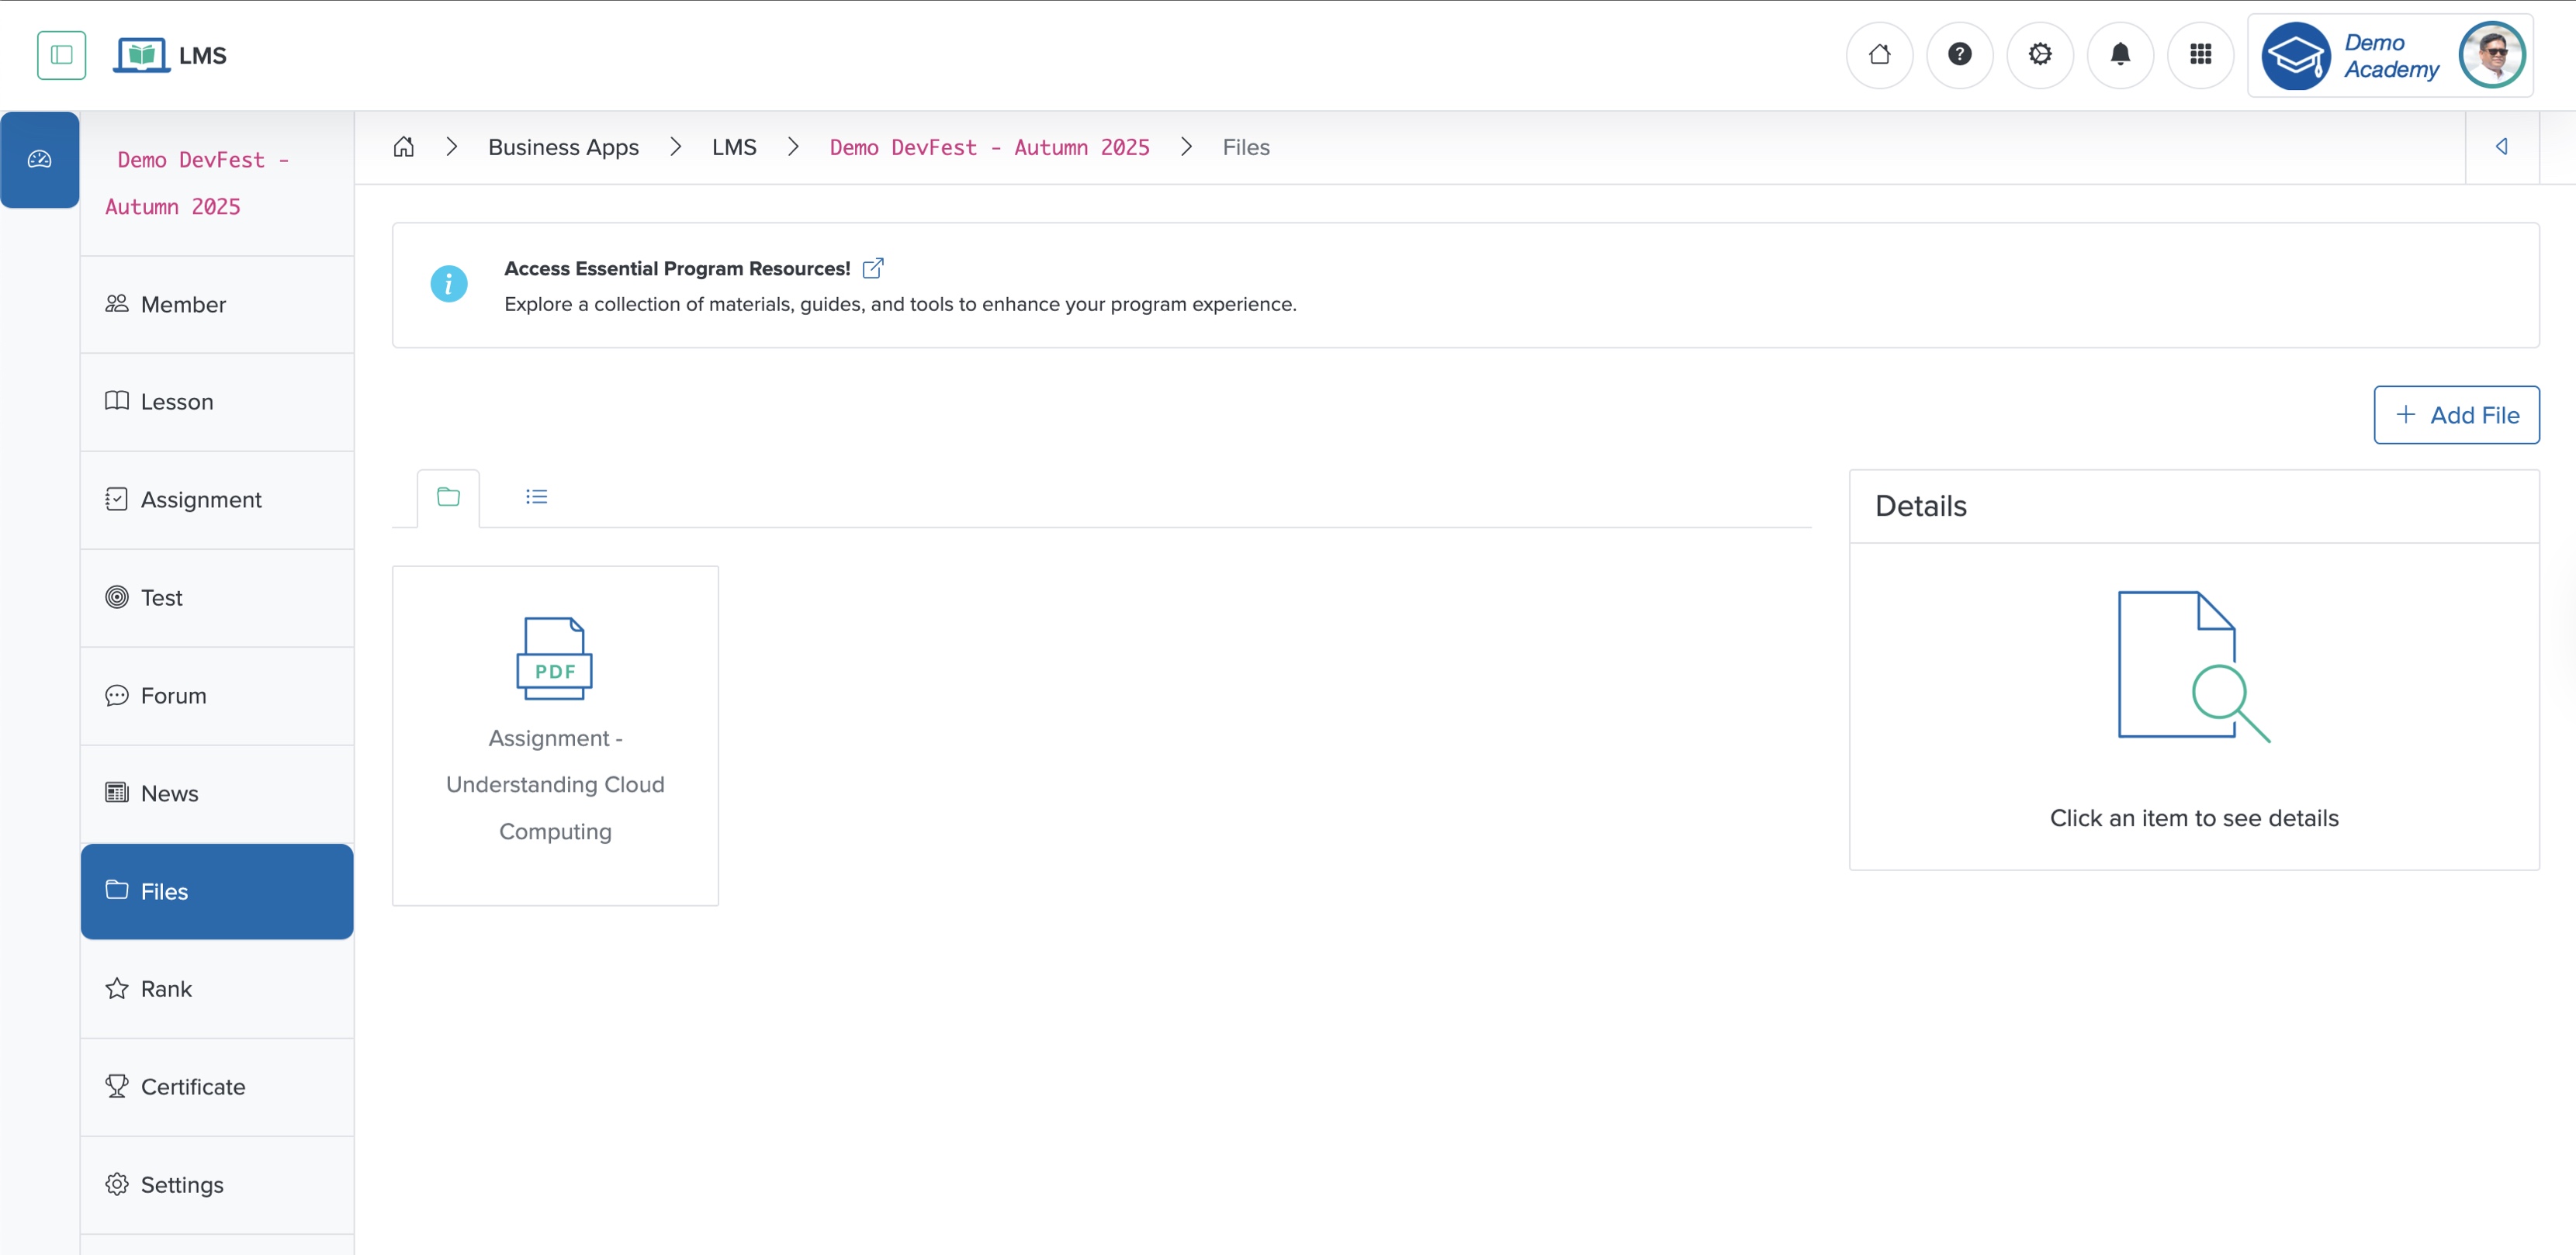
Click the List tab to view the resource files in a tabular format, as shown in Figure 3 below.

Click the Sort Arrow on the header row of the resource table to sort the resource files, as shown in Figure 3 above.
Add Resource
Click the + Add Resource button at the top of the resource list page, and the Add Resource page opens, as shown in Figure 4 below.
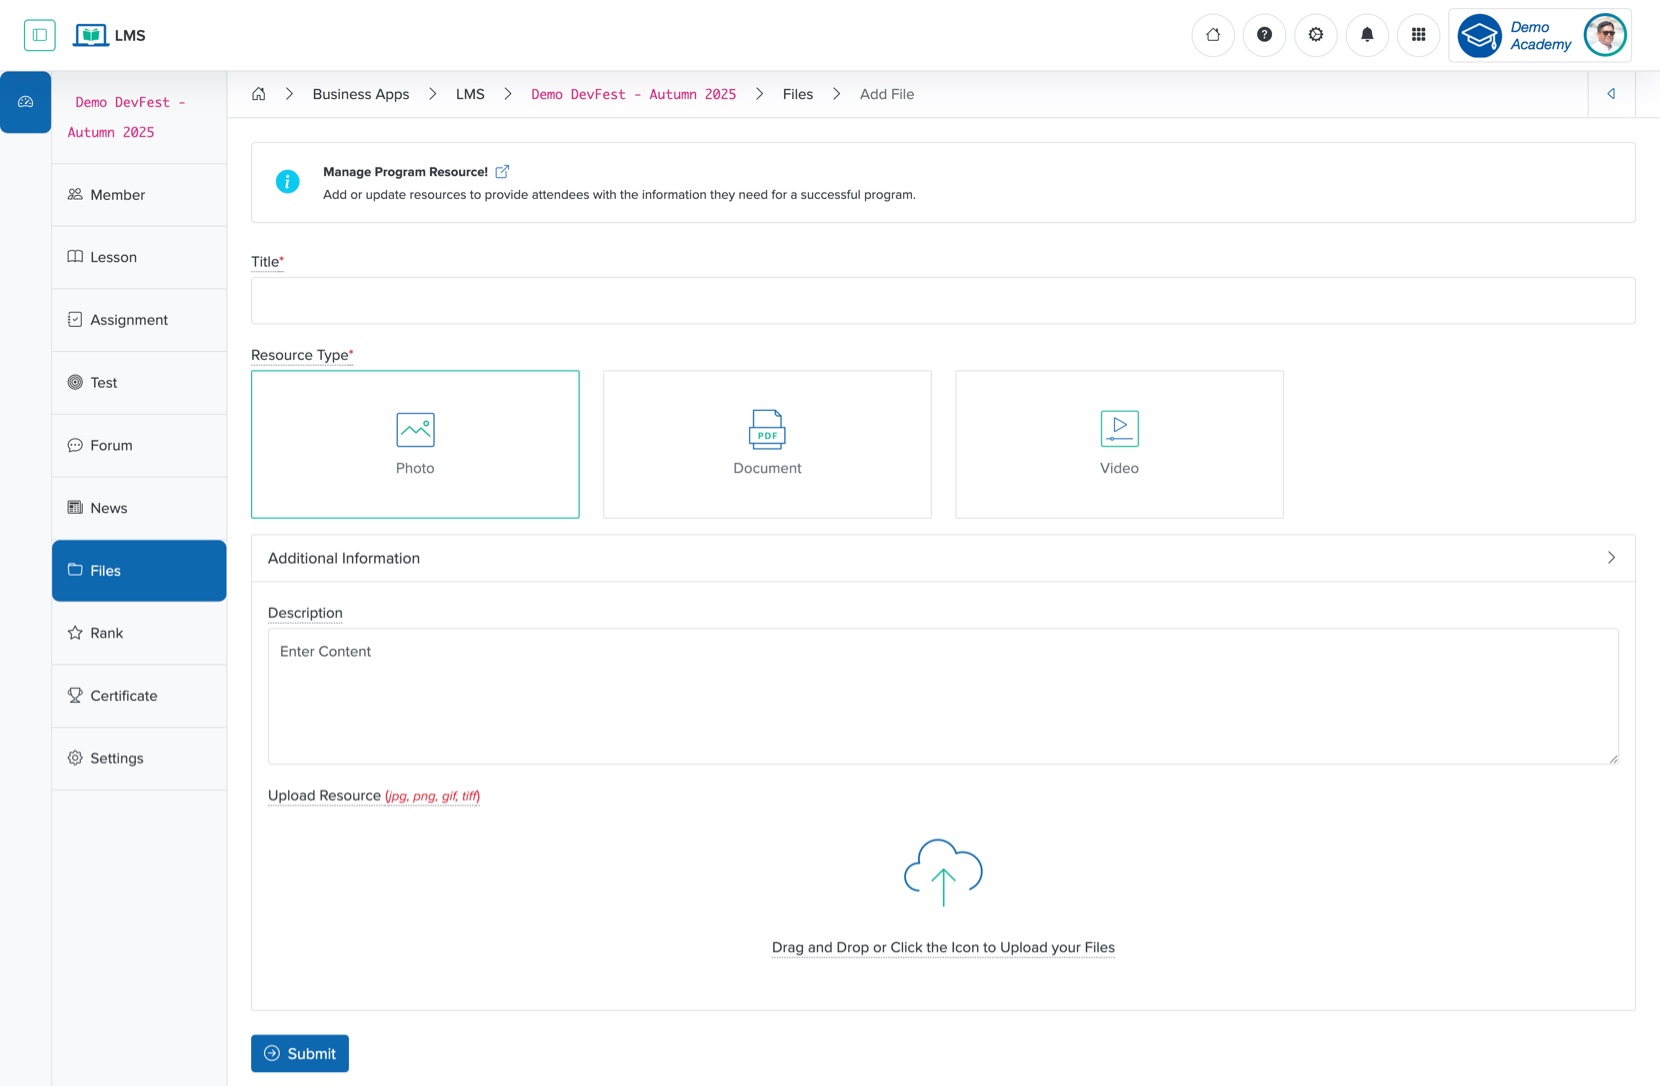
Enter the details below and click the Submit button to create a new resource, as shown in Figure 4 above. You can add the following details:
- Title (Textbox - Mandatory): Title of the resource file
- Resource Type (Dropdown List - Mandatory): Select the type of resource file
- Photo (JPG, PNG format allowed)
- Document (PDF format allowed)
- Video (YouTube link allowed)
- Description (Textarea - Mandatory): Enter the description of the resource
- Upload (File Upload - Optional): Upload the attachment
View Resource
Click the Individual Resource card or Title, as shown in Figure 2 or Figure 3 above, and the view screen opens on the right side of the resource list page, as shown in Figure 5 below.
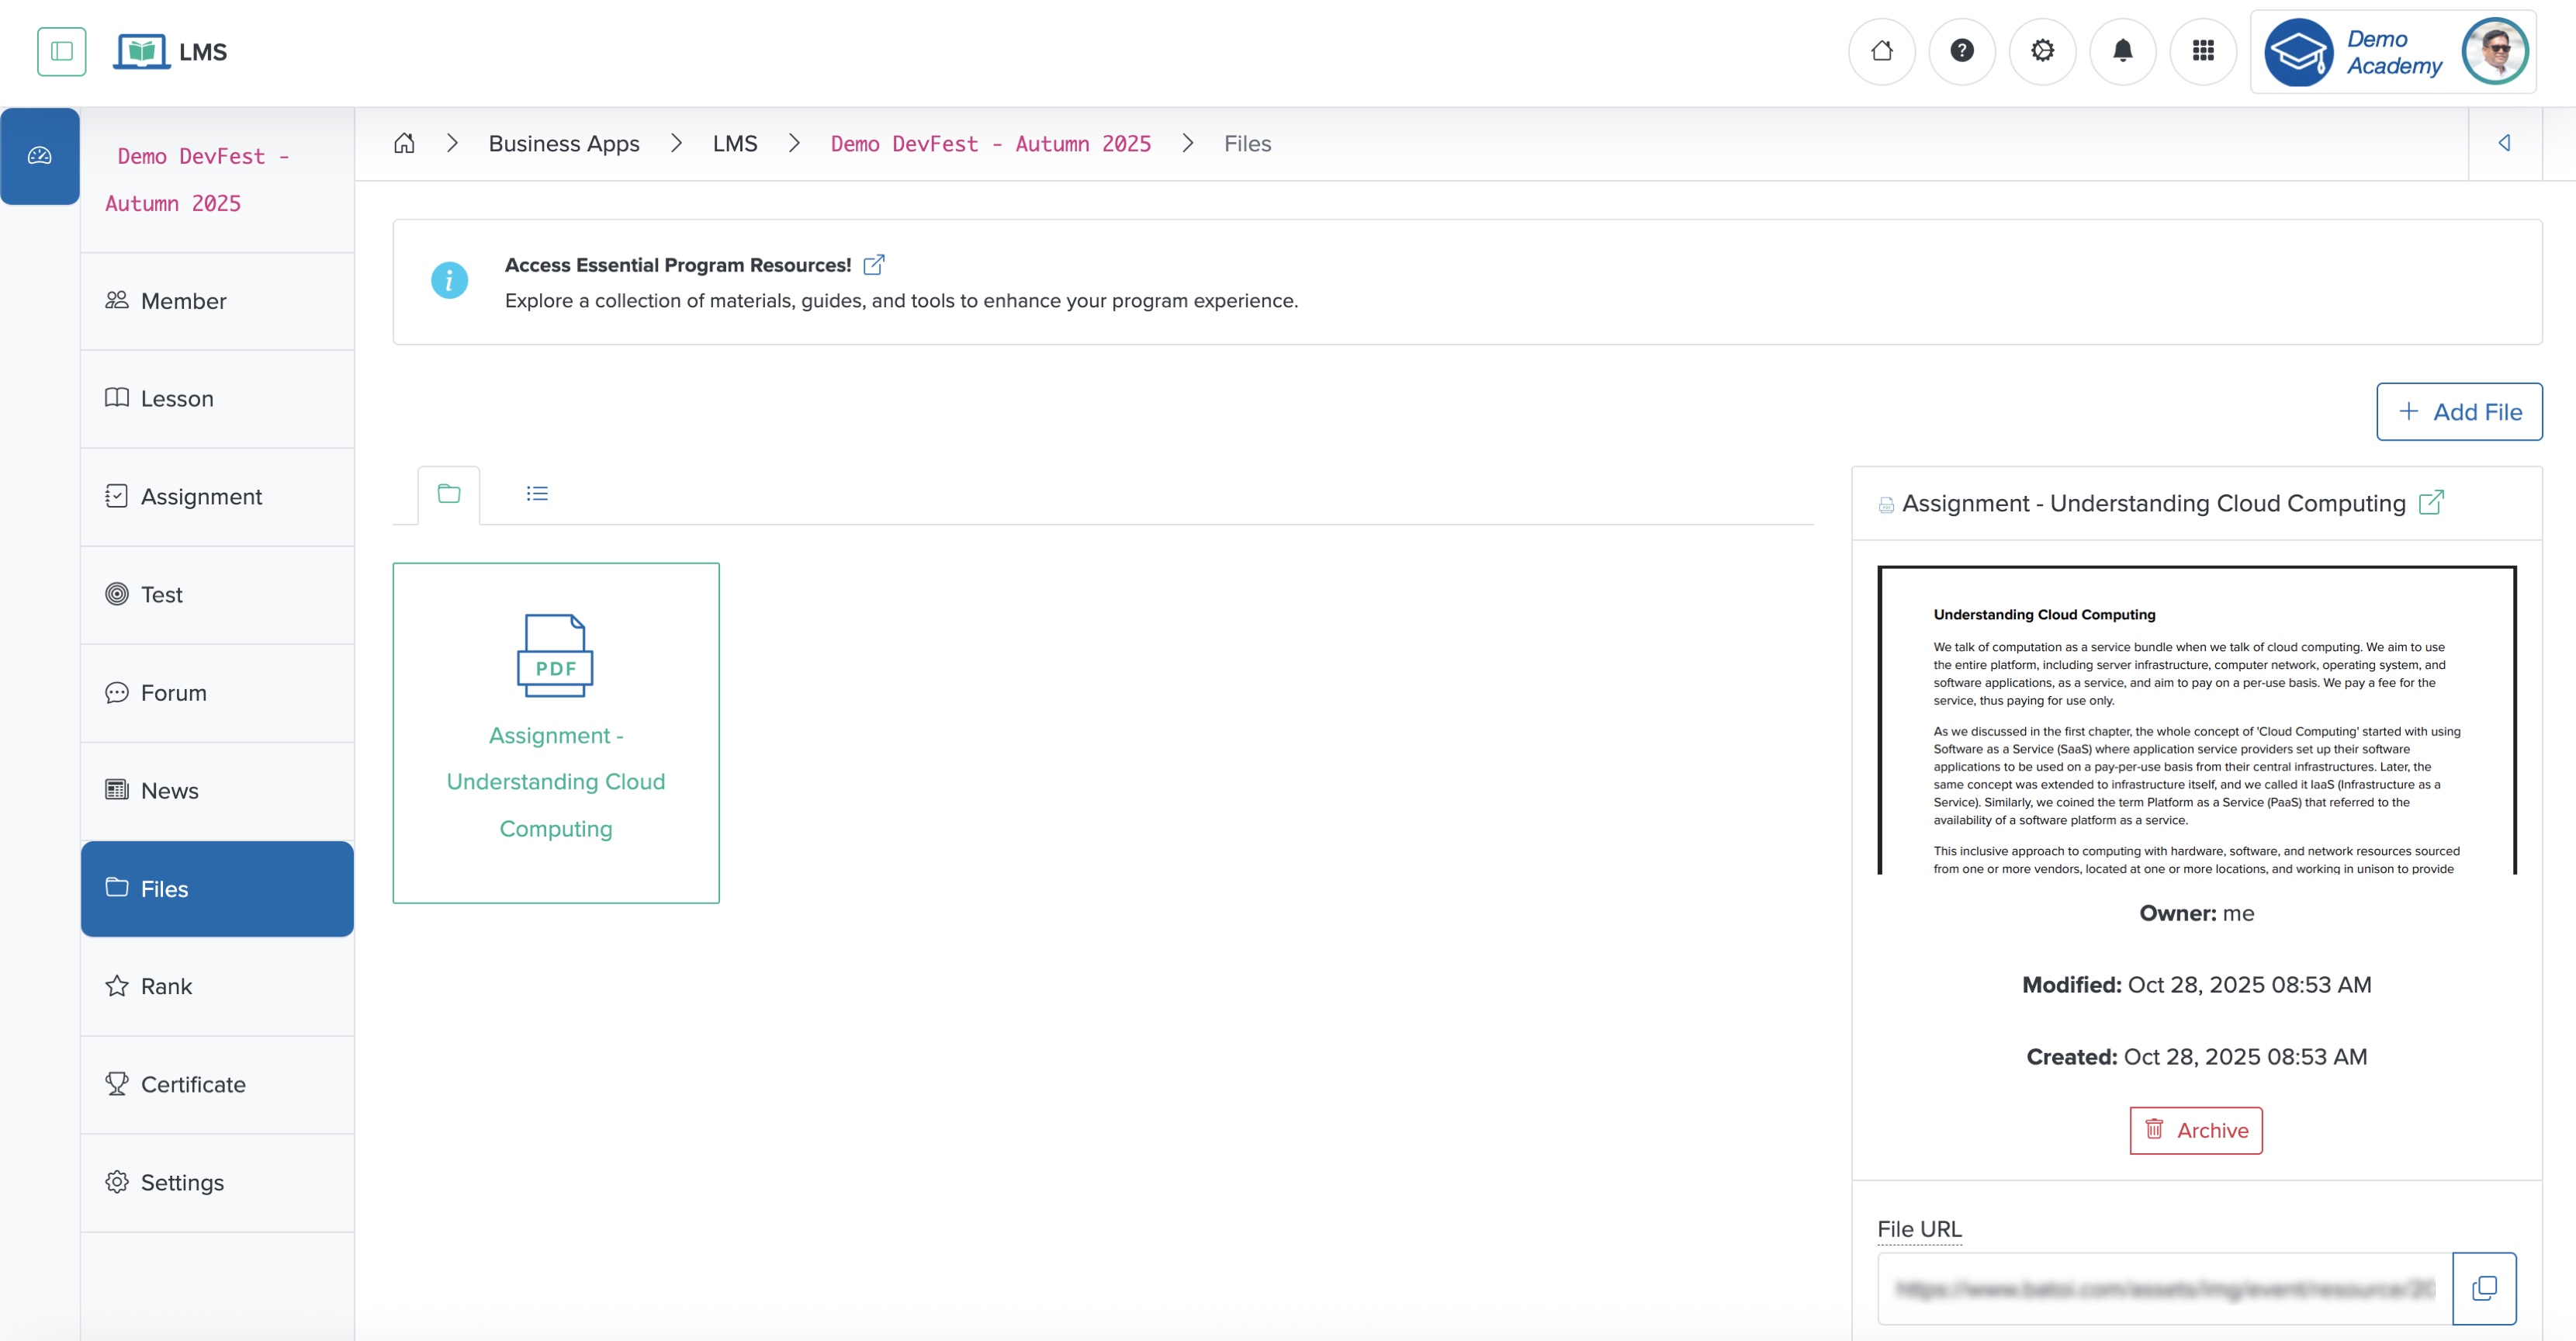
Click the External Link icon next to the file name to view the resource file in a new window, as shown in Figure 5 above.
Click the Copy Link icon on the file URL to copy the file name, as shown in Figure 5 above.
Edit the Title/Alt Text, Description of the resource, and click the Submit button to update the resource, as shown in Figure 5 above.
To archive the resource, click the Archive button on the right side of the resource list screen, as shown in Figure 5 above.