Assignment
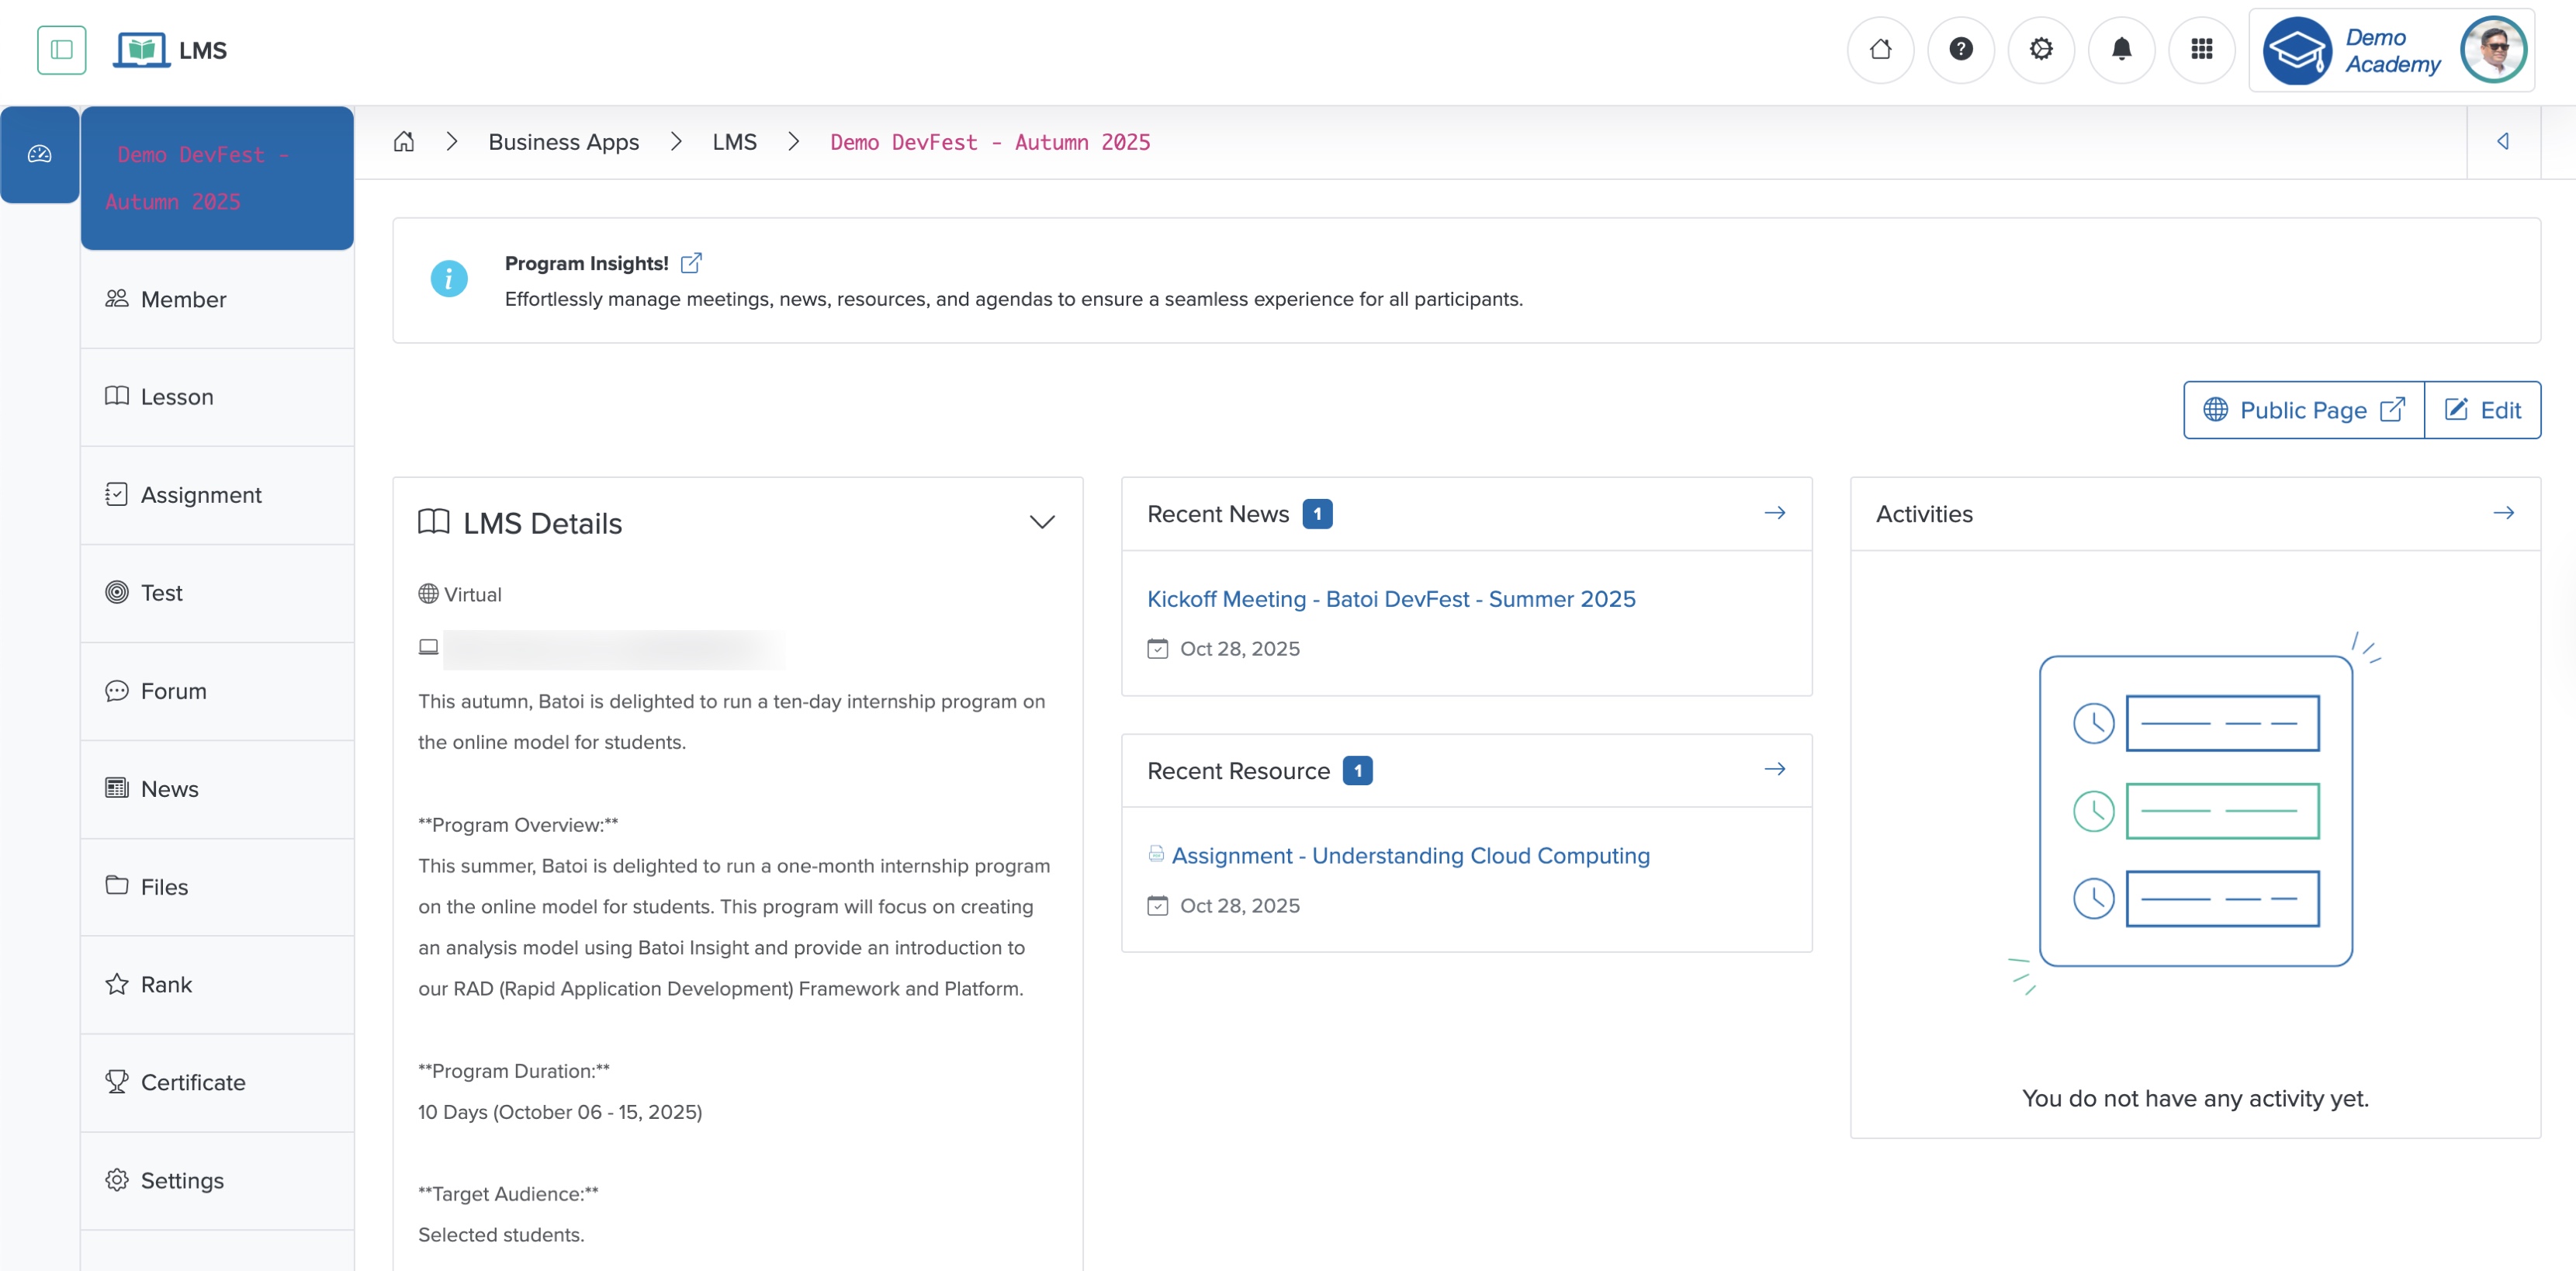
Click the Assignment card on the program dashboard or from the sidebar, as shown in Figure 1 above, and the system redirects you to the assignment list screen, where all assignments added to the program appear in a tabular format, as shown in Figure 2 below.
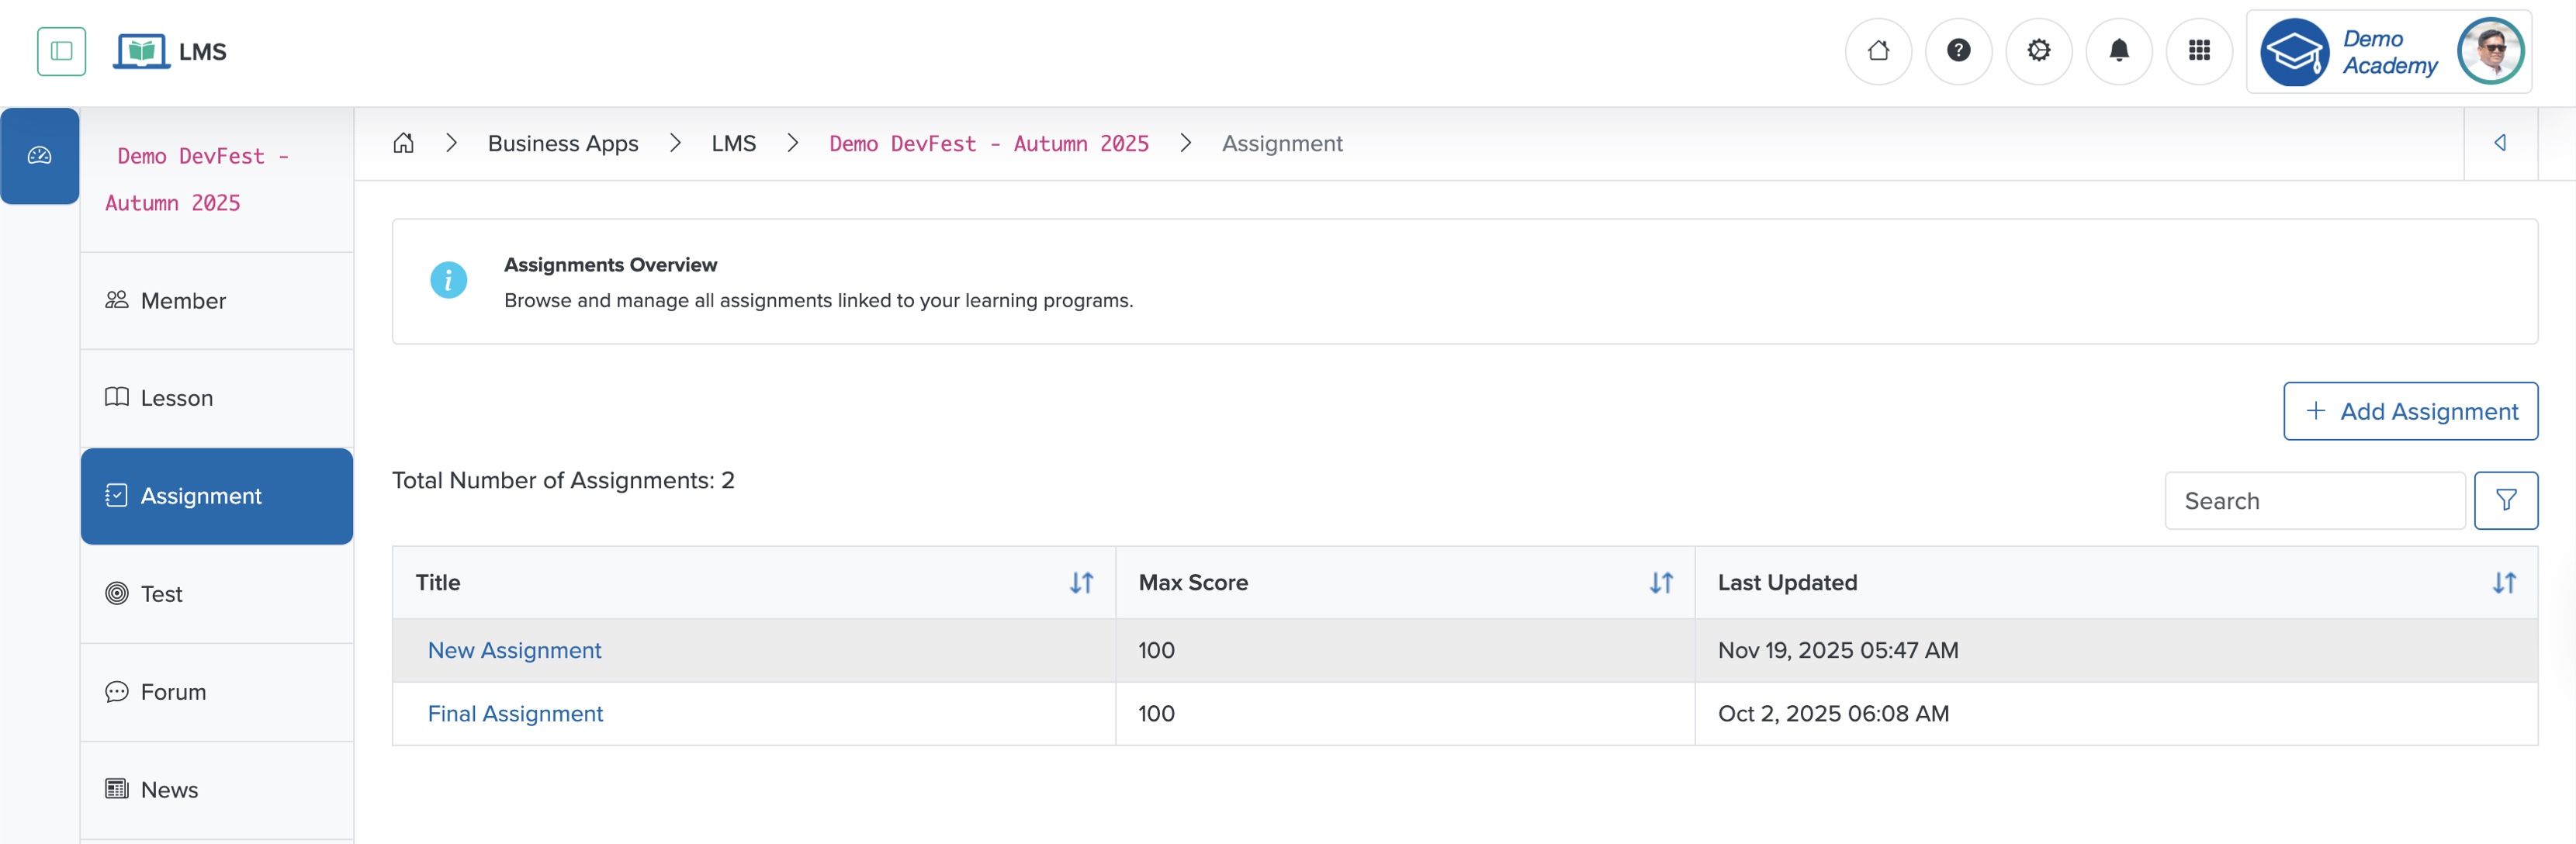
Add Assignment
Click the + Add Assignment button at the top of the assignment list page, and the Add new assignment page appears, as shown in Figure 3 below.
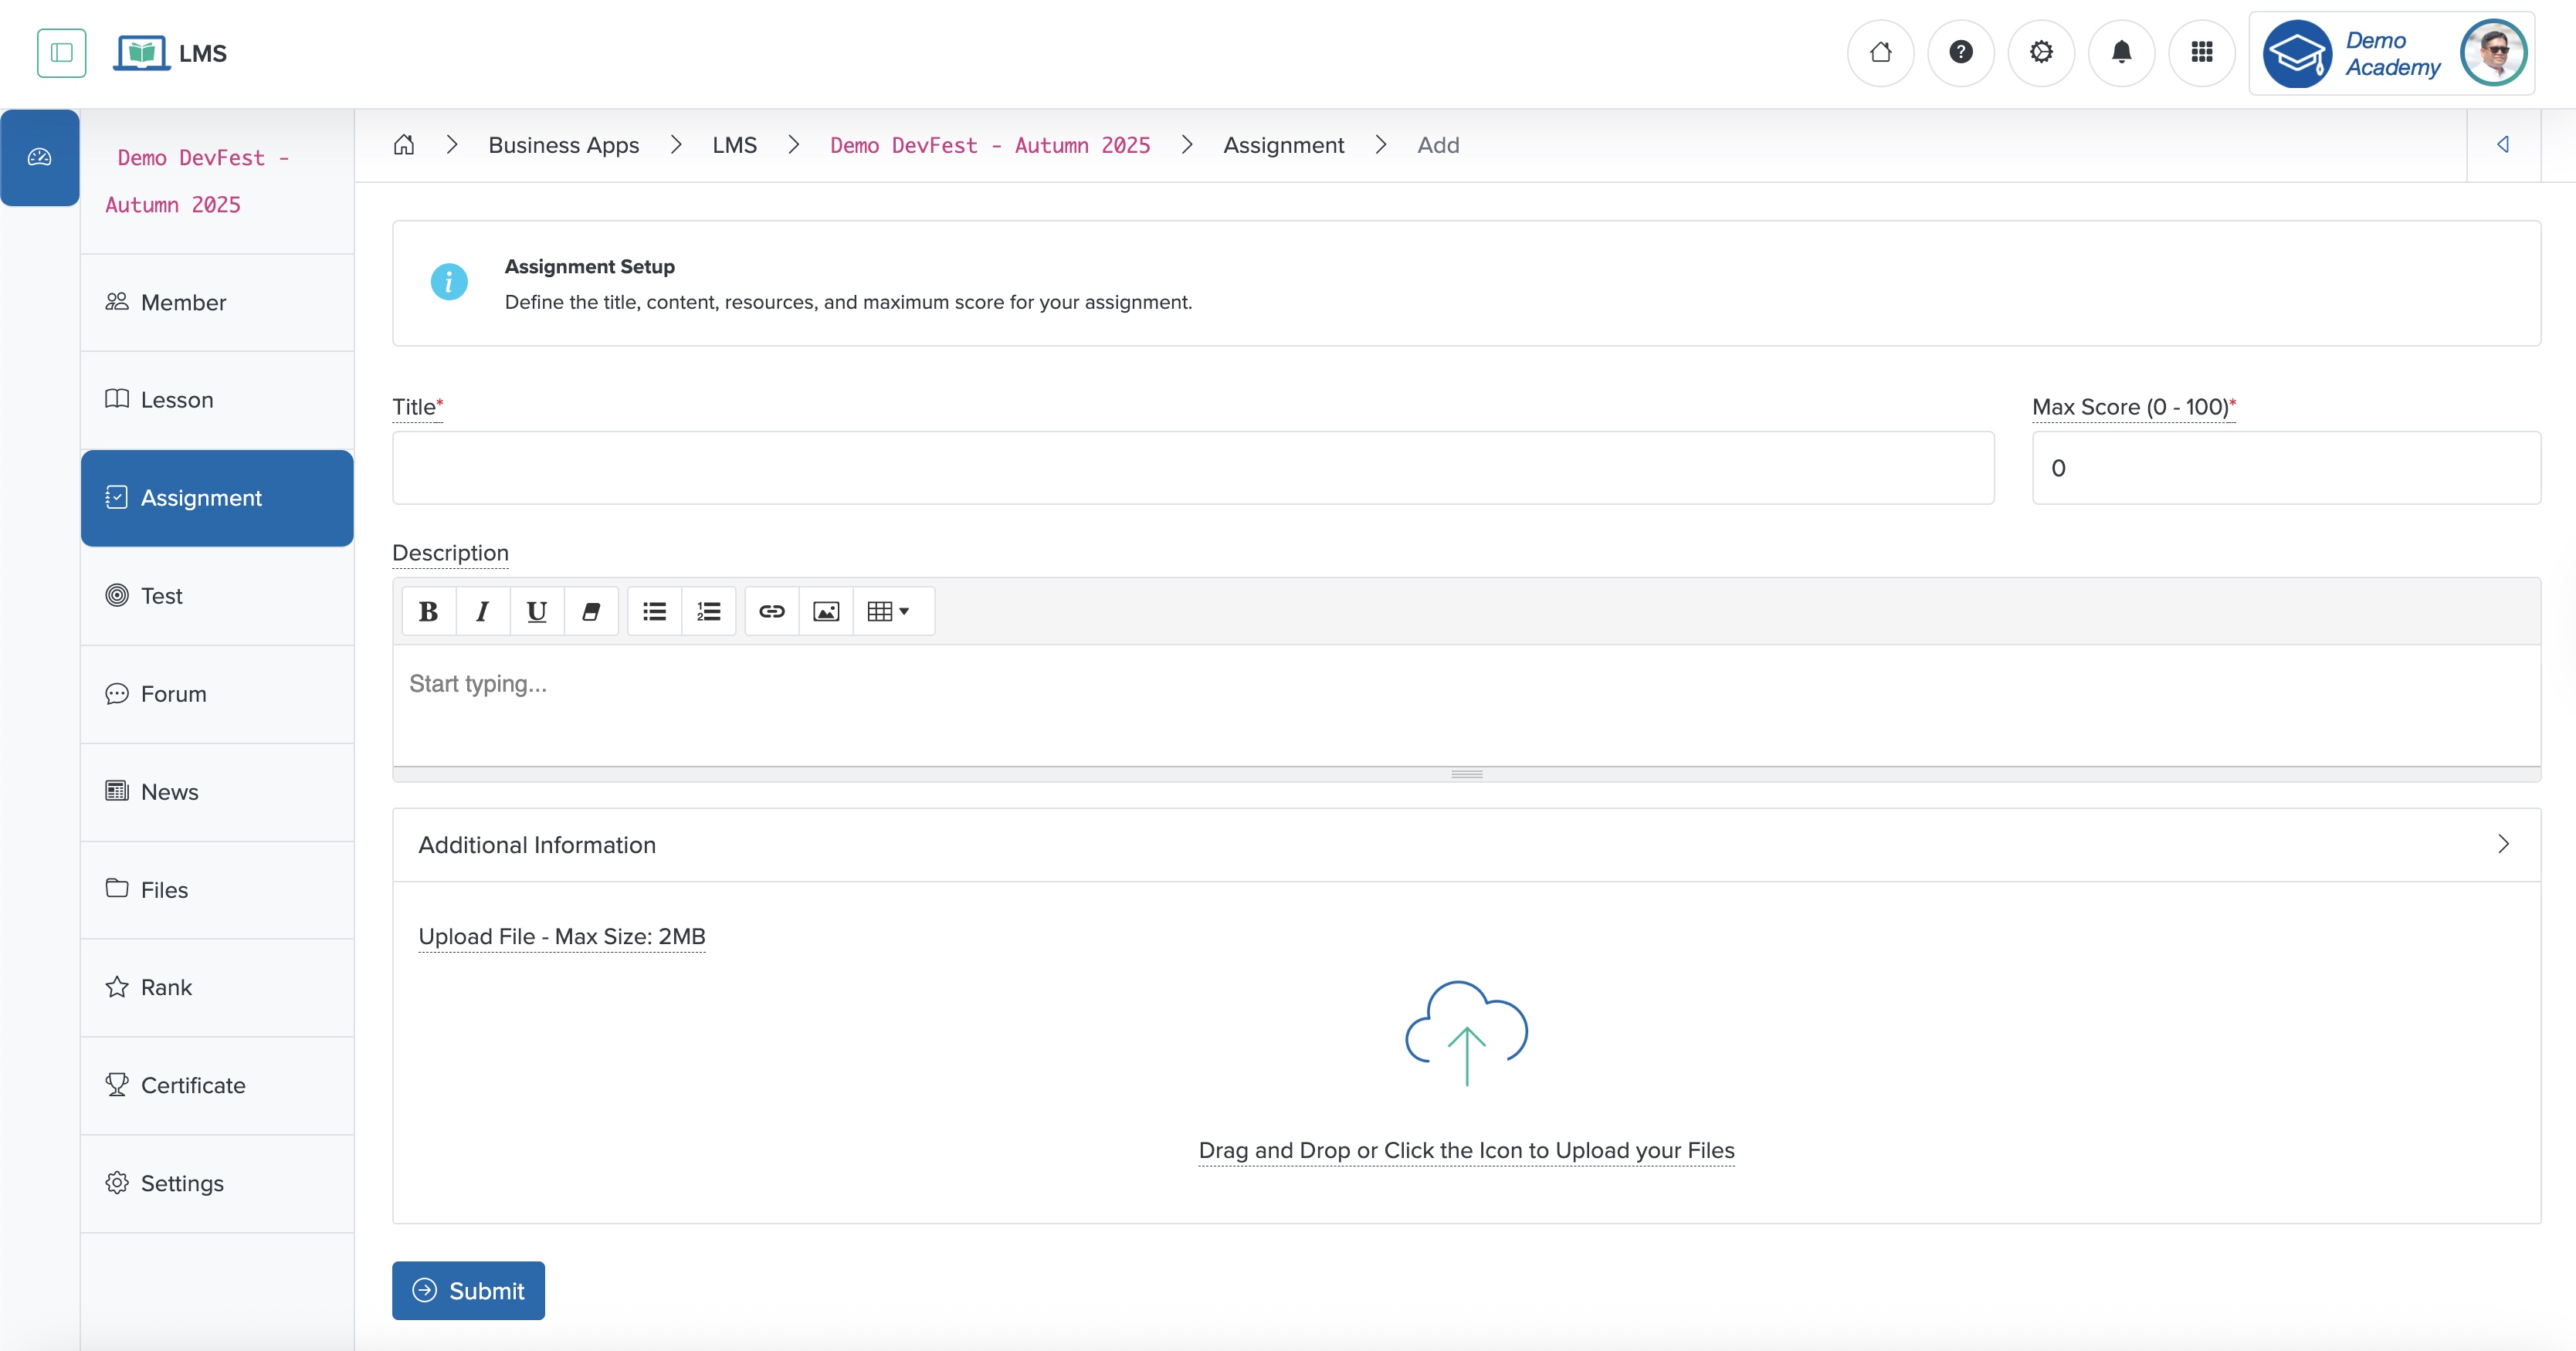
Enter the details below and click the Submit button to create a new assignment item, as shown in Figure 3 above. You can add the following details:
- Title (Textbox - Mandatory): Enter the Title of the Assignment
- Max Score (Textbox - Mandatory): Enter the number between 0-100 as the maximum score against the Assignment
- Description (Textarea - Mandatory): Enter the description of the Assignment
- Upload (File Upload - Optional): Upload the attachment
View Assignment
Click the Title of the assignment in the list page, as shown in Figure 2 above, and the assignment thread detail page opens, as shown in Figure 4 below.

You can see the details of each participant's assignment submission in a tabular format, as shown in Figure 4 above. Click the View icon associated with each assignment to view the details, as shown in Figure 5 below.

Accept Assignment
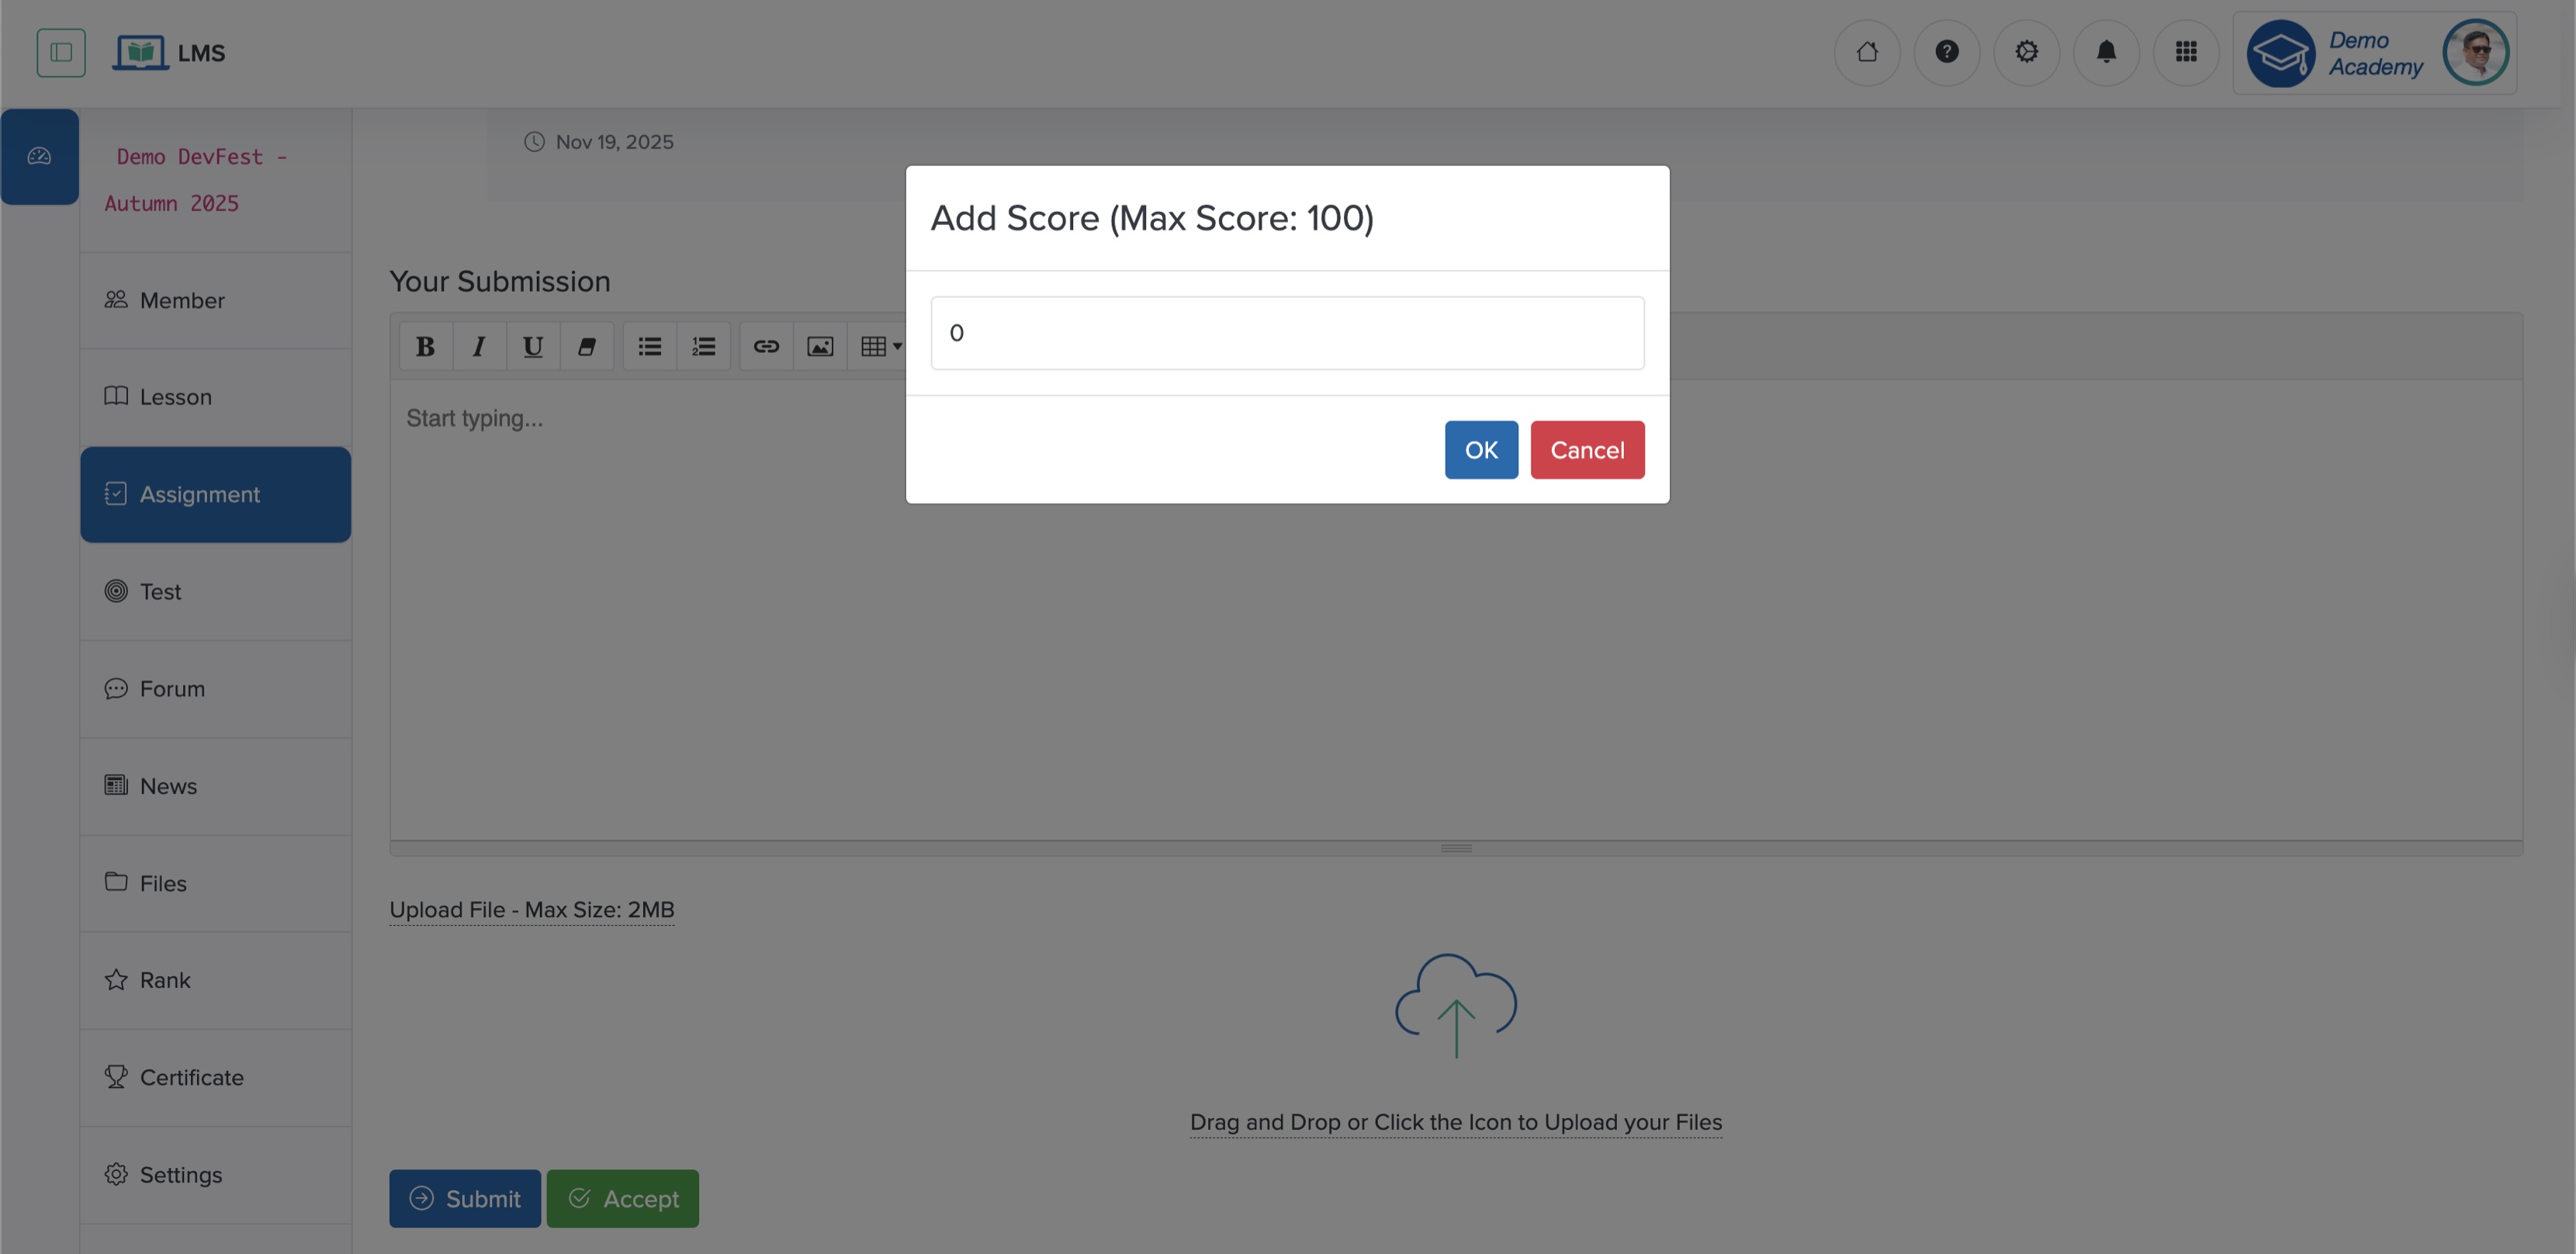
Click the Accept button at the bottom of the view assignment page, as shown in Figure 5 above, and a pop-up window opens to submit the mark, as shown in Figure 6 below.
Edit Assignment
Click the Edit button available on the top right side of the individual assignment detail page, as shown in Figure 4 above, and the assignment edit page opens, as shown in Figure 7 below.
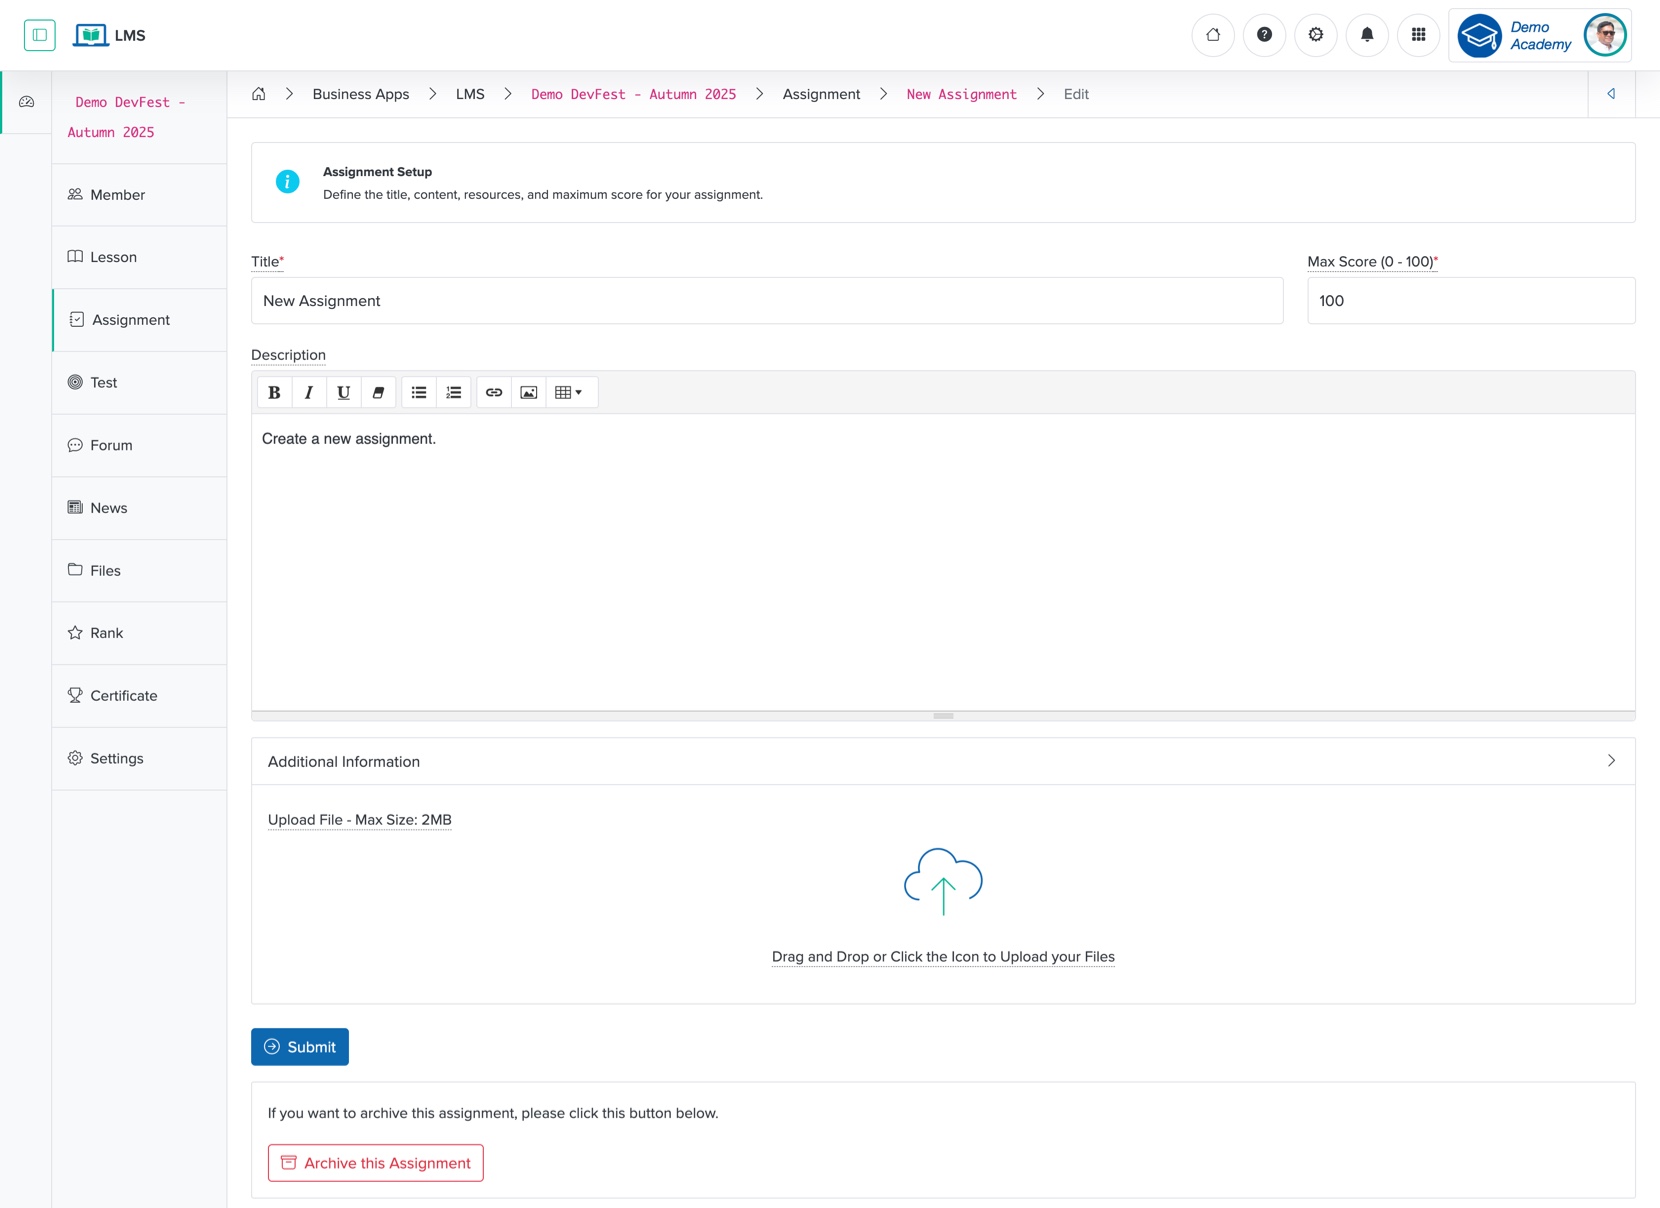
Enter the details below and click the Submit button to edit the assignment, as shown in Figure 7 above. You can add the following details:
- Title (Textbox - Mandatory): Enter the Title of the Assignment
- Max Score (Textbox - Mandatory): Enter the number between 0-100 as the maximum score against the Assignment
- Description (Textarea - Mandatory): Enter the description of the Assignment
- Upload (File Upload - Optional): Upload the attachment
To archive the assignment, click the Archive this Assignment button available on the bottom off the edit assignment page, as shown in Figure 7 above.