Wiki
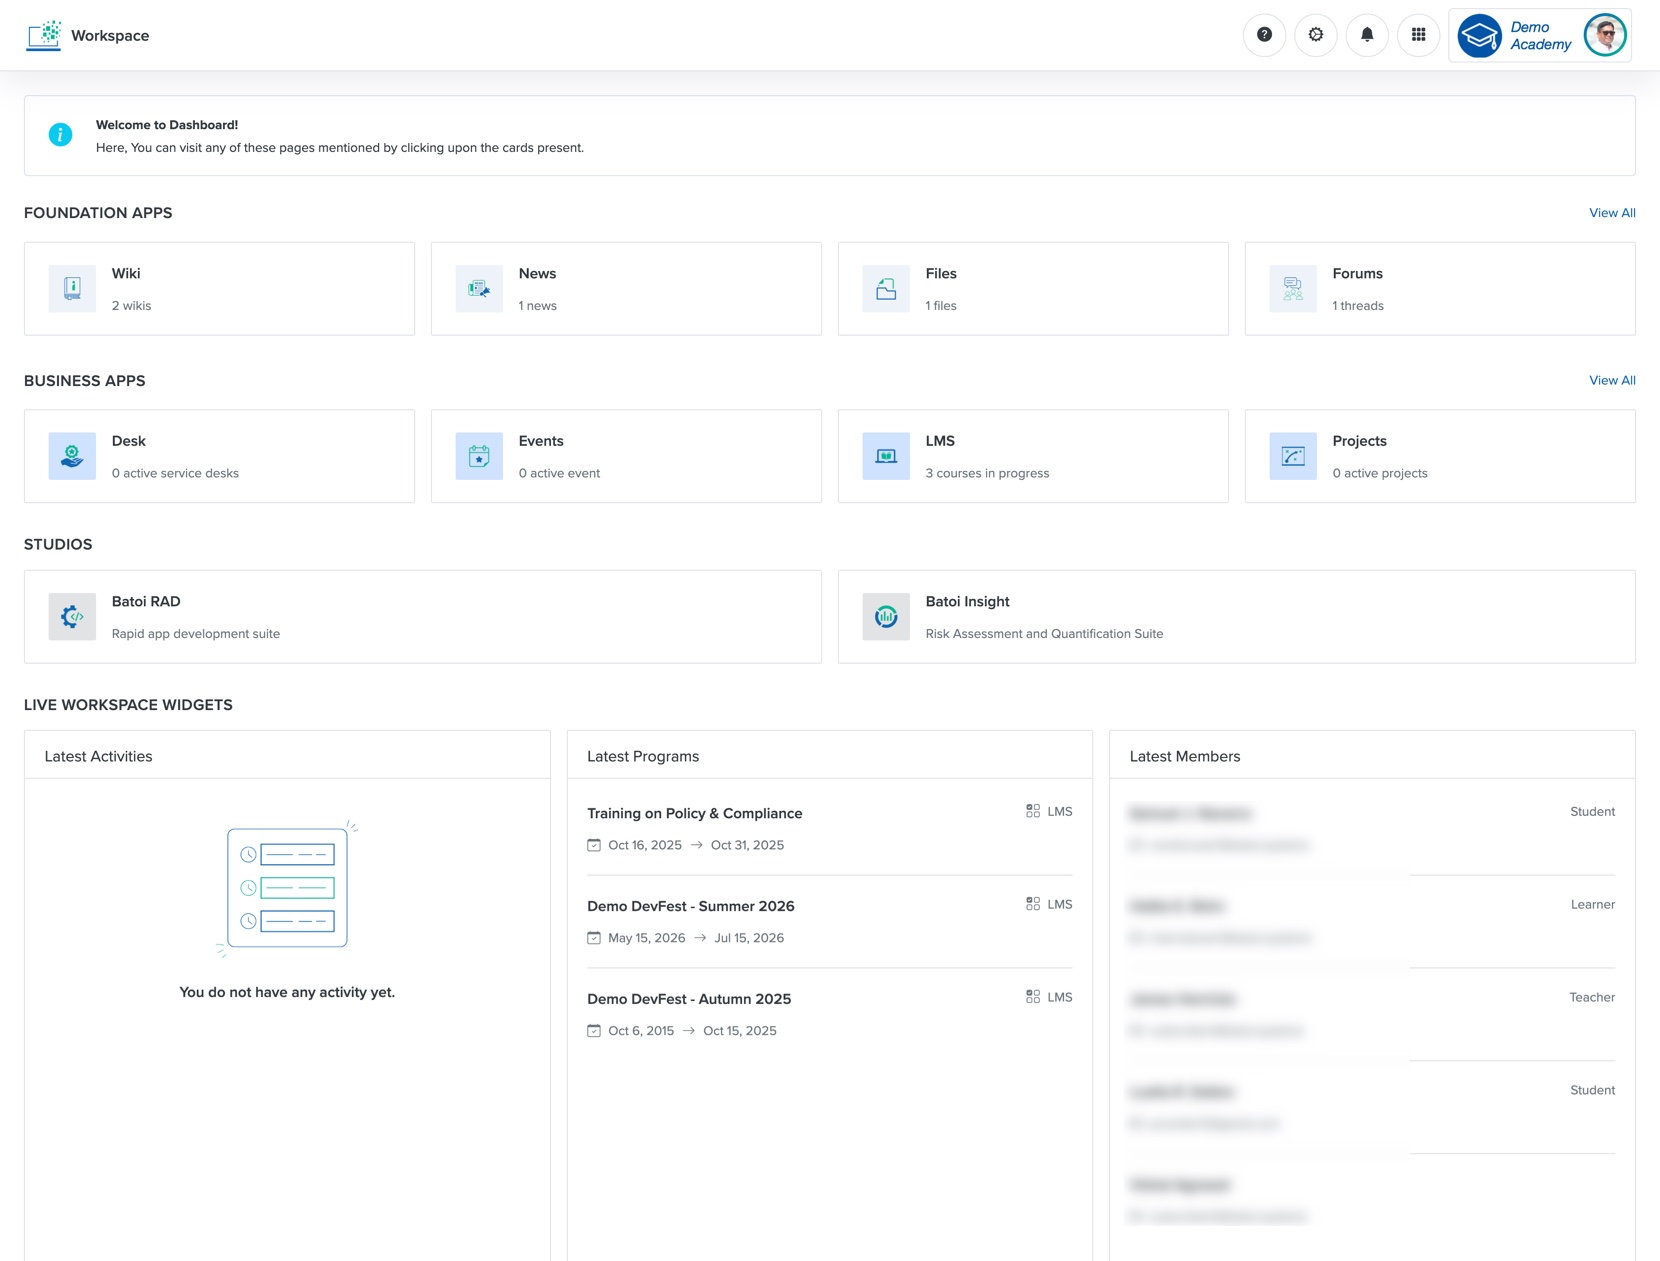
You can create the master list of courses in the Wiki App under the Foundation Apps. Click the Wiki card from the Workspace dashboard, as shown in Figure 1 above, and the Wiki list page opens, as shown in Figure 2 below. If you have not added a wiki before, you cannot see any wiki on the screen, as shown in Figure 2 below.
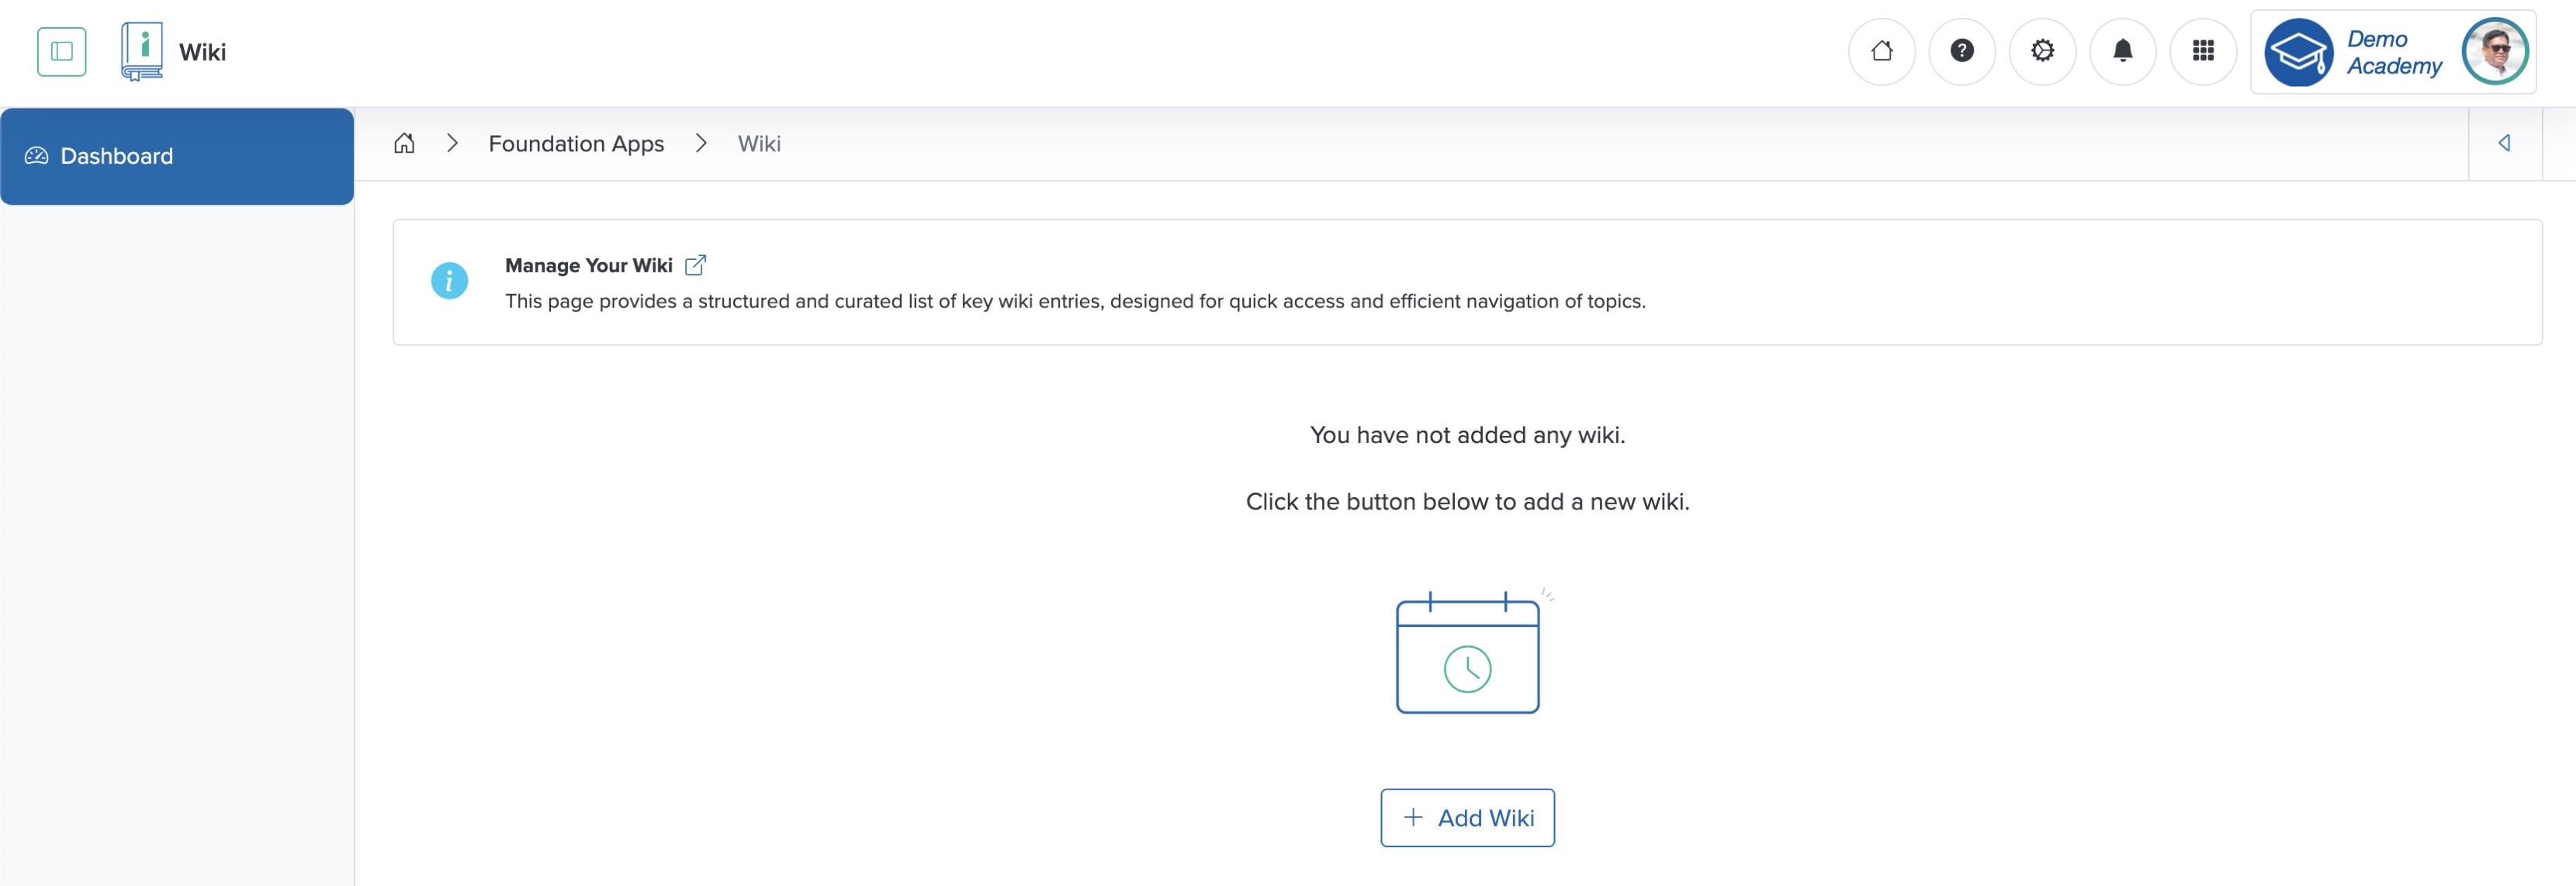
Add Wiki
Click the + Add Wiki button on the list page, as shown in Figure 2 above, and the system redirects you to the add wiki page, as shown in Figure 3 below.
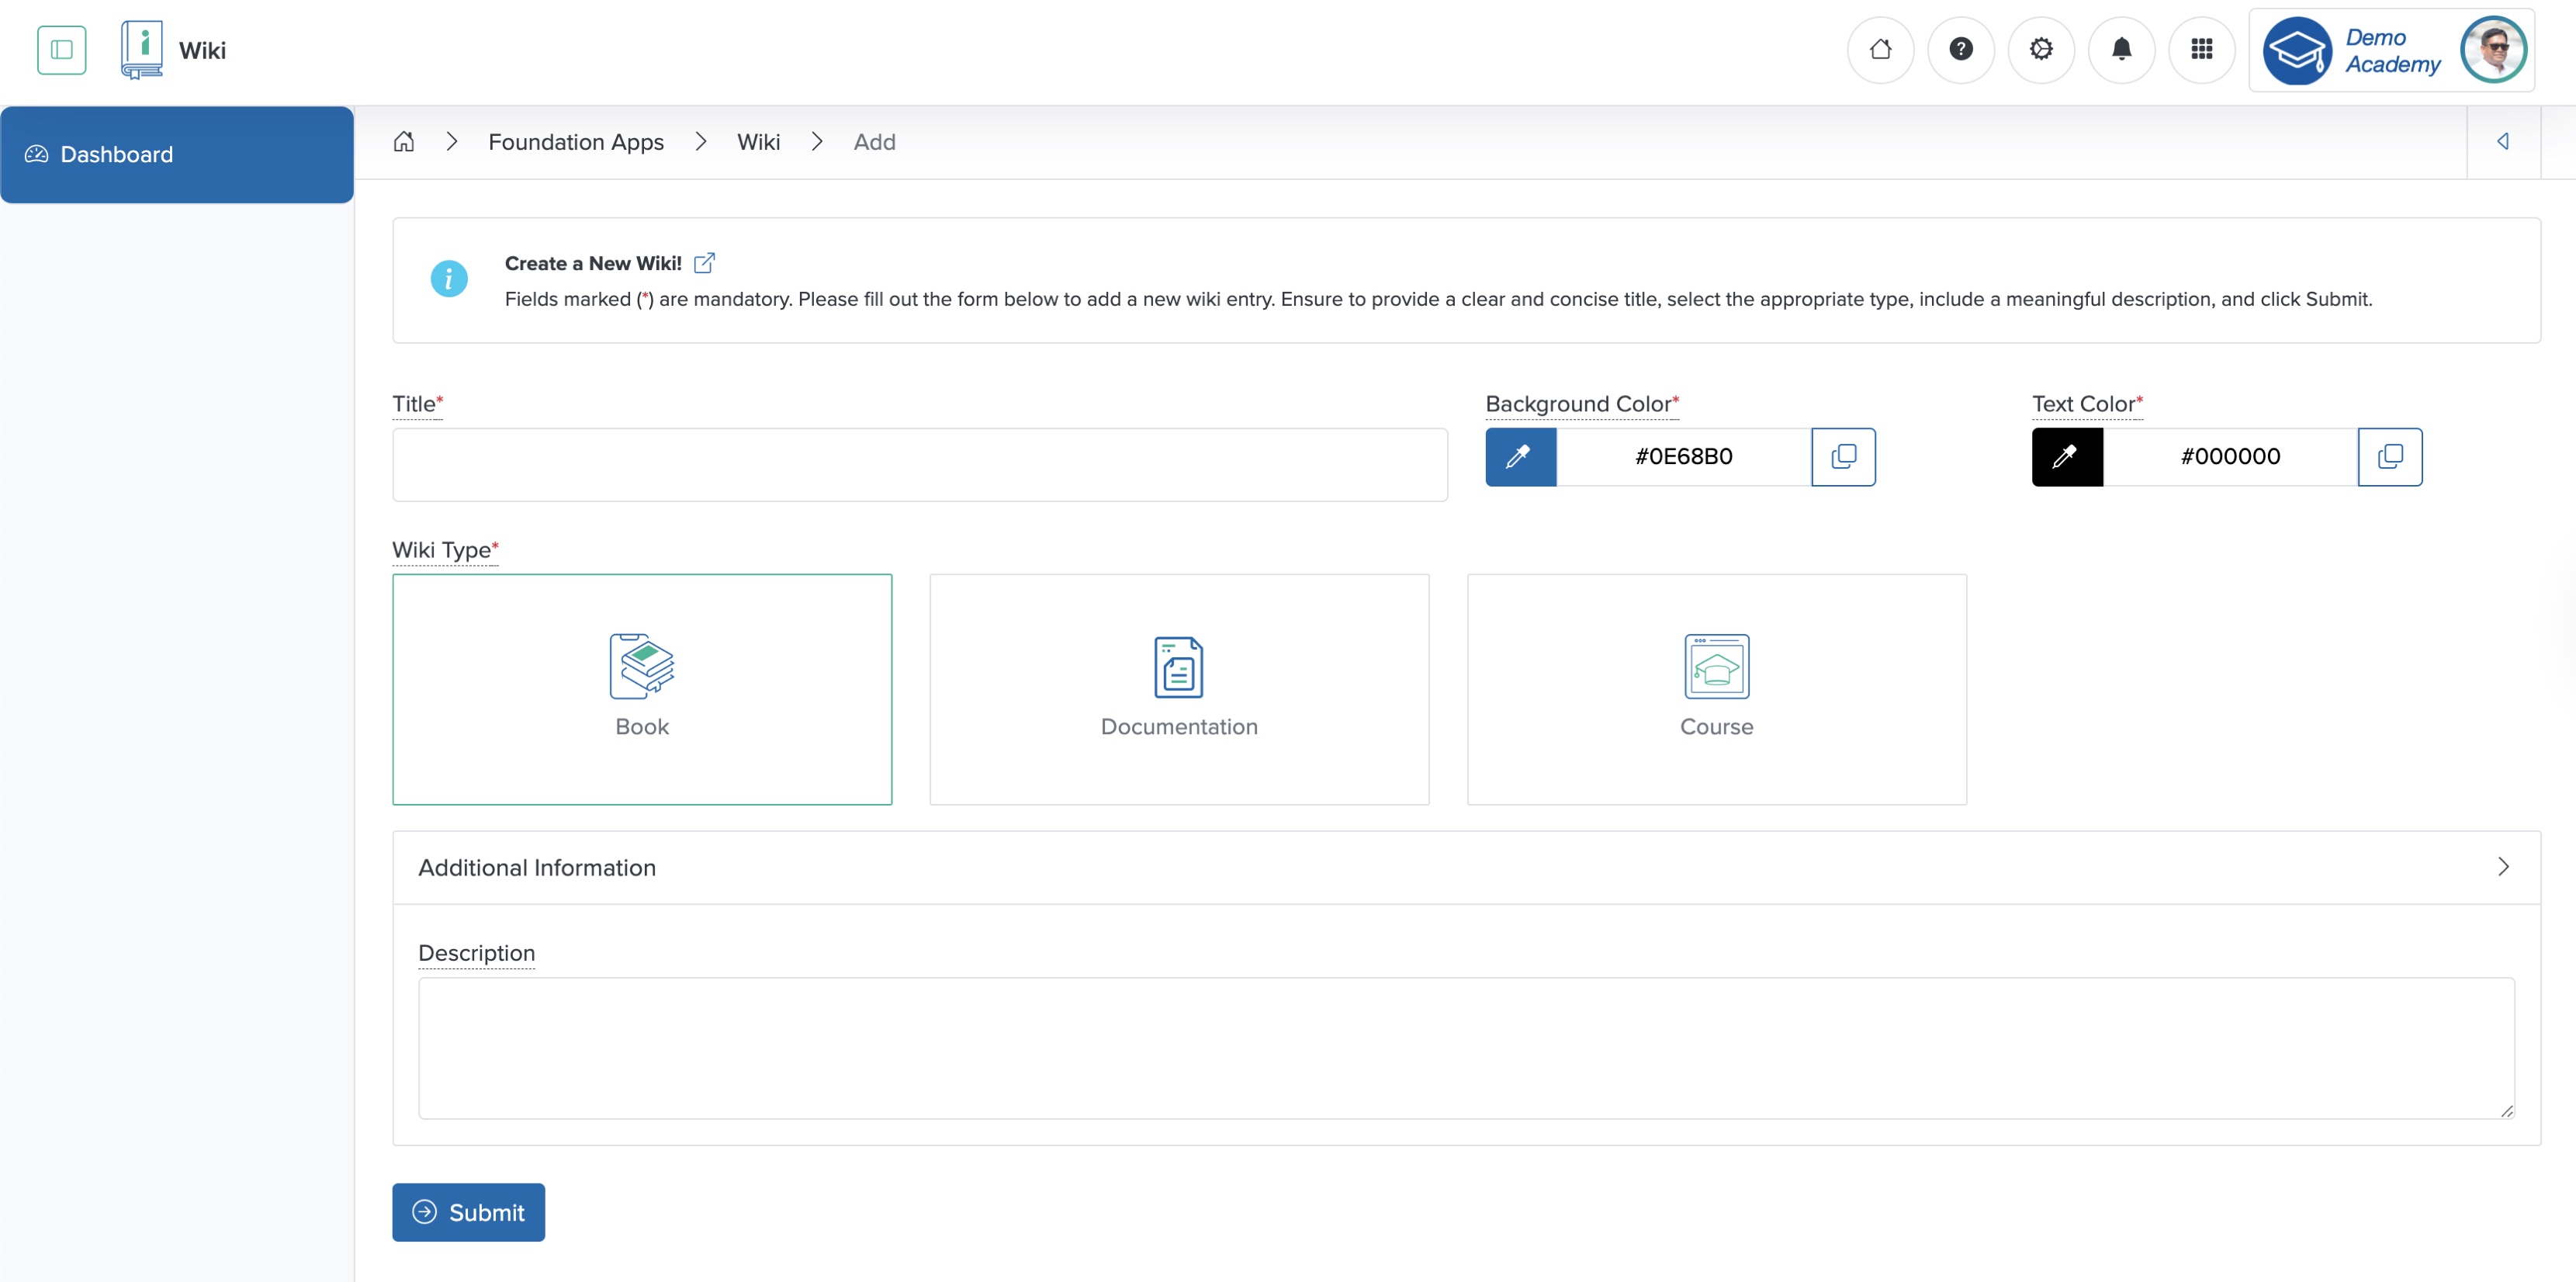
Enter the details below and click the Submit button to create a new wiki, as shown in Figure 3 above.
- Title (Textbox - Mandatory): Enter the Title of the Wiki
- Background Color (Color Picker - Mandatory): Select the background color of the wiki card. If we do not choose a color from the color picker, the system will display the default color
- Text Color (Color Picker - Mandatory): Select the text color of the wiki title on the card. If we do not choose a color from the color picker, the system will display the default color
- Wiki Type (Select box - Mandatory): Select the type of wiki you want to create. Currently, you can add three types of wikis. To create a course, select the wiki type as 'Course'
- Description (Textarea - Optional): Enter the team description in the additional information section
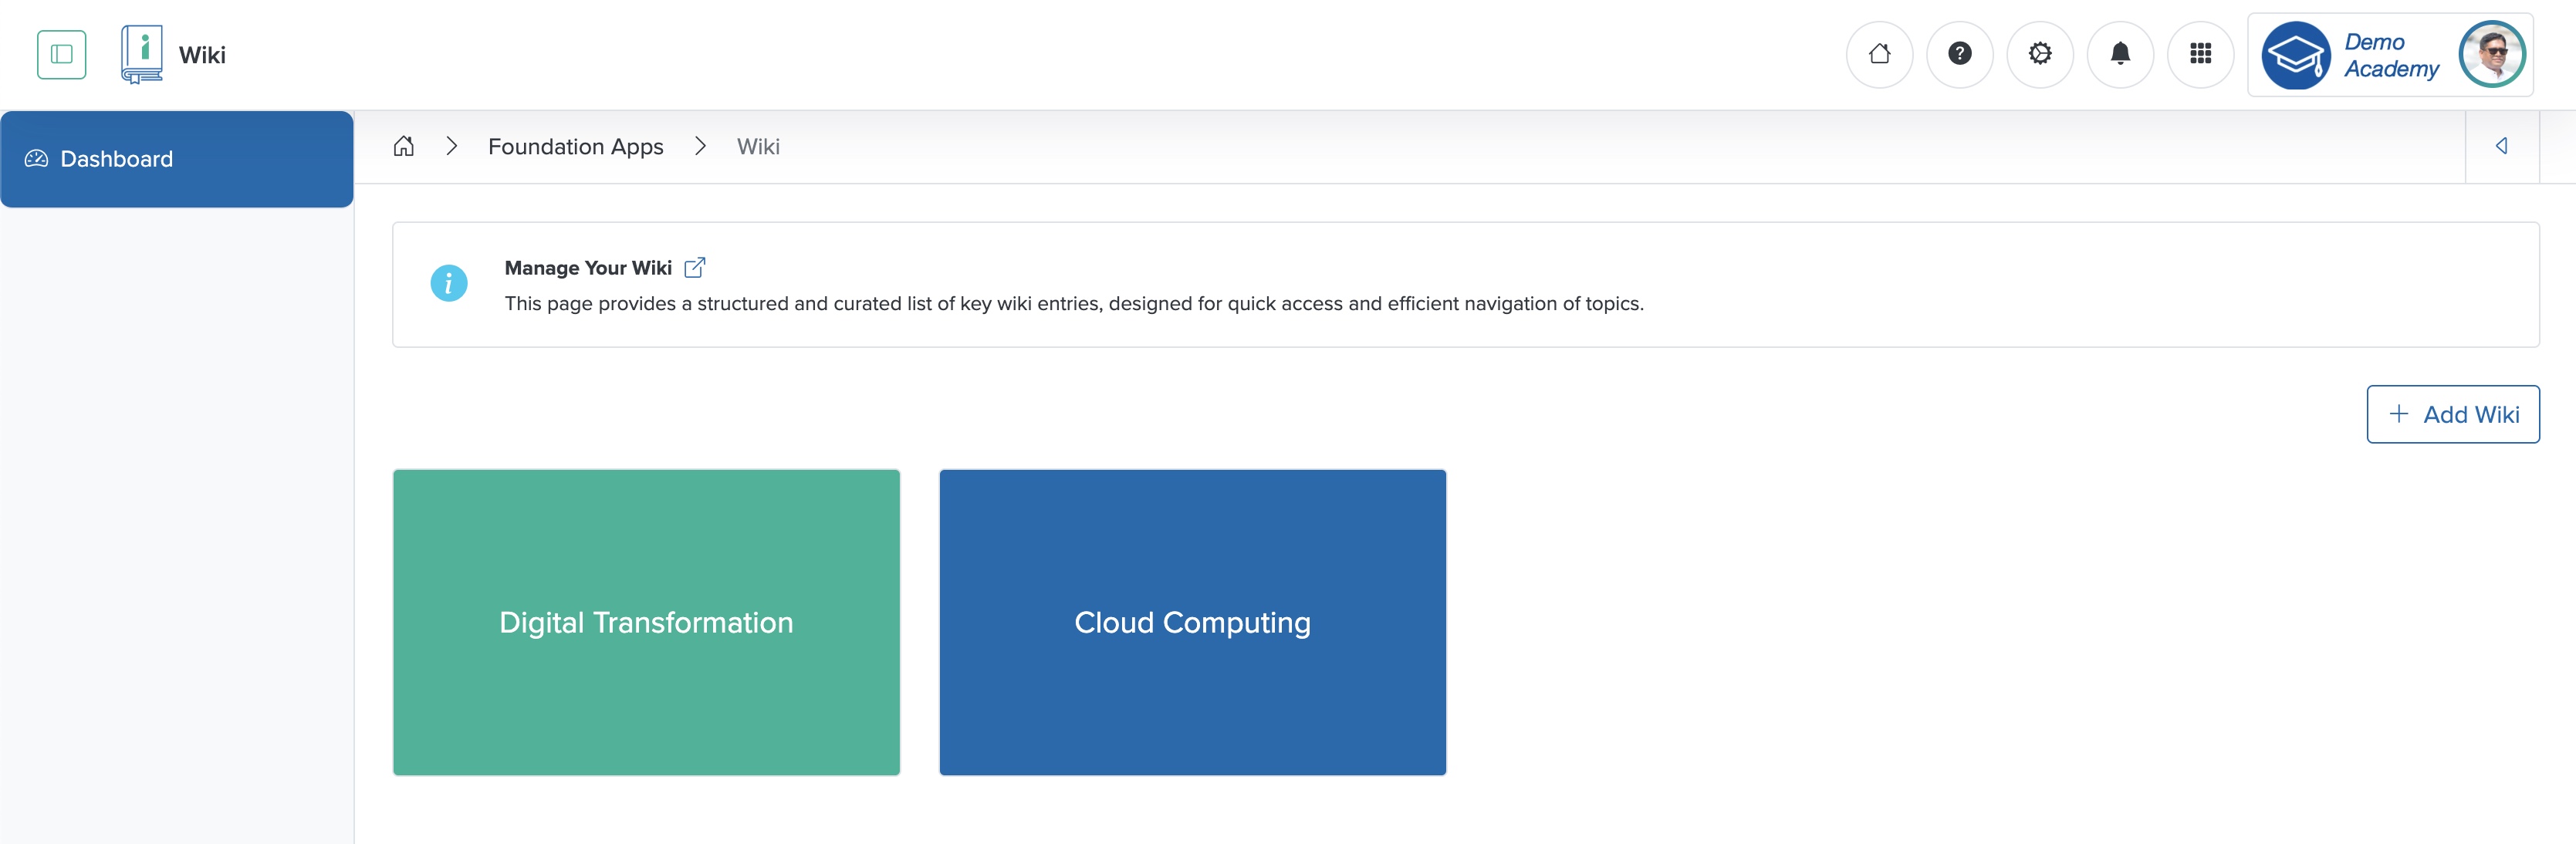
Once you add the Wiki, you can view it in the card format, as shown in Figure 4 below.
Individual Wiki Overview
Click the Wiki card from the wiki list page, as shown in Figure 4 above, and the individual wiki overview page opens, as shown in Figure 5 below.
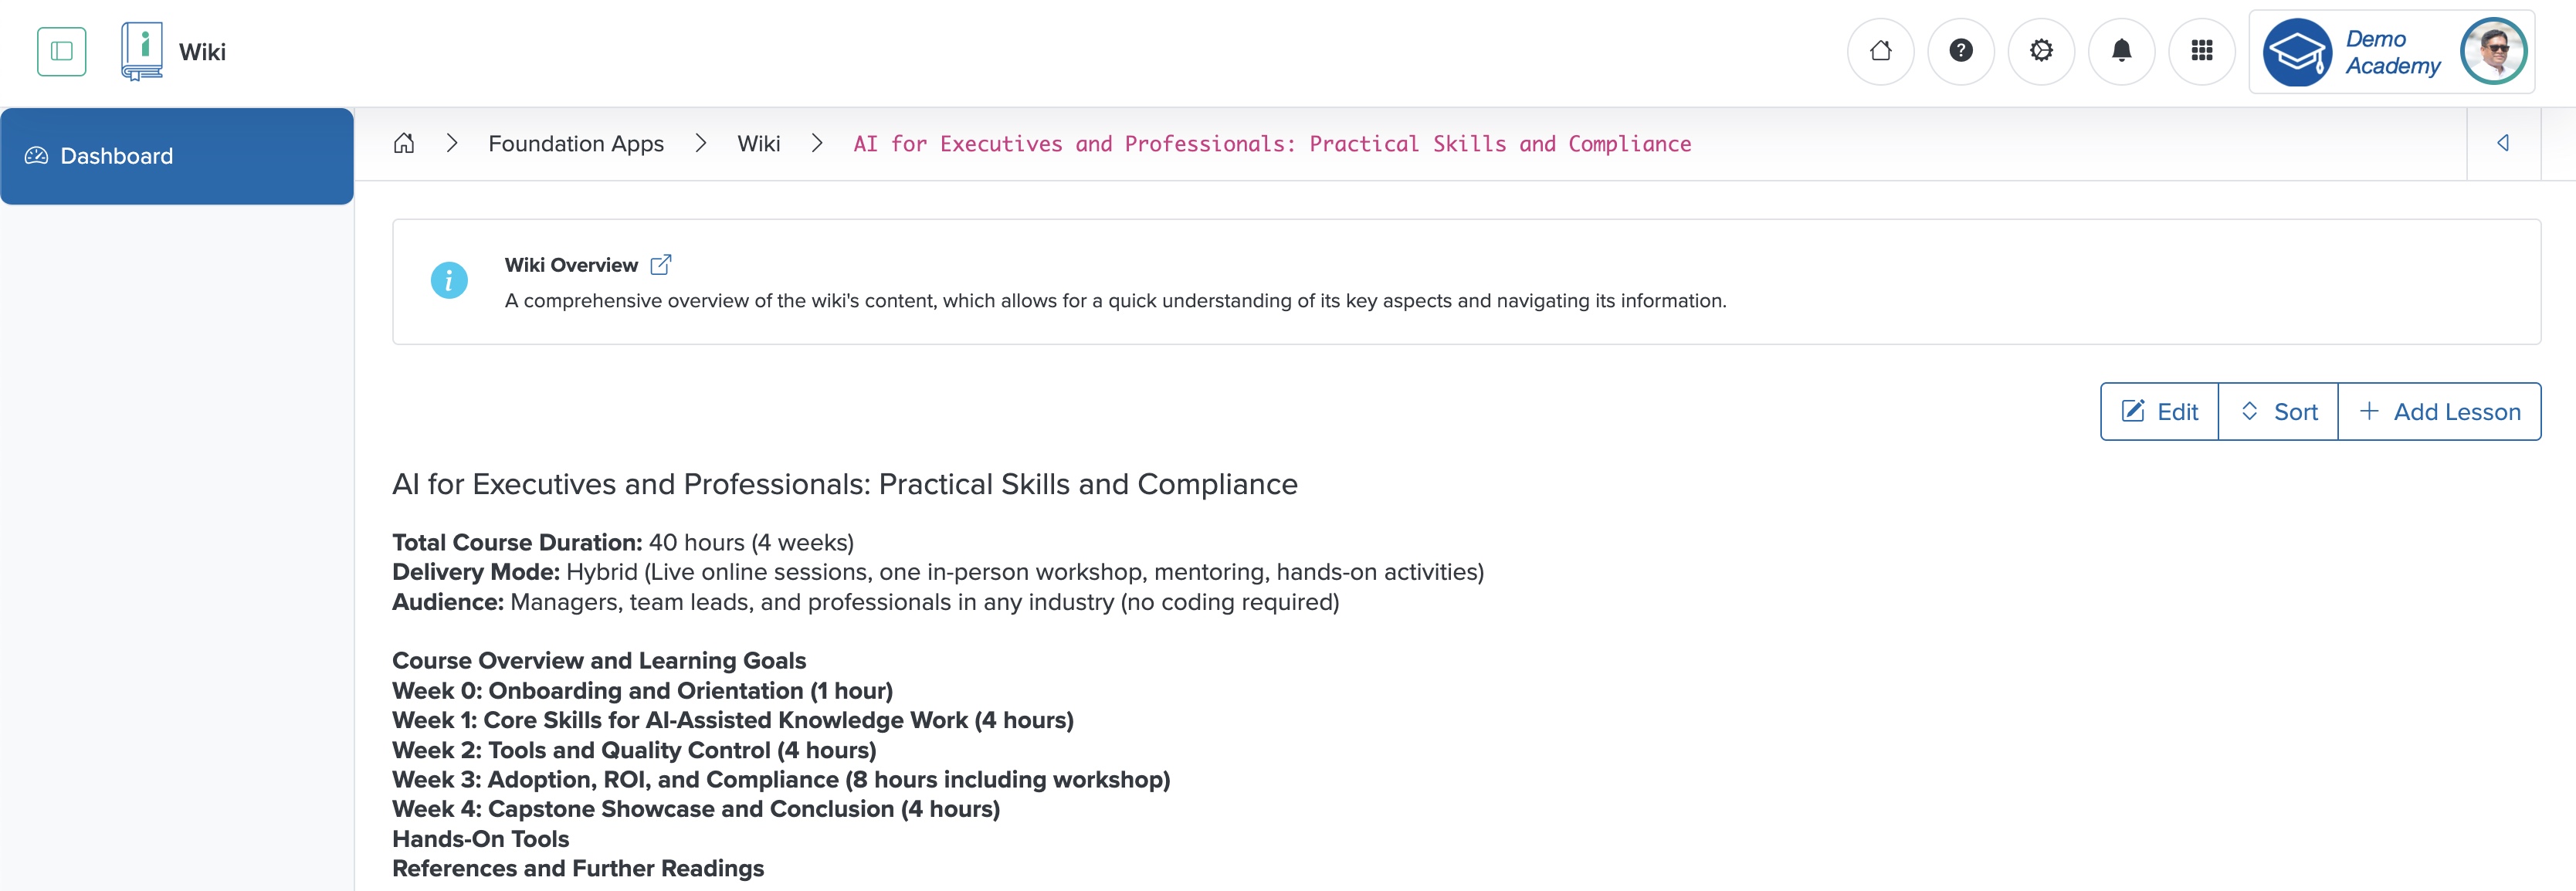
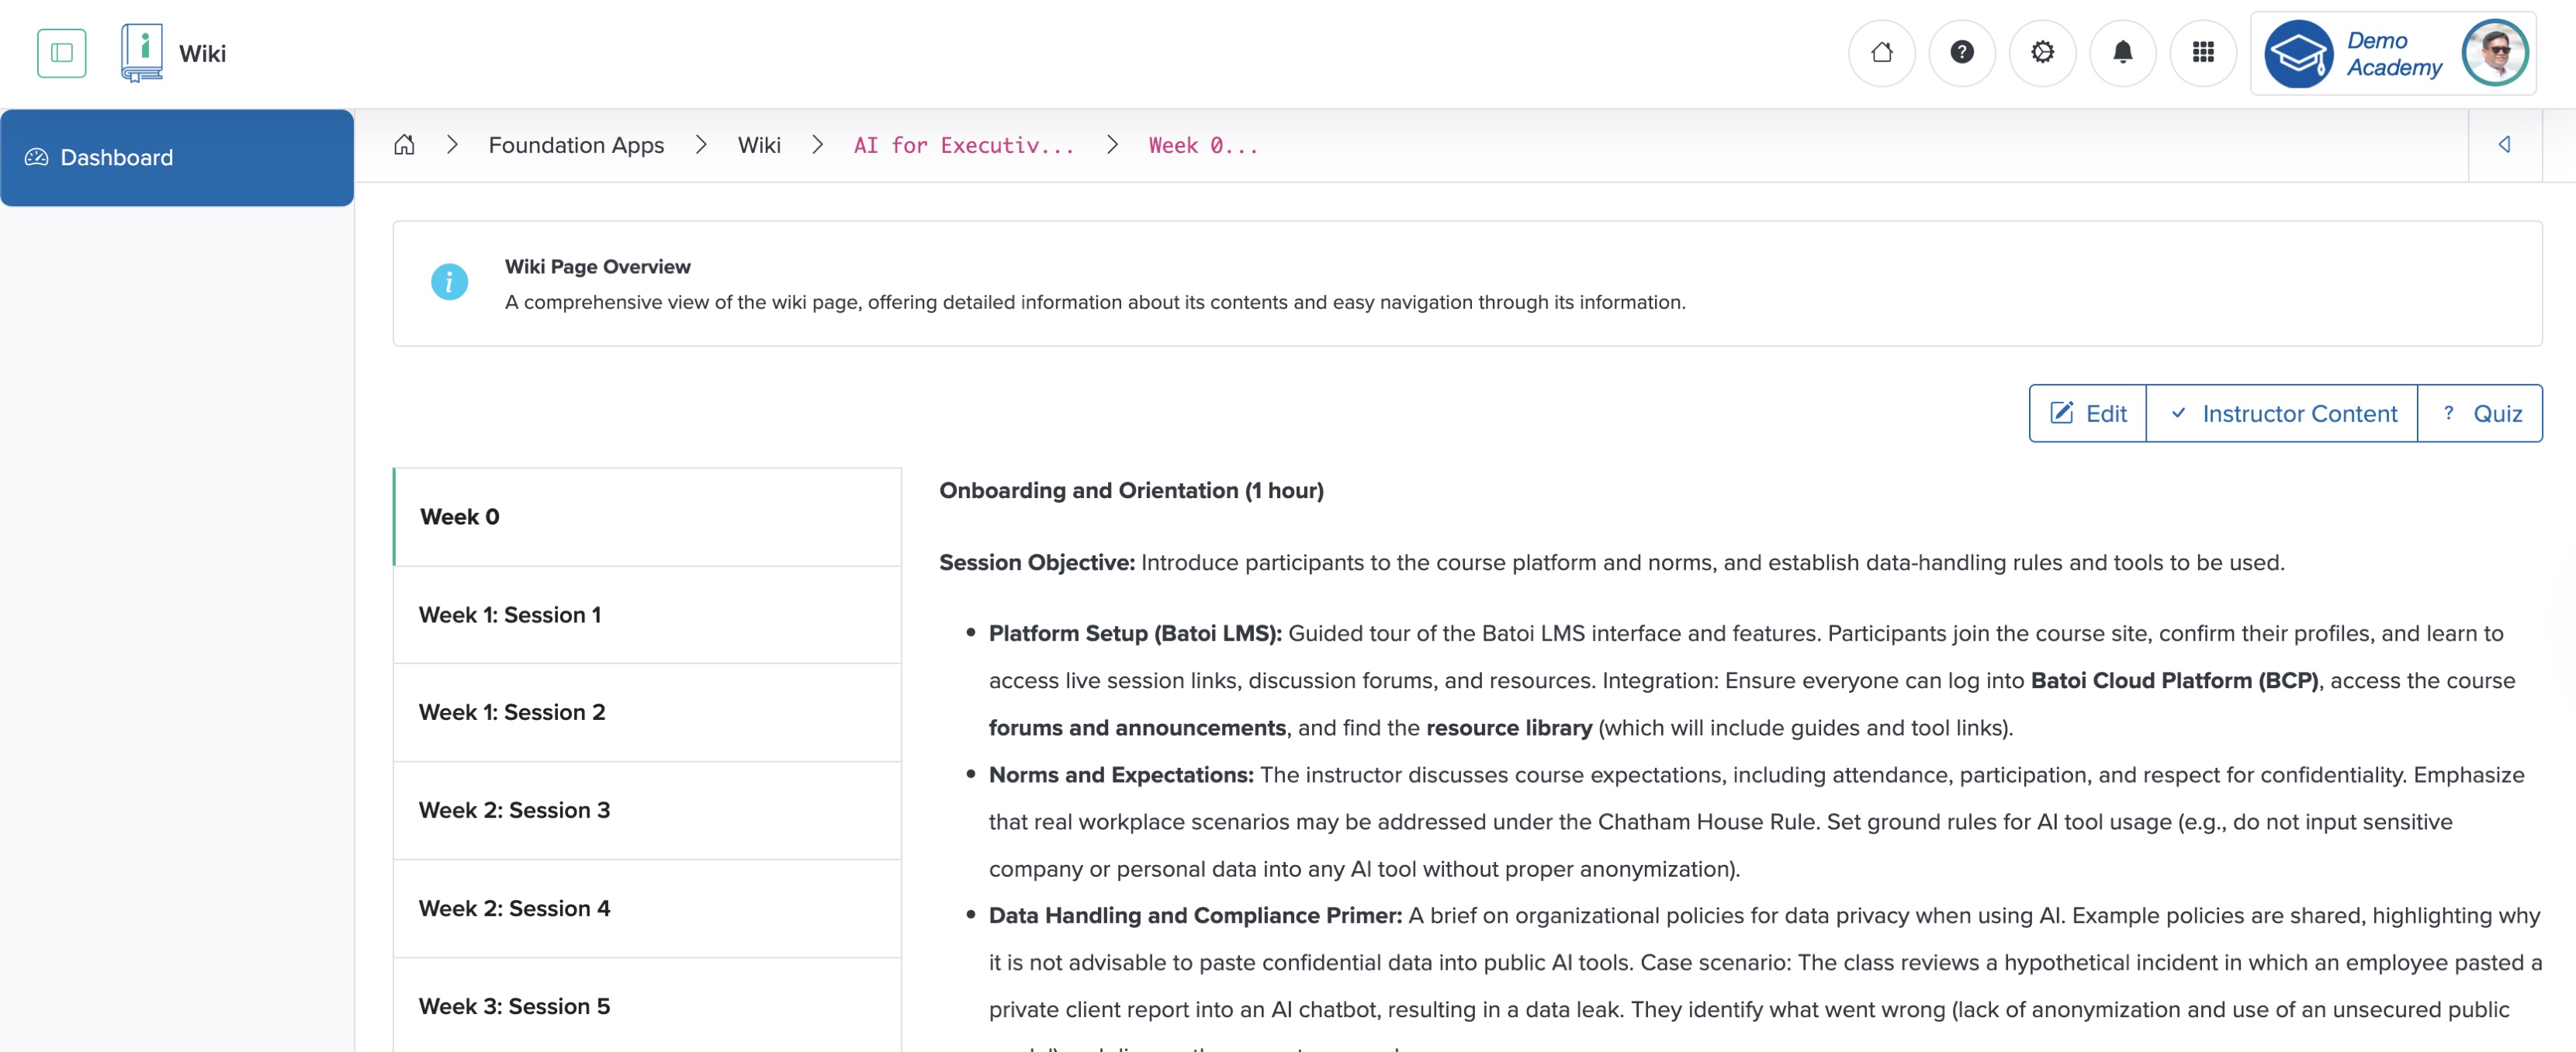
On the overview page, you can view the content lesson-wise, as shown in Figure 5 above.
Edit Individual Wiki
Click the Edit button at the top of the wiki overview page, as shown in Figure 5 above, and the wiki edit page opens, as shown in Figure 6 below.
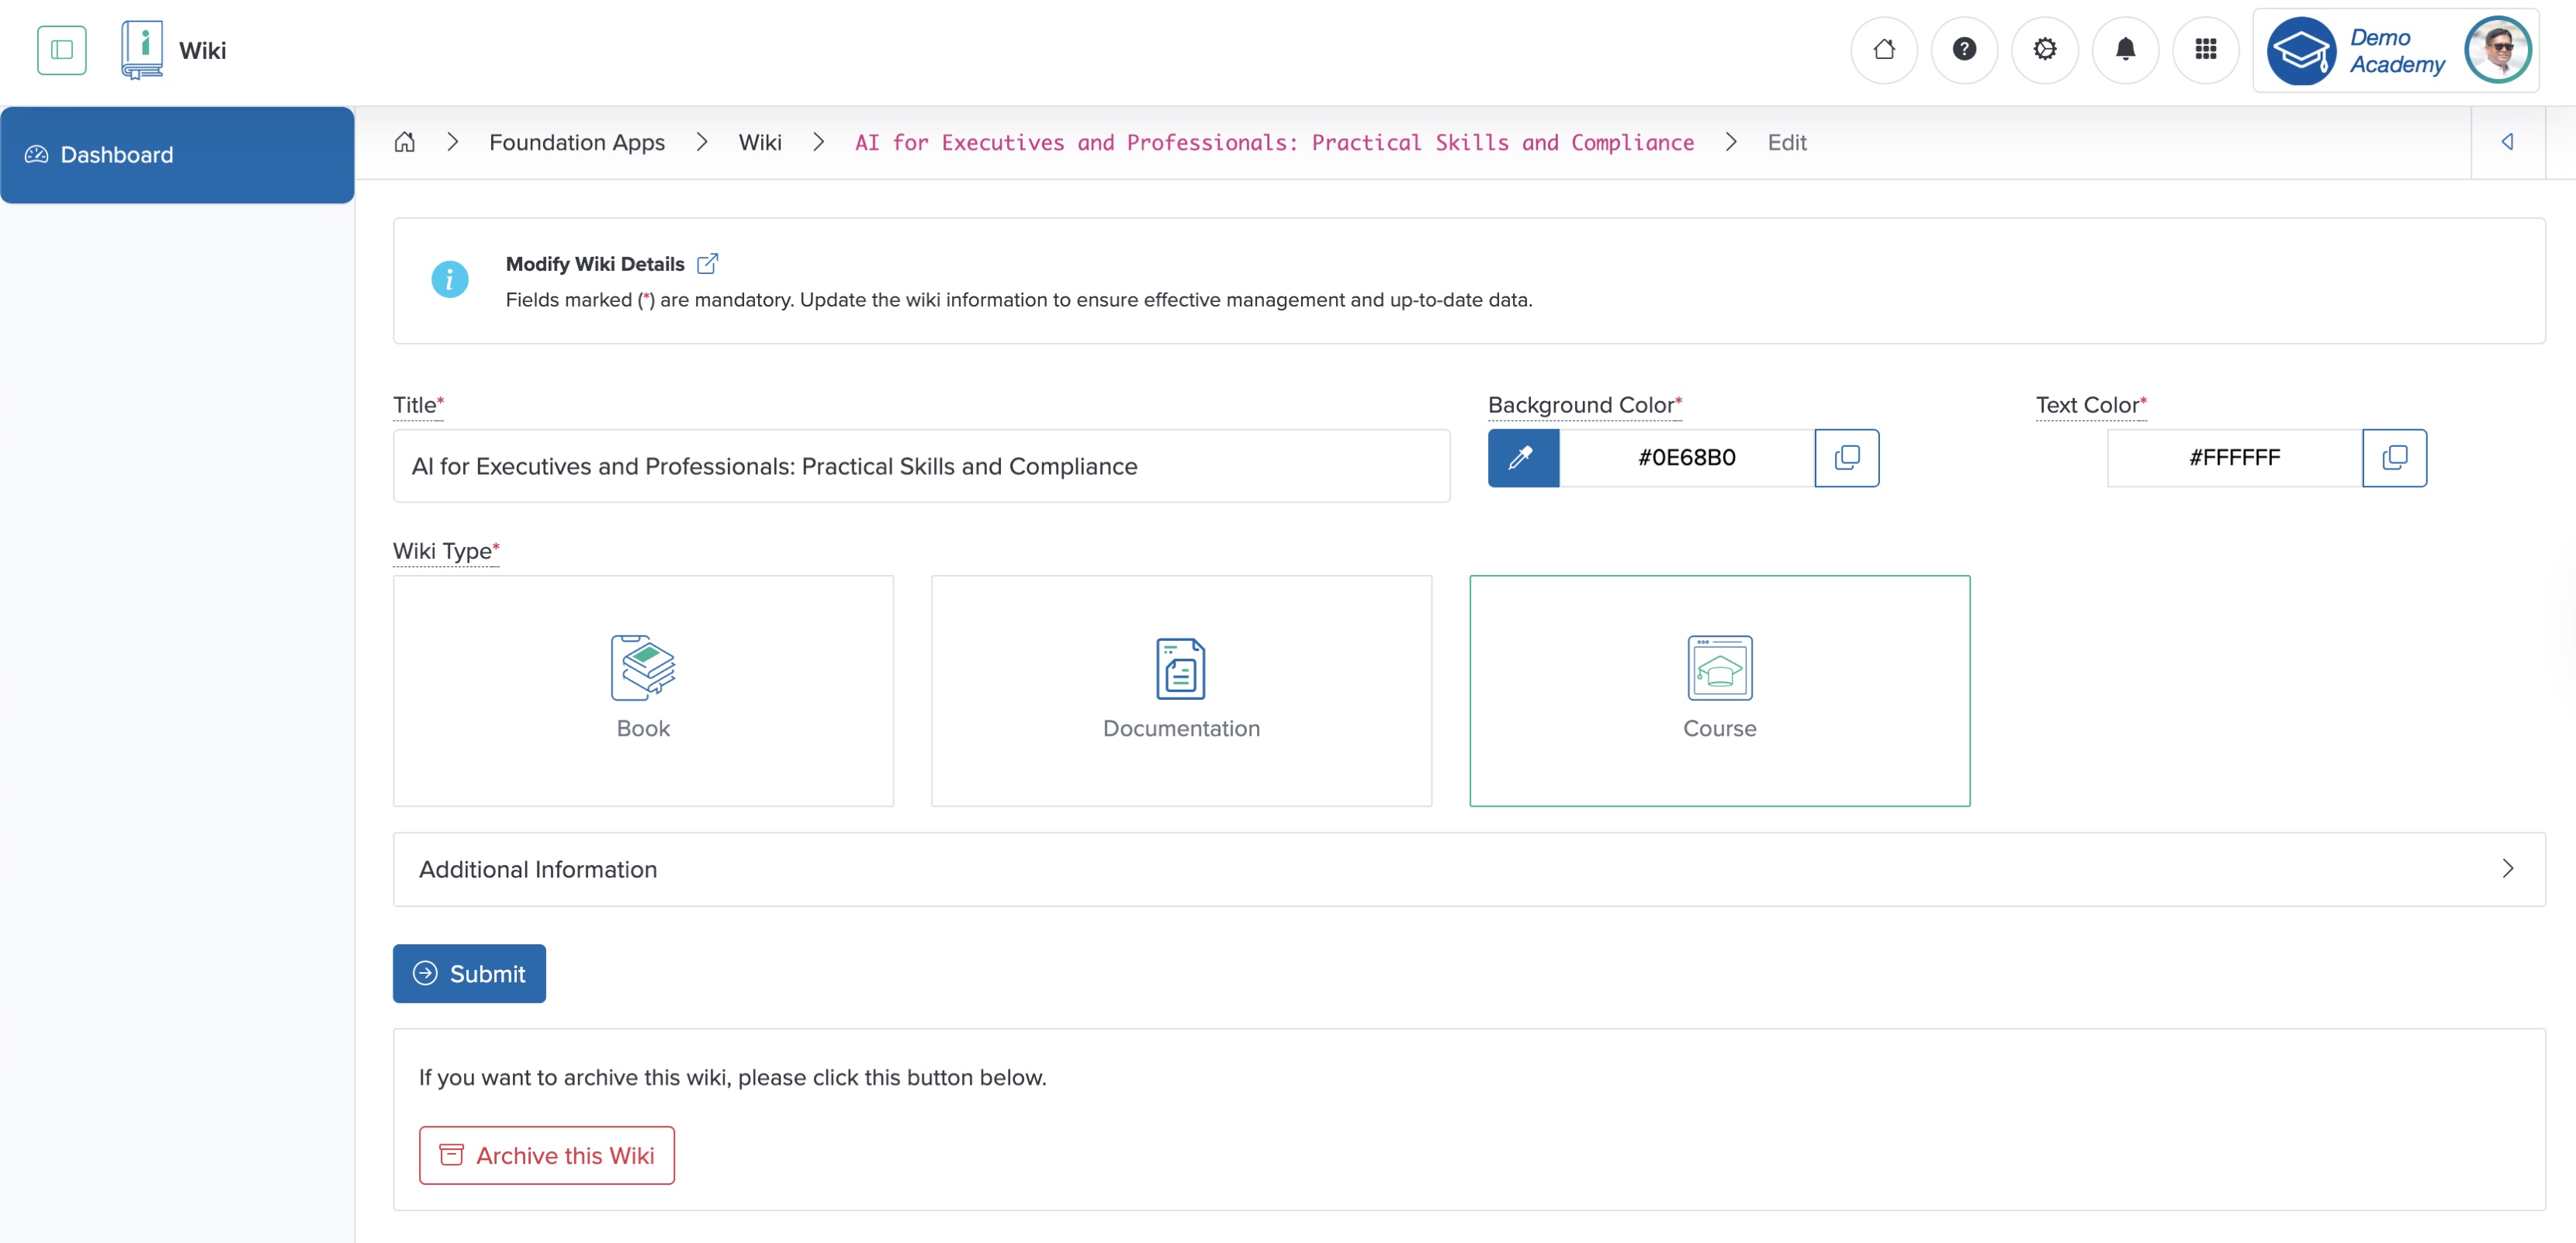
Edit the details and click the Submit button to update the Wiki, as shown in Figure 6 above. To archive the Wiki, click the Archive this Wiki button at the bottom of the wiki edit page, as shown in Figure 6 above.
Sort Lessons
Click the Sort button at the top of the wiki overview page, as shown in Figure 5 above, and the wiki lesson sorting page opens, as shown in Figure 7 below.
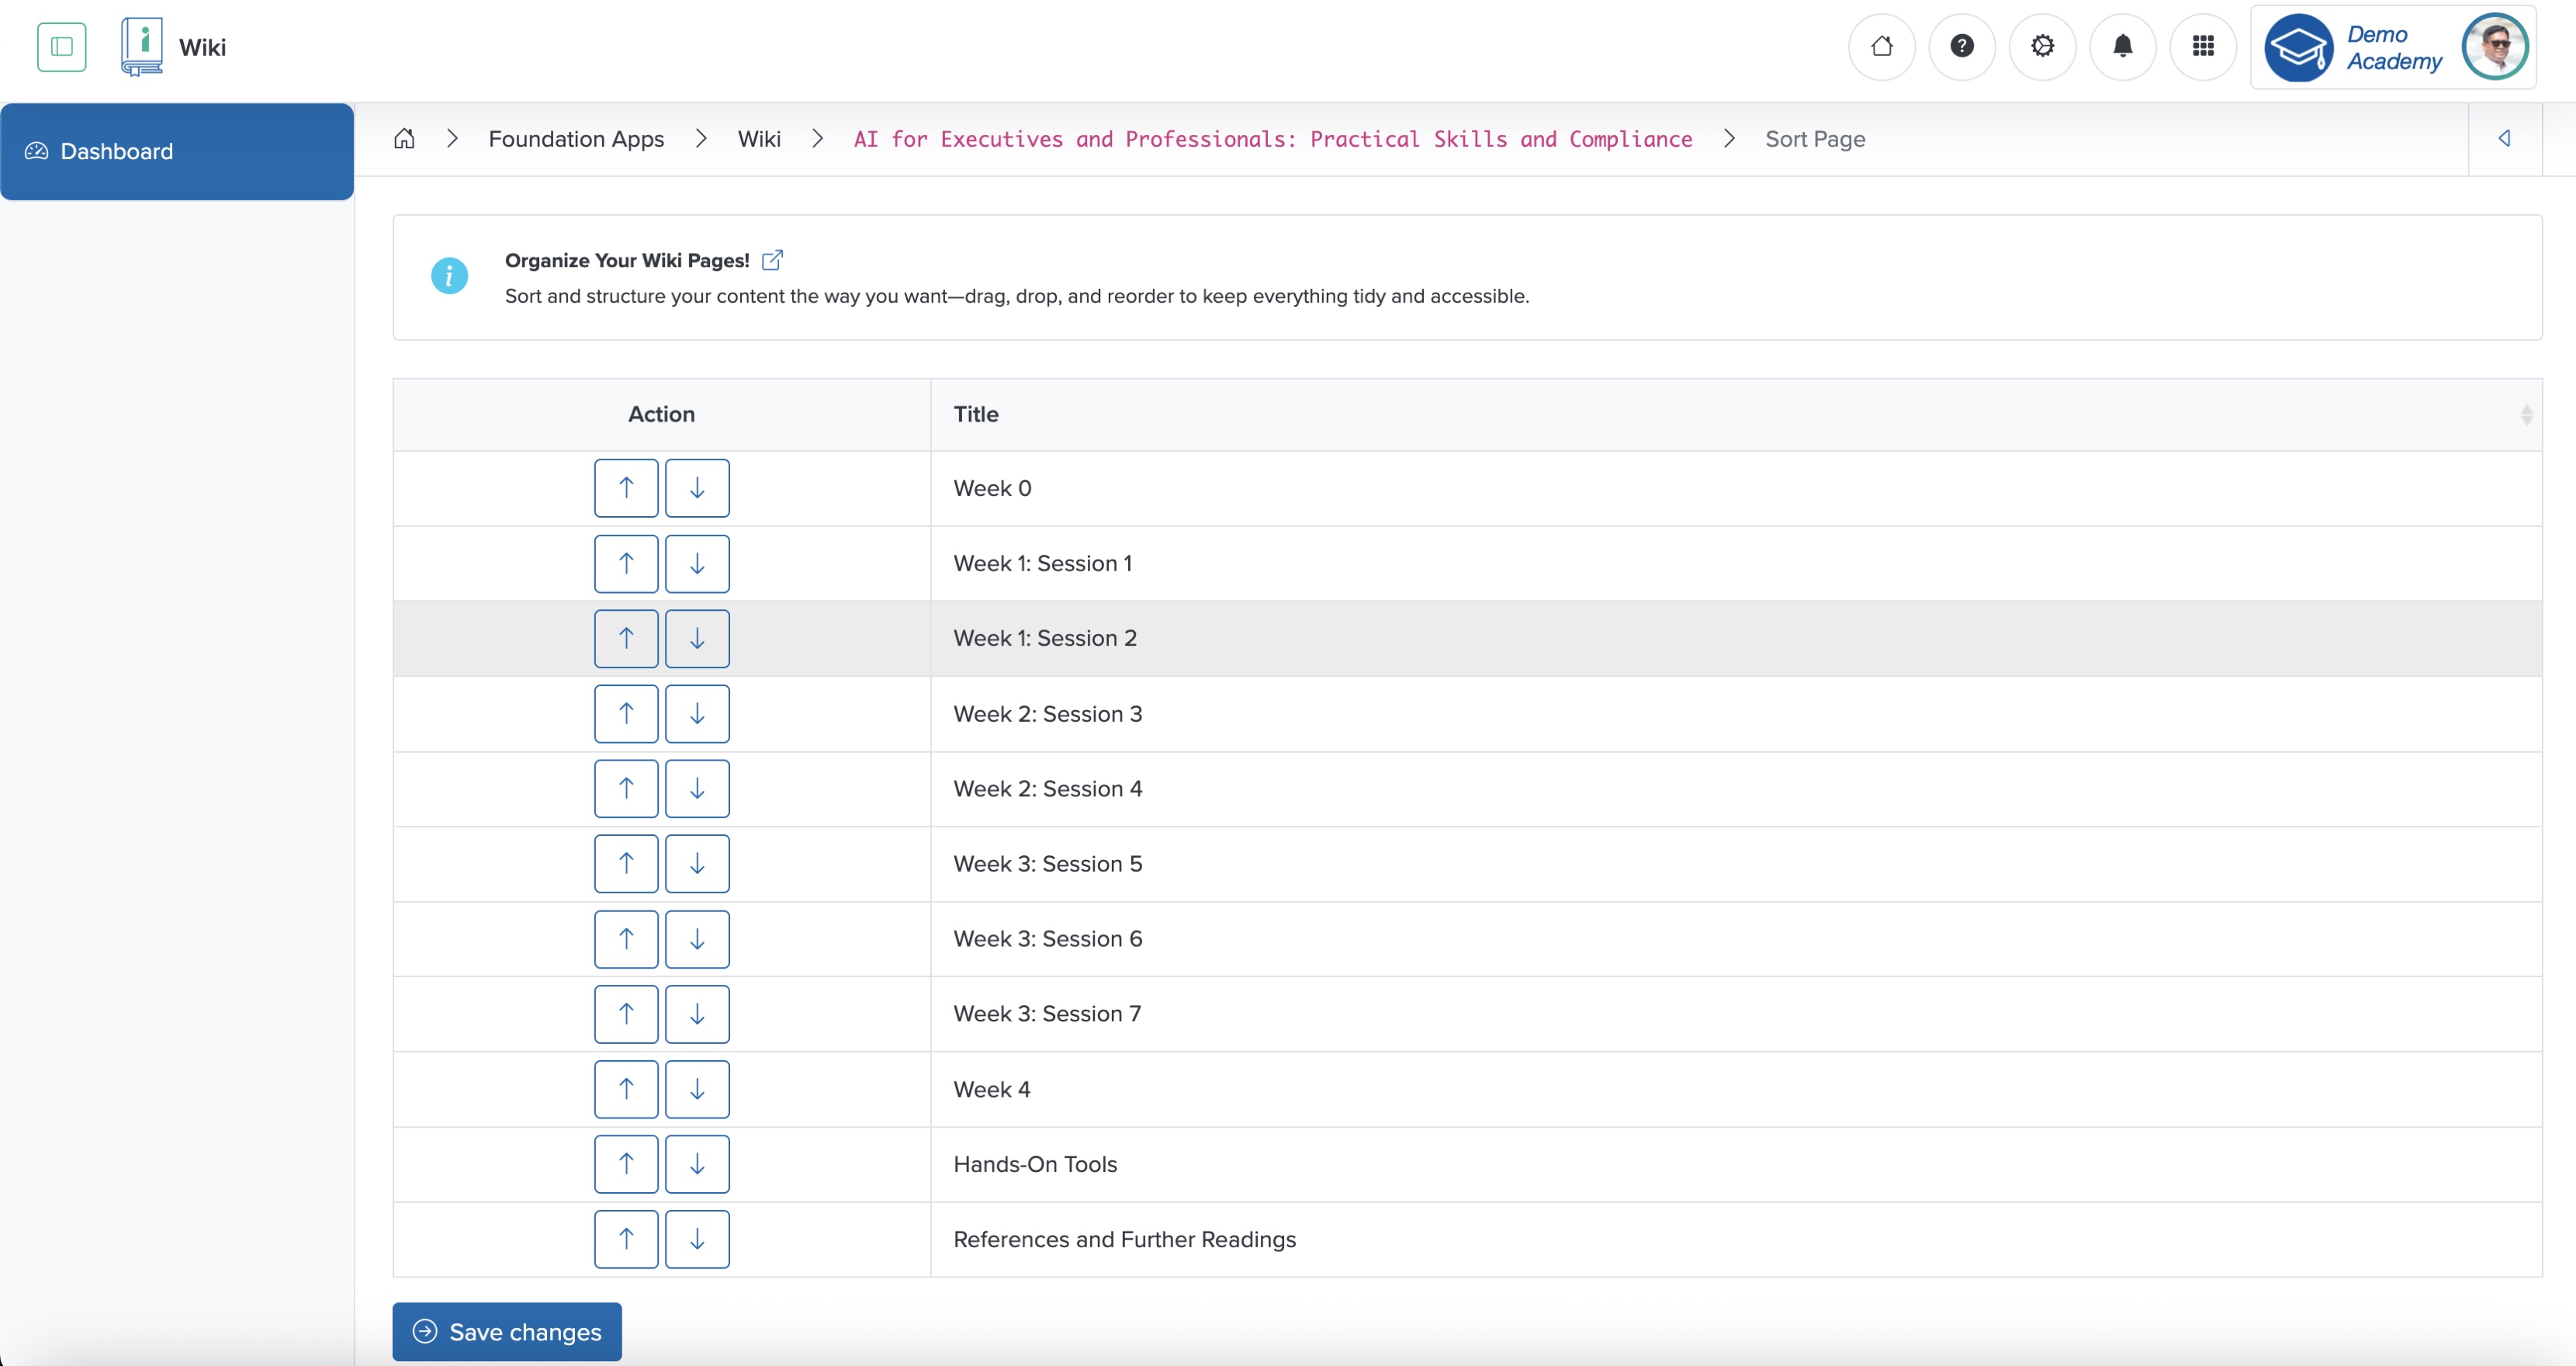
Click the down or up arrow, as shown in Figure 7 above, to sort the lessons, and click the Save Changes button at the bottom of the page to update the changes, as shown in Figure 7 above.
Add Lesson
Click the + Add Lesson button on the top-right side of the individual wiki overview page, as shown in Figure 5 above, and the system redirects you to the add lesson page, as shown in Figure 8 below.
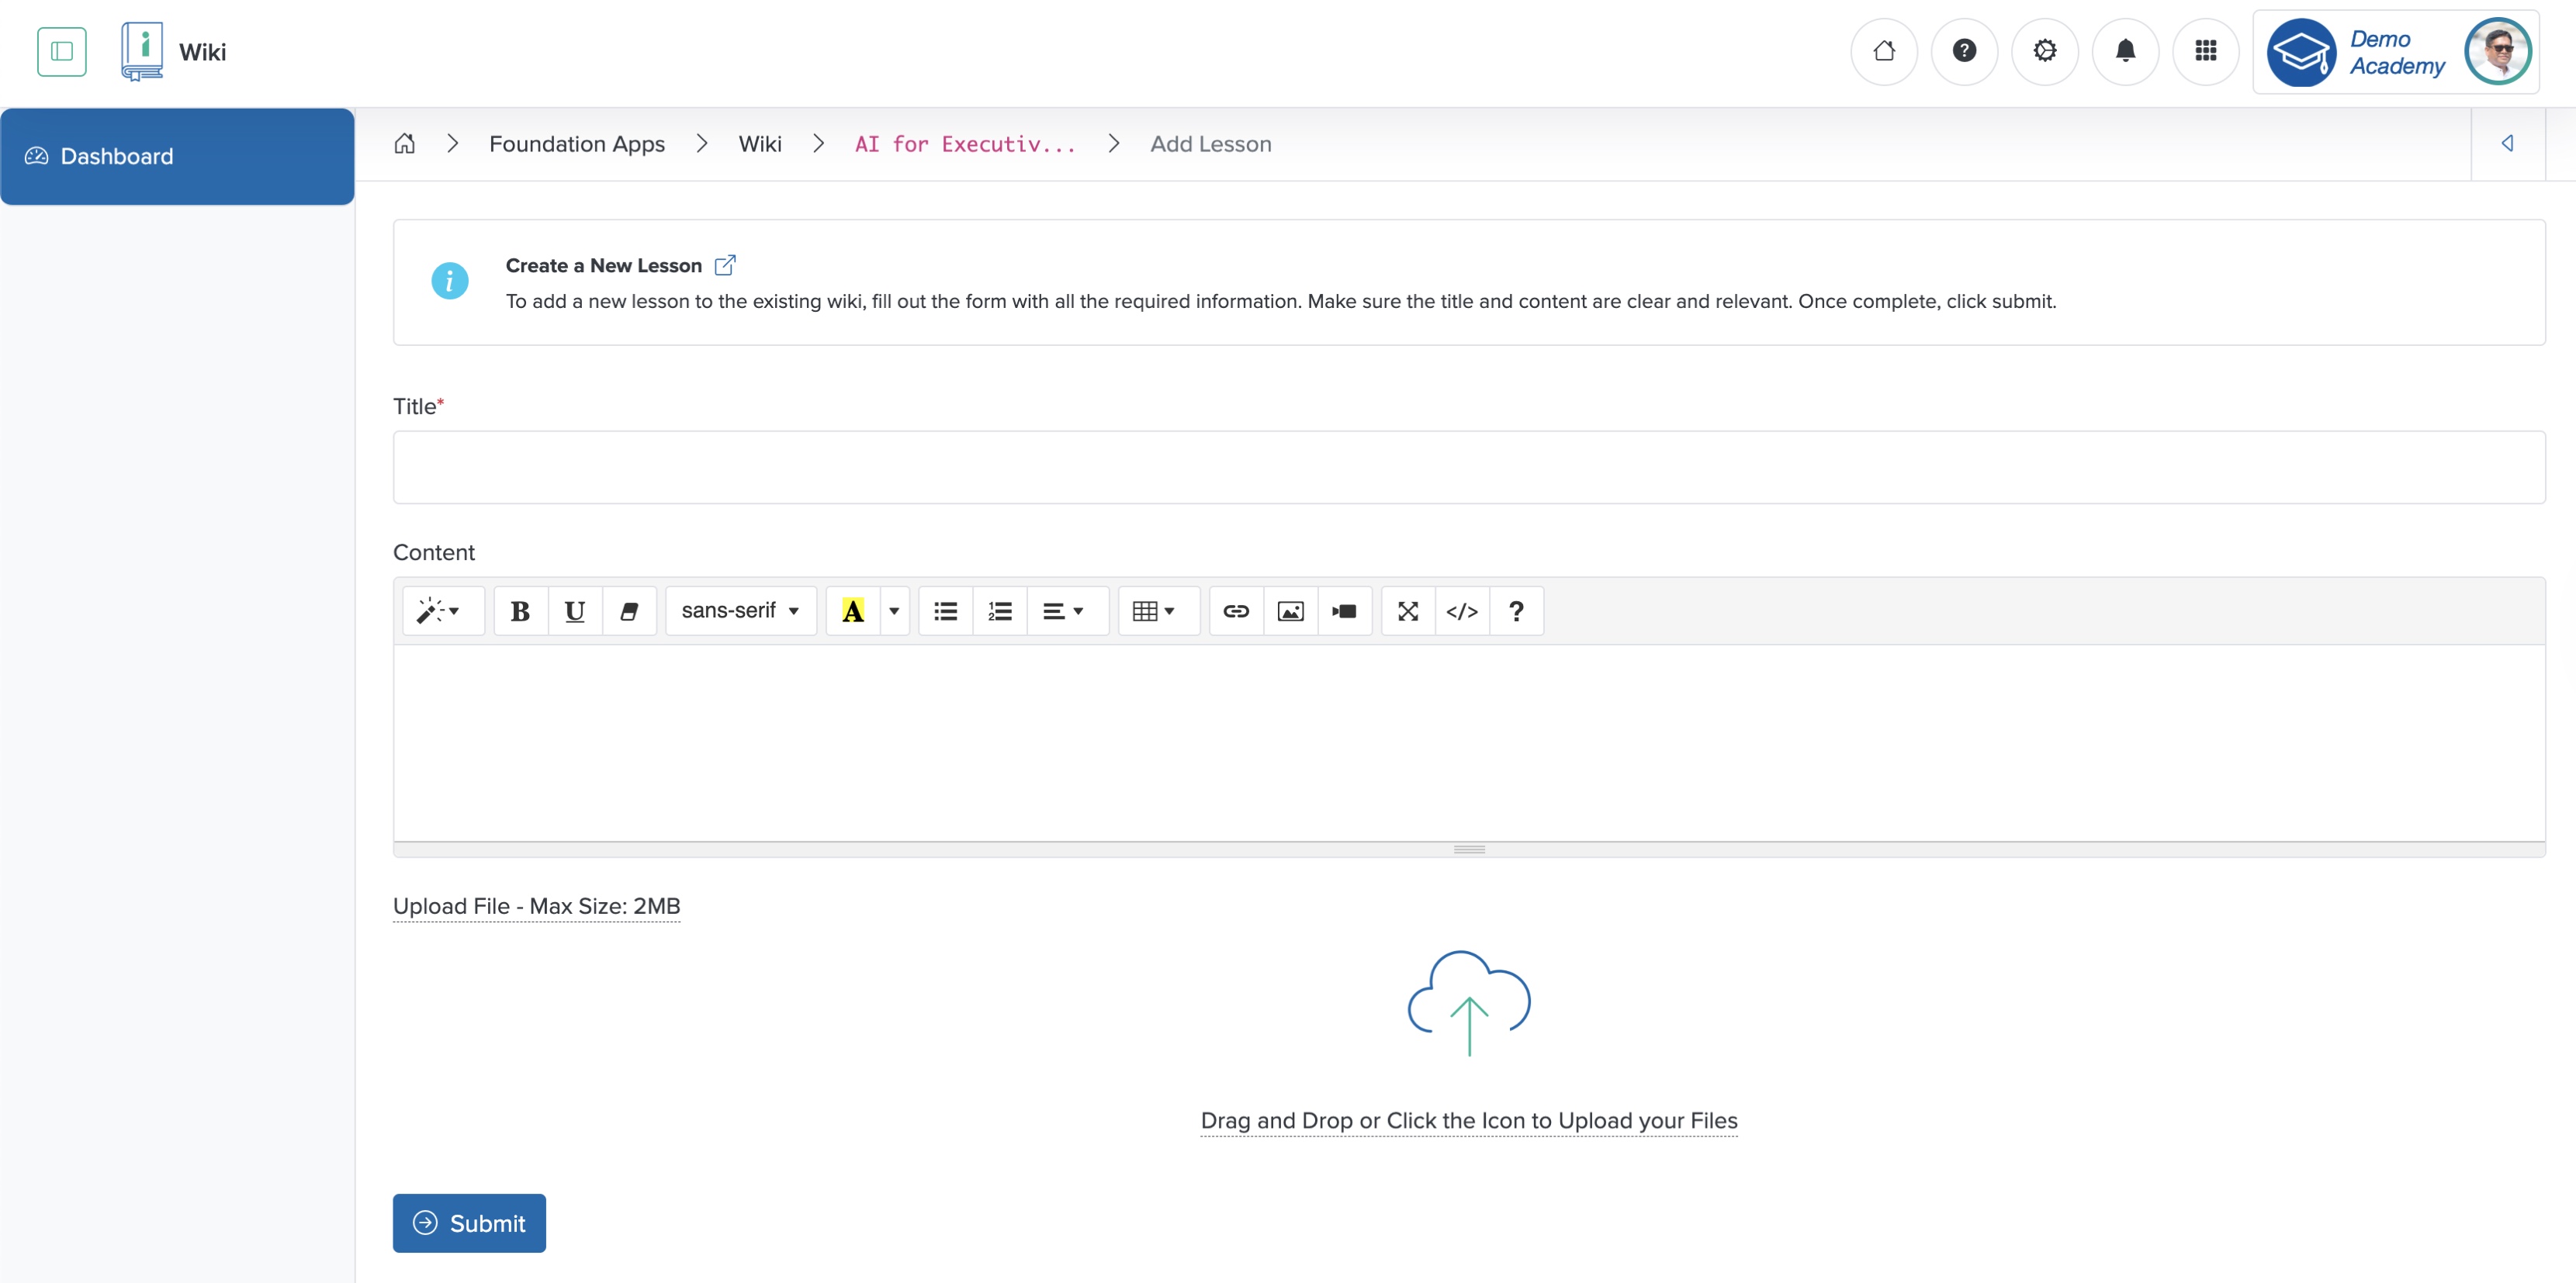
Enter the details below and click the Submit button to add a new lesson wiki, as shown in Figure 8 above.
- Title (Textbox - Mandatory): Enter the Title of the Lesson
- Content (Text Area - Optional): Enter the content of the lesson in the text area
- Upload File (File Upload - Optional): Select the file you want to upload. The file size must be less than 2 MB
View Lesson
Click the Lesson Title or the Arrow icon associated with each lesson from the list page, as shown in Figure 5 above, and the system redirects you to the individual lesson view page, as shown in Figure 9 below.
Edit Lesson
Click the Edit button on the top-right side of the individual lesson view page, as shown in Figure 9 above, and the system redirects you to the lesson edit page, as shown in Figure 10 below.
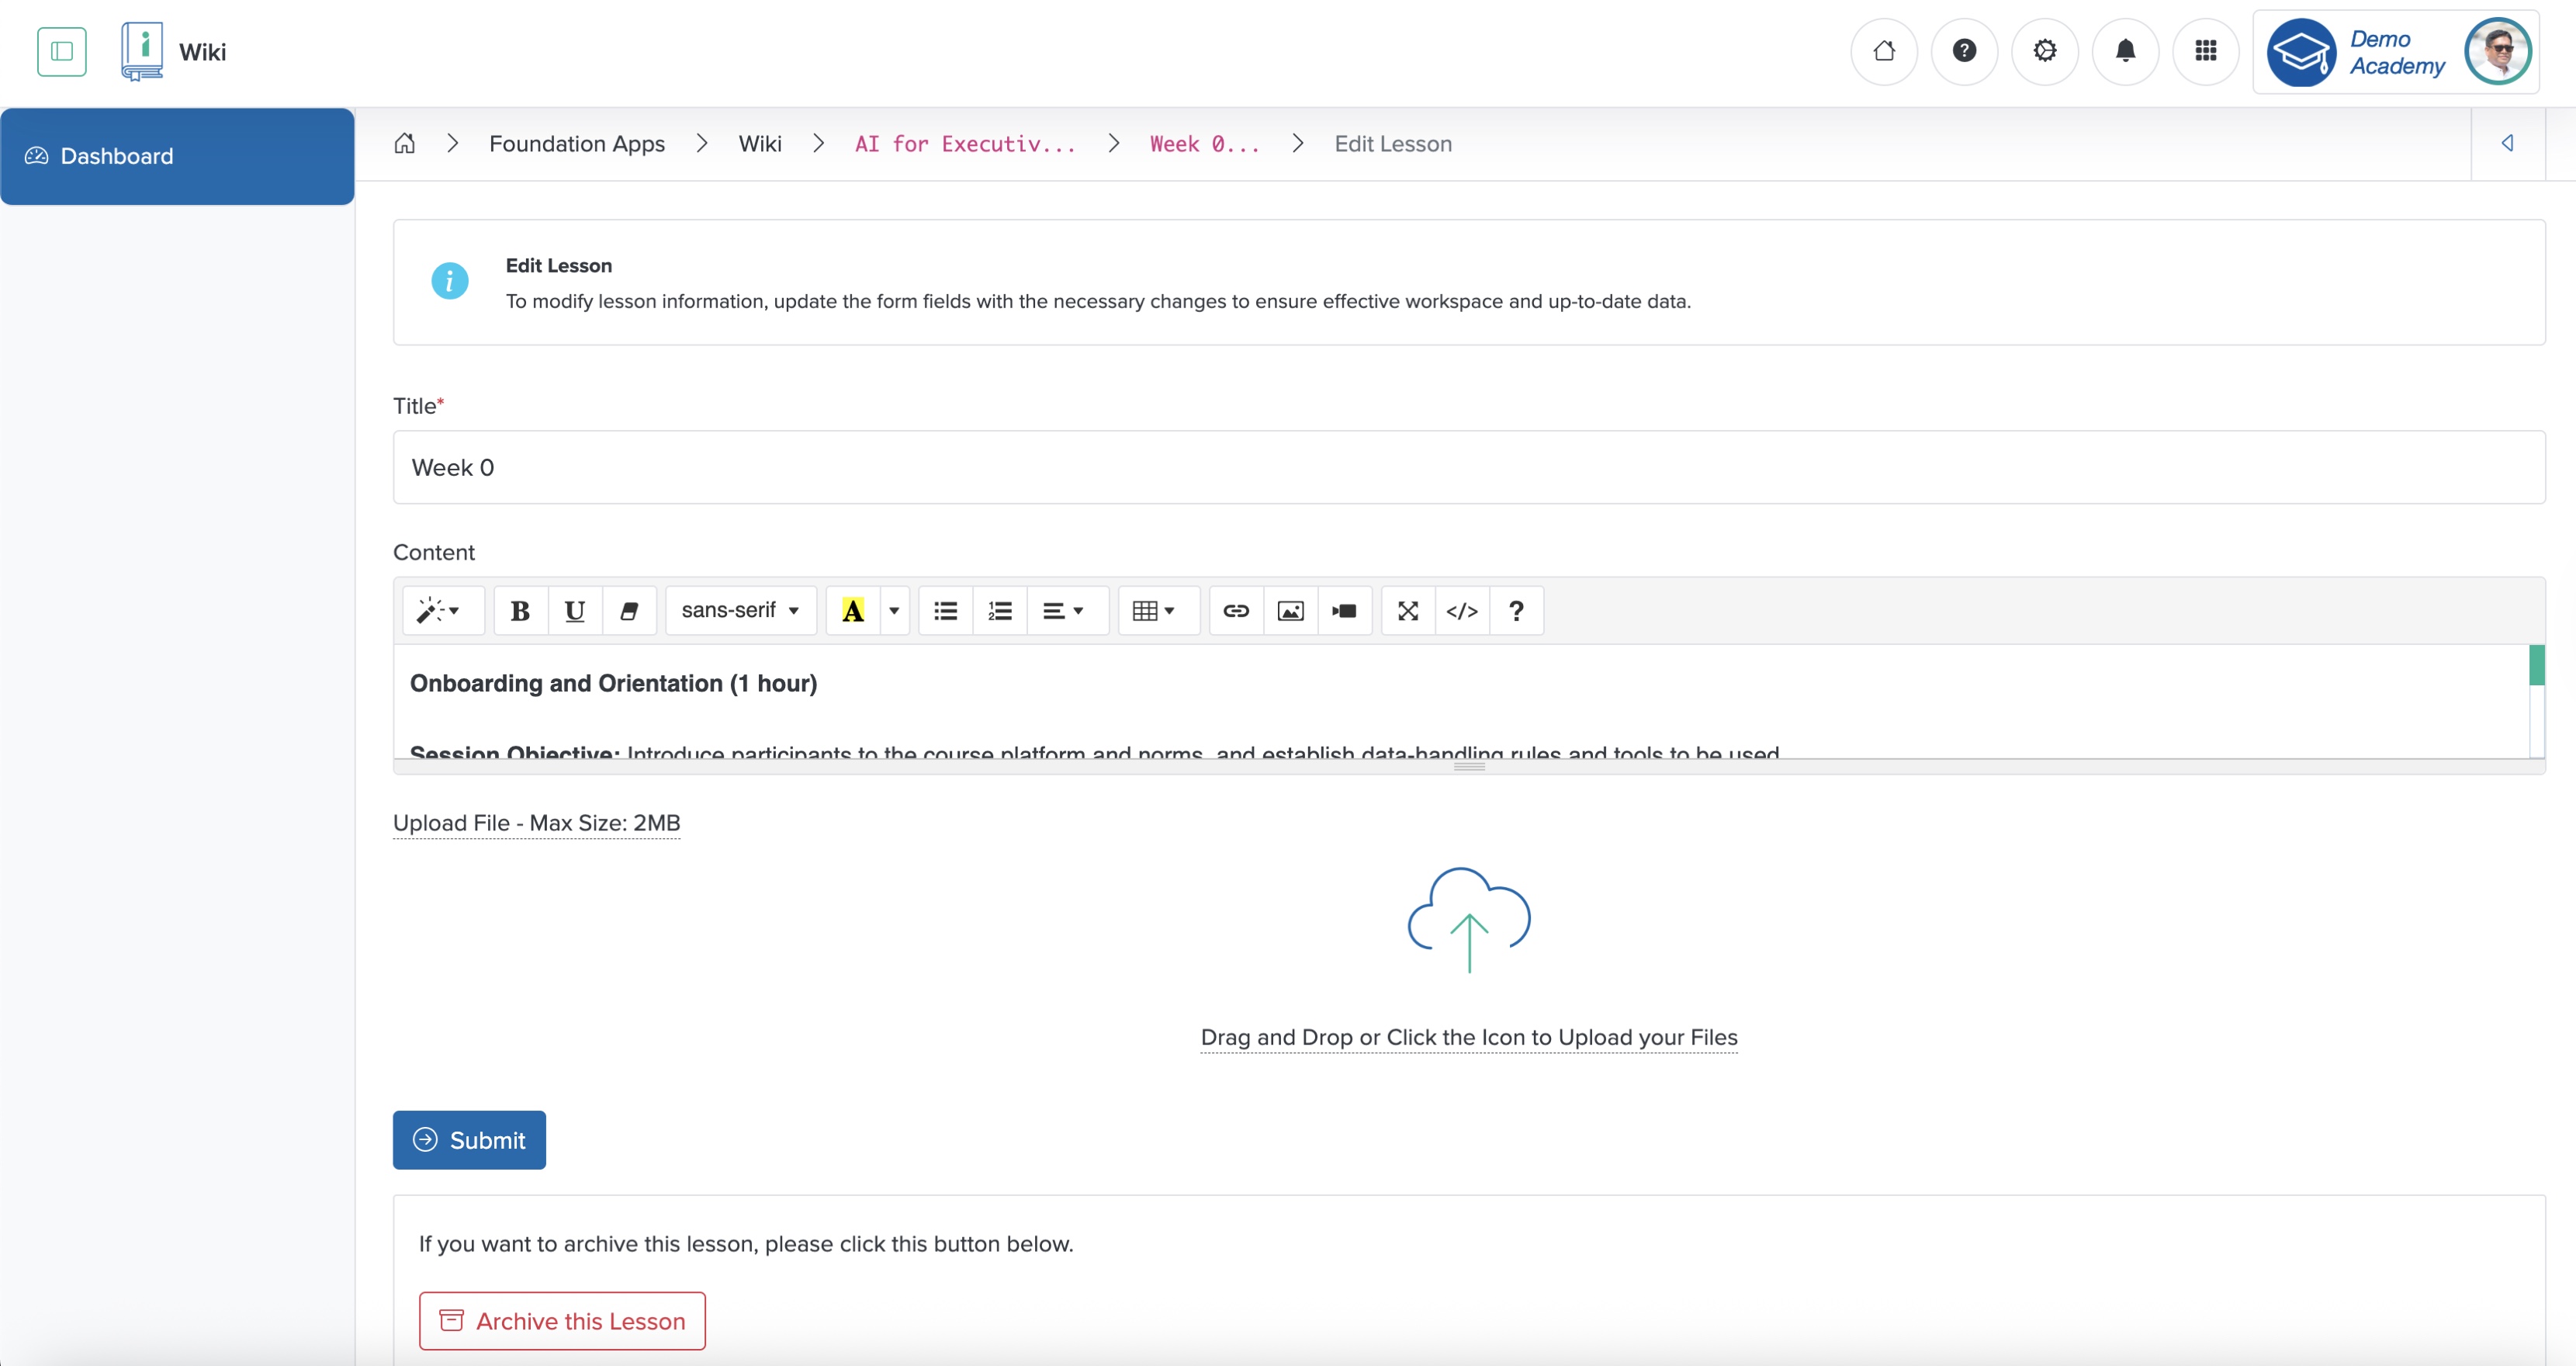
To Archive the lesson, click the Archive this Lesson button at the bottom of the edit lesson screen, as shown in Figure 10 above.
Add Expert Content to Lesson
Click the Expert Content button at the top-right side of the lesson content view page, as shown in Figure 9 above, and the system redirects you to the Expert Content add page, as shown in Figure 11 below.
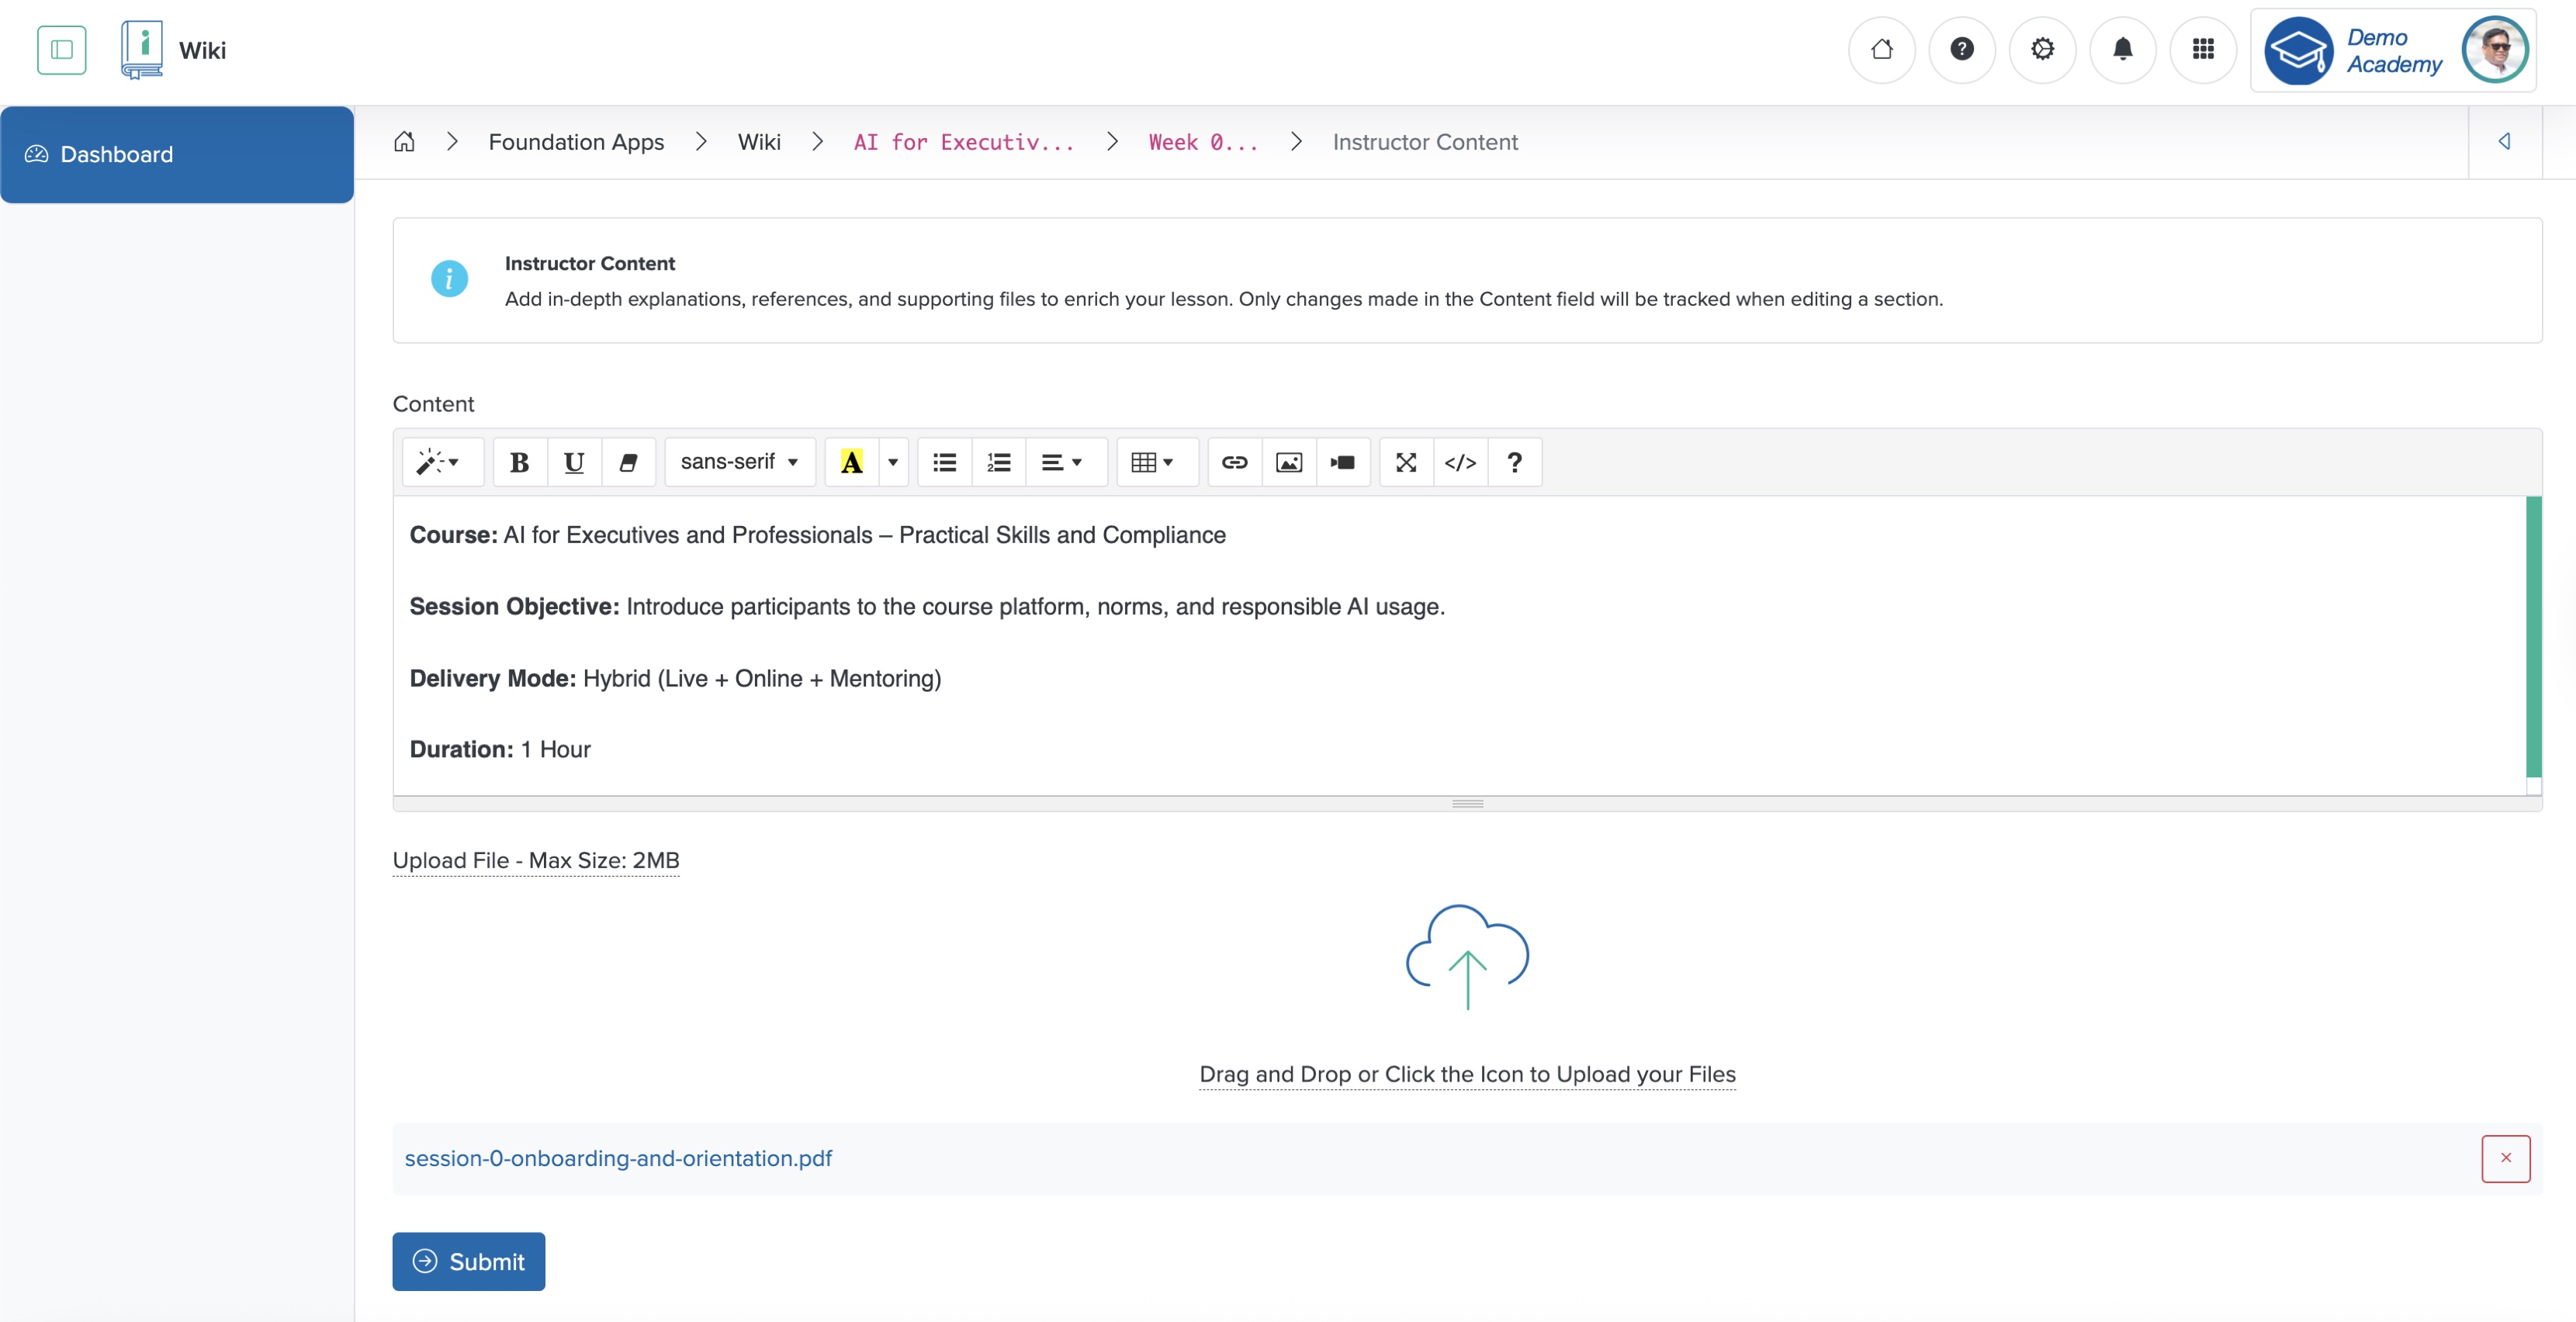
Enter the expert content in the summer note editor and upload the expert file, and click the Submit button to add the expert content to the lesson, as shown in Figure 11 above.
Add Quiz to Lesson
Click the Quiz button at the top-right side of the lesson content view page, as shown in Figure 9 above, and the system redirects you to the Quiz list page, as shown in Figure 12 below.
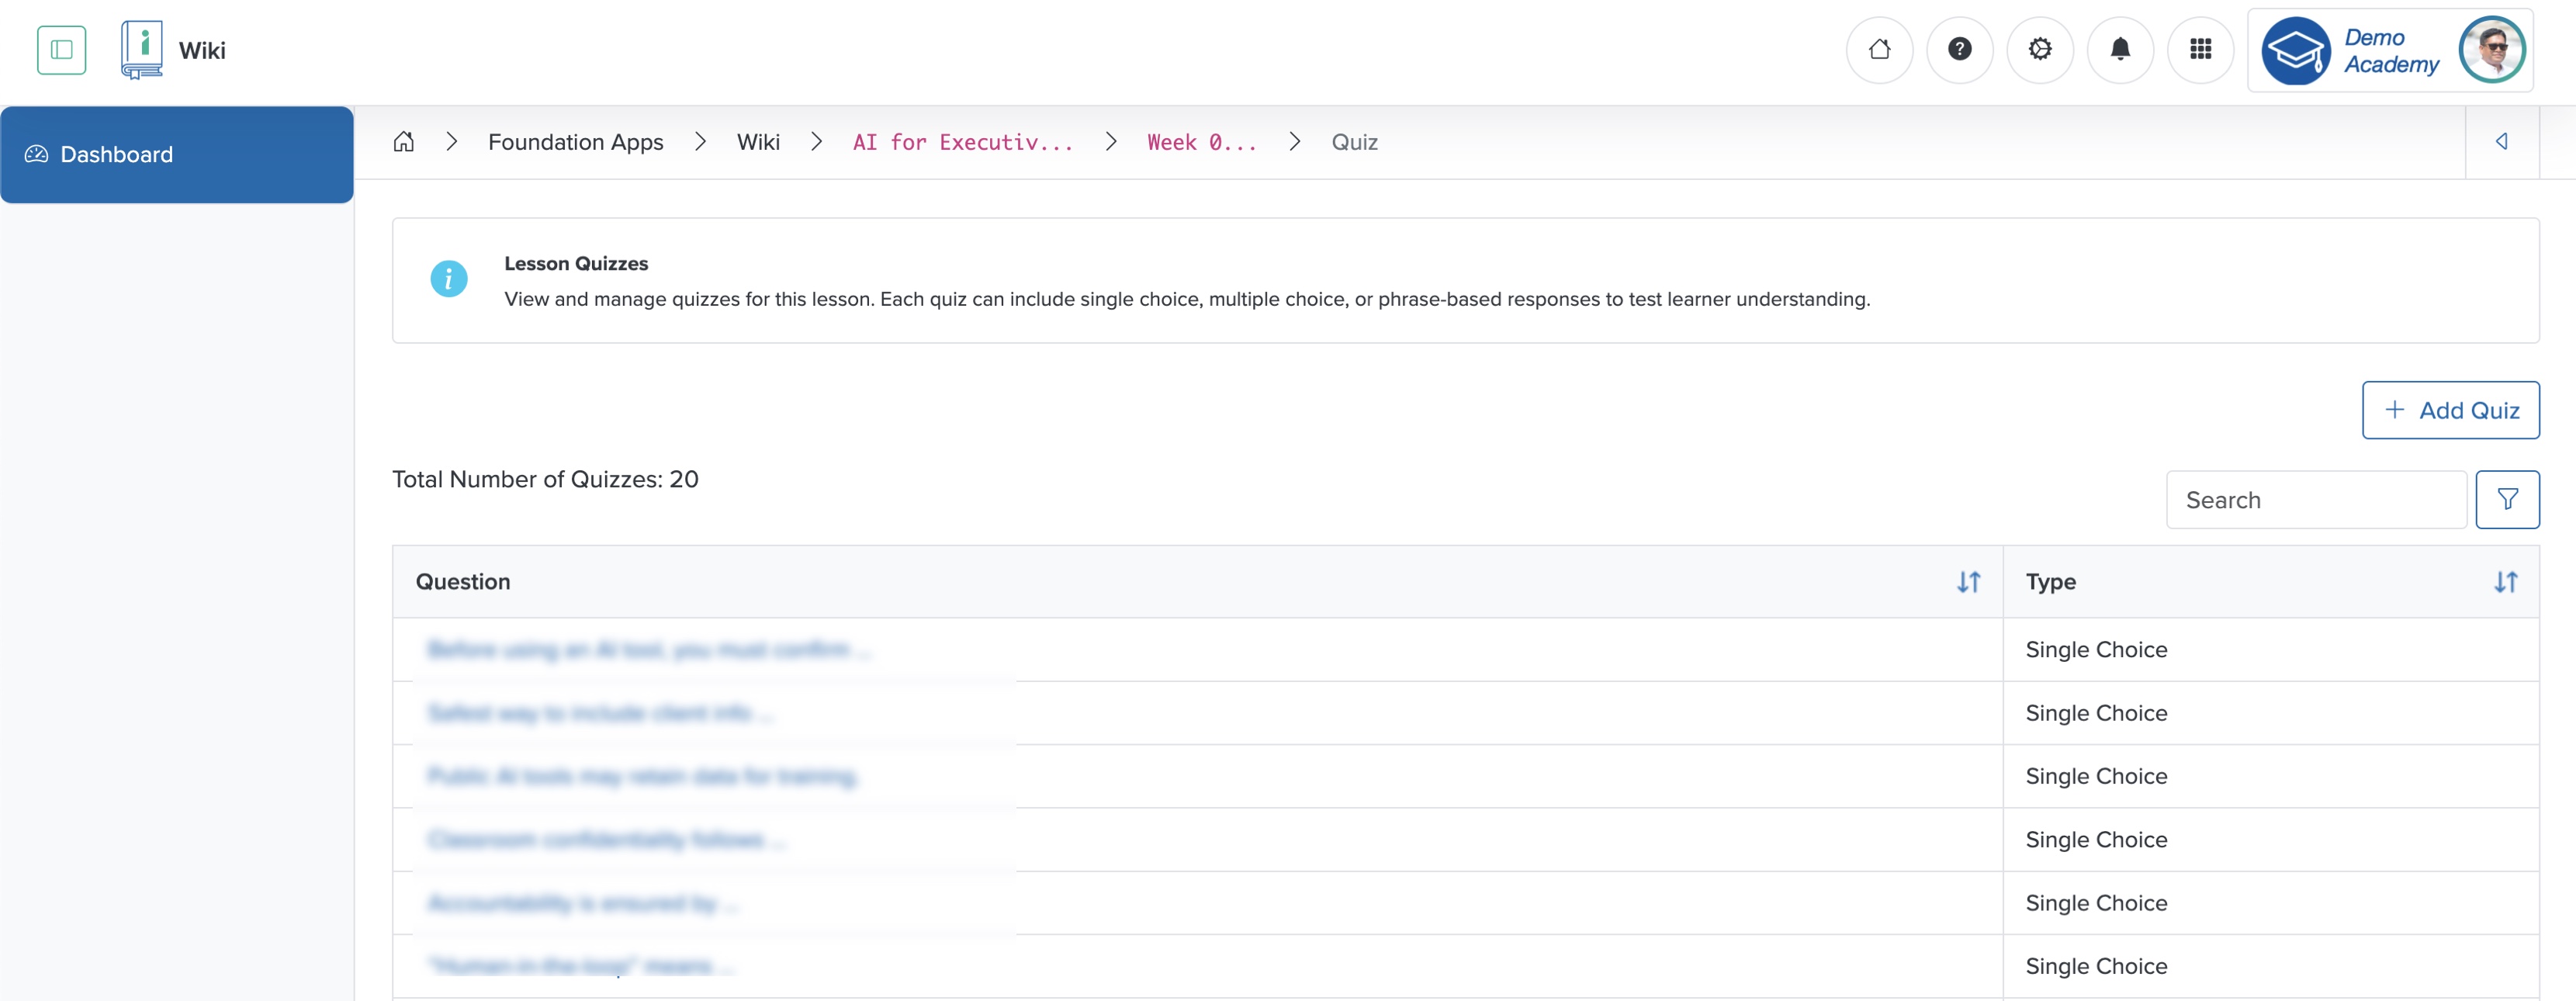
On the Quiz list screen, you can see all the quizzes added to the lesson in a tabular format, as shown in Figure 12 above.
Click the + Add Quiz button at the top-right side of the Quiz list page, as shown in Figure 12 above, and the system redirects you to the add quiz screen, as shown in Figure 13 below.
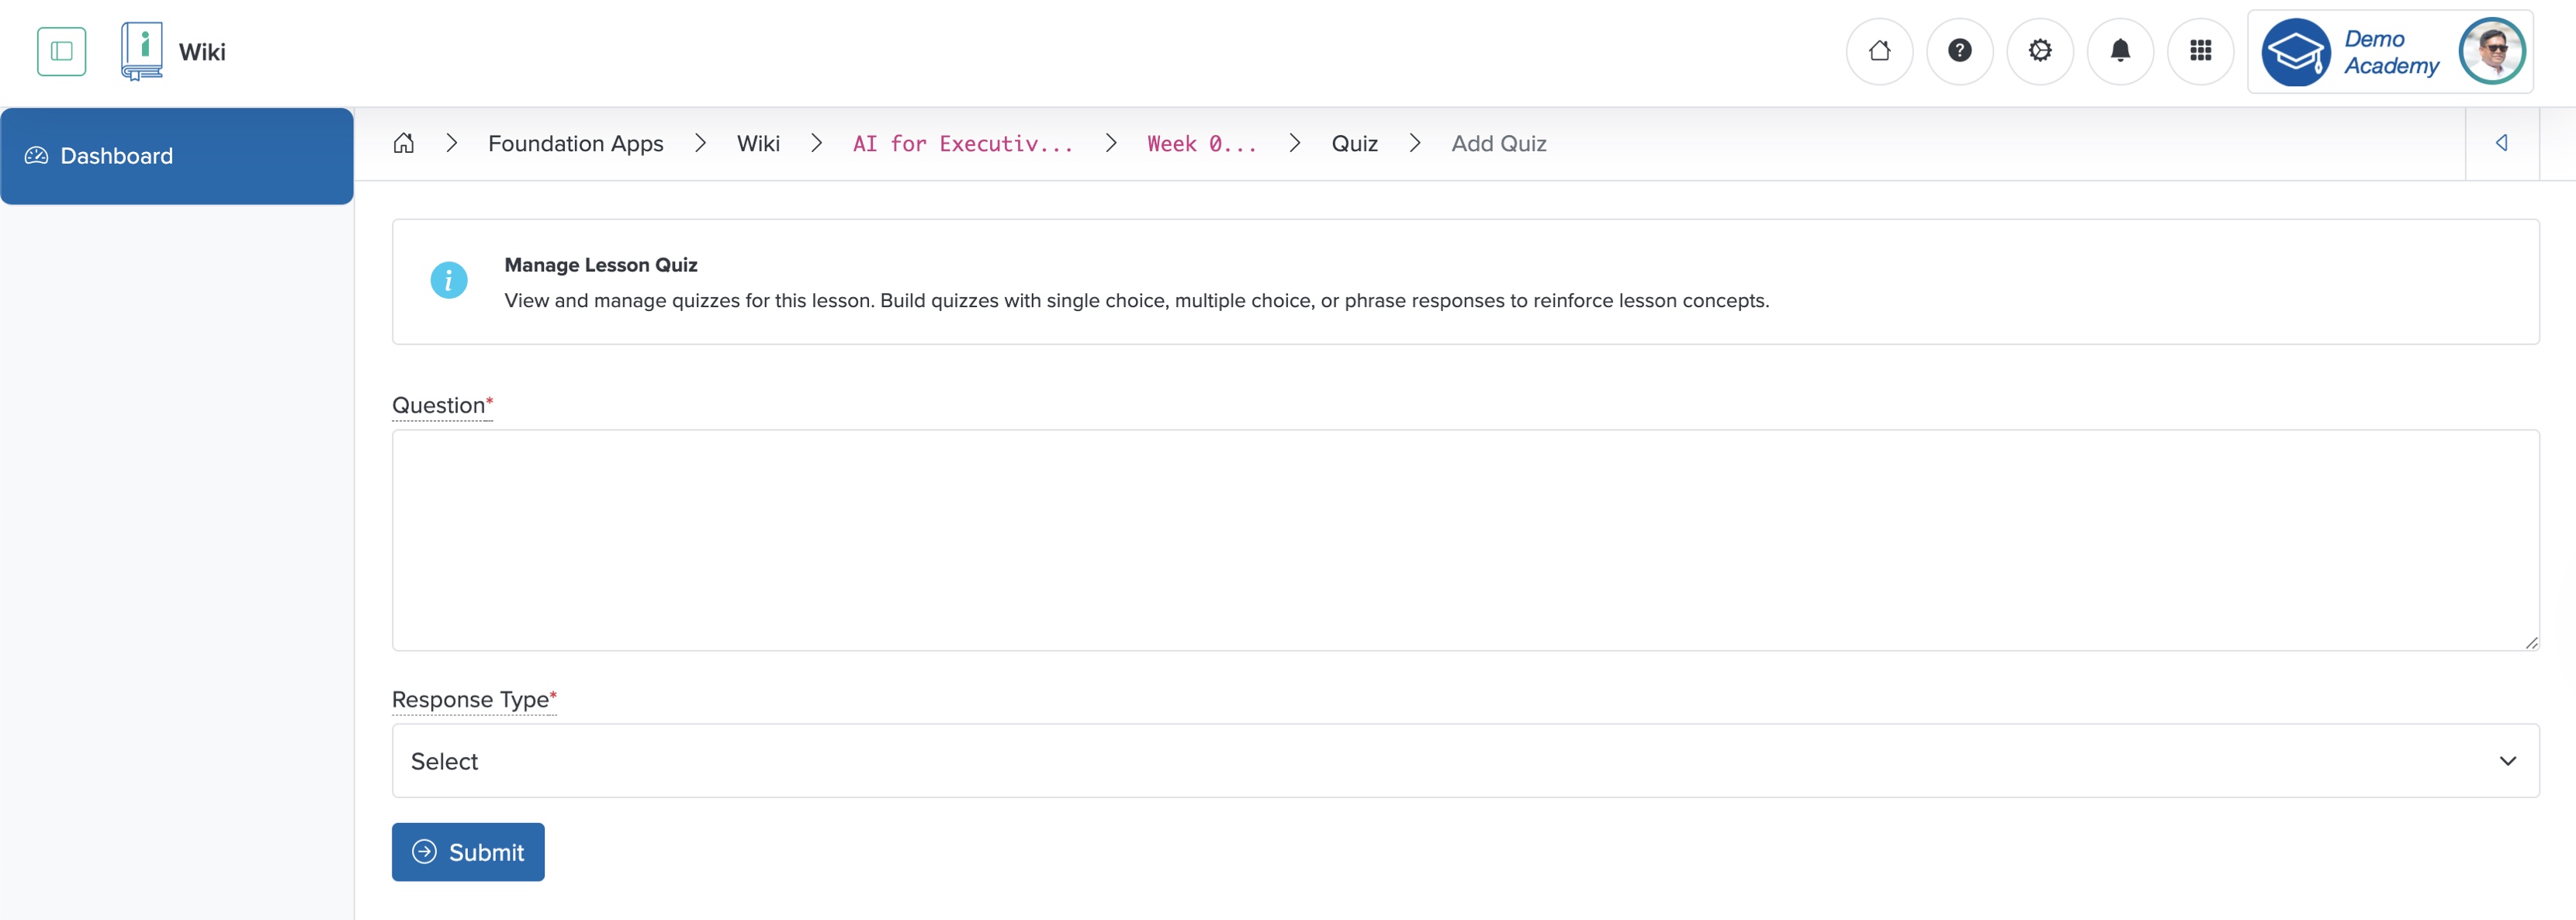
Enter the details below and click the Submit button to add a new quiz to the lesson, as shown in Figure 13 above.
- Question (Textbox - Mandatory): Enter the Quiz Question
- Response Type (Select box - Optional): Select one of the following options from the drop-down menu
- Single Choice: Allows for the selection of only one option as the answer to the question
- Multiple Choice: Allows for the selection of multiple options as the answer to the question
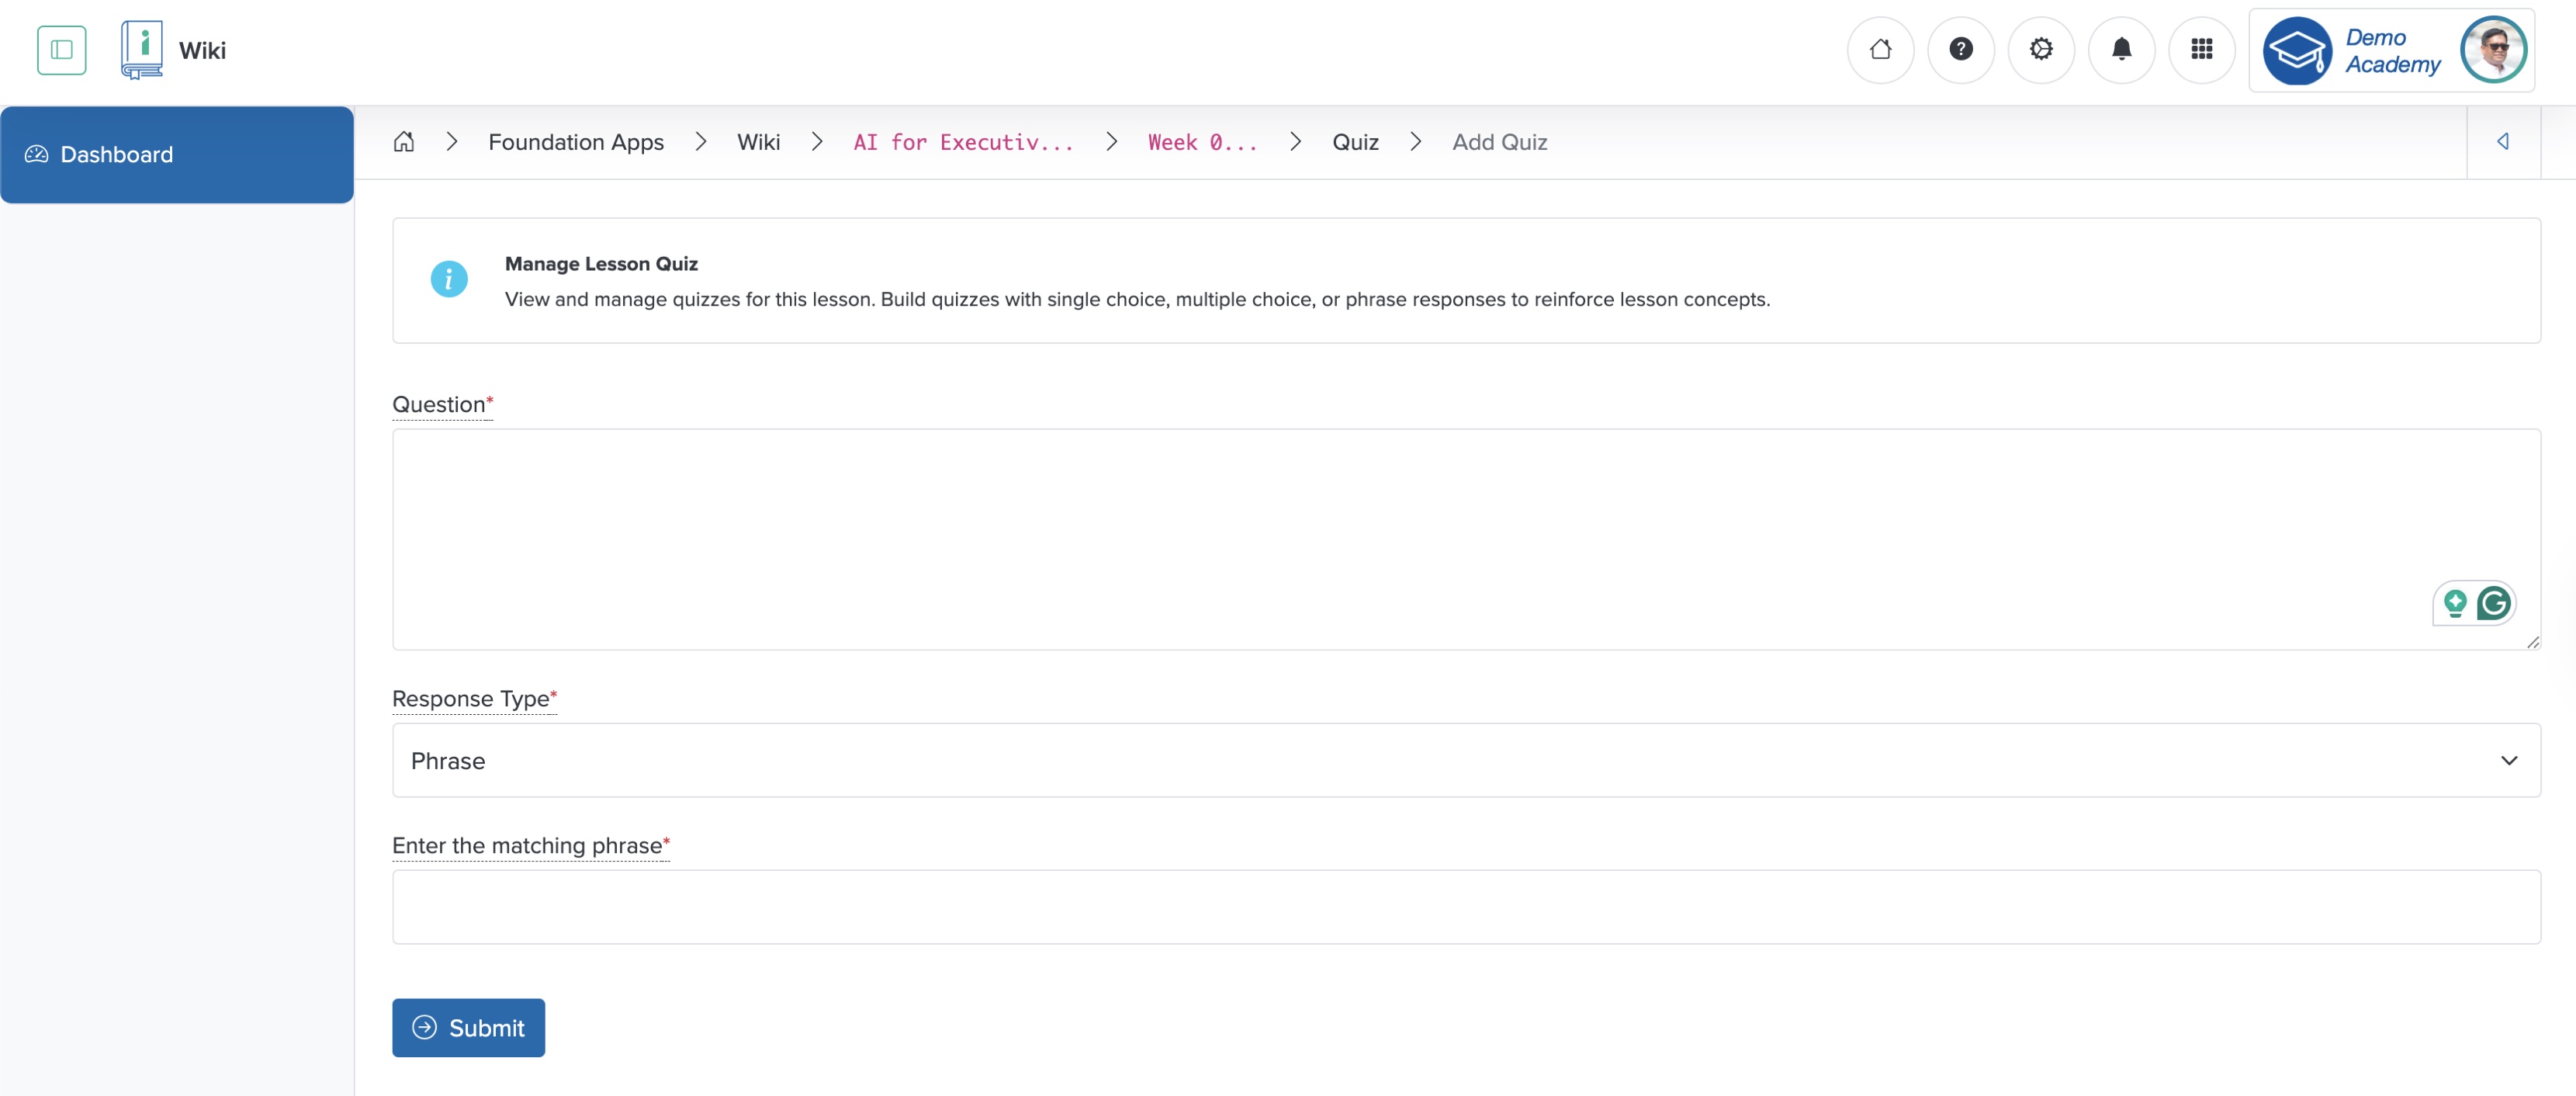
- Phrase: Allows adding a phrase as the answer to the question
If you select ‘Single’ or ‘Multiple’ choice as the response type from the drop-down menu, as shown in Figure 13 above, the option to add the choice appears, as shown in Figure 14 below.
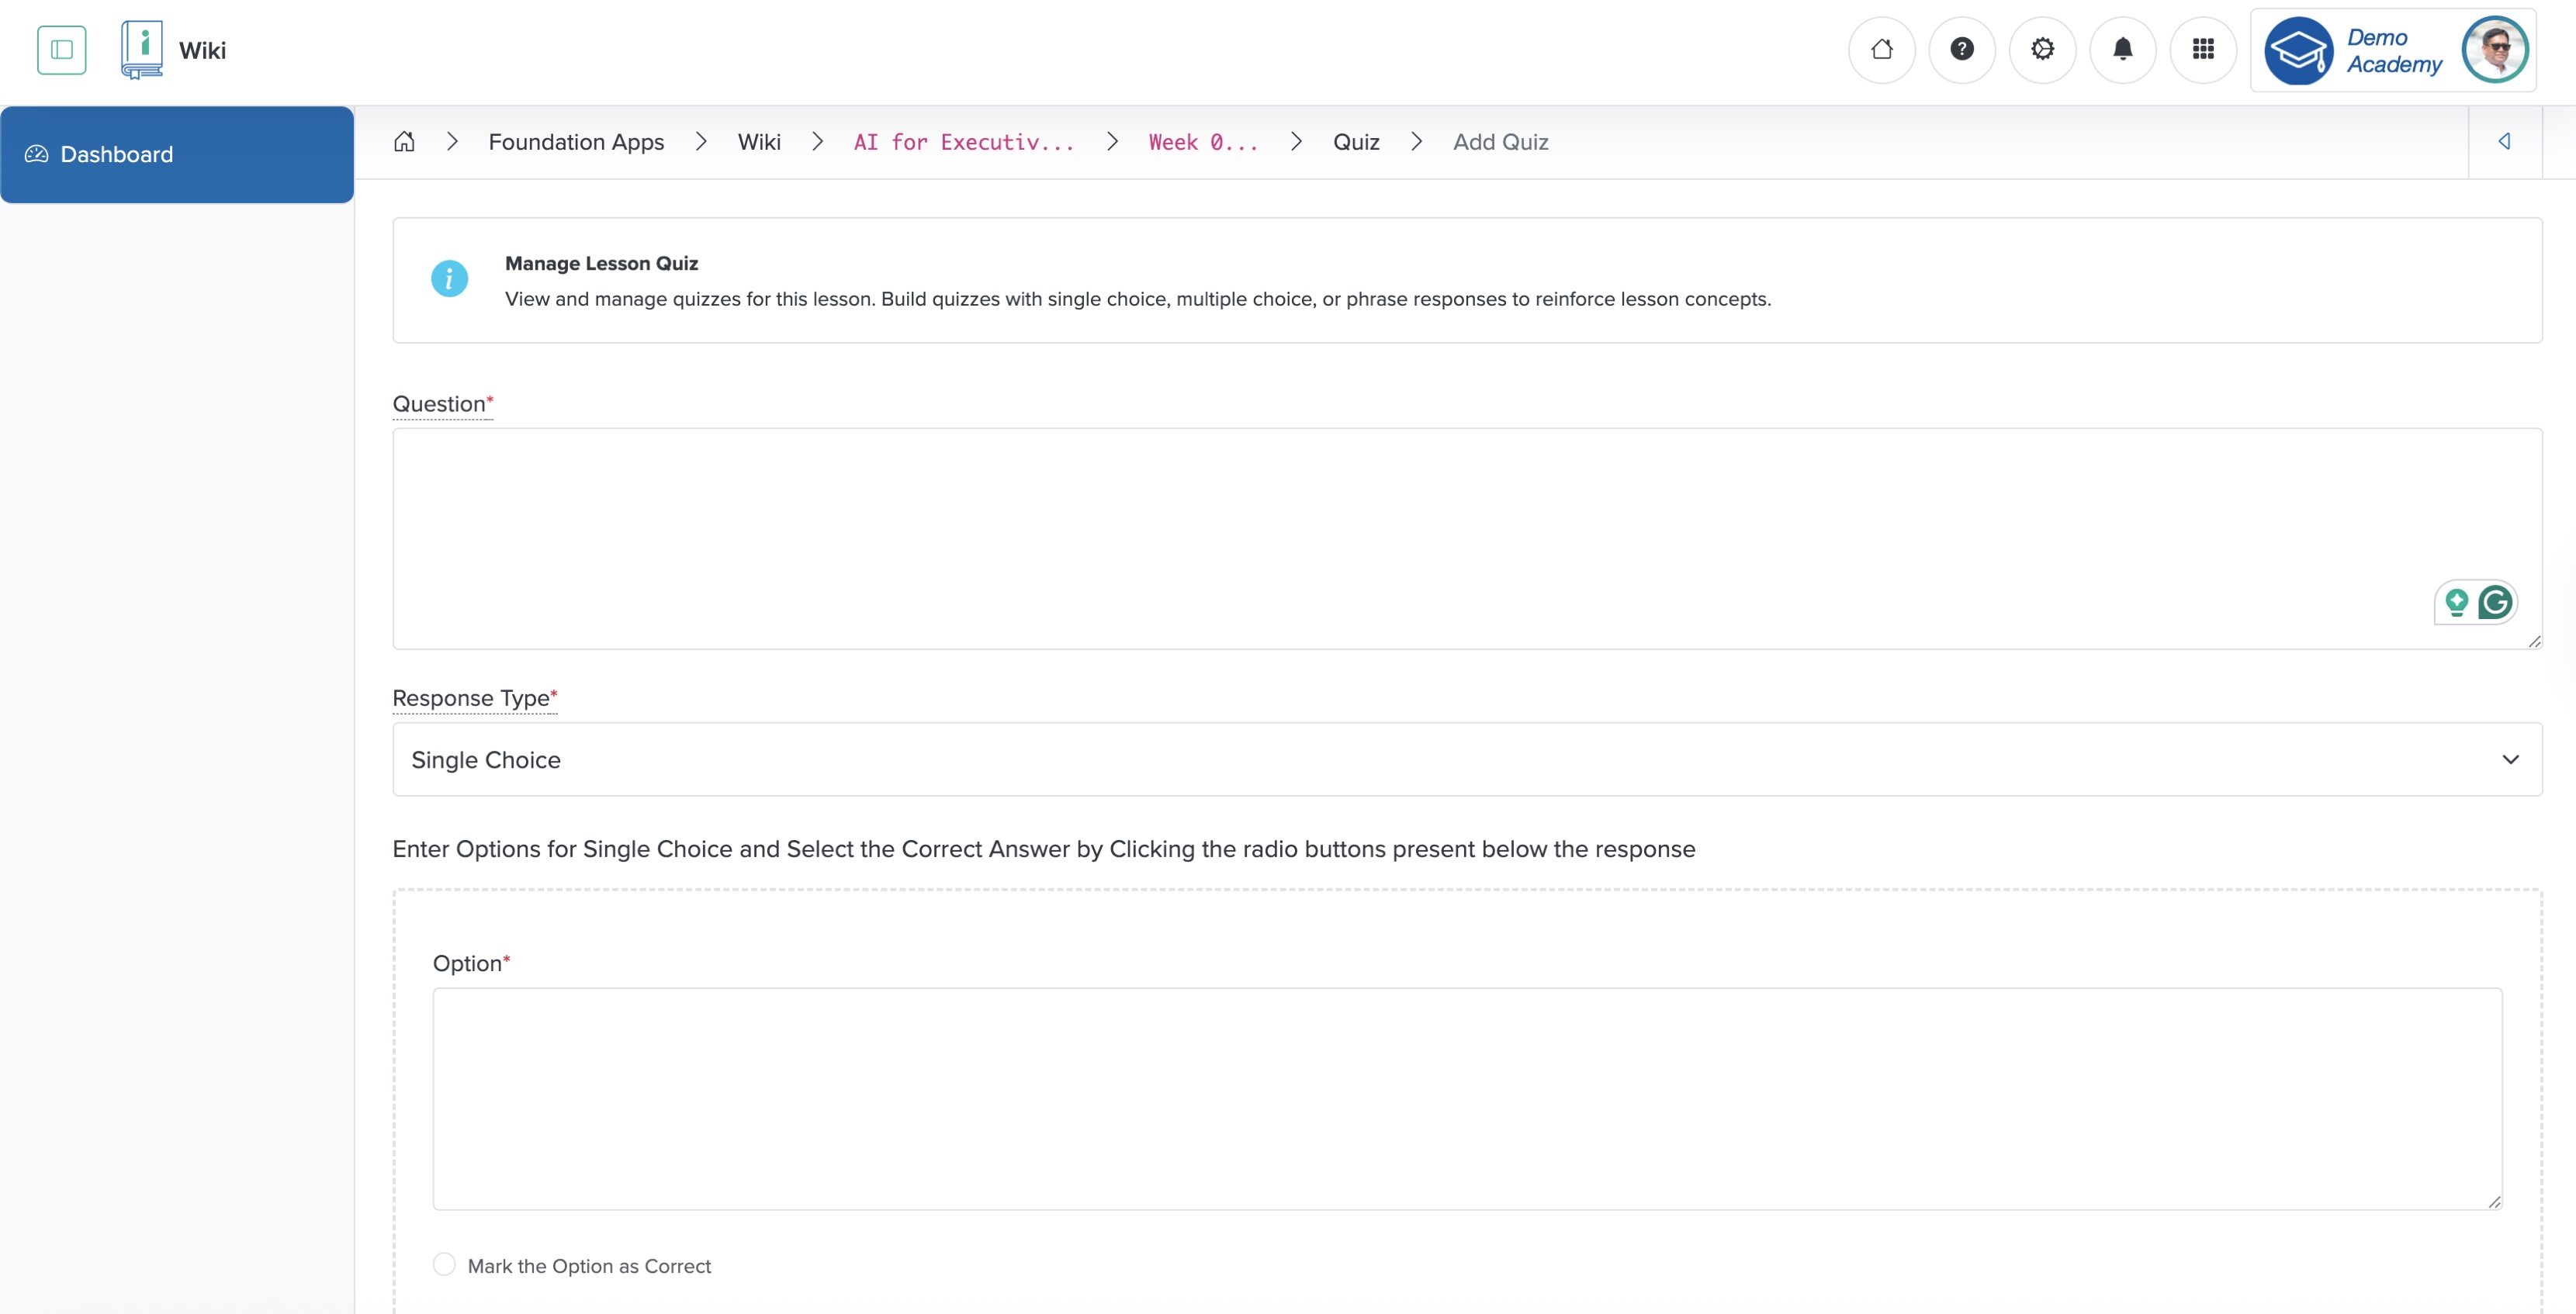
Click the + Add More link at the bottom of the screen, as shown in Figure 14 above, and another option appears.
Click the radio button or the check box to Mark the Option as Correct associated with one of the options to mark the option as the correct answer, as shown in Figure 14 above.
NOTE: For a single-choice question, the radio button appears, and for multiple-choice, the check box appears.
If you select ‘Phrase’ as the question type from the drop-down menu, as shown in Figure 14 above, a text box appears where you can add the matching option, as shown in Figure 15 below.
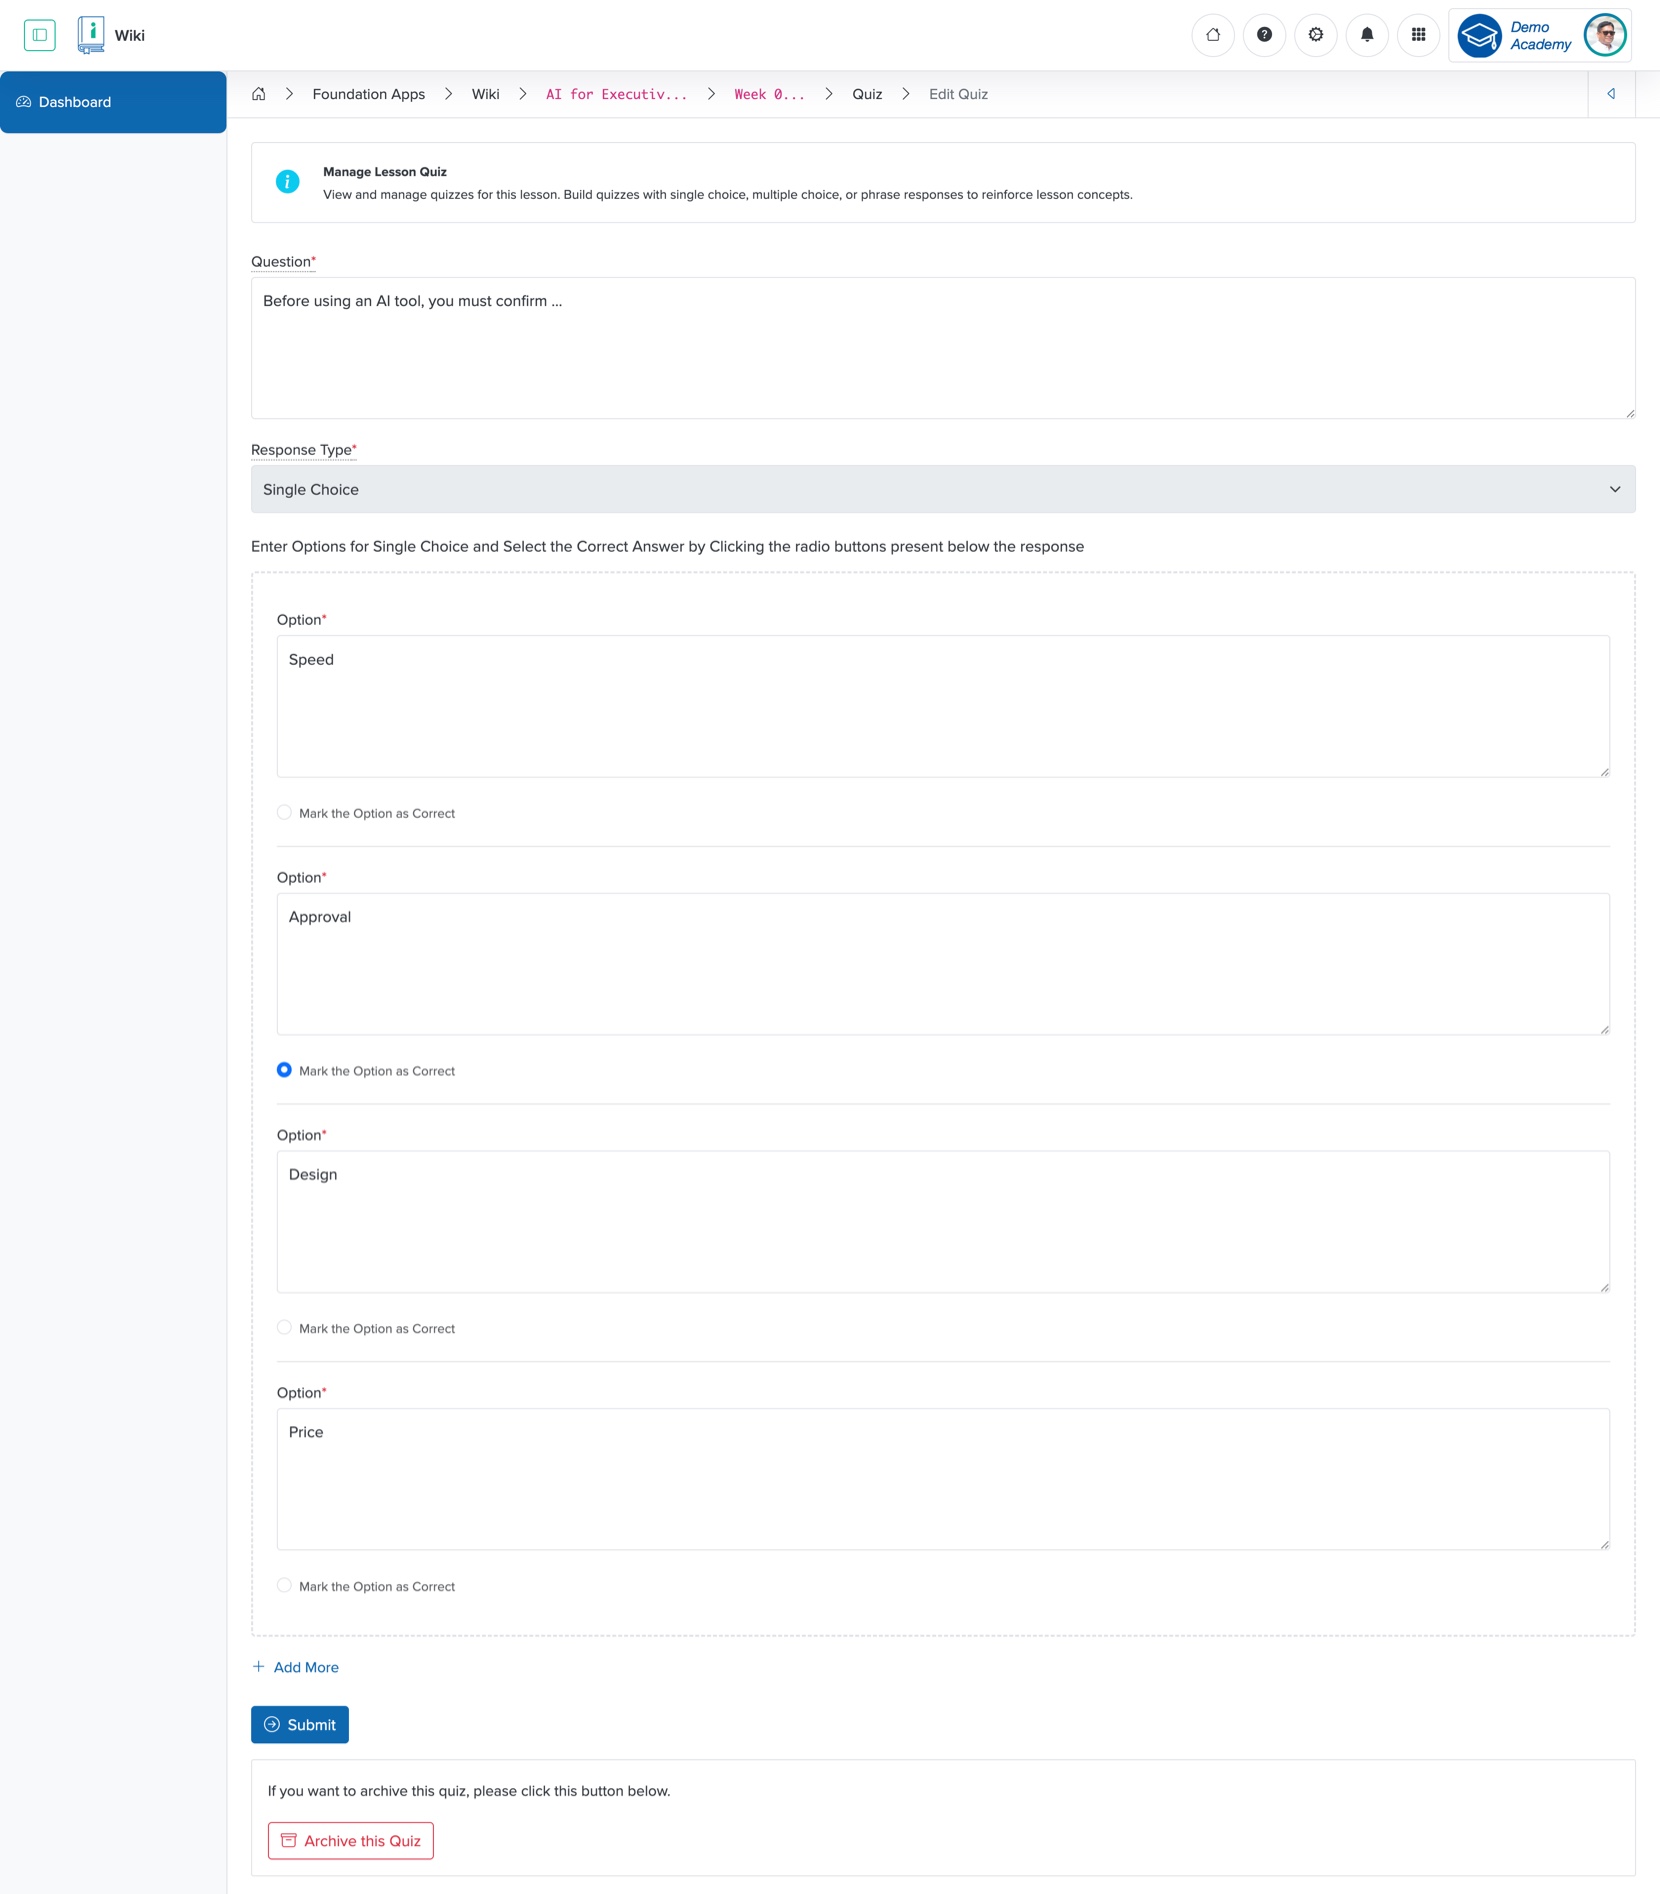
Edit Quiz Option
Click the Title of the quiz in the Quiz list page, as shown in Figure 12 above, and the system redirects you to the Quiz edit page, as shown in Figure 16 below. You can update the details, then click the Submit button to edit the quiz in the lesson, as shown in Figure 16 below.
Add Lesson to Course
Click the Lesson card on the individual learning program dashboard or from the sidebar, as shown in Figure 7 above, and the system redirects you to the Lesson list page. On the list page, click Manage Lesson, and the manage lesson page opens, as shown in Figure 17 below. You can see all the Wikis you have added to your Workspace on the manage lesson page, as shown in Figure 17 below.
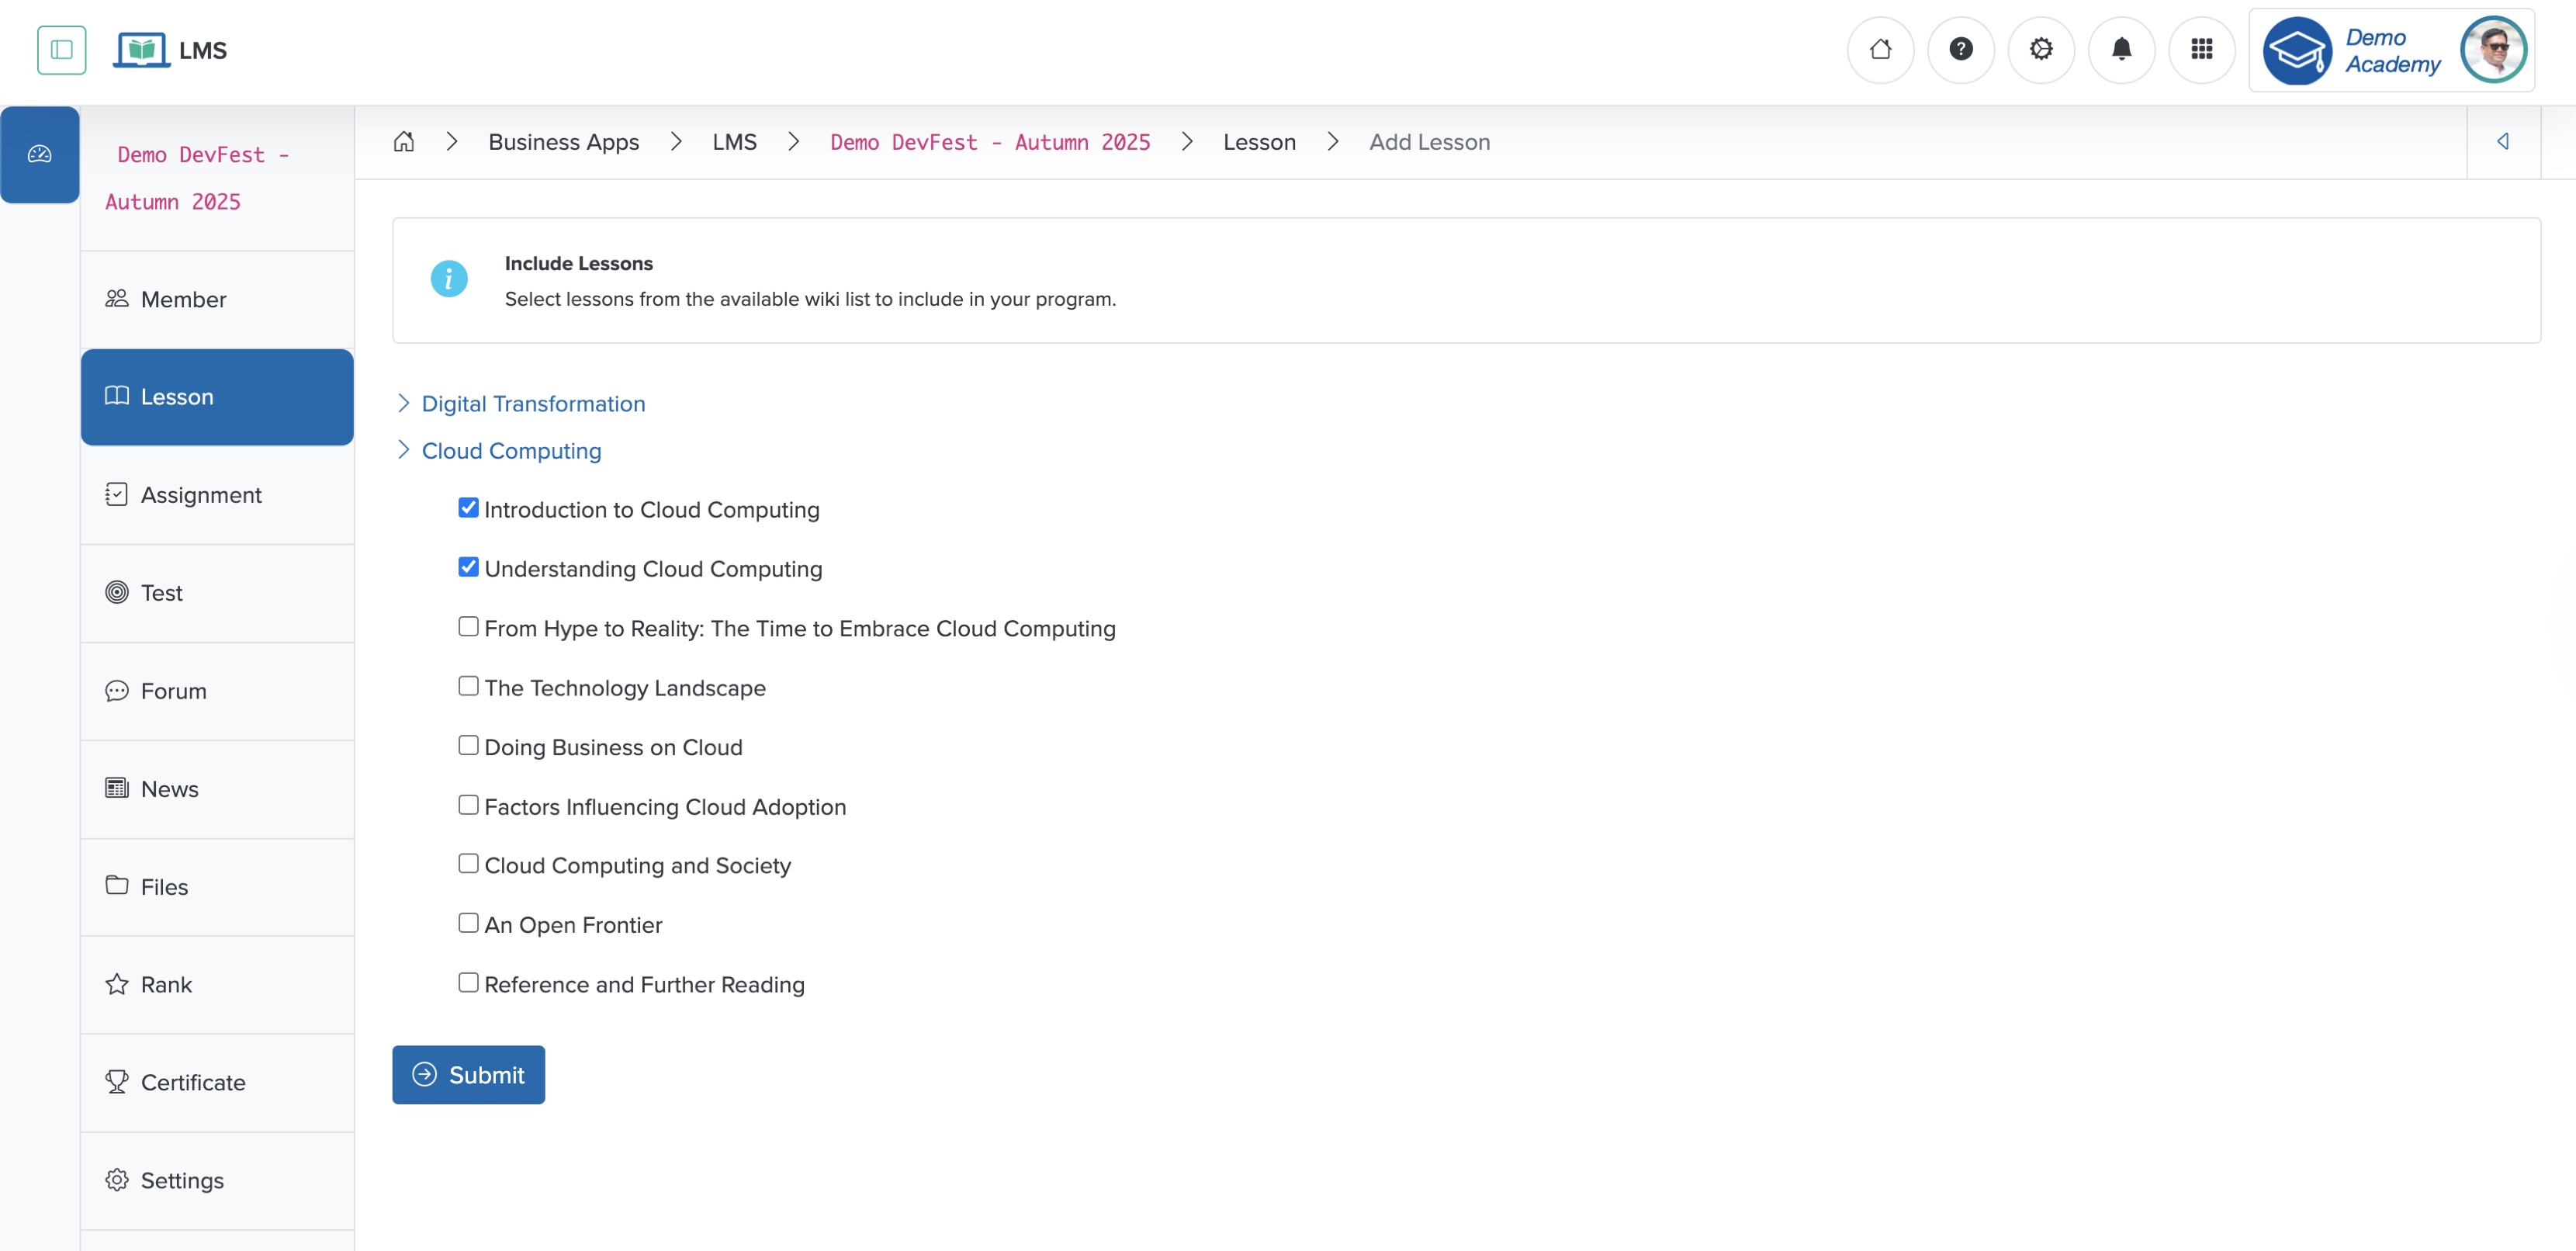
To add the lessons to the courses, select the lessons of the individual wikis you want to add as course material, then click the Submit button, as shown in Figure 17 above.