LMS Dashboard
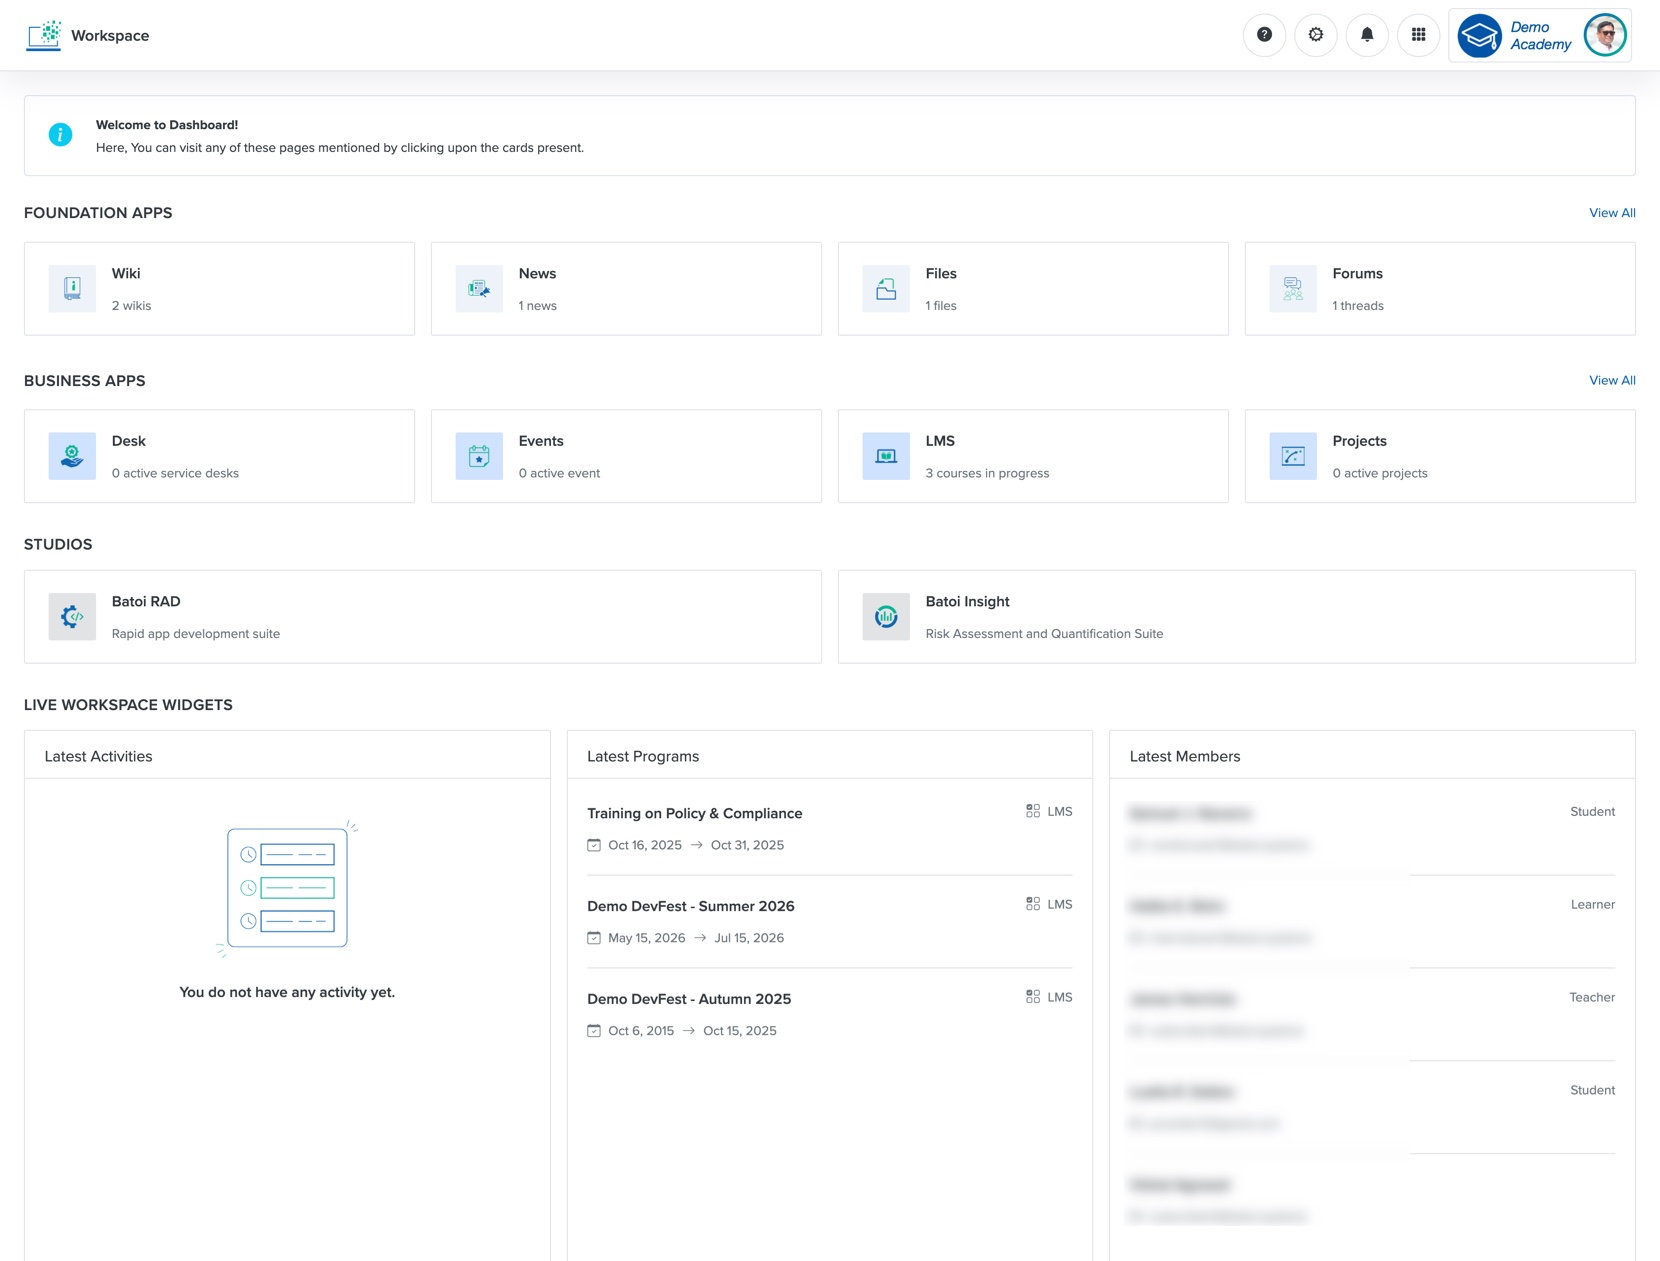
Click the LMS card, as shown in Figure 1 above, and the course list page opens, as shown in Figure 2 below.
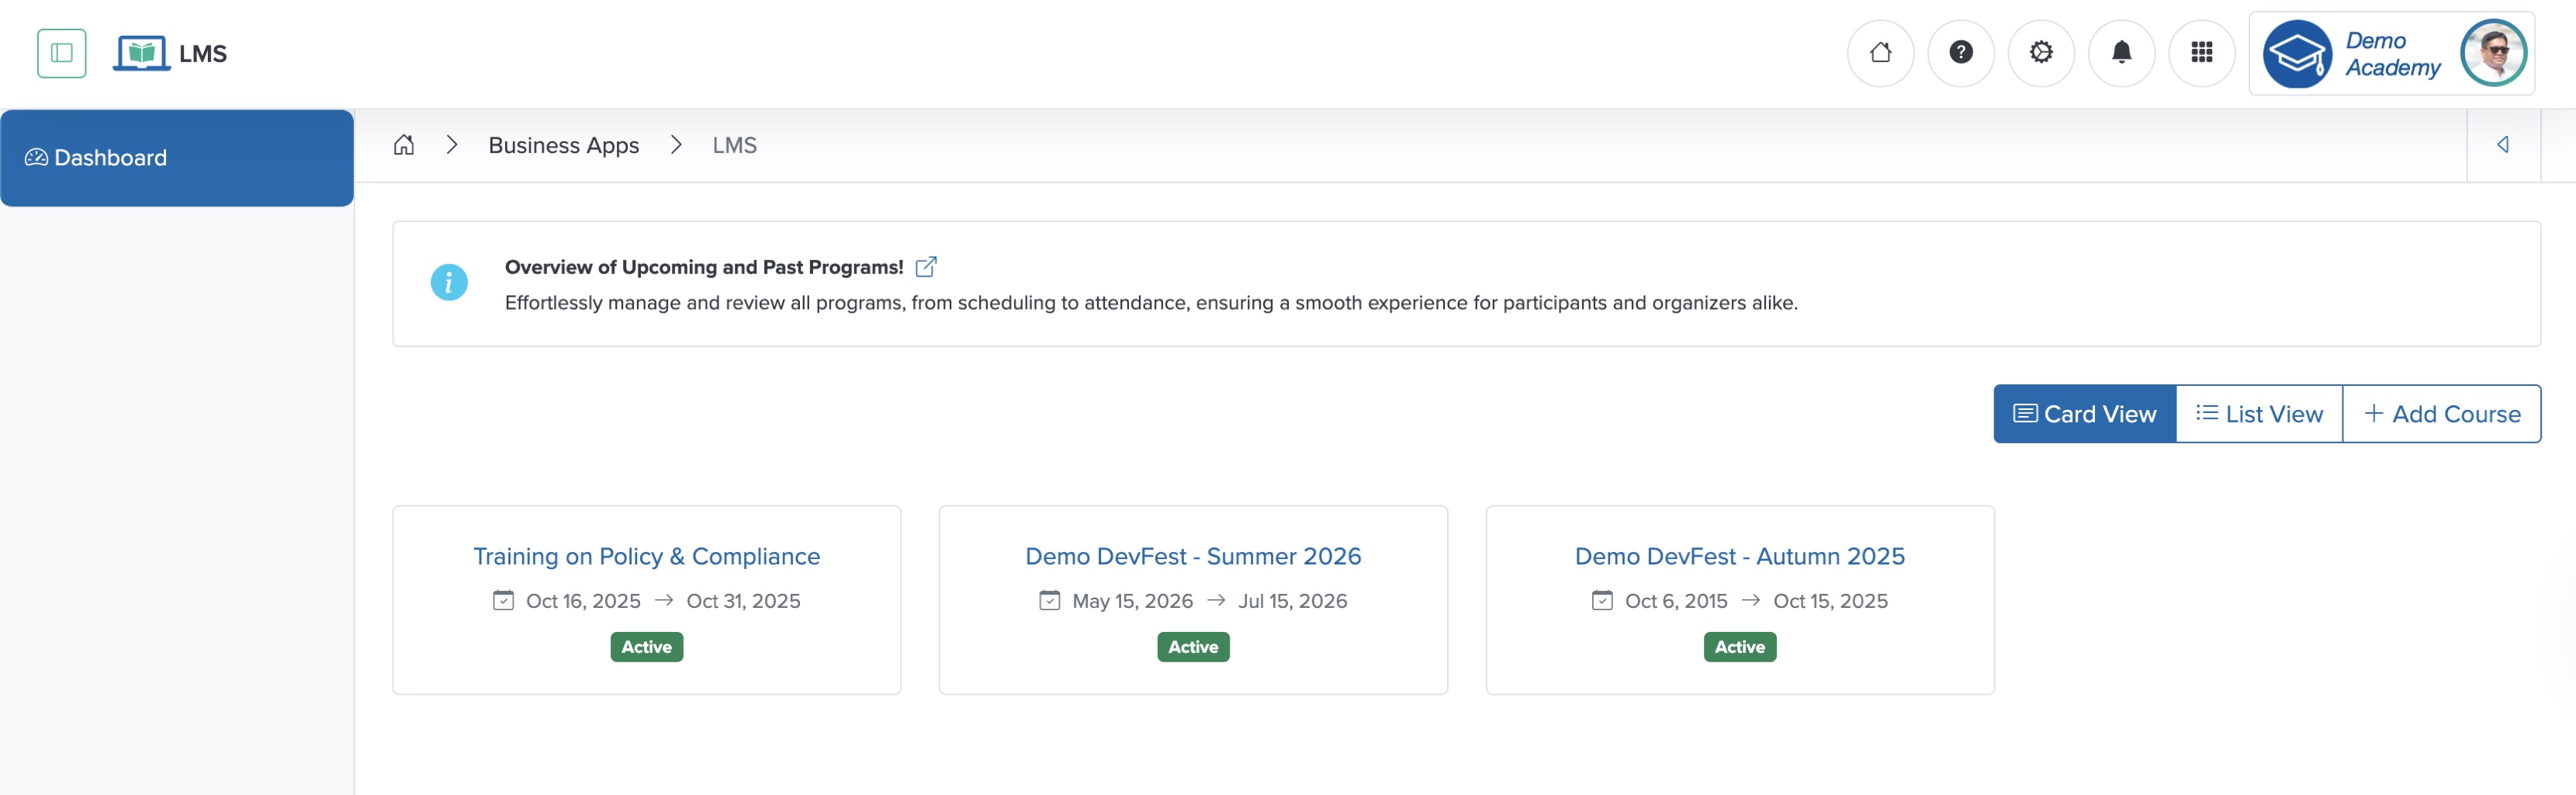
You can see the courses in card view, as shown in Figure 2 above. To view the courses in a tabular format, click the List View button on the top-right side of the course list screen, as shown in Figure 2 above. To filter the courses, enter the details in the Filter Textbox at the top-right corner of the screen, as shown in Figure 2 above. To sort the courses by 'Name', 'Date and Time', 'Status', and 'Type', click the Sorting Arrow in the header row of the corresponding column of the table, as shown in Figure 2 above.
Add New Course
Click the + Add Course button at the top-right corner of the course list screen, as shown in Figure 2 above, and the add course page opens, as shown in Figure 3 below.
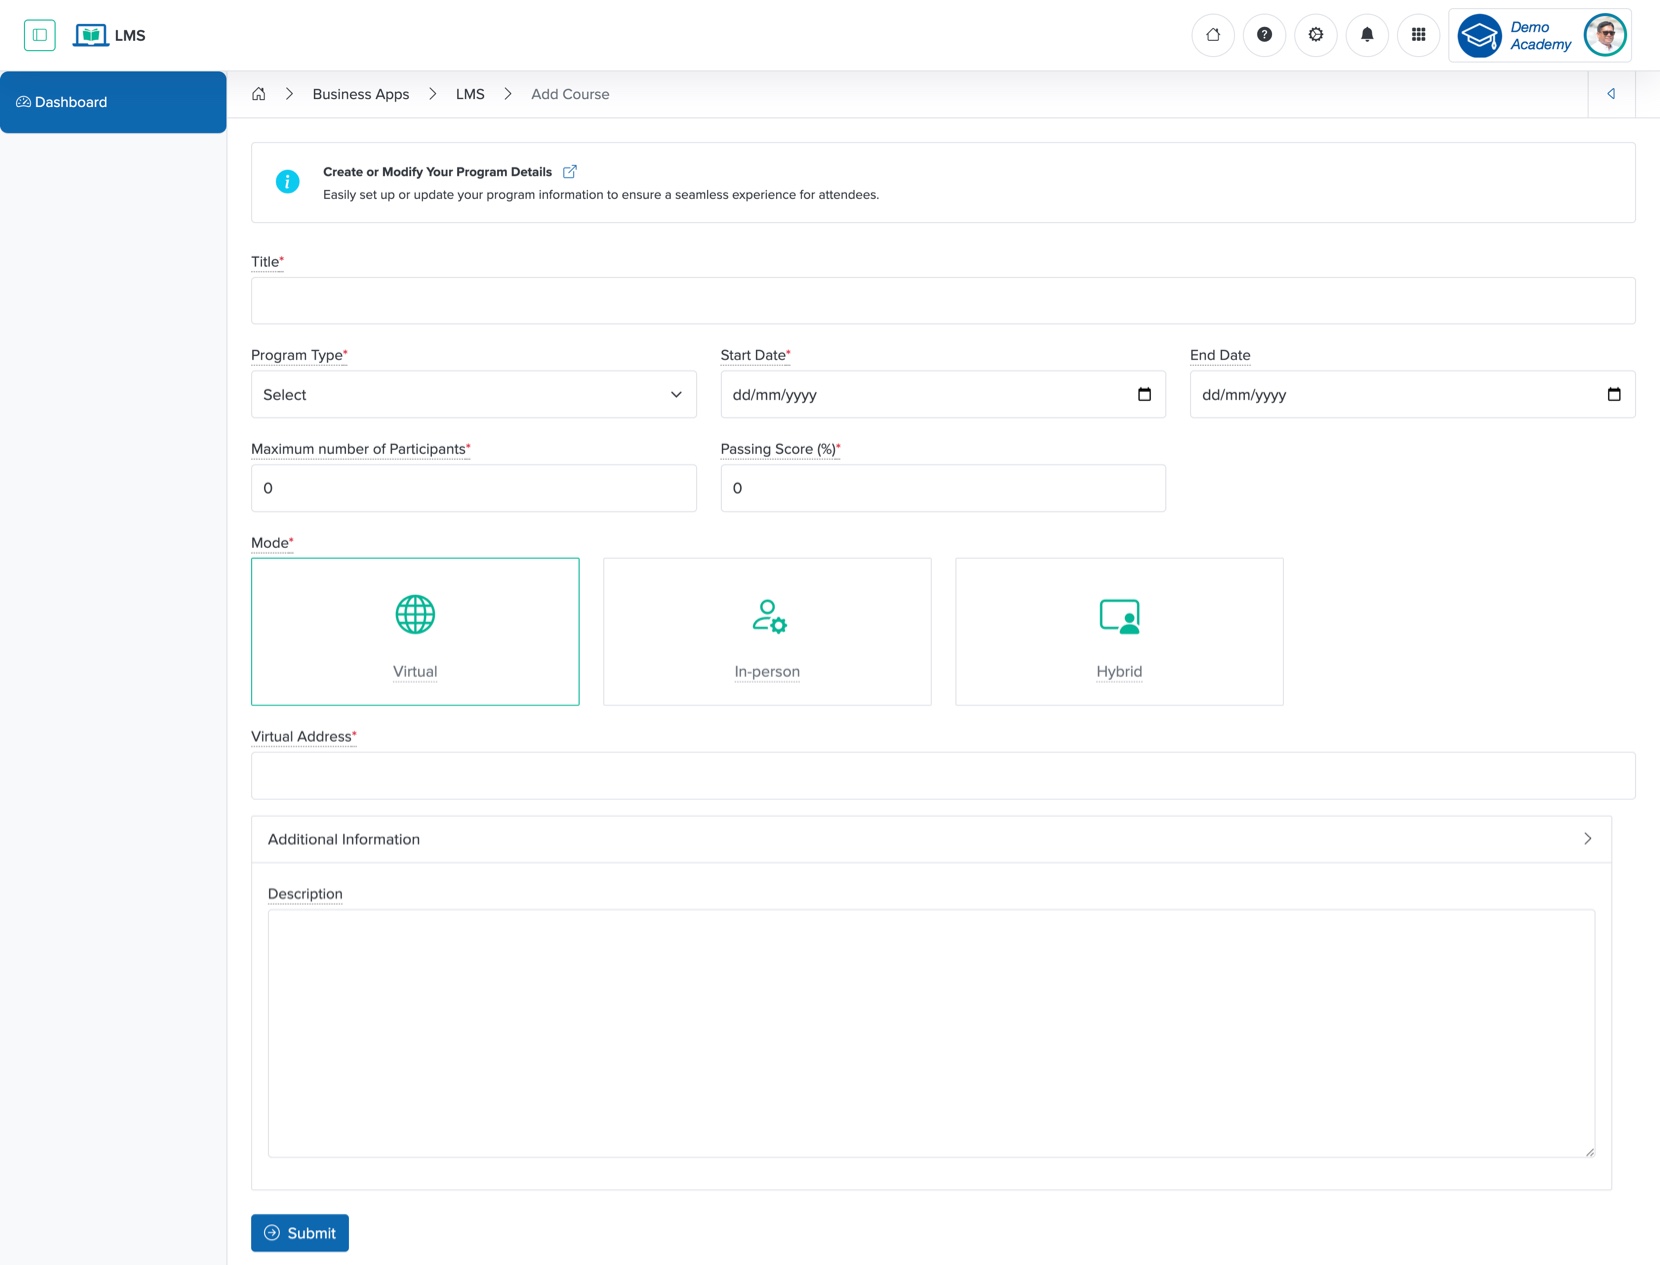
Enter the details below and click the Submit button to create a new course, as shown in Figure 3 above. You can add the following details:
- Title (Textbox - Mandatory): Title of the course
- Course Type (Drop-down - Mandatory): Select the type of course from the drop-down menu
- Bootcamp
- Certification
- Course
- Hackathon
- Internship
- Open Project
- Webinar
- Workshop
- Start Date (Date and Time Picker - Mandatory): Select the course start date
- End Date (Date and Time Picker - Optional): Select the course end date
- Maximum number of Participants (Textbox - Mandatory): Enter the number of participants (members) allowed for the course
- Passing Score (%) (Textbox - Mandatory): Mention the passing score for the course in percentage
- Mode (Select Box - Mandatory): Select the course type as 'Virtual', 'In-person', or ‘Hybrid’
- Address (Text Box - Mandatory): Enter the course address. For a virtual course, provide the link
- Description (Text Area - Optional): Provide an overview or key details about the course
Click the Back icon in the top-right of the screen to return to the course list page, as shown in Figure 3 above.
Individual Course Dashboard
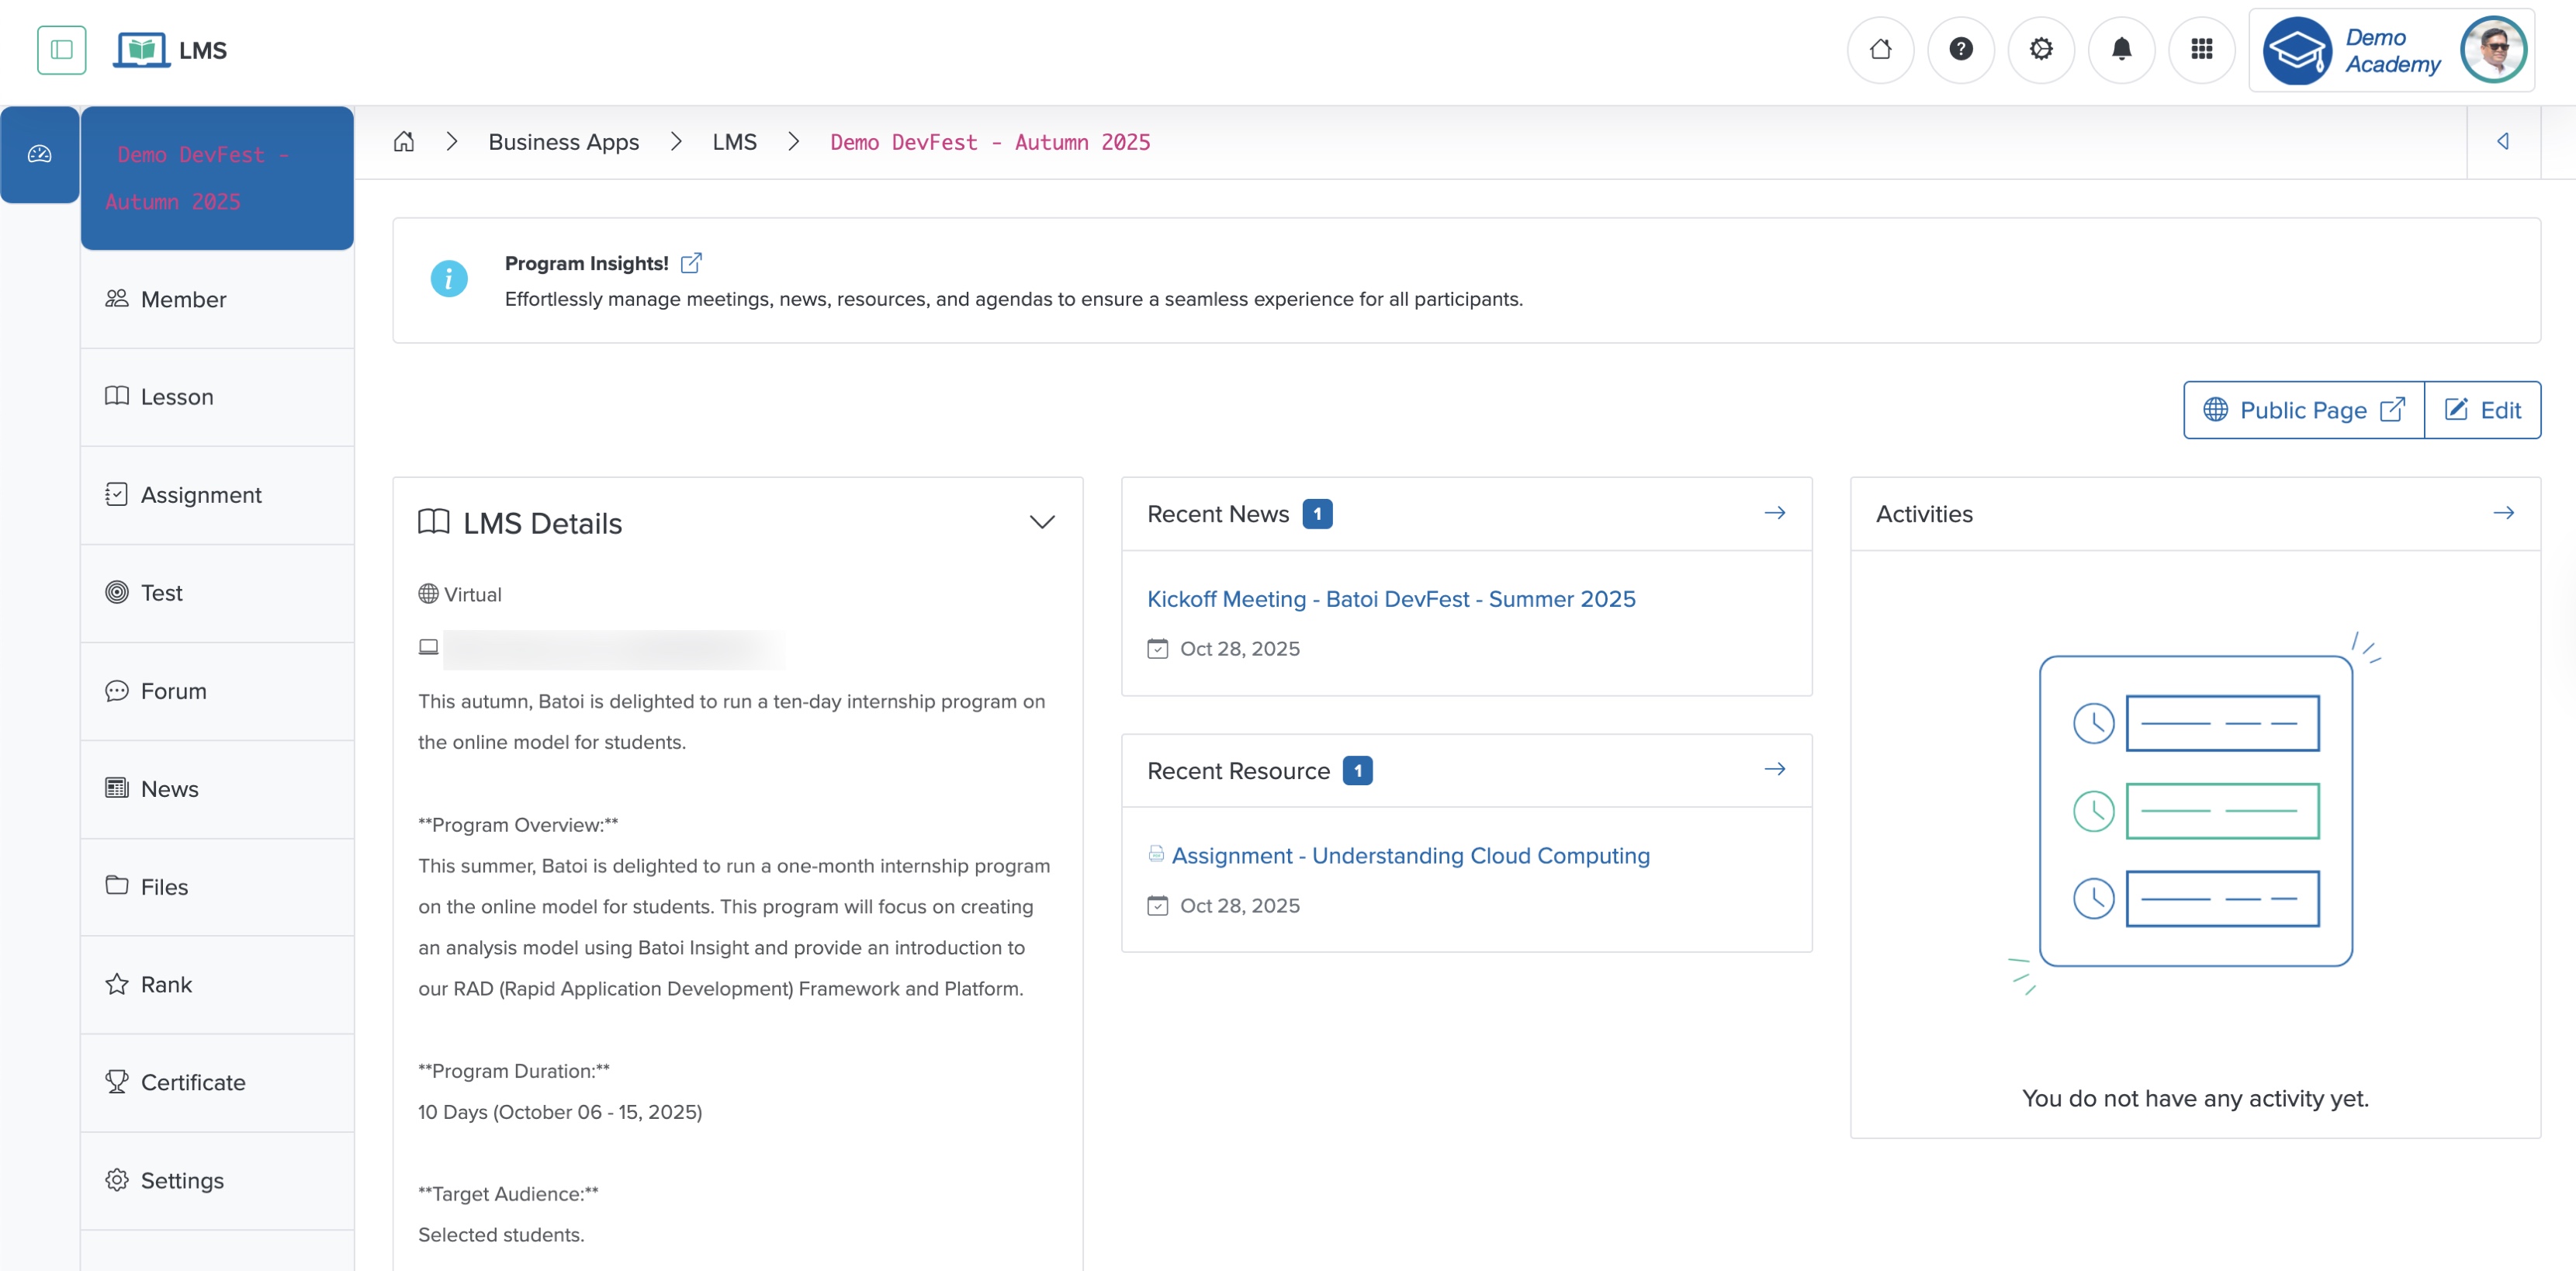
Click the View icon associated with any course in the Action column or the Title of the course from the course list view page, or click the course card from the card view page, as shown in Figure 2 above, and the individual course dashboard page opens, as shown in Figure 4 below.
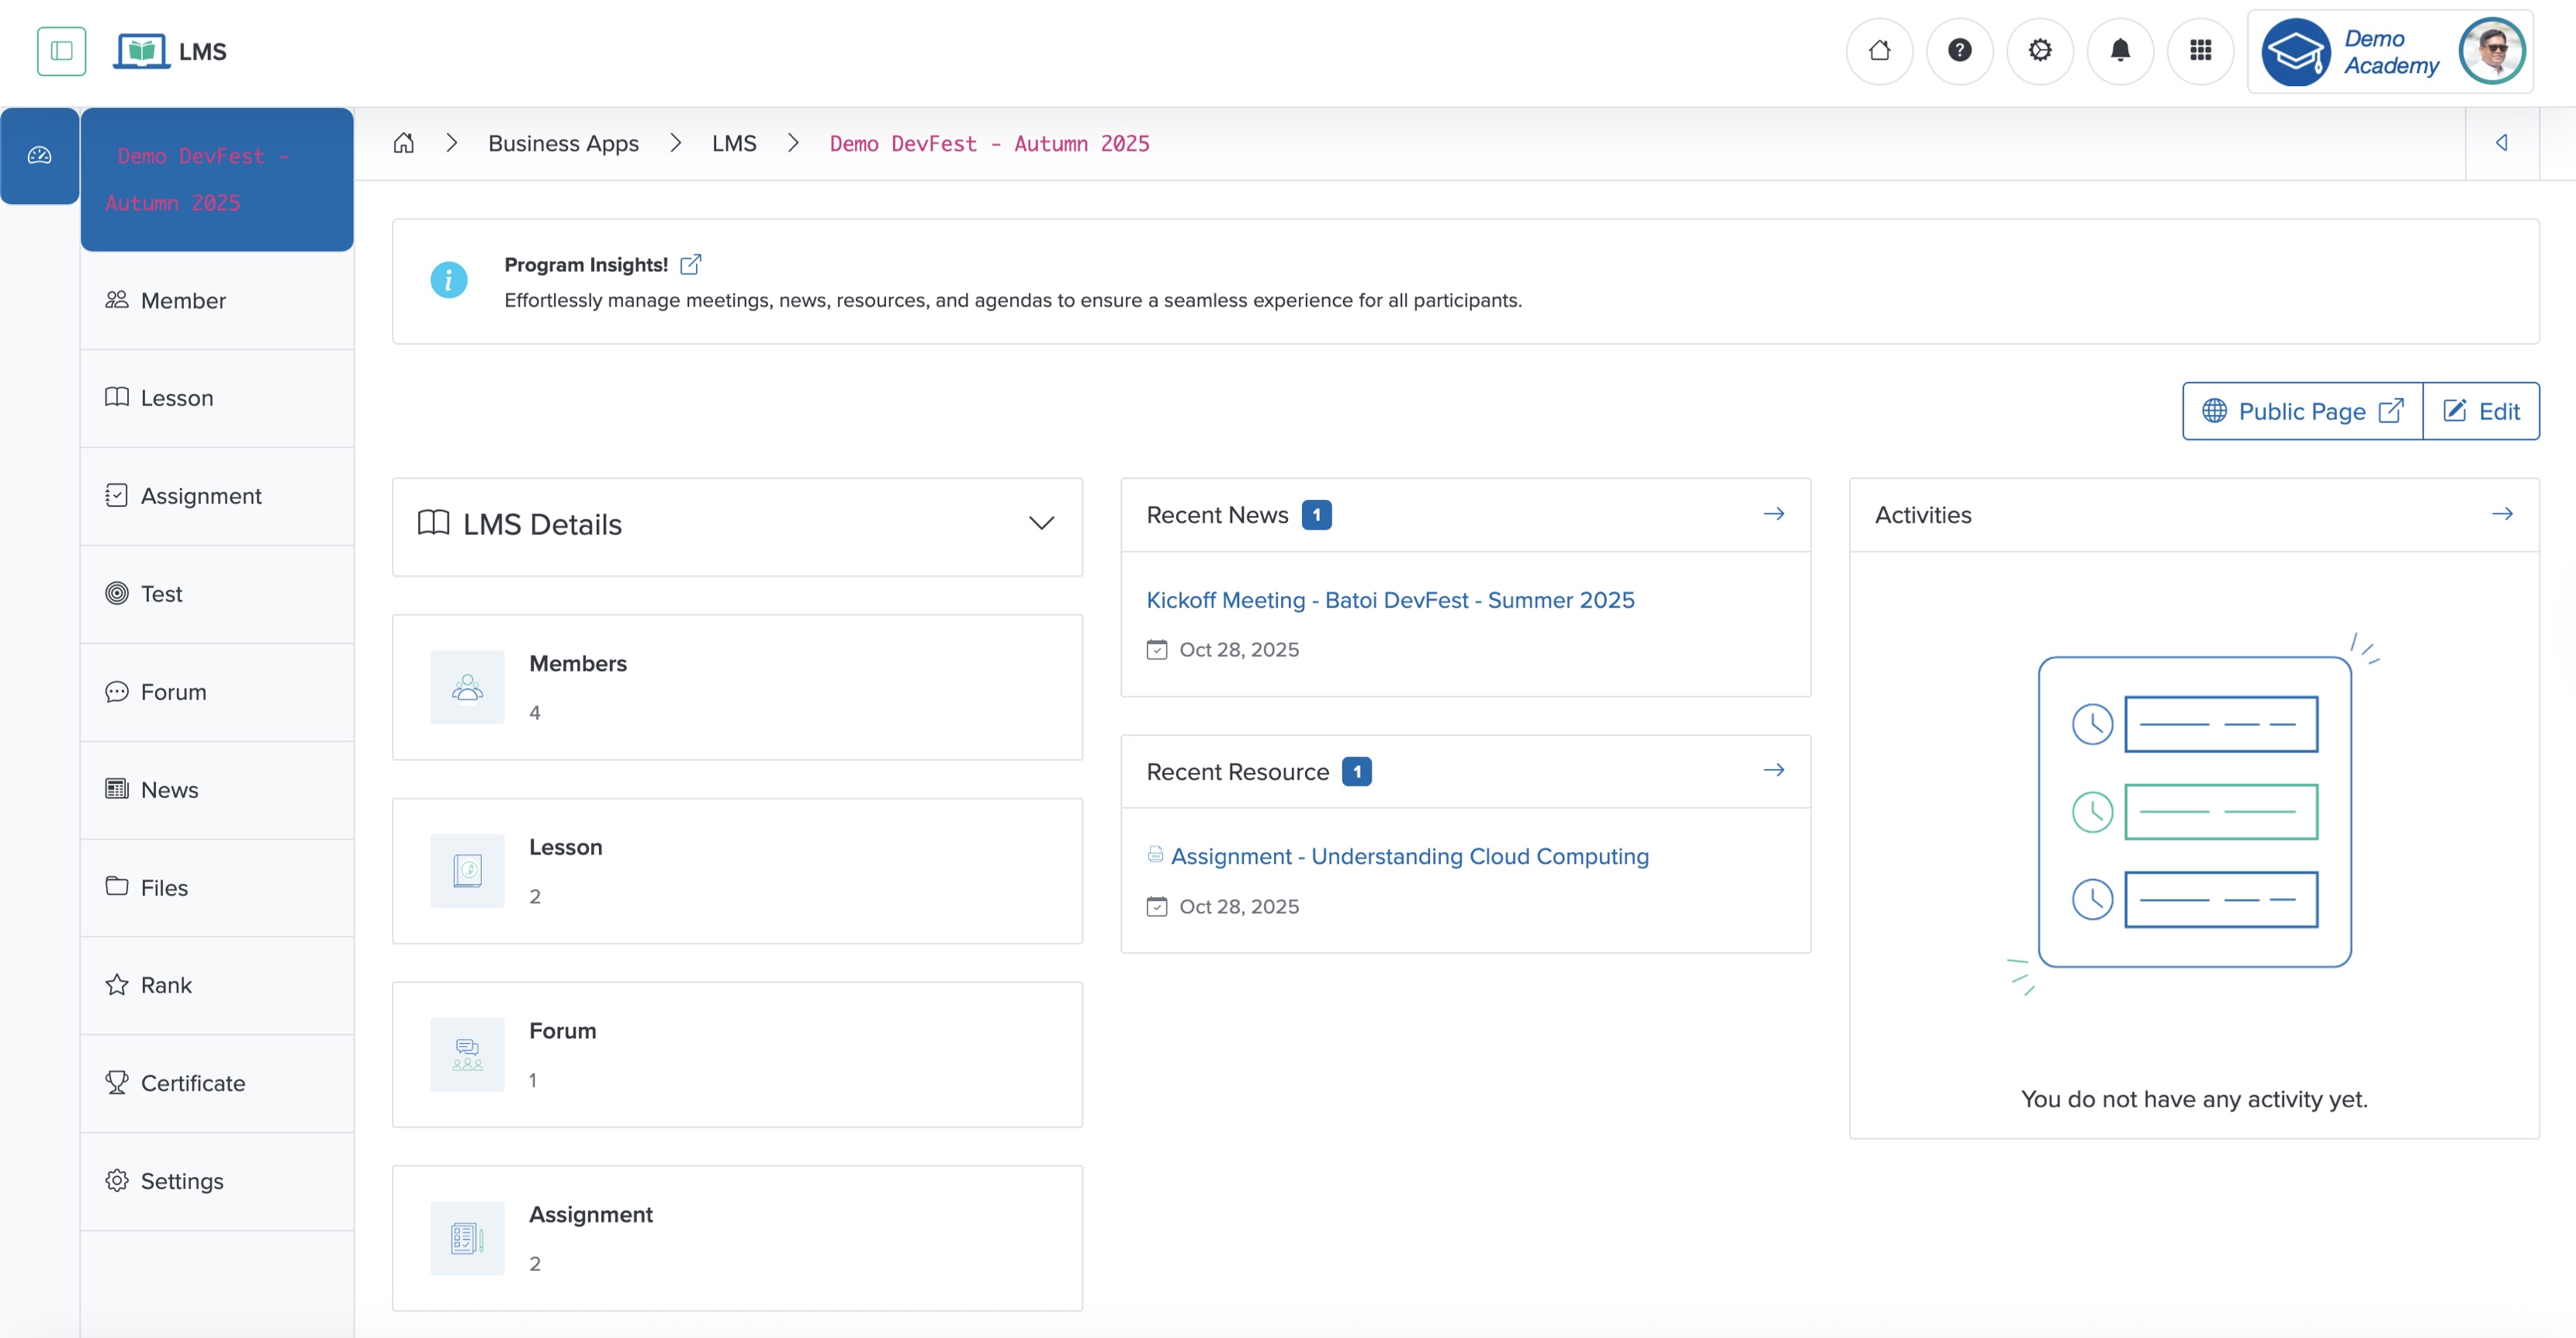
On the extreme left side of the individual course dashboard screen, you can find the menu structure for the individual course, as shown in Figure 4 above. The menus are:
- Member
- Lesson
- Assignment
- Test
- Forum
- News
- Files
- Rank
- Certificate
- Settings
On the dashboard, you can see the Course details, number of Members participating, number of Lessons added, number of Forum threads created, and number of Assignments added on the left side in a card format, as shown in Figure 4 above.
In the middle section, you can see the latest News published and the recent Resources added to the course, as shown in Figure 4 above.
In the right section, you can see the Activities.
Individual Course Details
Click the Down Arrow on the LMS Details card header on the course dashboard, as shown in Figure 4 above, to expand the section and display details like course Type and Location, as shown in Figure 5 below.
Edit Individual Course
Click the Edit button at the top of the individual course dashboard screen, as shown in Figure 5 above, and the course edit page opens, as shown in Figure 6 below.
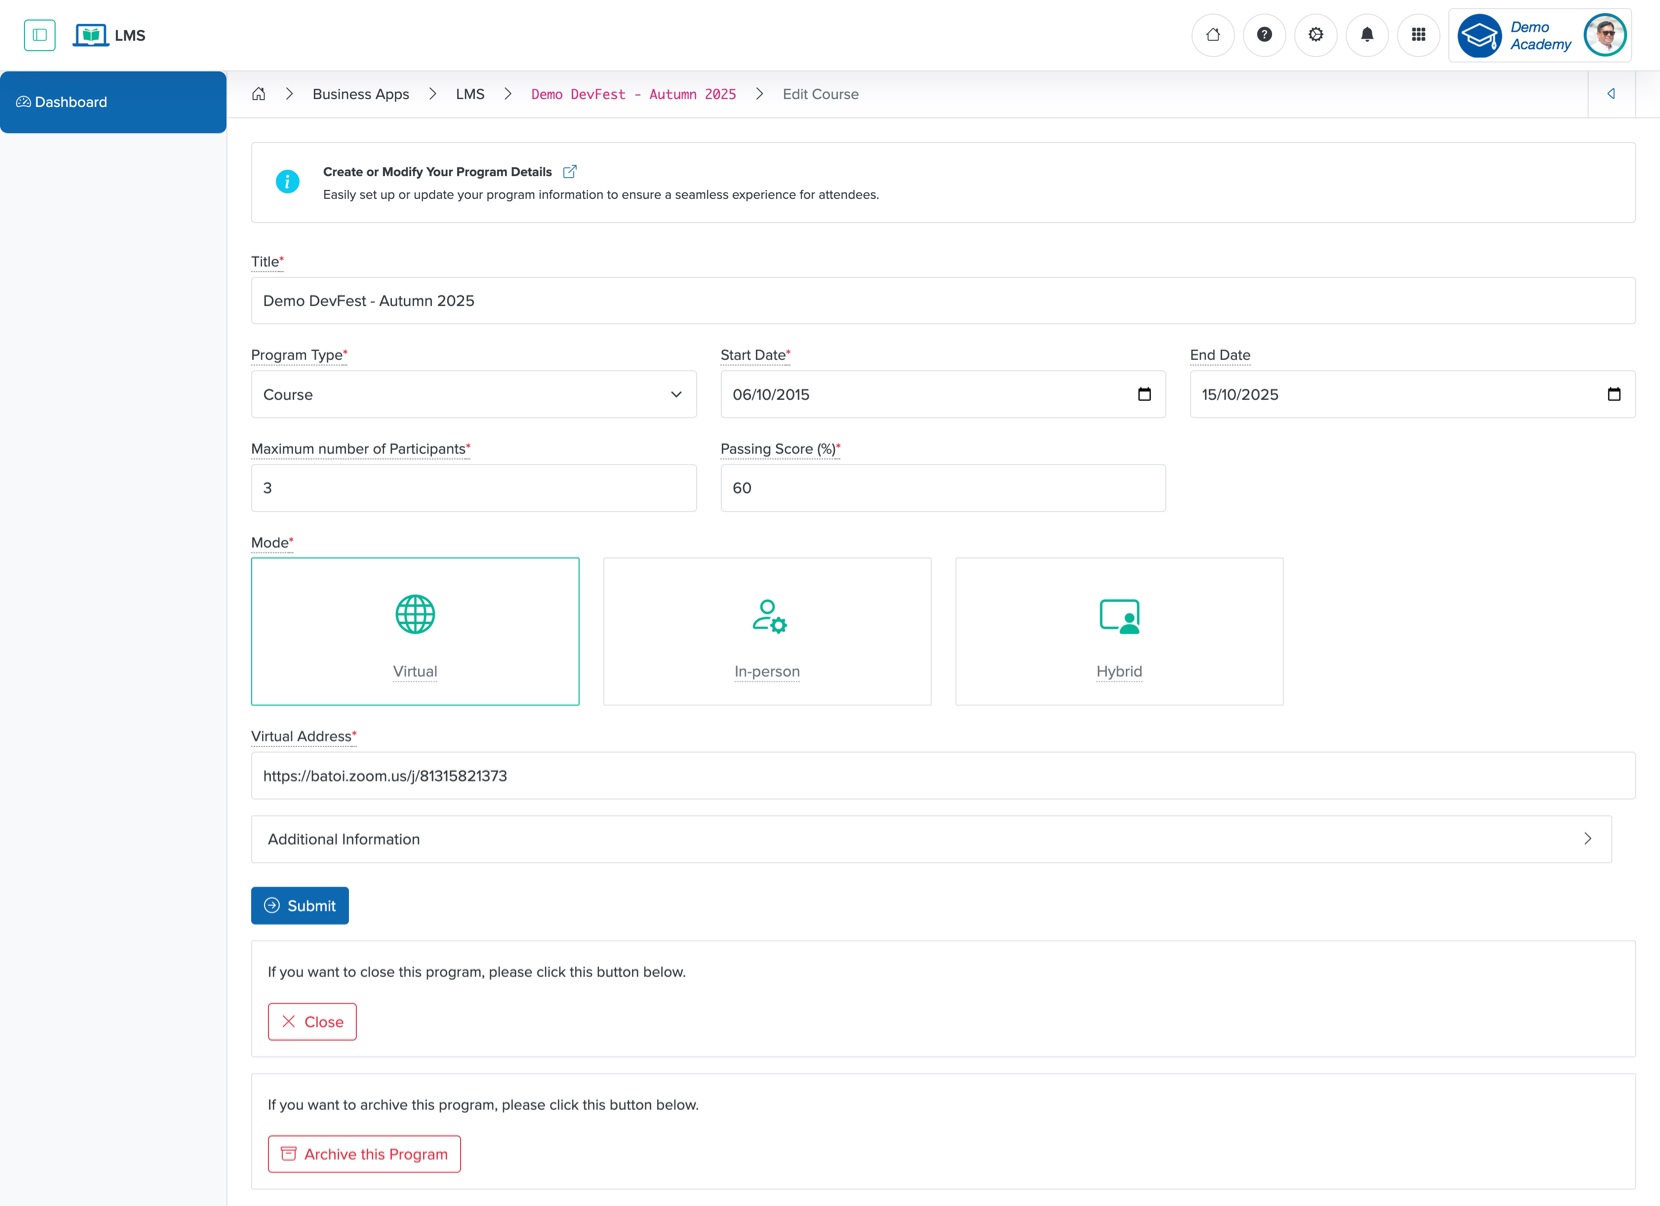
Update the details and click the Submit button to update the program, as shown in Figure 6 above:
- Title (Textbox - Mandatory): Title of the course
- Course Type (Drop-down - Mandatory): Select the type of course from the drop-down menu
- Bootcamp
- Certification
- Course
- Hackathon
- Internship
- Open Project
- Webinar
- Workshop
- Start Date (Date and Time Picker - Mandatory): Select the course start date
- End Date (Date and Time Picker - Optional): Select the course end date
- Maximum number of Participants (Textbox - Mandatory): Enter the number of participants (members) allowed for the course
- Passing Score (%) (Textbox - Mandatory): Mention the passing score for the course in percentage
- Mode (Select Box - Mandatory): Select the course type as 'Virtual', 'In-person', or ‘Hybrid’
- Address (Text Box - Mandatory): Enter the course address. For a virtual course, provide the link
- Description (Text Area - Optional): Provide an overview or key details about the course
Click the Close button at the bottom of the screen, as shown in Figure 6 above, to remove the program from the space.
Click the Archive this Program button at the bottom of the screen, as shown in Figure 6 above, to archive the program from the space.