 Batoi Support
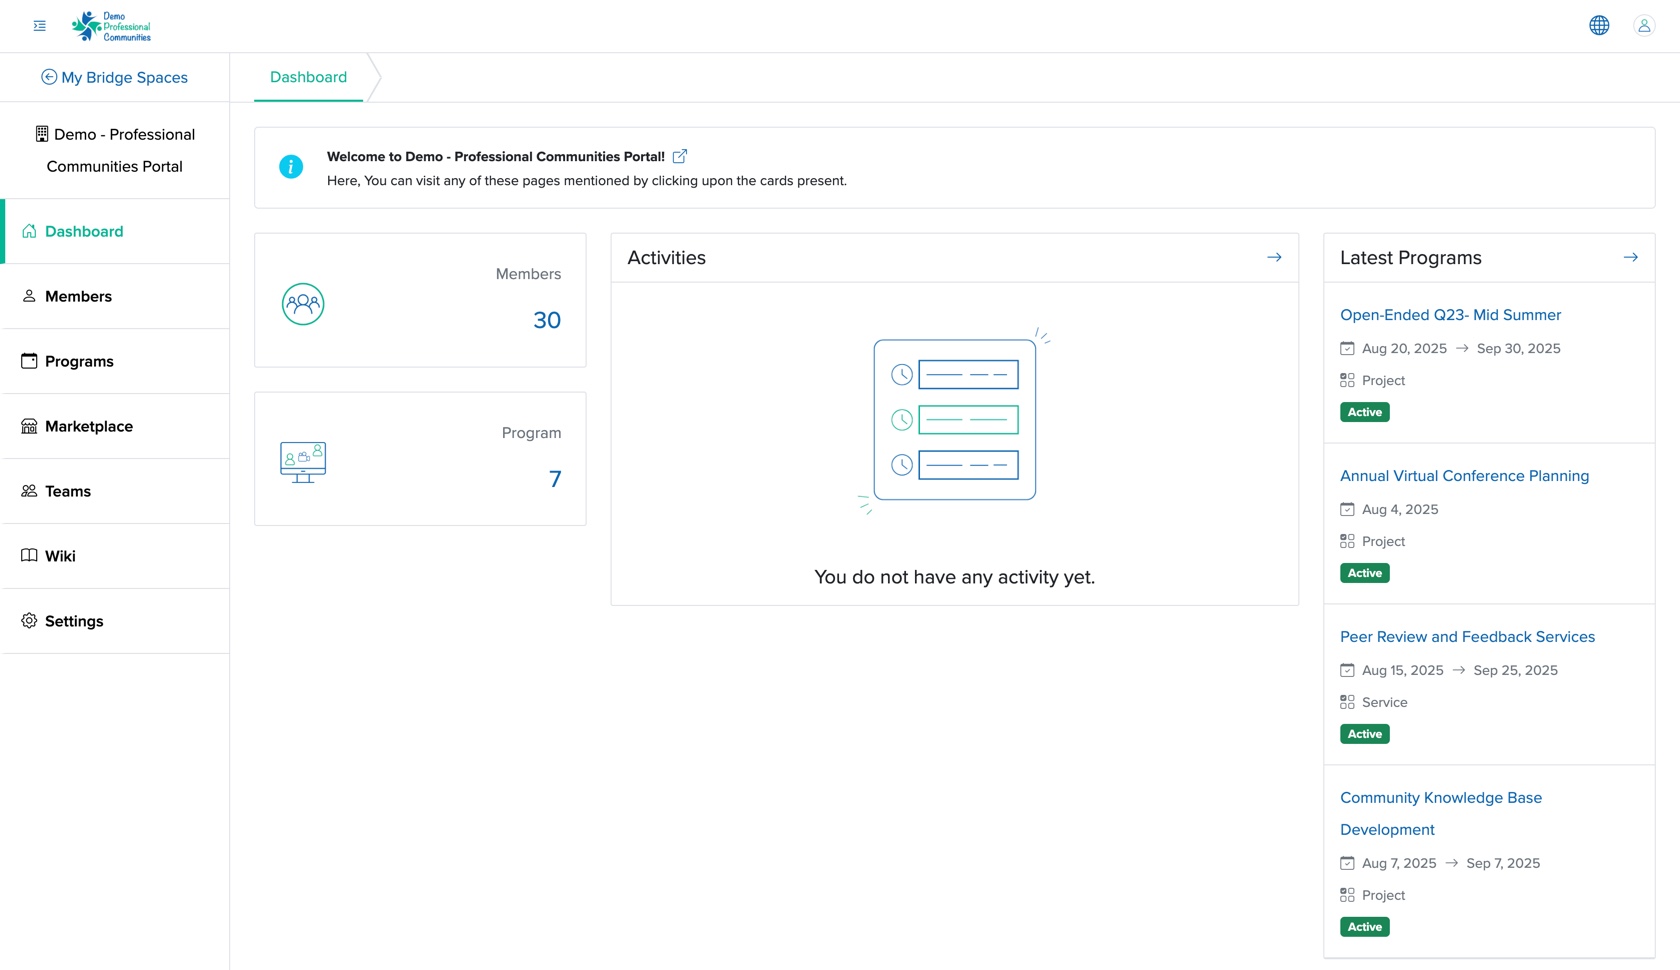
Click the Wiki menu from the dashboard, as shown in Figure 1 above, and you will be redirected to the wiki list page, as shown in Figure 2 below.
Book Type Wiki
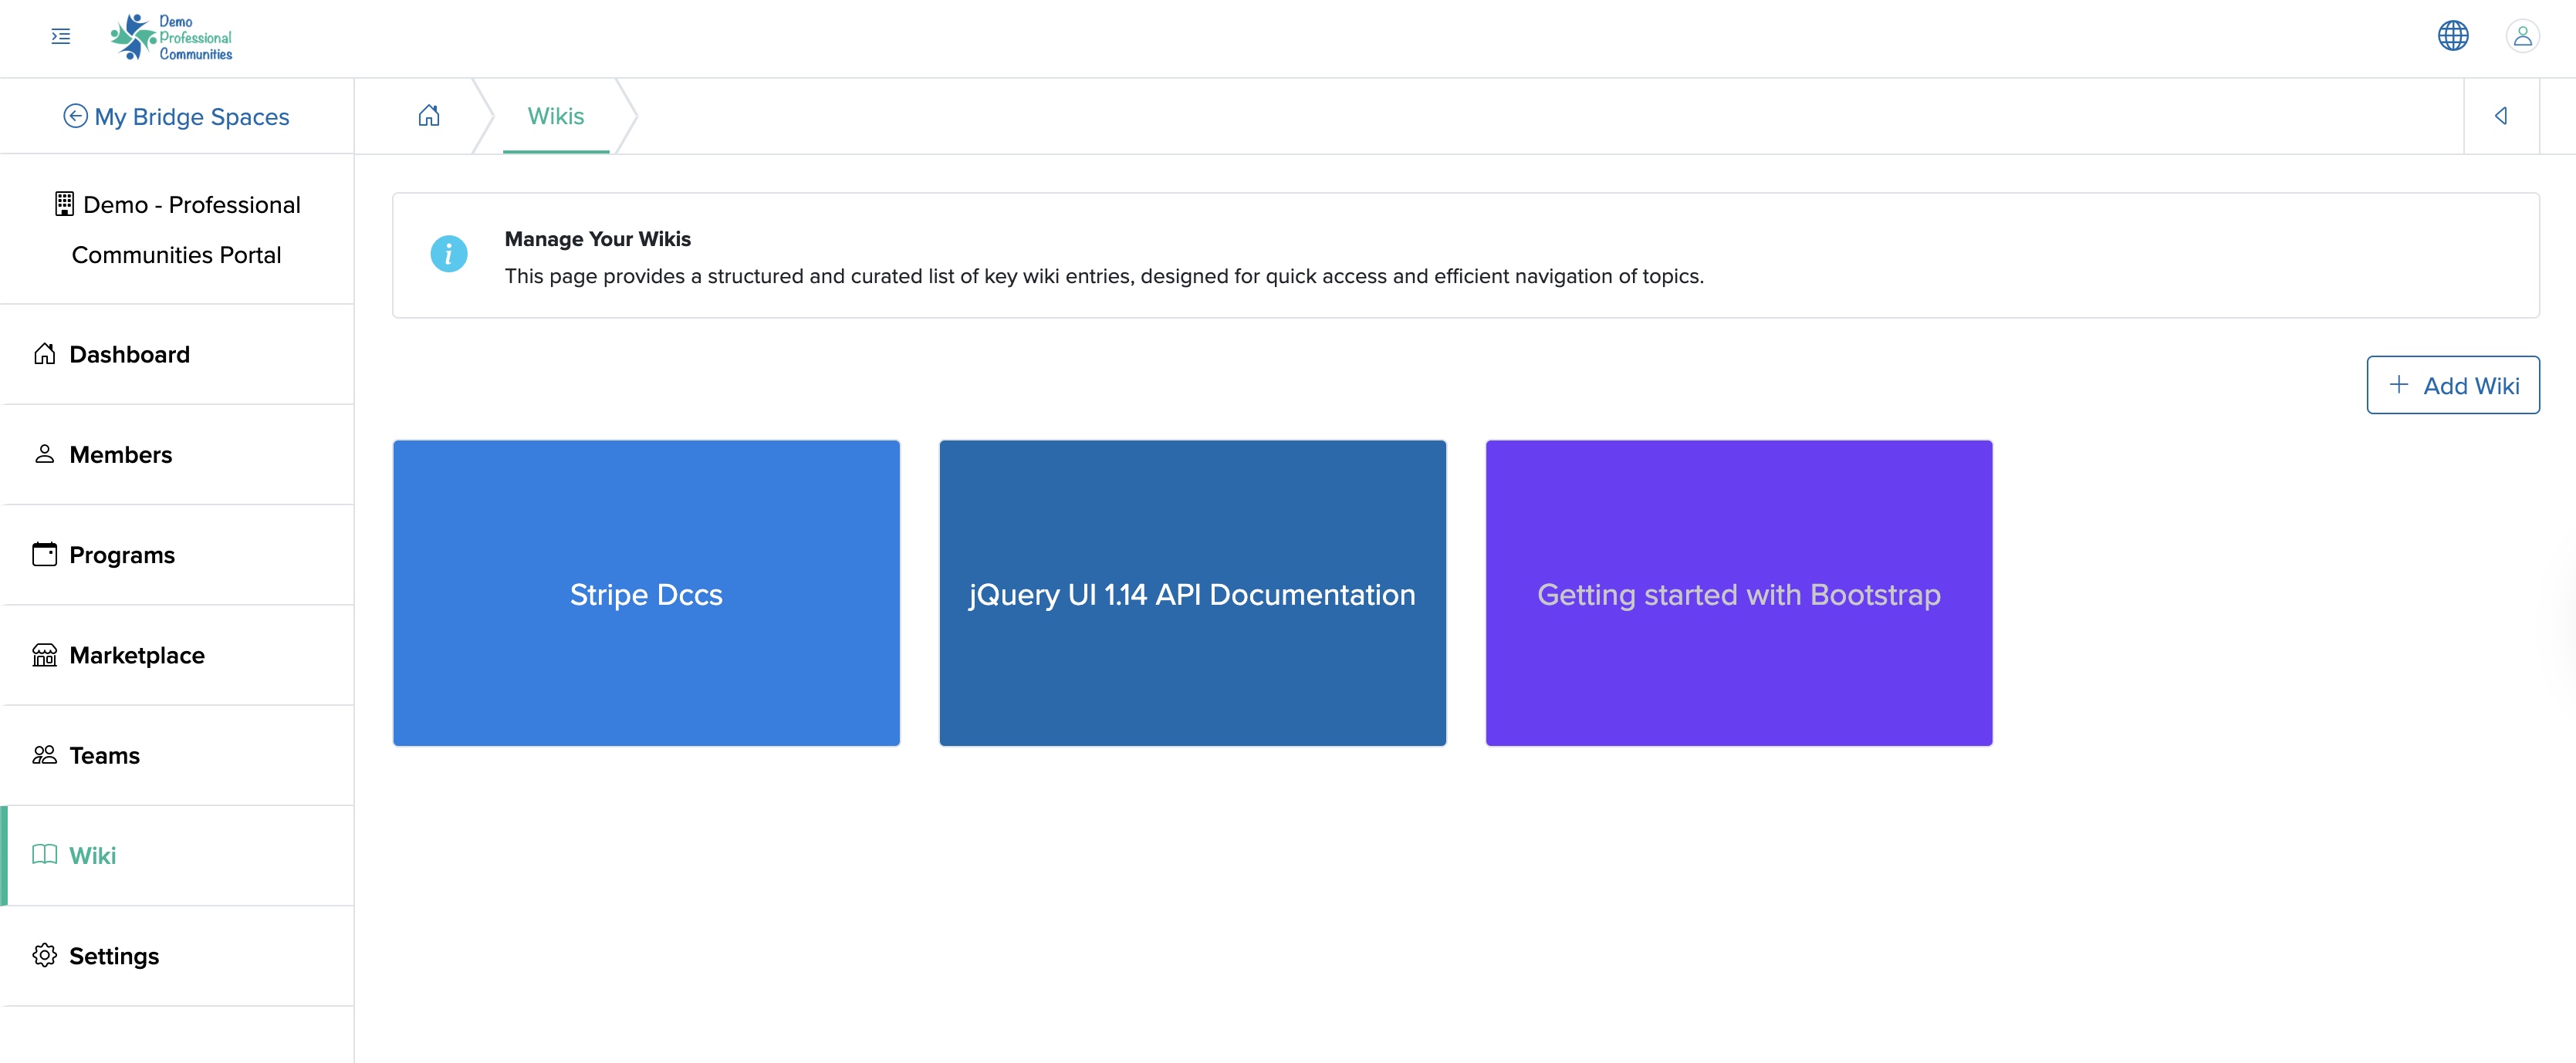
This is the wiki where the content will be displayed in a book format. Here, the table of contents will be displayed on the left side of the Wiki List screen, and the individual wiki content on the right side of the screen.
Add Wiki
Click on the Add Wiki button available on the top right side of the list screen, as shown in Figure 2 above, and you will be redirected to the Add Wiki page, as shown in Figure 3 below.
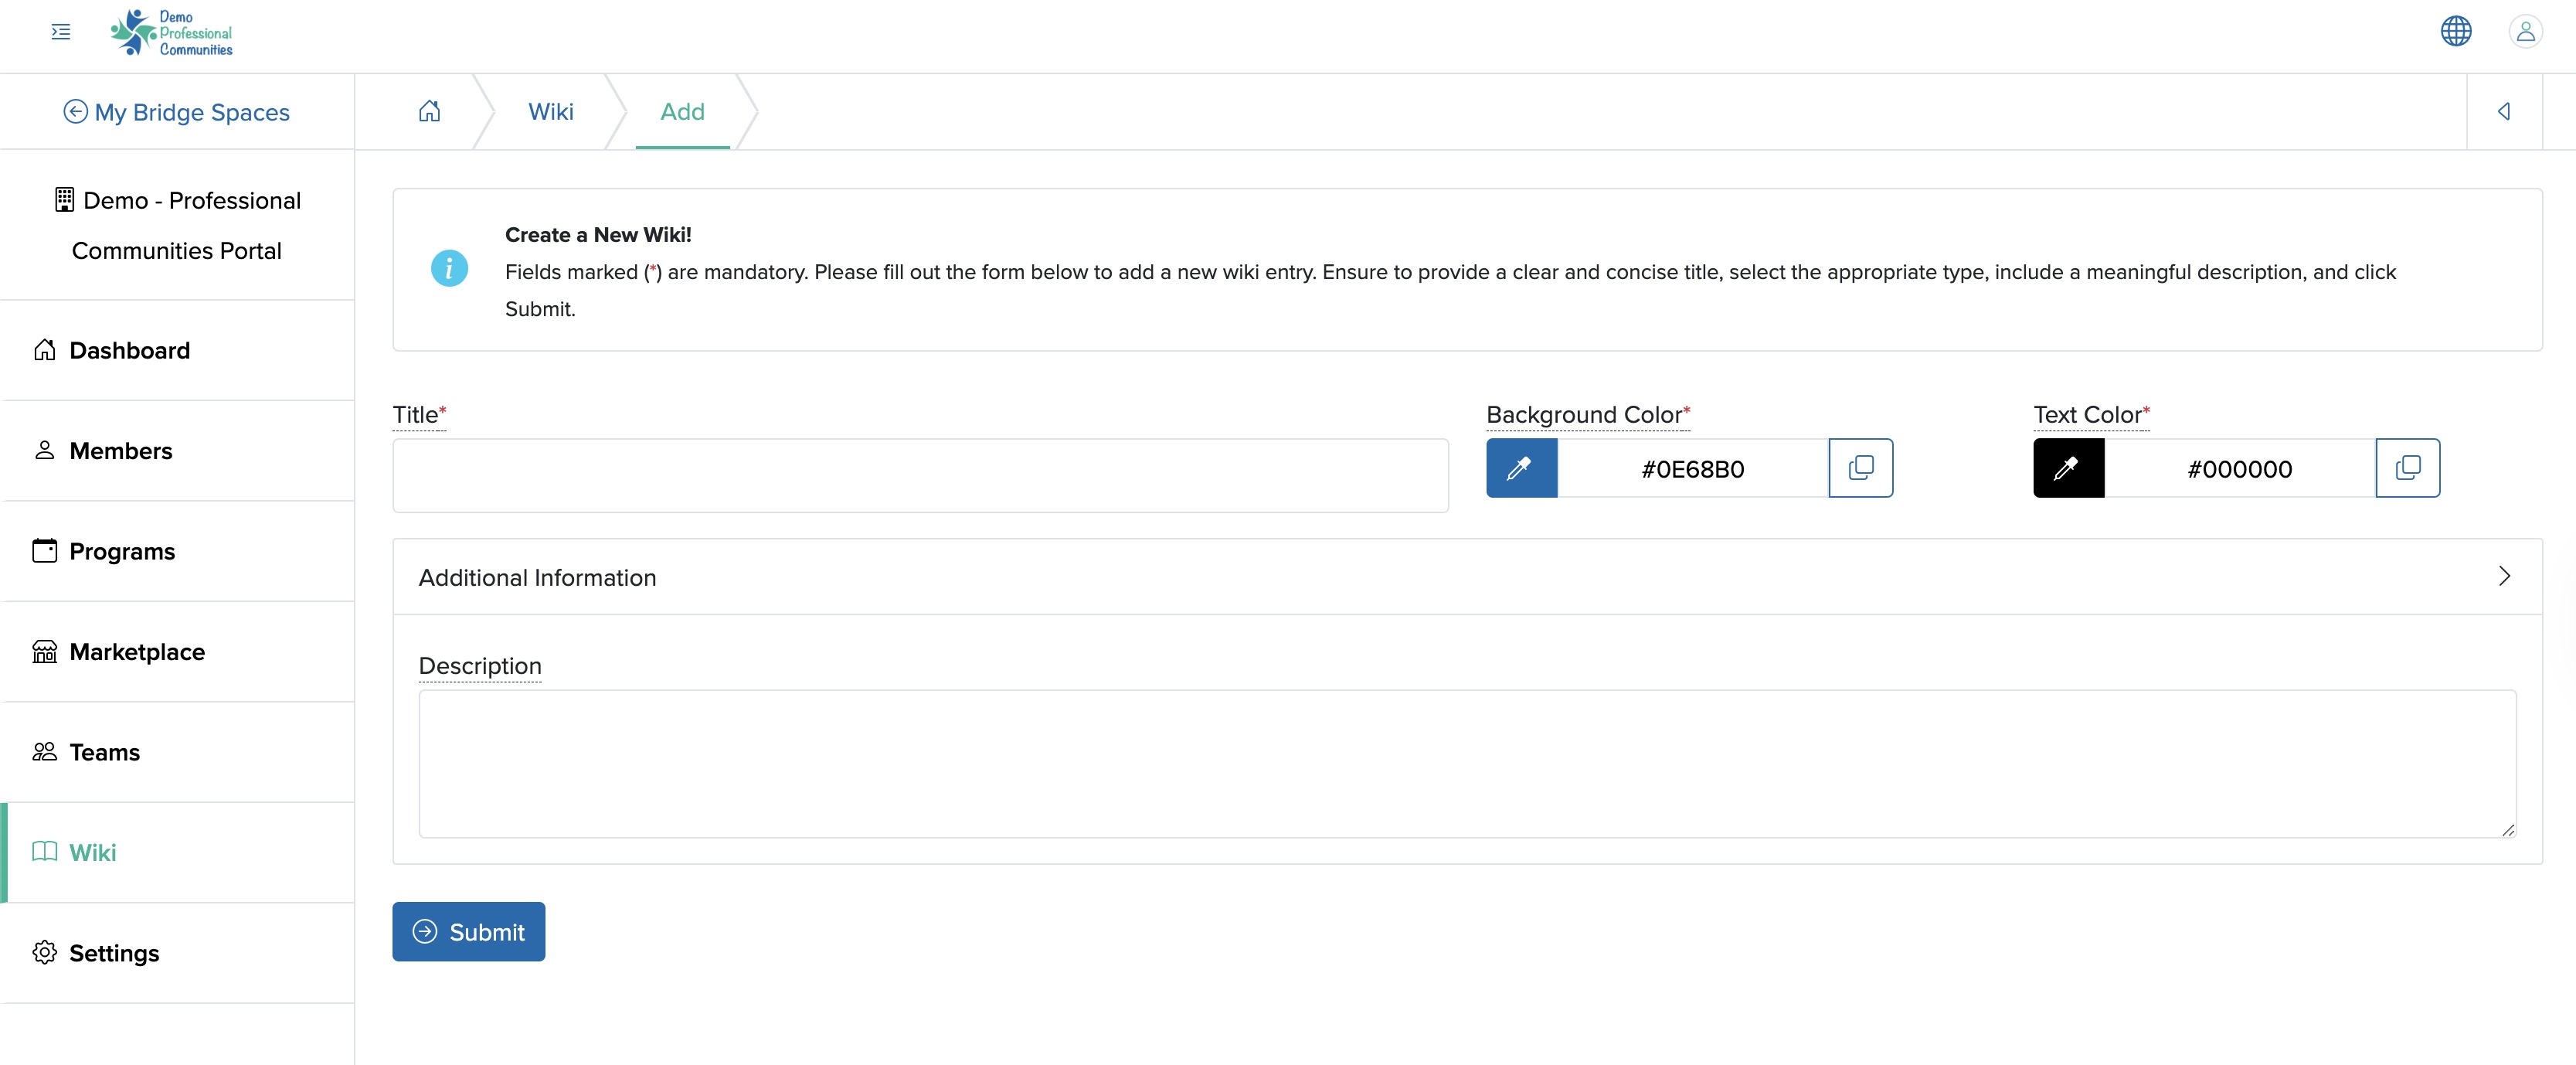
You can enter the details below and click the Submit button to create a new wiki, as shown in Figure 3 above.
- Title (Textbox - Mandatory): Enter the Title of Wiki
- Background Color (Color Picker - Mandatory): Select the background color of the wiki card. The default color will be displayed if you do not select a color from the color picker
- Text Color (Color Picker - Mandatory): Select the text color of the wiki title on the card. The default color will be displayed if you do not select a color from the color picker.
- Description (Textarea - Optional): Enter the team description in the additional information section.
View Wiki
Click the Team Card from the wiki list page, as shown in Figure 2 above, and you will be redirected to the individual wiki overview page, as shown in Figure 4 below.

On the individual wiki overview page, all the table of contents will be listed in the card format, as shown in Figure 4 above.
View Wiki Child Page
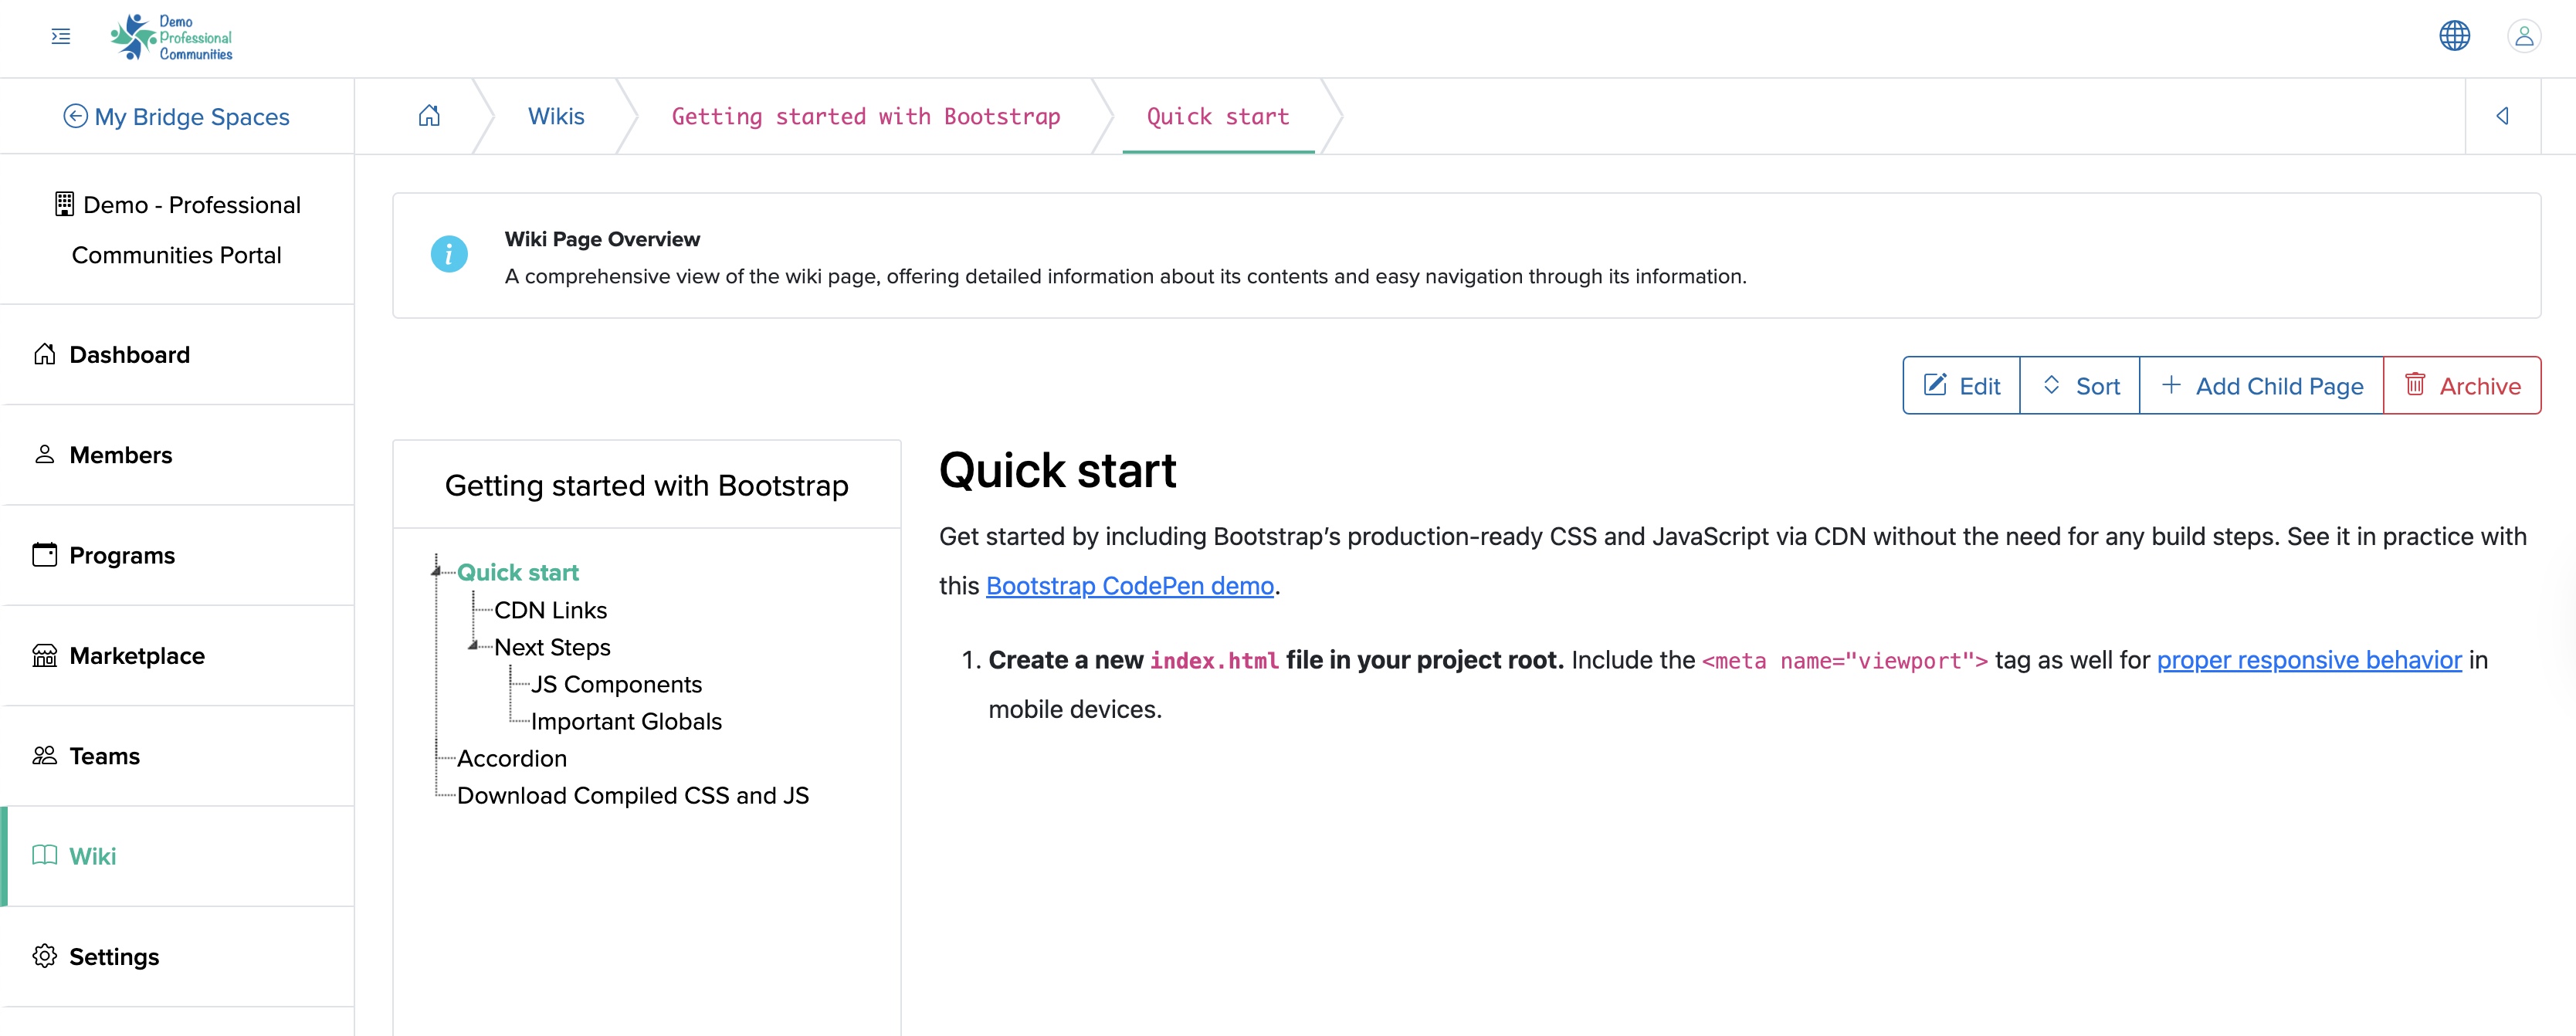
Click the Card Title from the individual wiki overview page, as shown in Figure 4 above, and you will be redirected to the individual wiki child page, as shown in Figure 5 below.
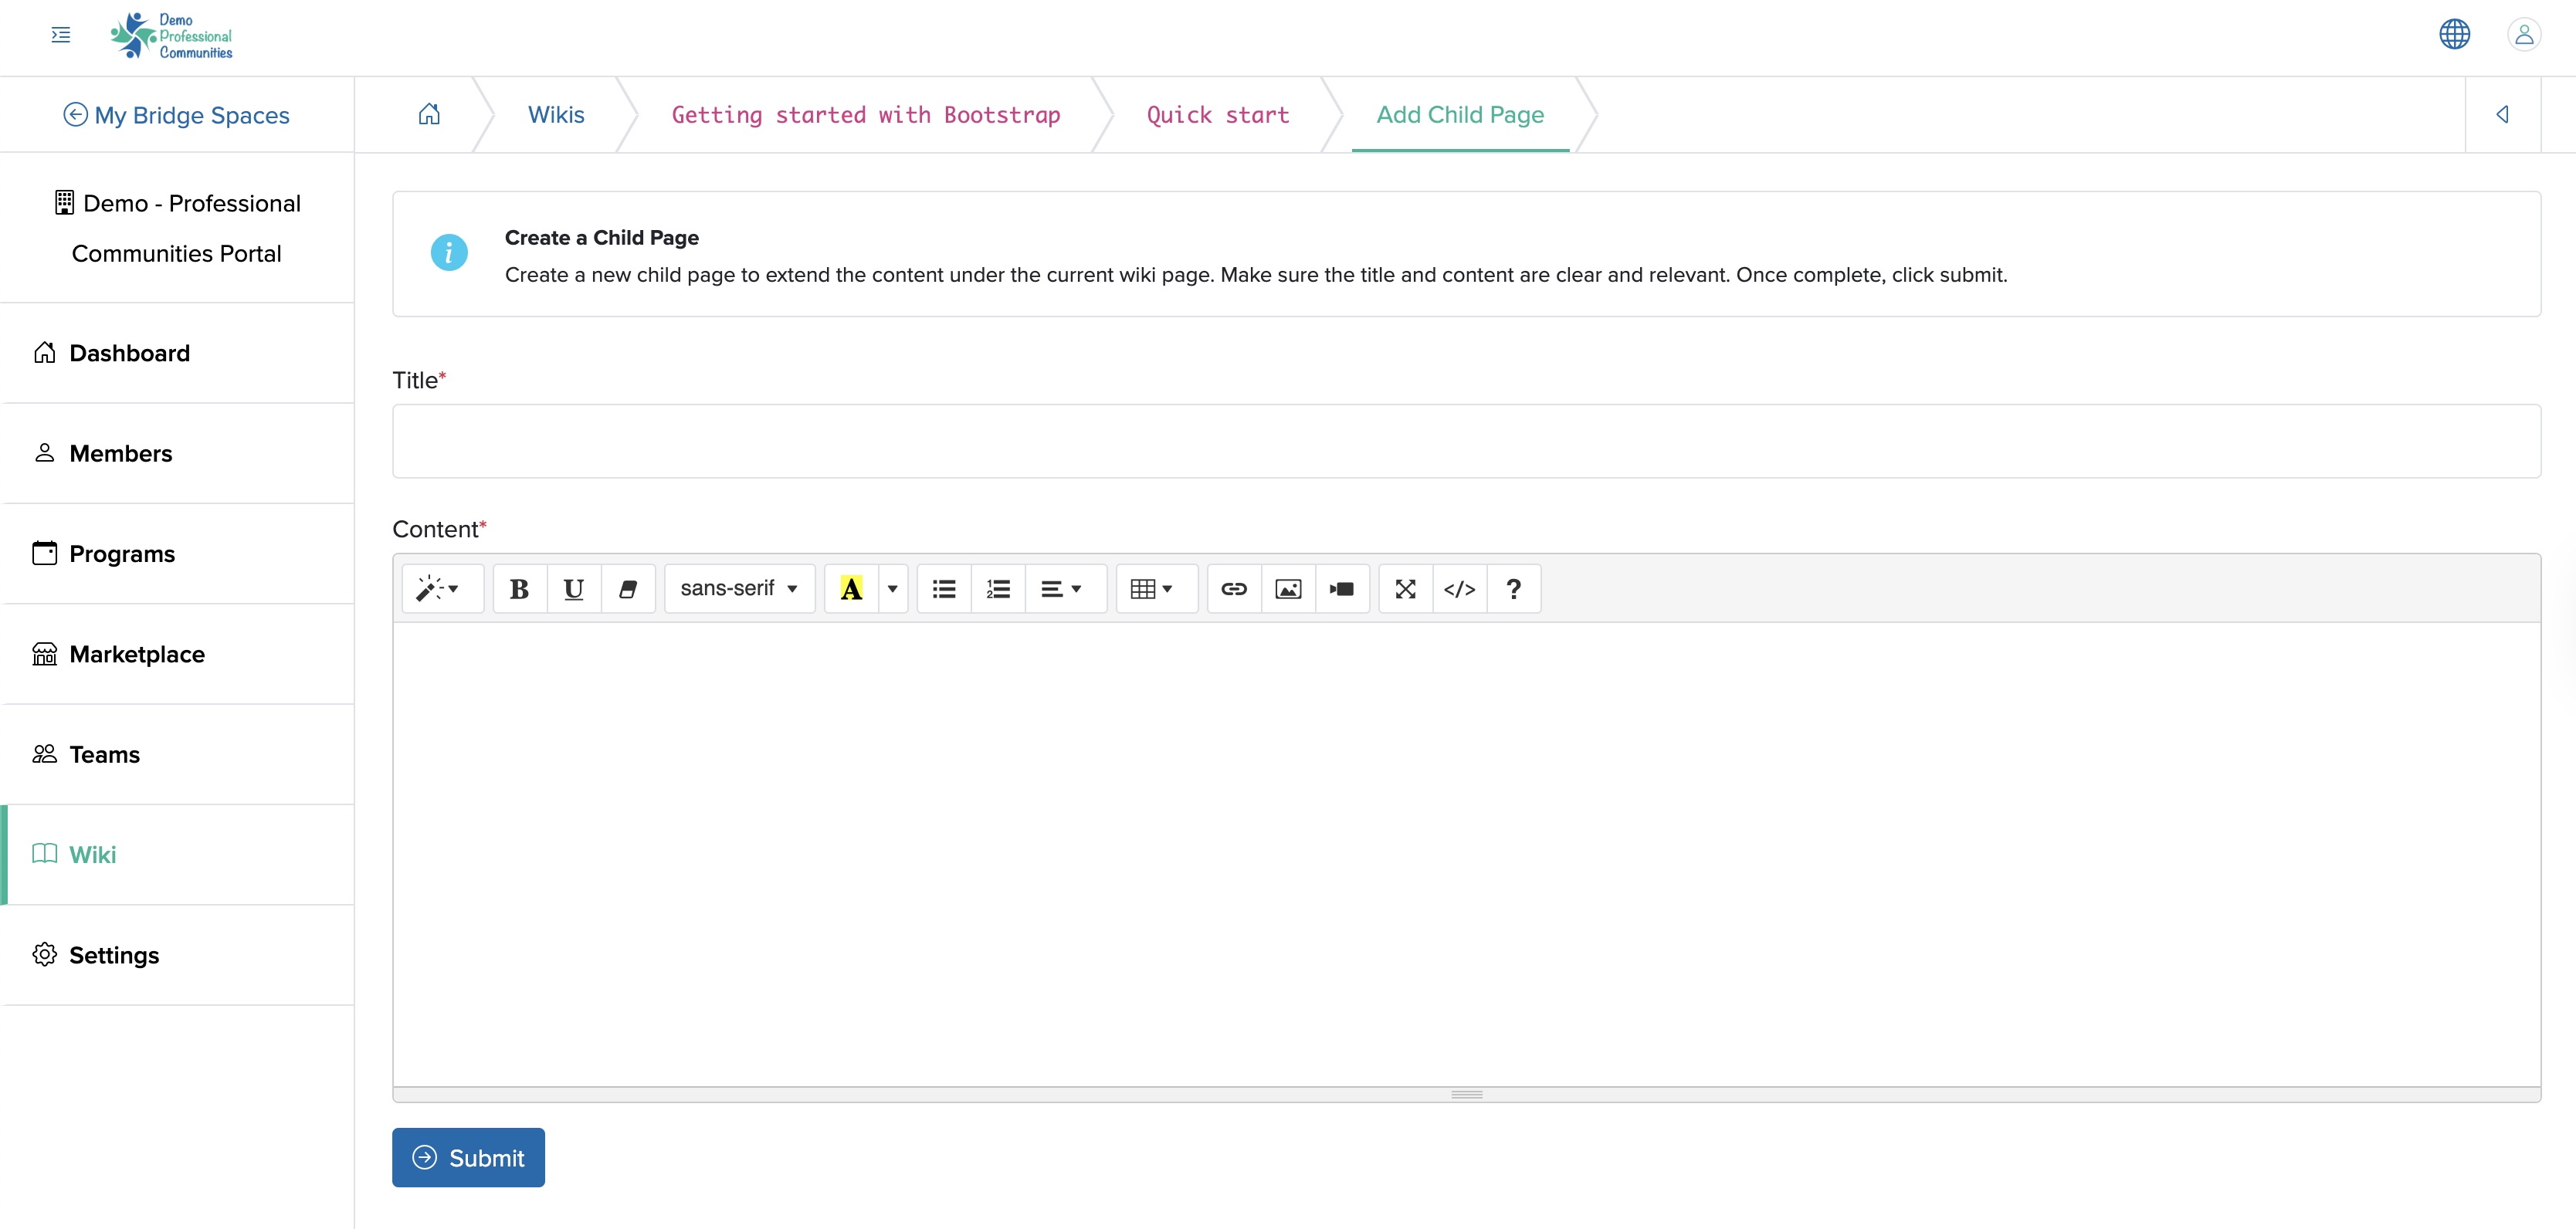
Add Wiki Child Page
Click the + Add Child Page button available on the top right side of the individual wiki overview page, as shown in Figure 5 above, and you will be redirected to the individual wiki add child page, as shown in Figure 6 below.
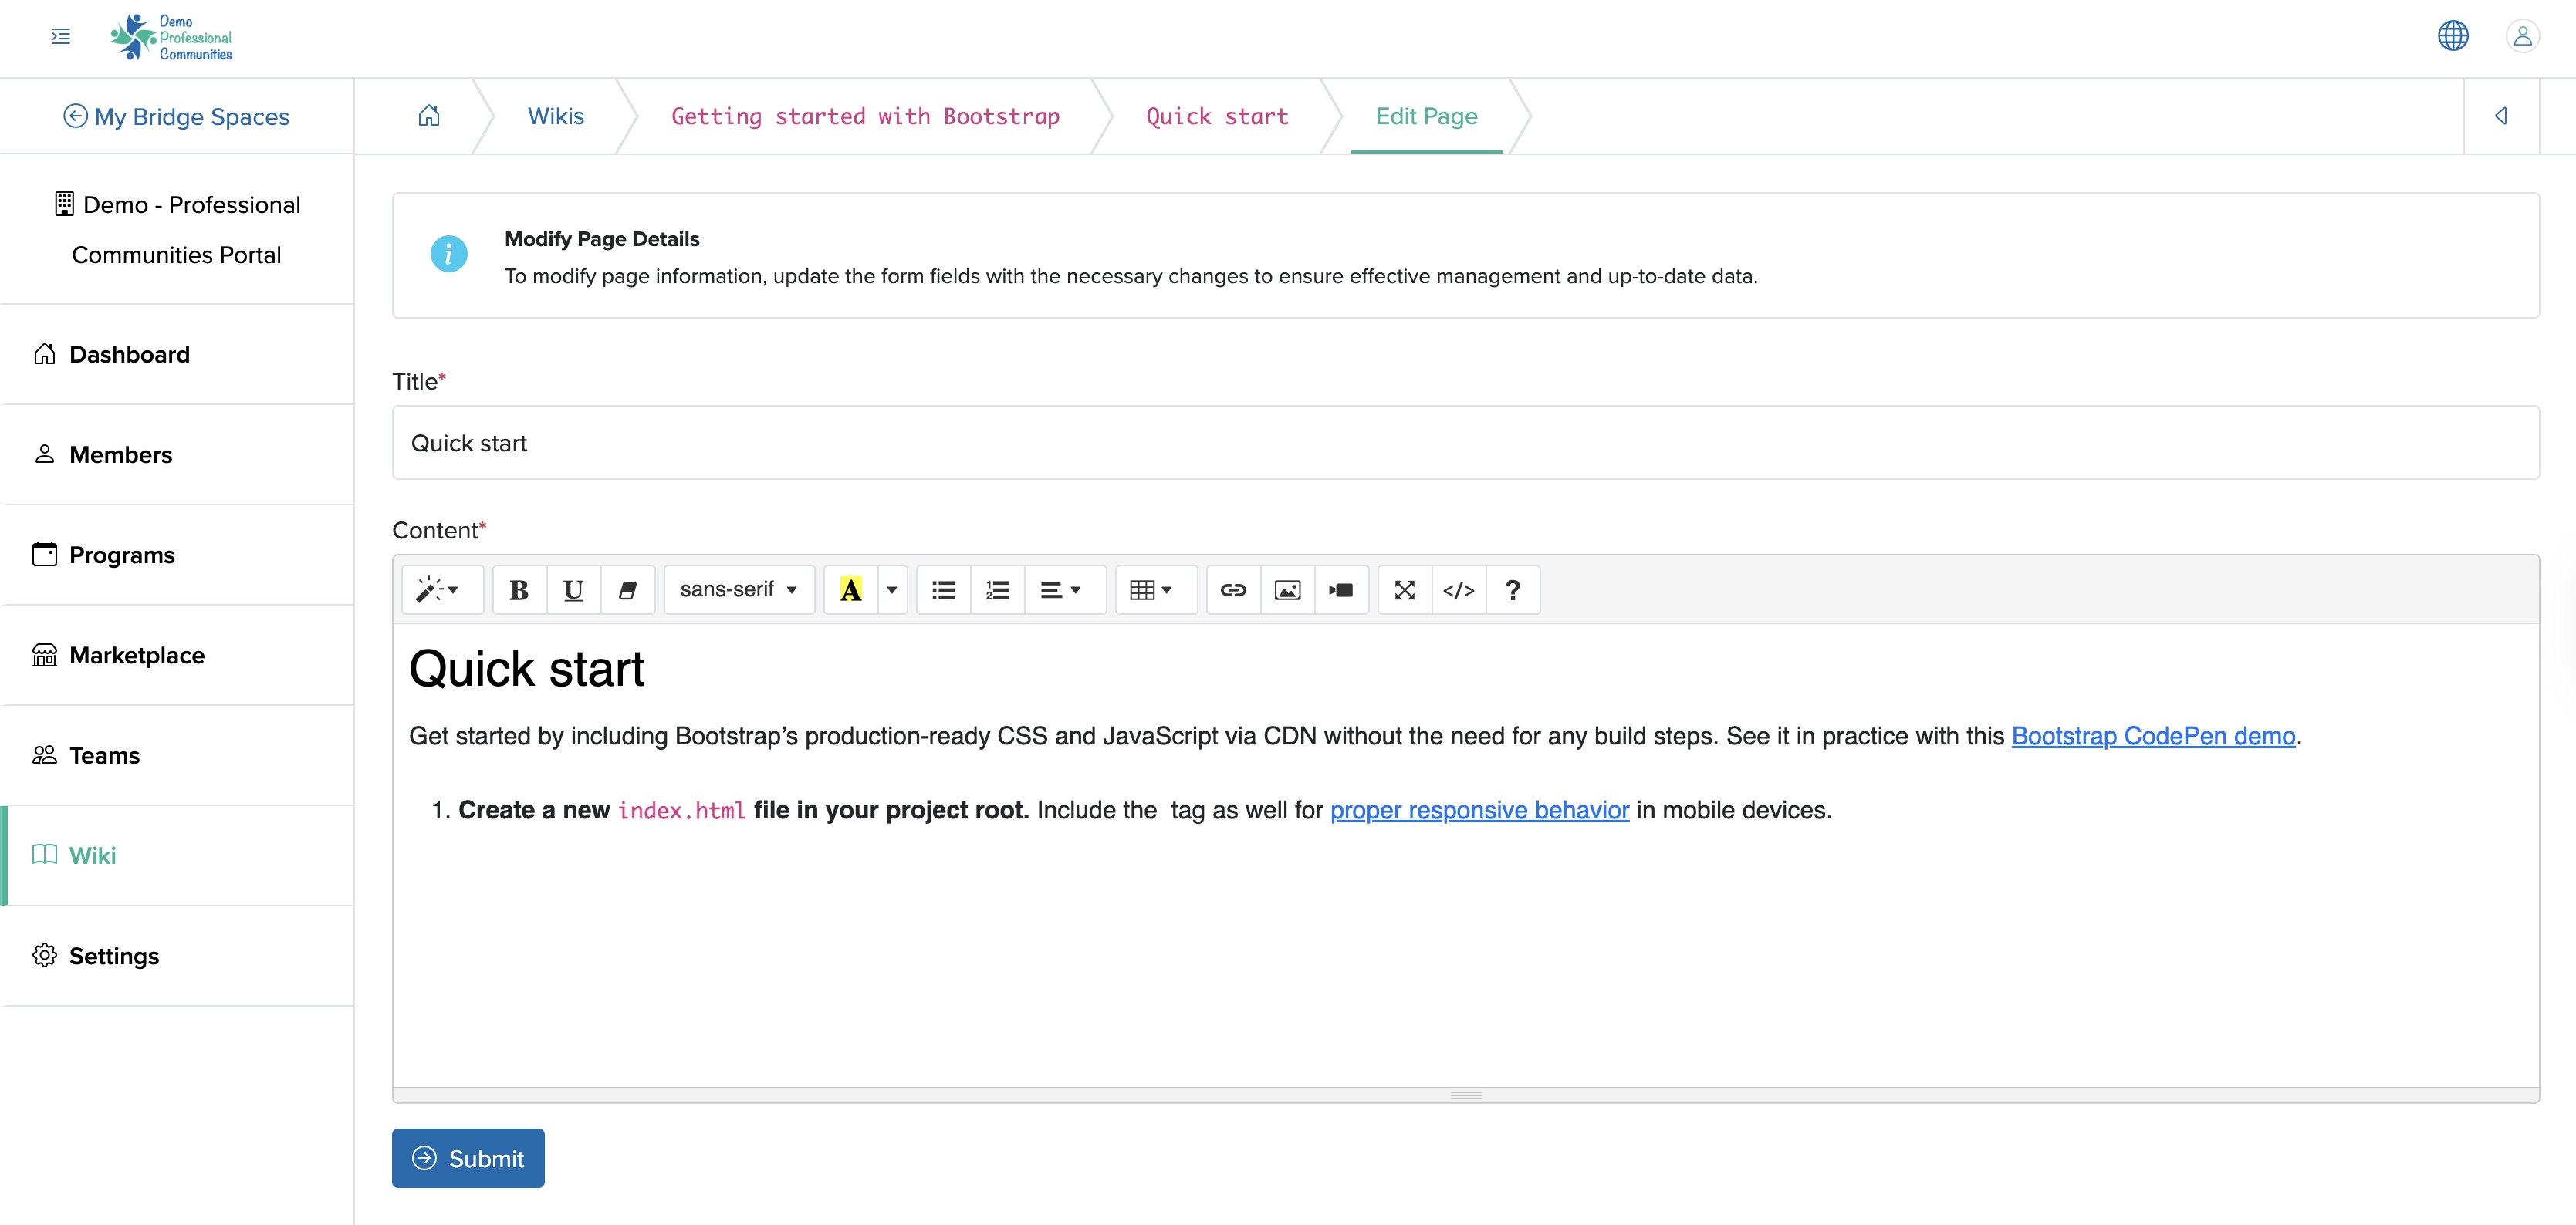
Edit Wiki Child Page
Click the Edit button available on the top right side of the individual wiki overview page, as shown in Figure 5 above, and you will be redirected to the individual wiki edit child page, as shown in Figure 7 below.
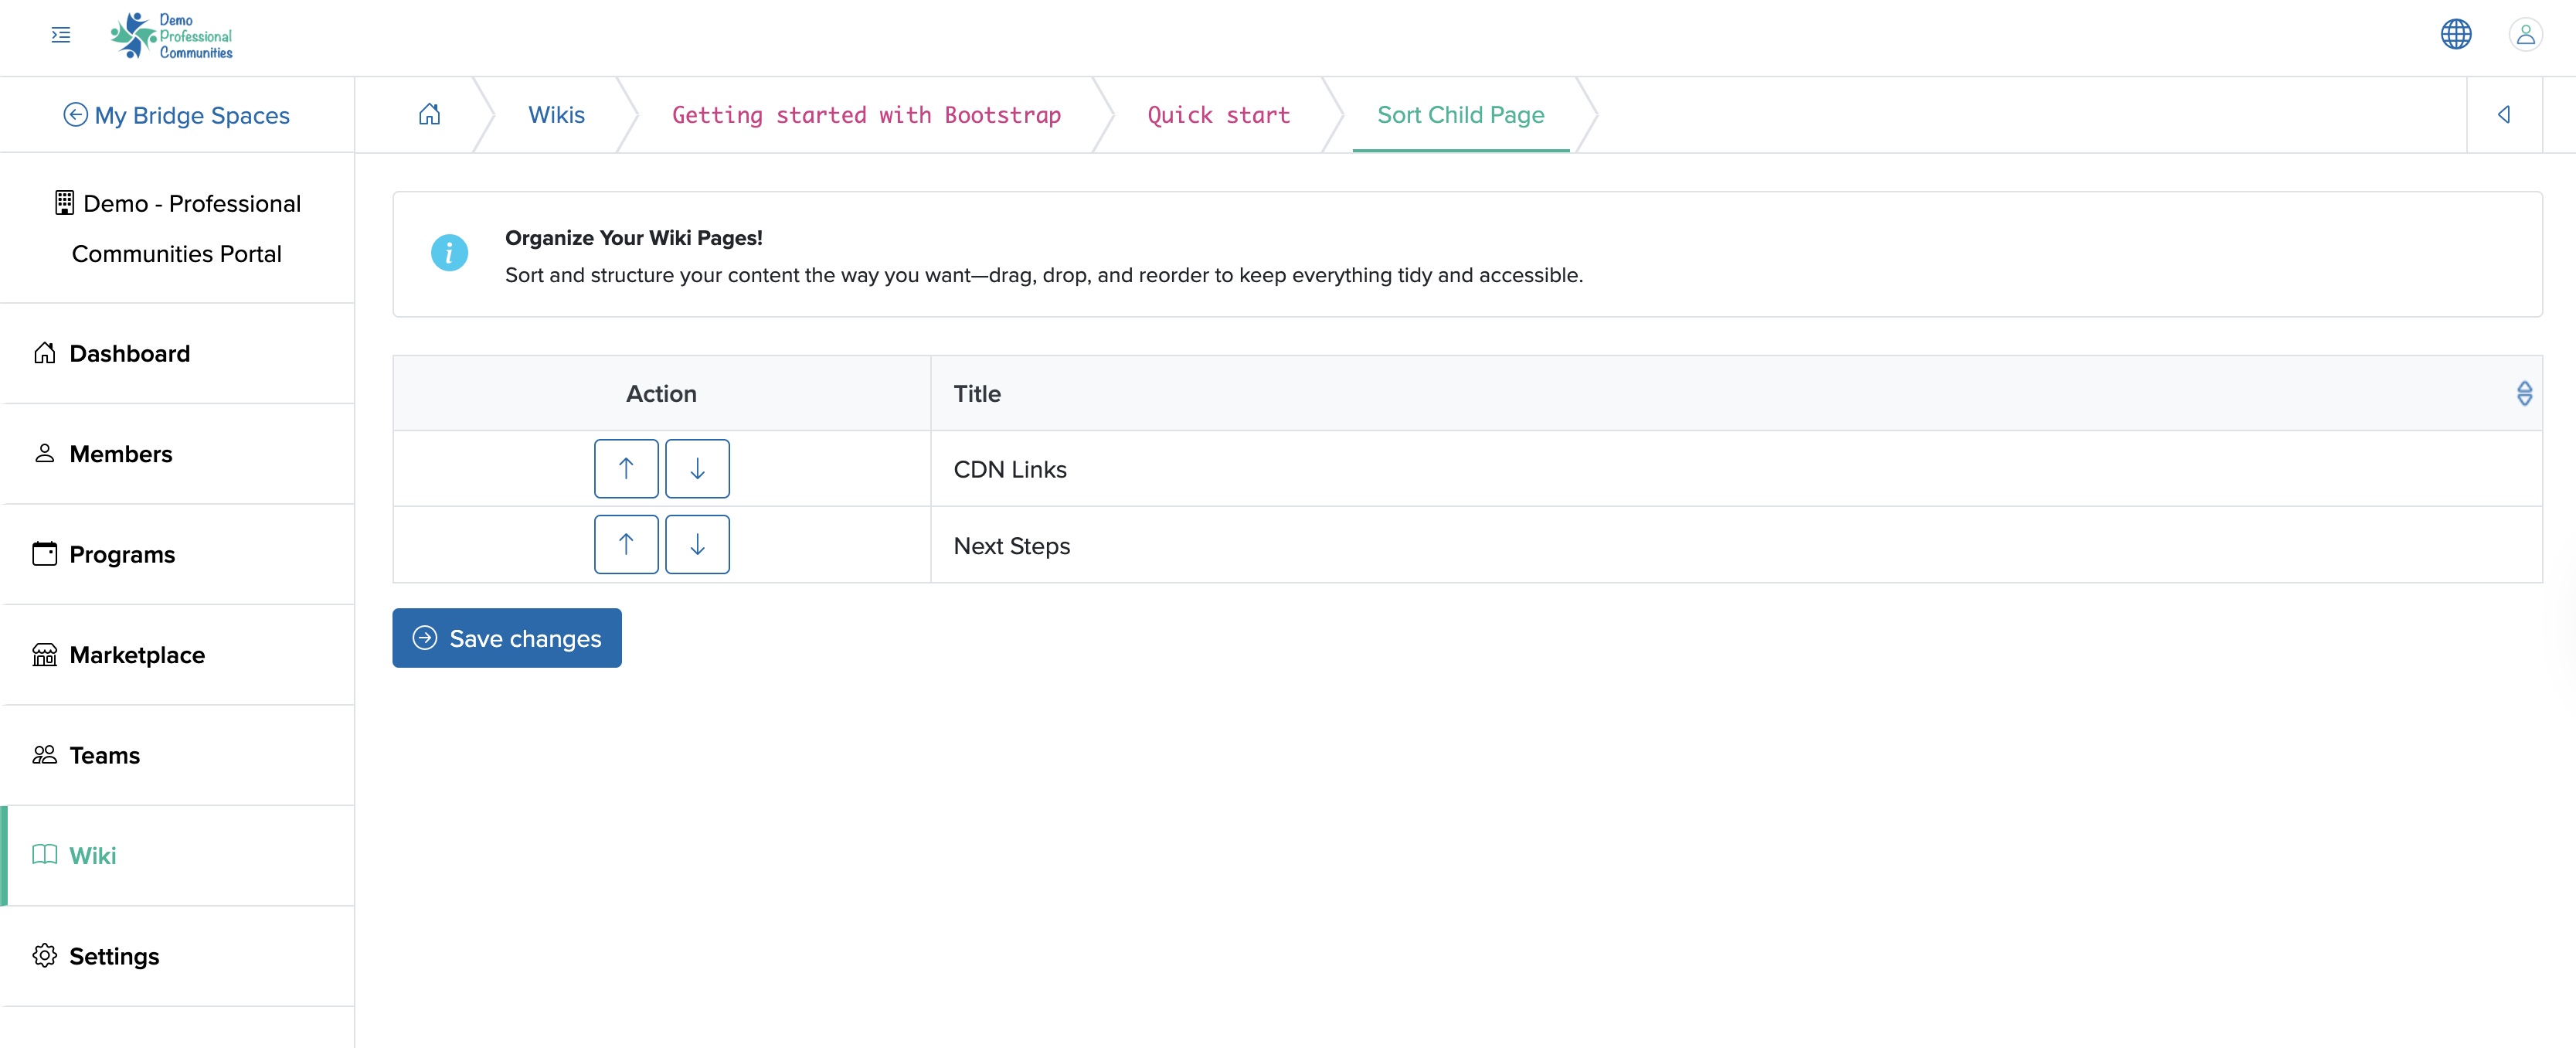
Sort Wiki Child Page
Click the Sort button available on the top right side of the individual wiki overview page, as shown in Figure 5 above, and you will be redirected to the individual wiki sort child page, as shown in Figure 8 below.
Archive Wiki Child Page
Click the Archive button available on the top right side of the individual wiki overview page, as shown in Figure 5 above, and the individual wiki child page will be archived.
Course Type Wiki
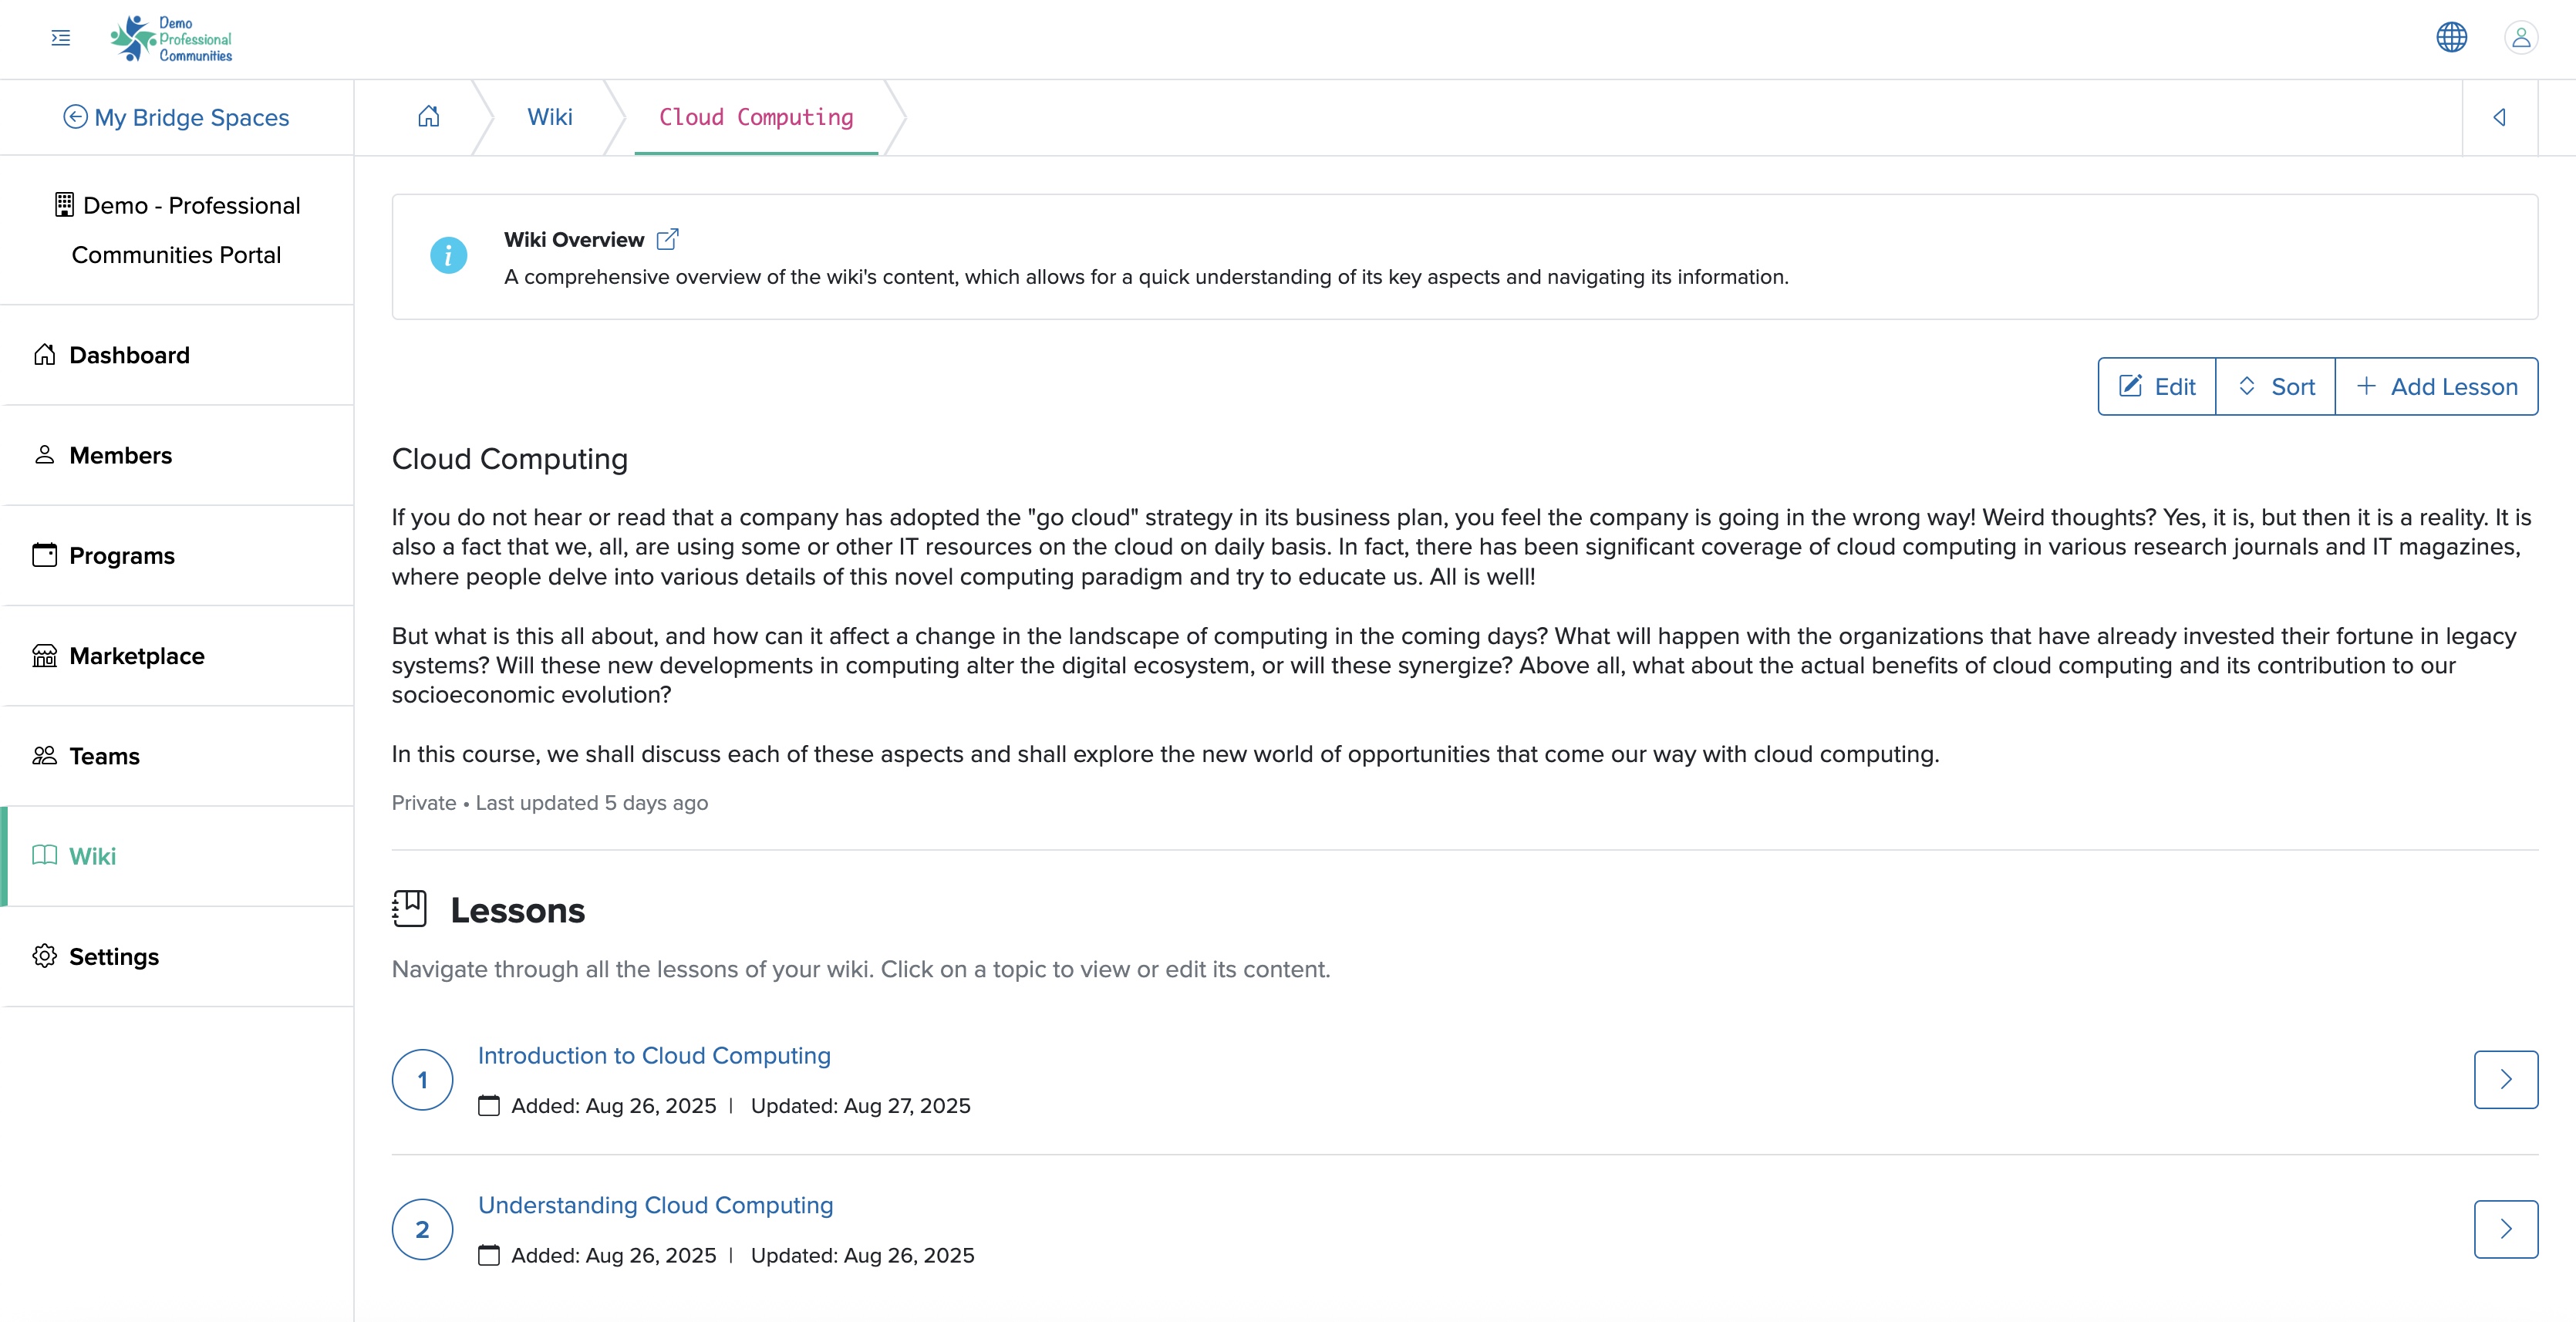
This is the wiki where the content will be displayed in a lesson-wise manner, as shown in Figure 9 below. Here, the chapters will be displayed on the left side of the Wiki List screen of a lesson, and the content will be on the right side of the screen.
Add Lesson Wiki Page
Click the + Add Lesson button available on the top right side of the wiki list page, as shown in Figure 9 above, and you will be redirected to the individual wiki add lesson page, as shown in Figure 10 below.
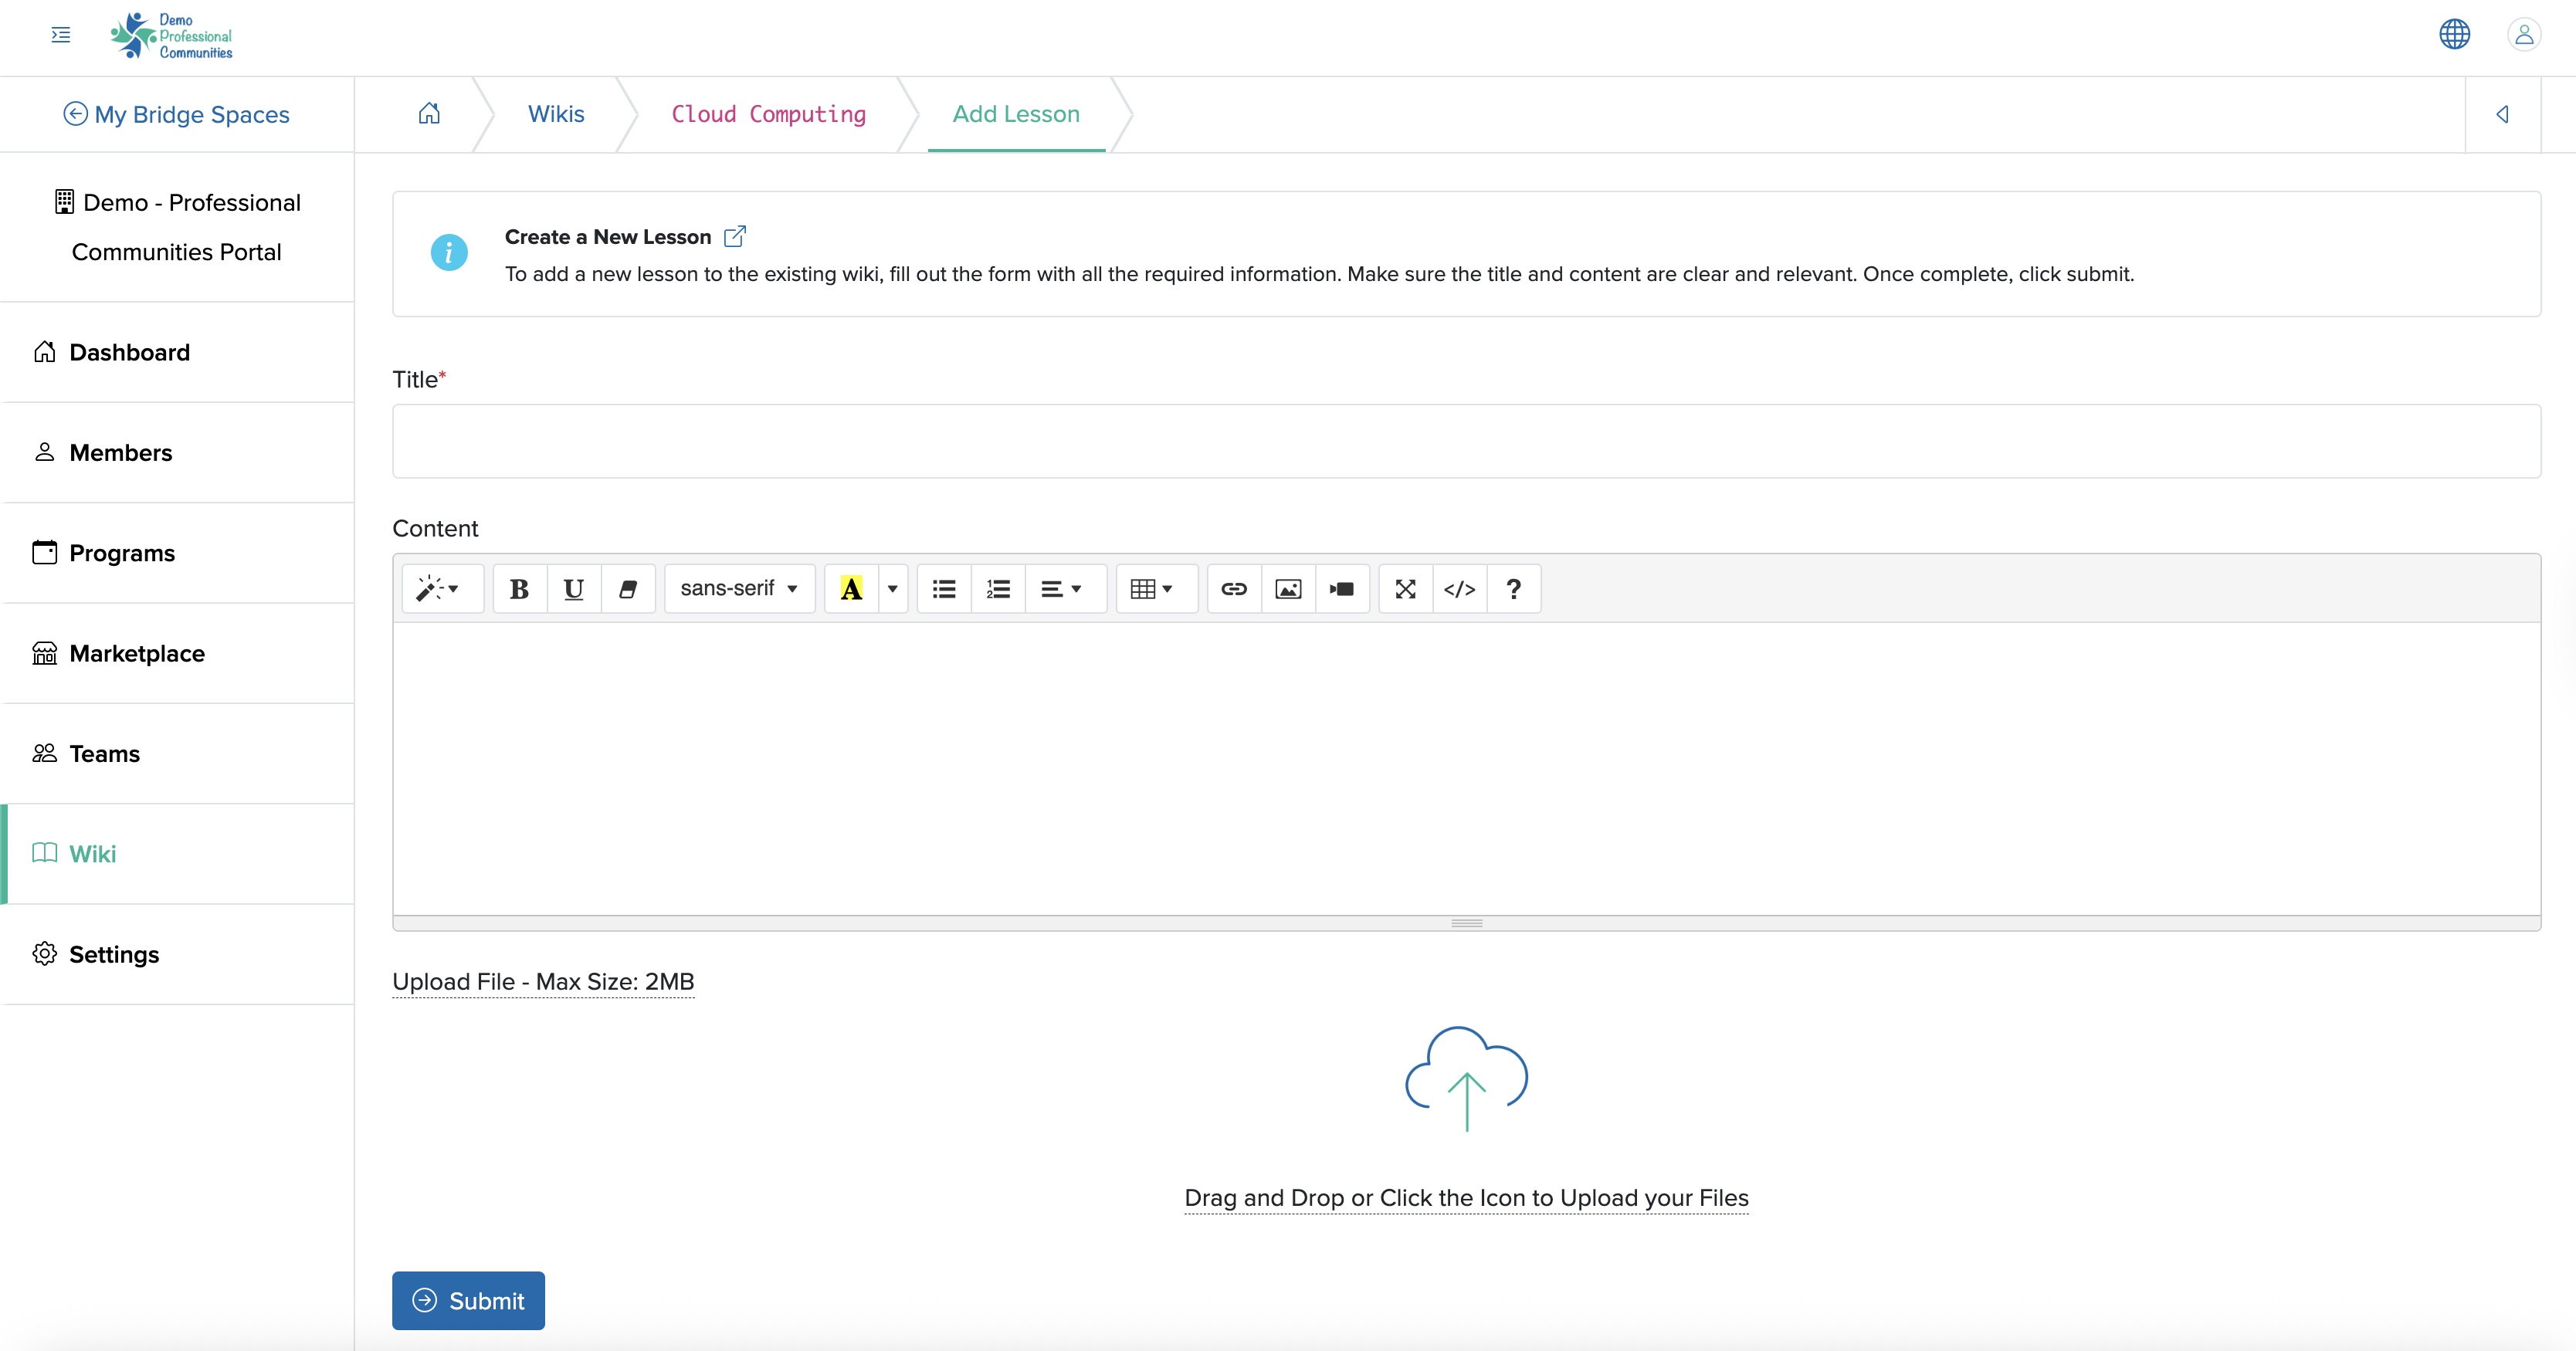
You can enter the details below and click the Submit button to add a new lesson wiki, as shown in Figure 10 above.
- Title (Textbox - Mandatory): Enter the Title of Wiki
- Content (Text Area - Optional): Enter the content in the text area
- Upload File (File Upload - Optional): Select the file that you want to upload. The file size must be less than 2 MB
View Lesson Wiki Page
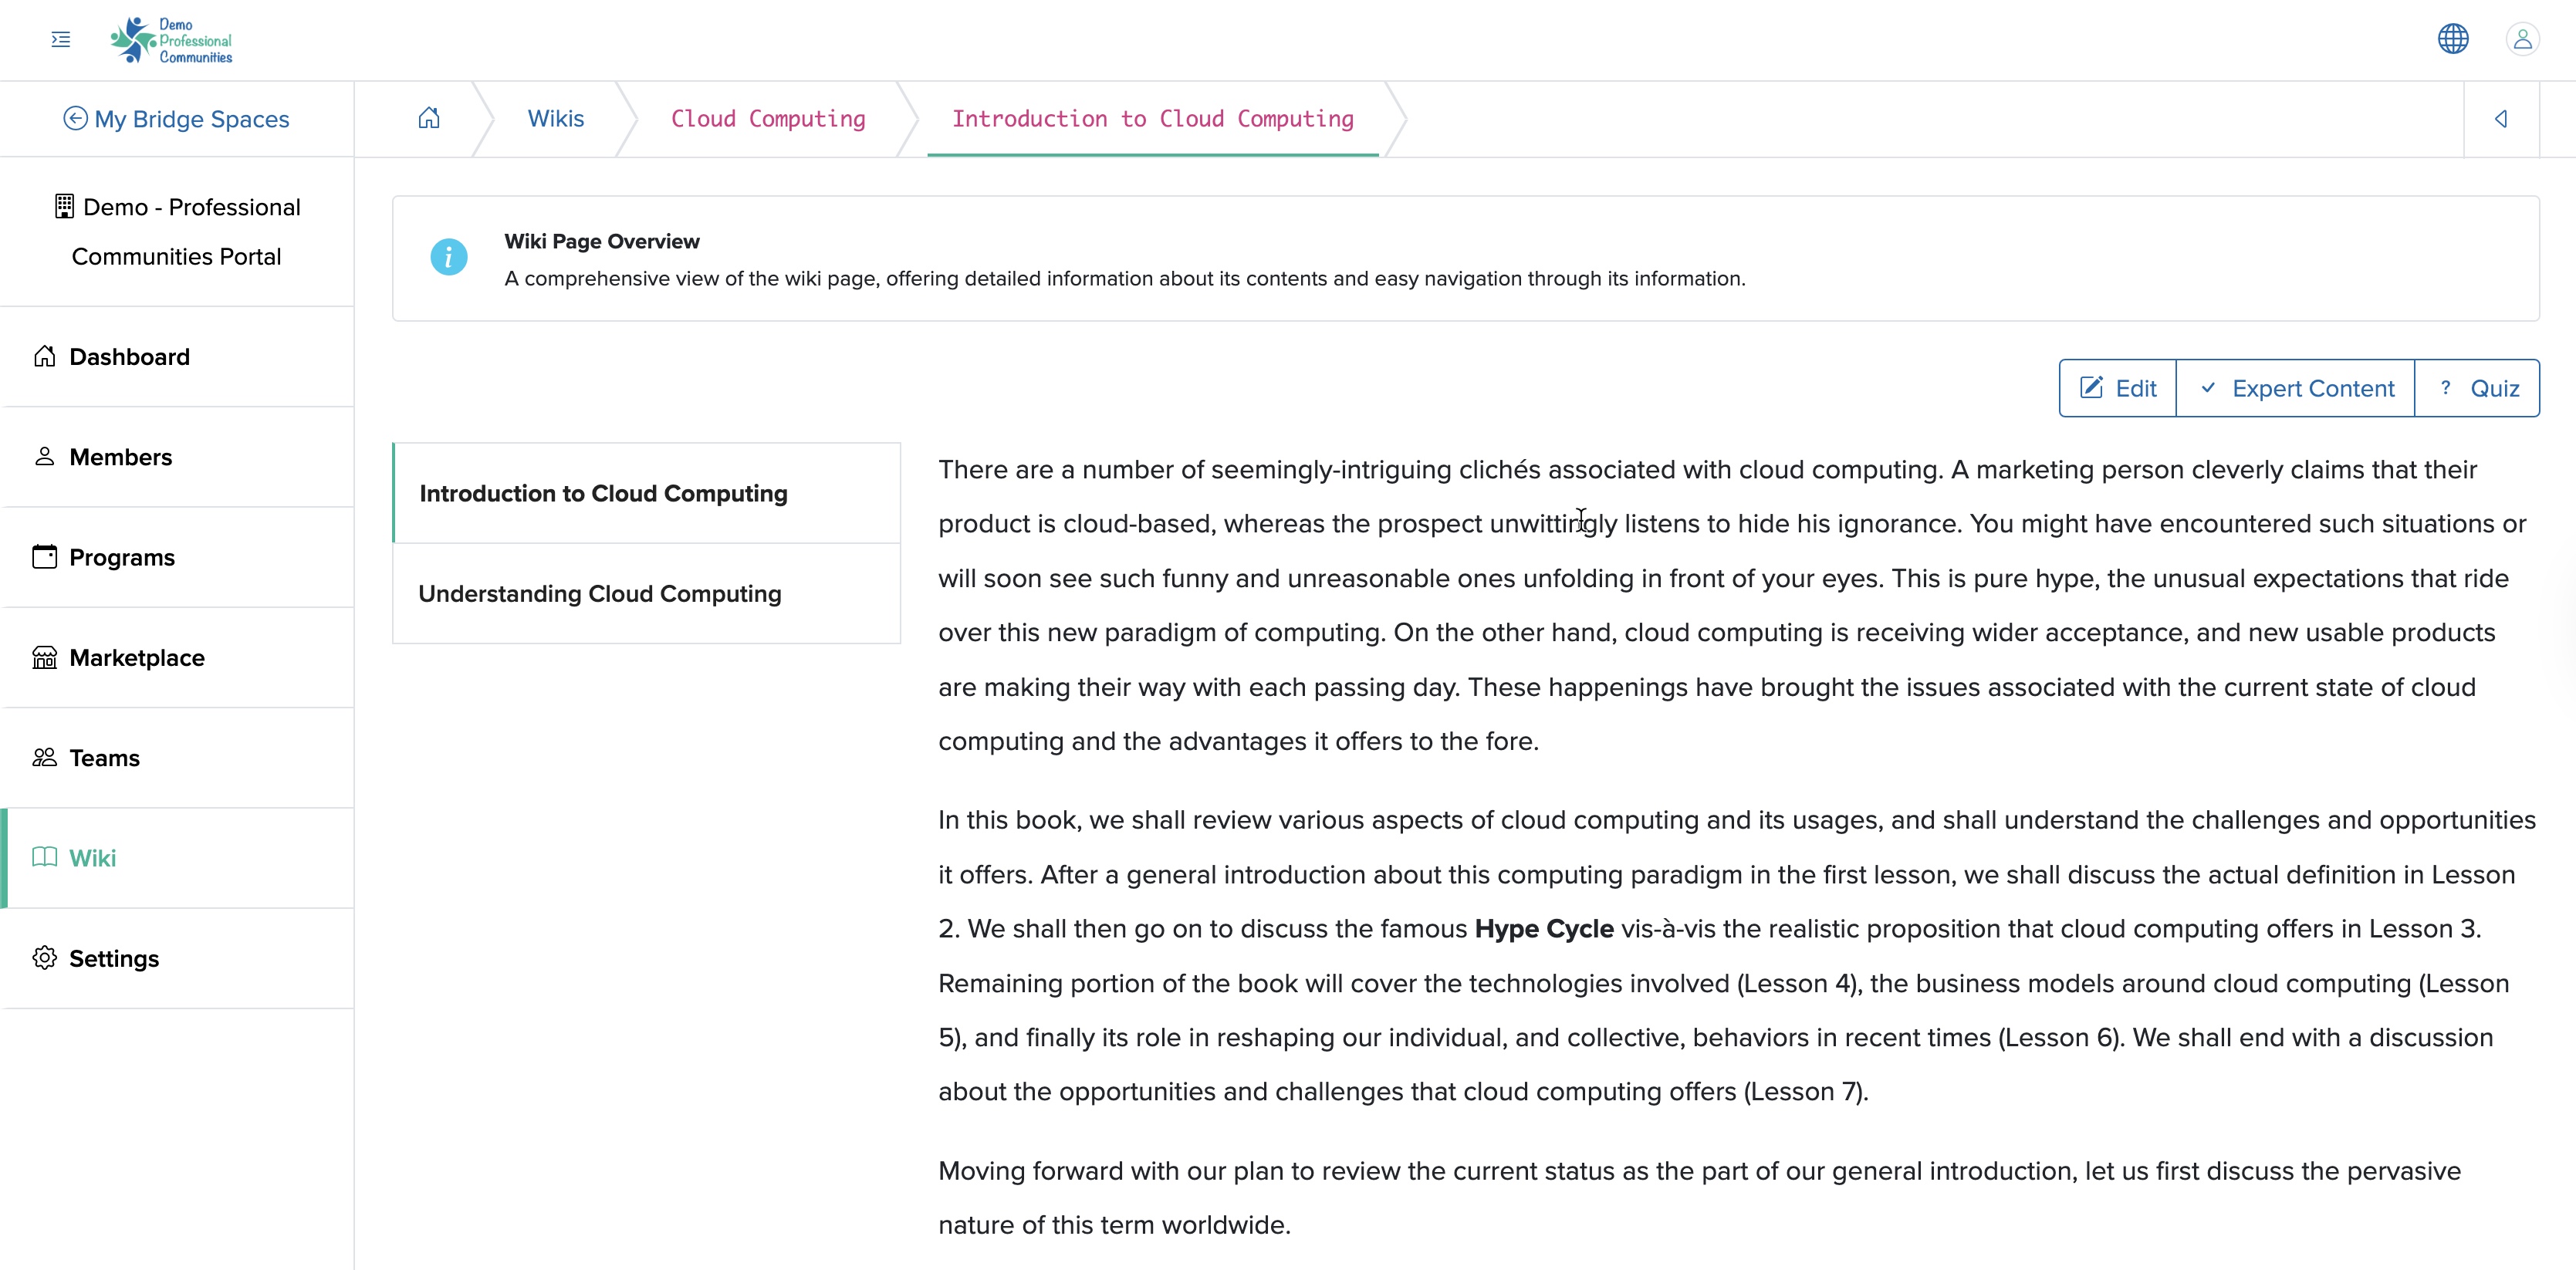
Click the Wiki Title or the Arrow icon associated with each wiki from the list page, as shown in Figure 9 above, and you will be redirected to the individual wiki view page, as shown in Figure 11 below.
Edit Lesson Wiki Page
Click the Edit button available on the top right side of the wiki lesson view page, as shown in Figure 11 above, and you will be redirected to the lesson edit page, as shown in Figure 12 below.
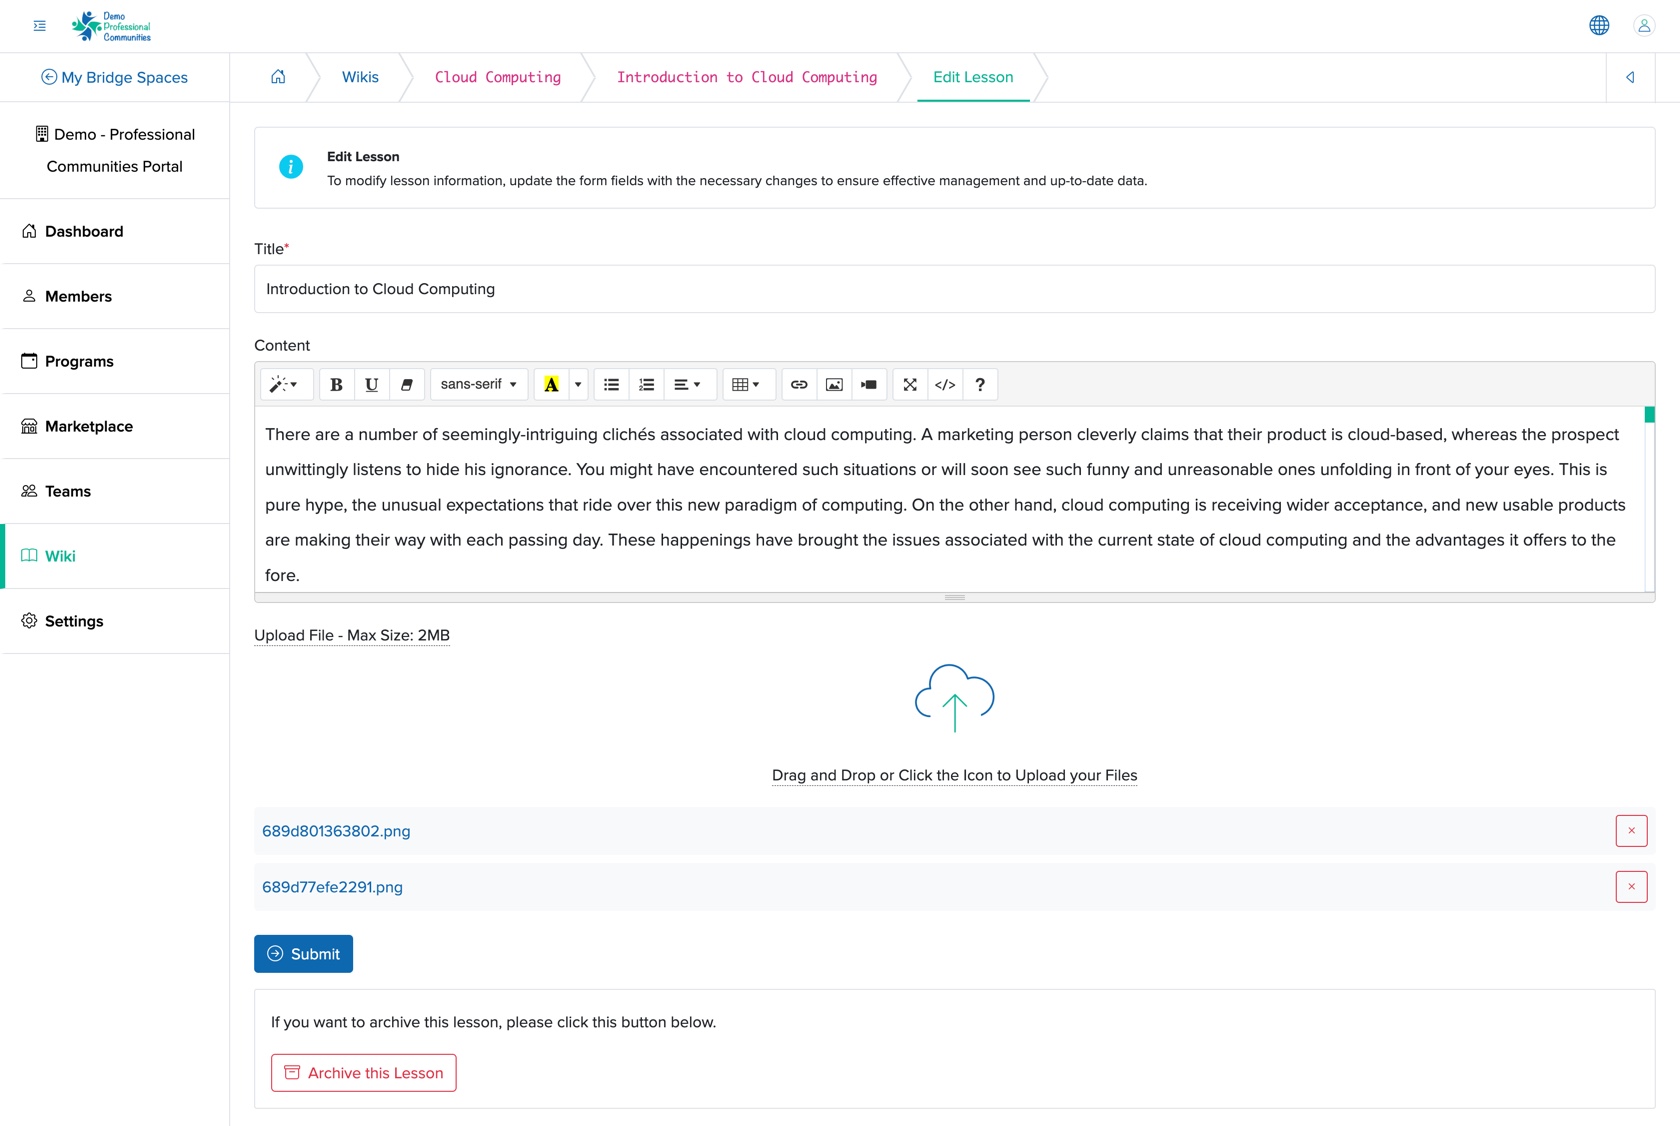
To Archive the lesson, click the Archive this Lesson button available at the bottom of the edit lesson page, as shown in Figure 12 above.
Add Expert Content to Lesson Wiki Page
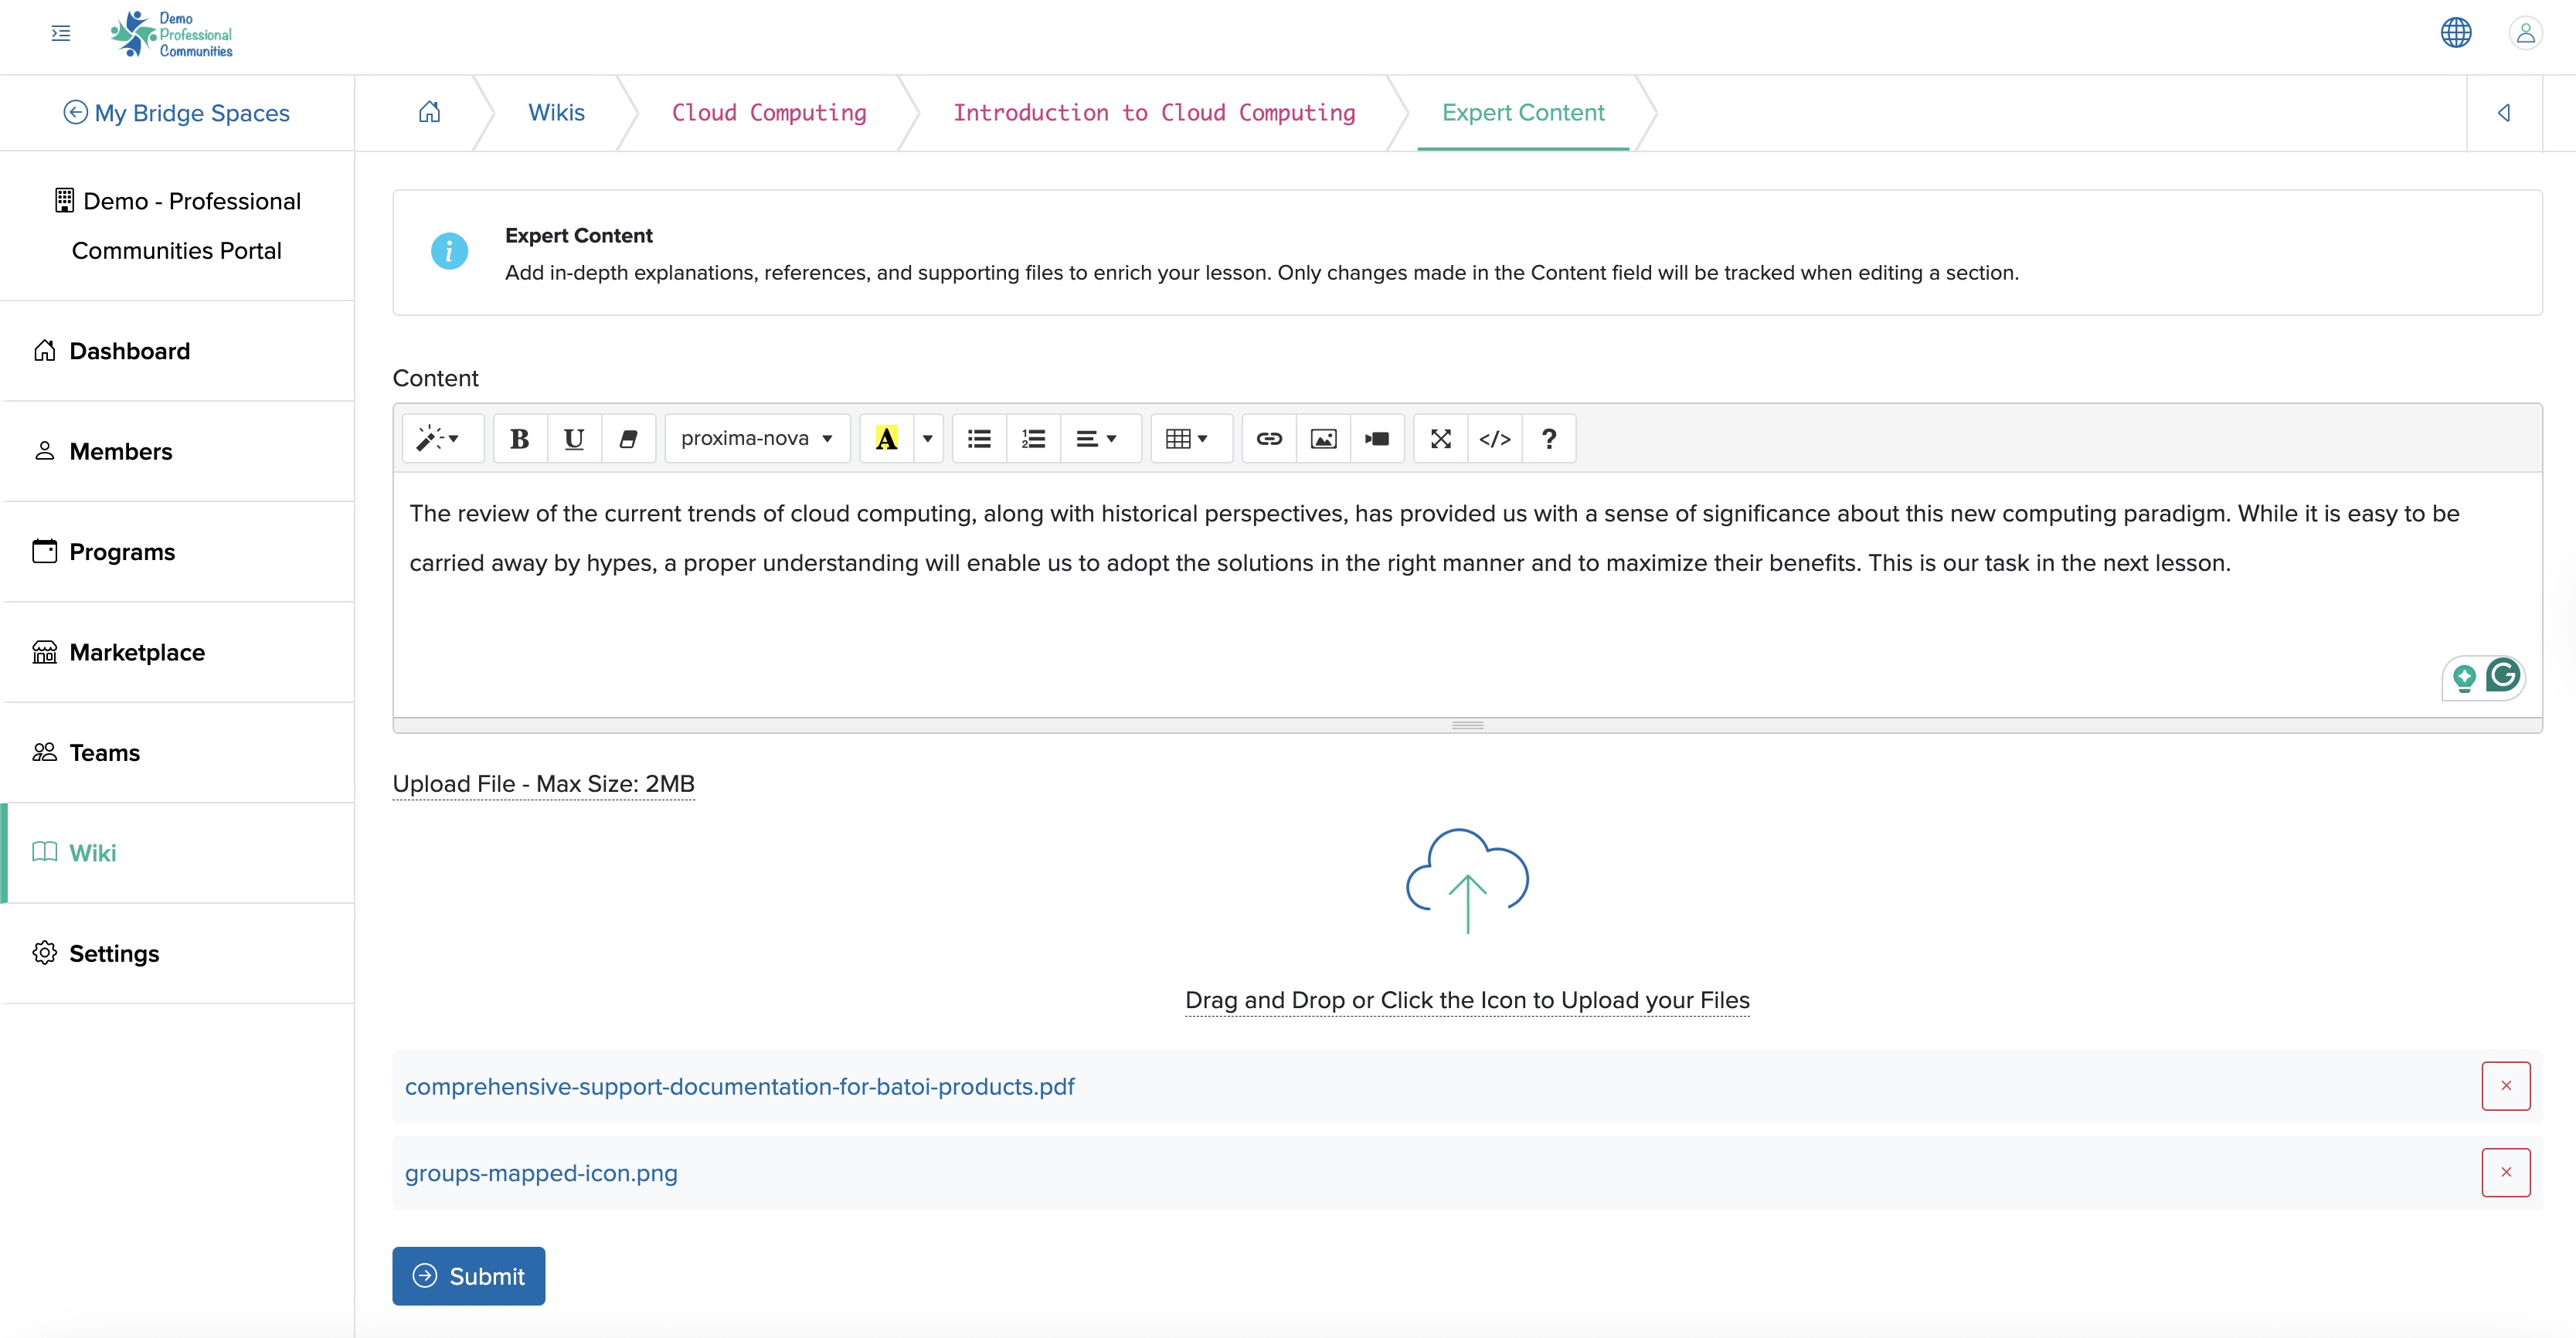
Click the Expert Content button available at the top right side of the lesson content view page, as shown in Figure 11 above, and you will be redirected to the Expert Content add page, as shown in Figure 13 below.
Add Quiz to Lesson Wiki Page
Click the Quiz button available at the top right side of the lesson content view page, as shown in Figure 11 above, and you will be redirected to the Quiz list page, as shown in Figure 14 below.
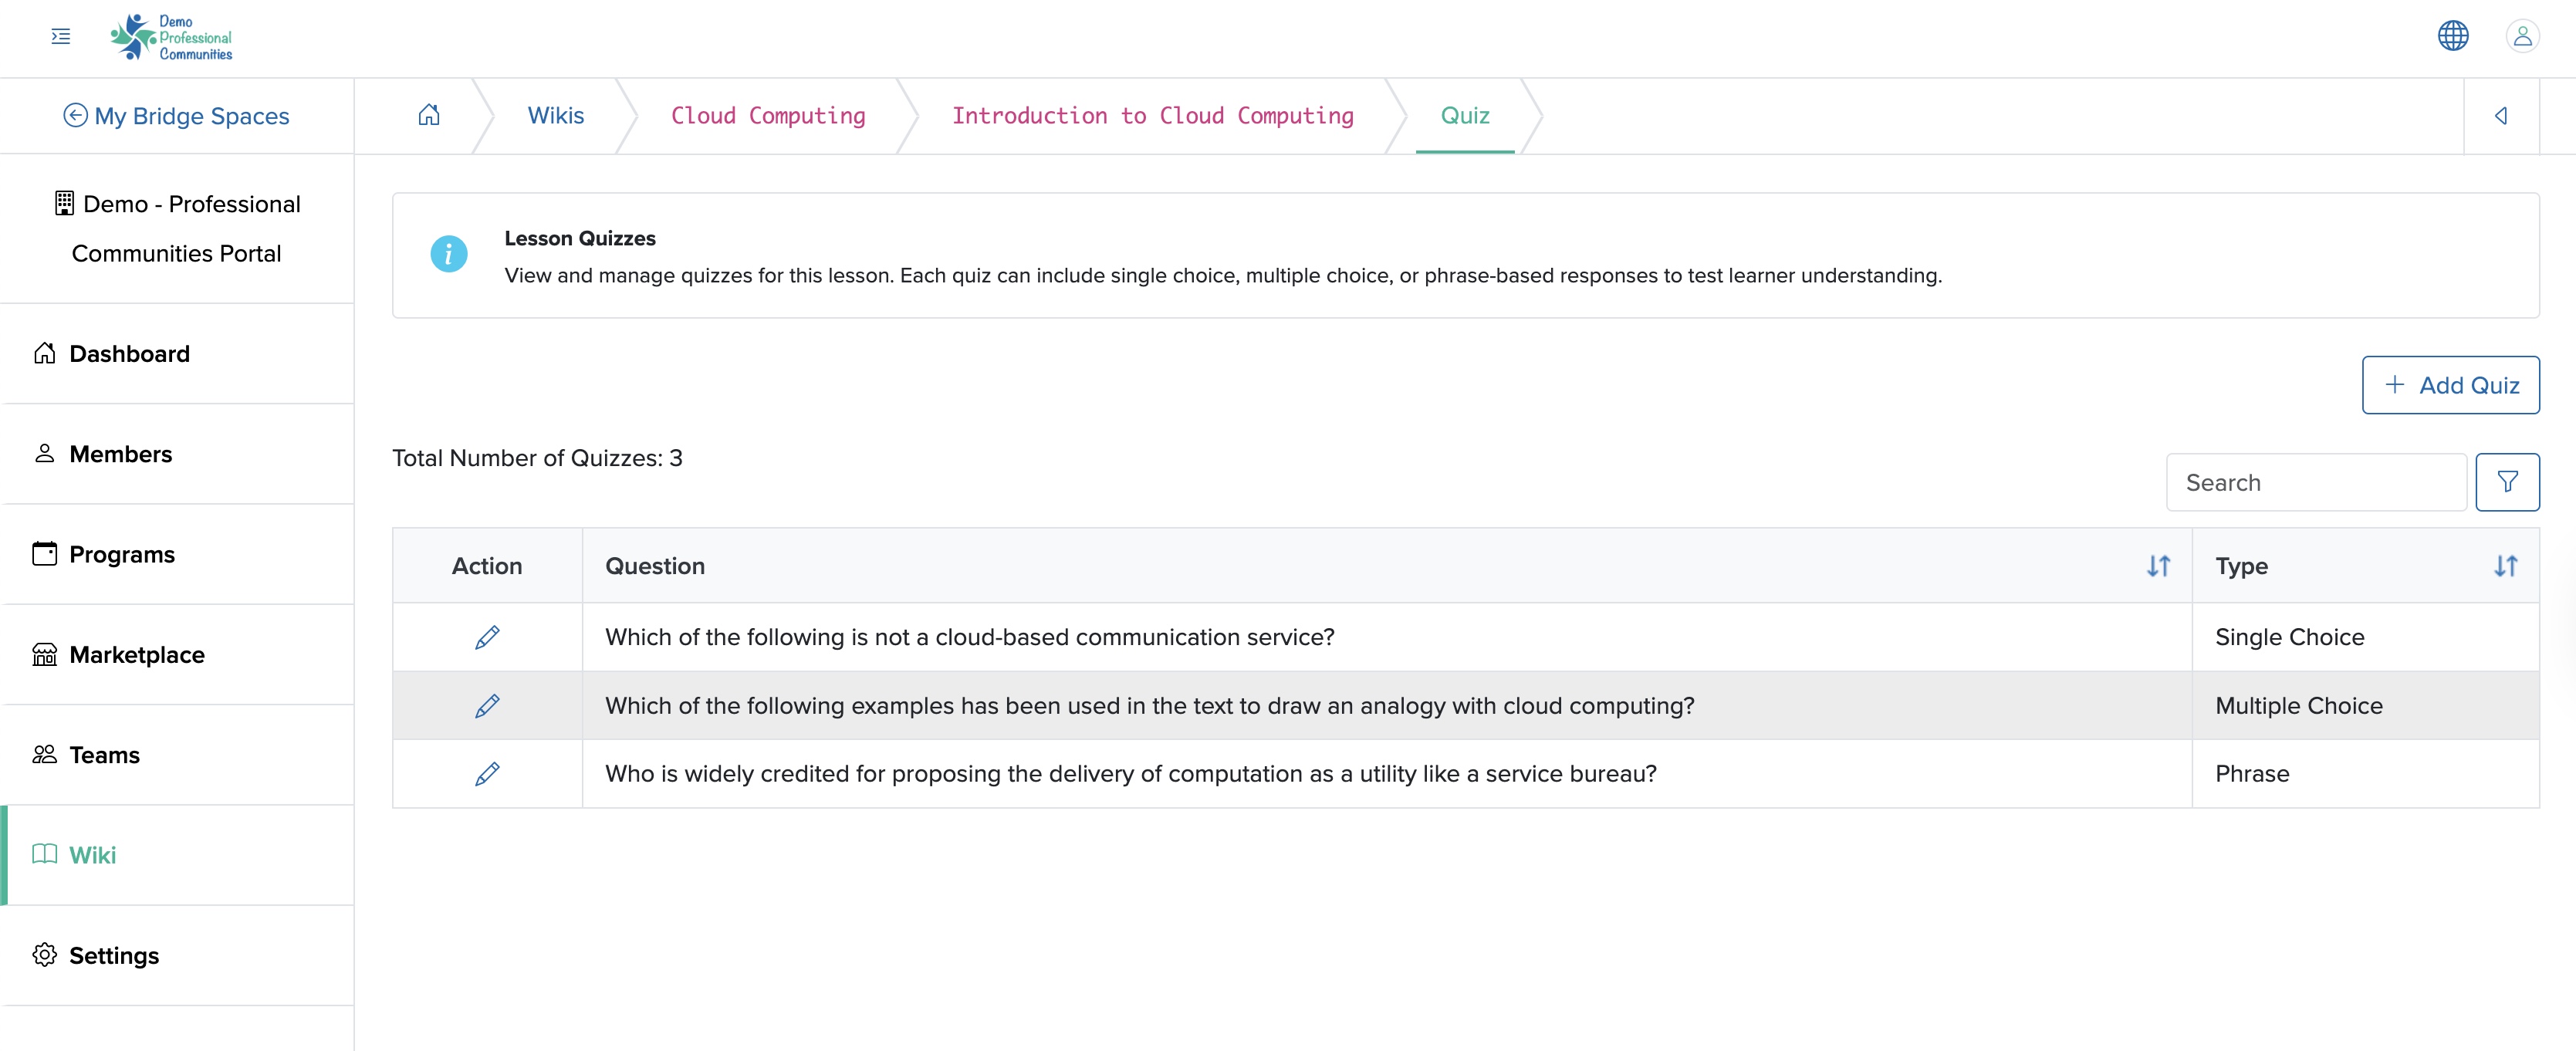
All the quizzes added to the lesson will be listed in a tabular format on the Quiz list screen, as shown in Figure 14 above.
Click the + Add Quiz button available at the top right side of the Quiz list page, as shown in Figure 14 above, and you will be redirected to the add quiz screen, as shown in Figure 15 below.
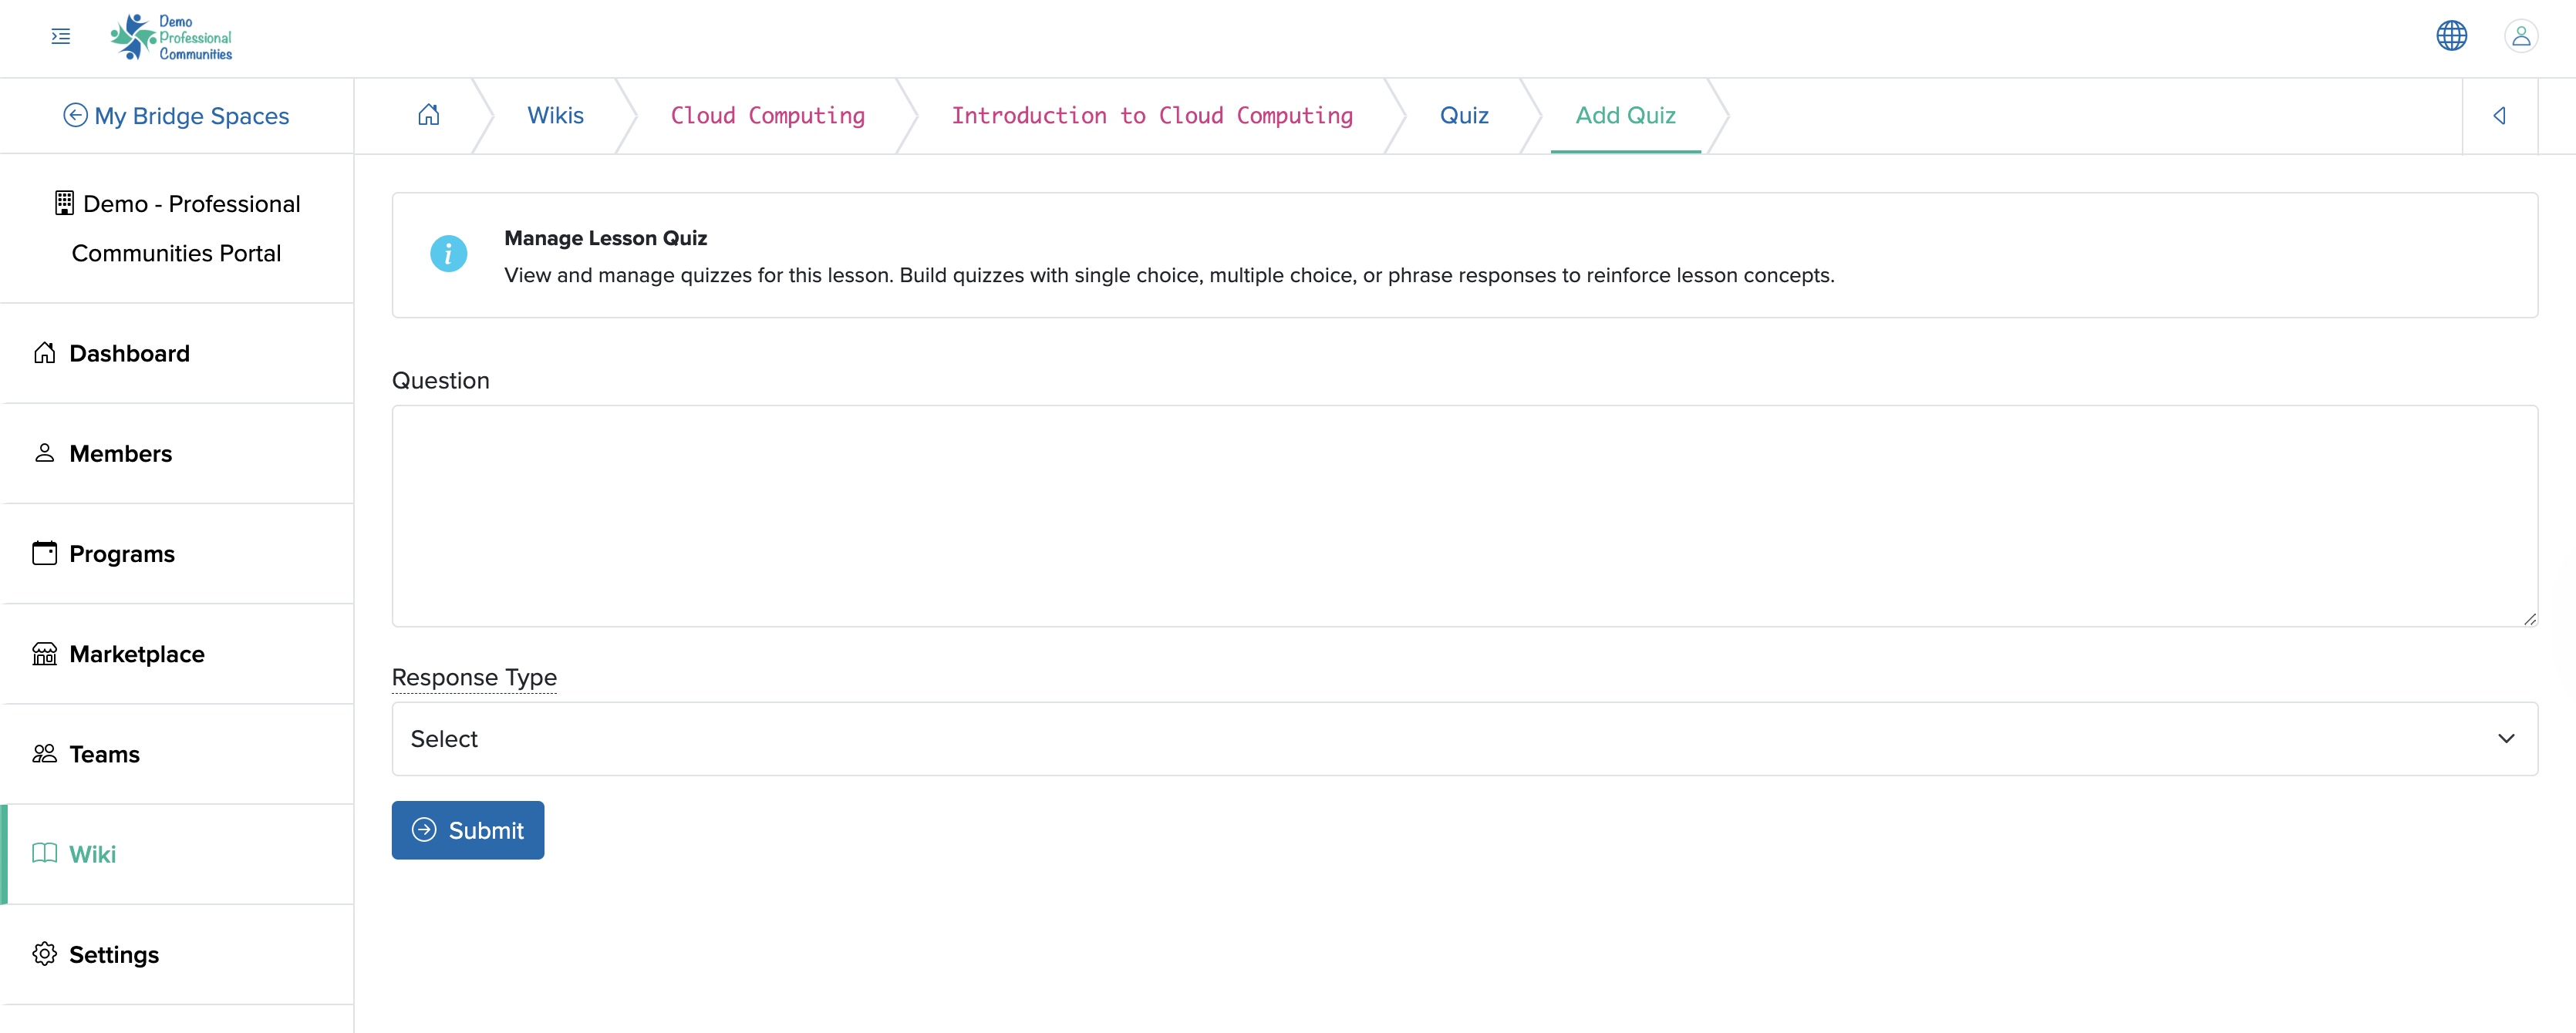
You can enter the details below and click the Submit button to add a new quiz to the lesson wiki, as shown in Figure 15 above.
- Question (Textbox - Mandatory): Enter the Quiz Question
- Response Type (Select box - Optional): You can select one of the following options from the drop-down menu
-
- Single Choice: Allows you to select only one option as the answer to the question
- Multiple Choice: Allows you to select multiple options as the answer to the question
- Phrase: Allows you to add a phrase as the answer to the question
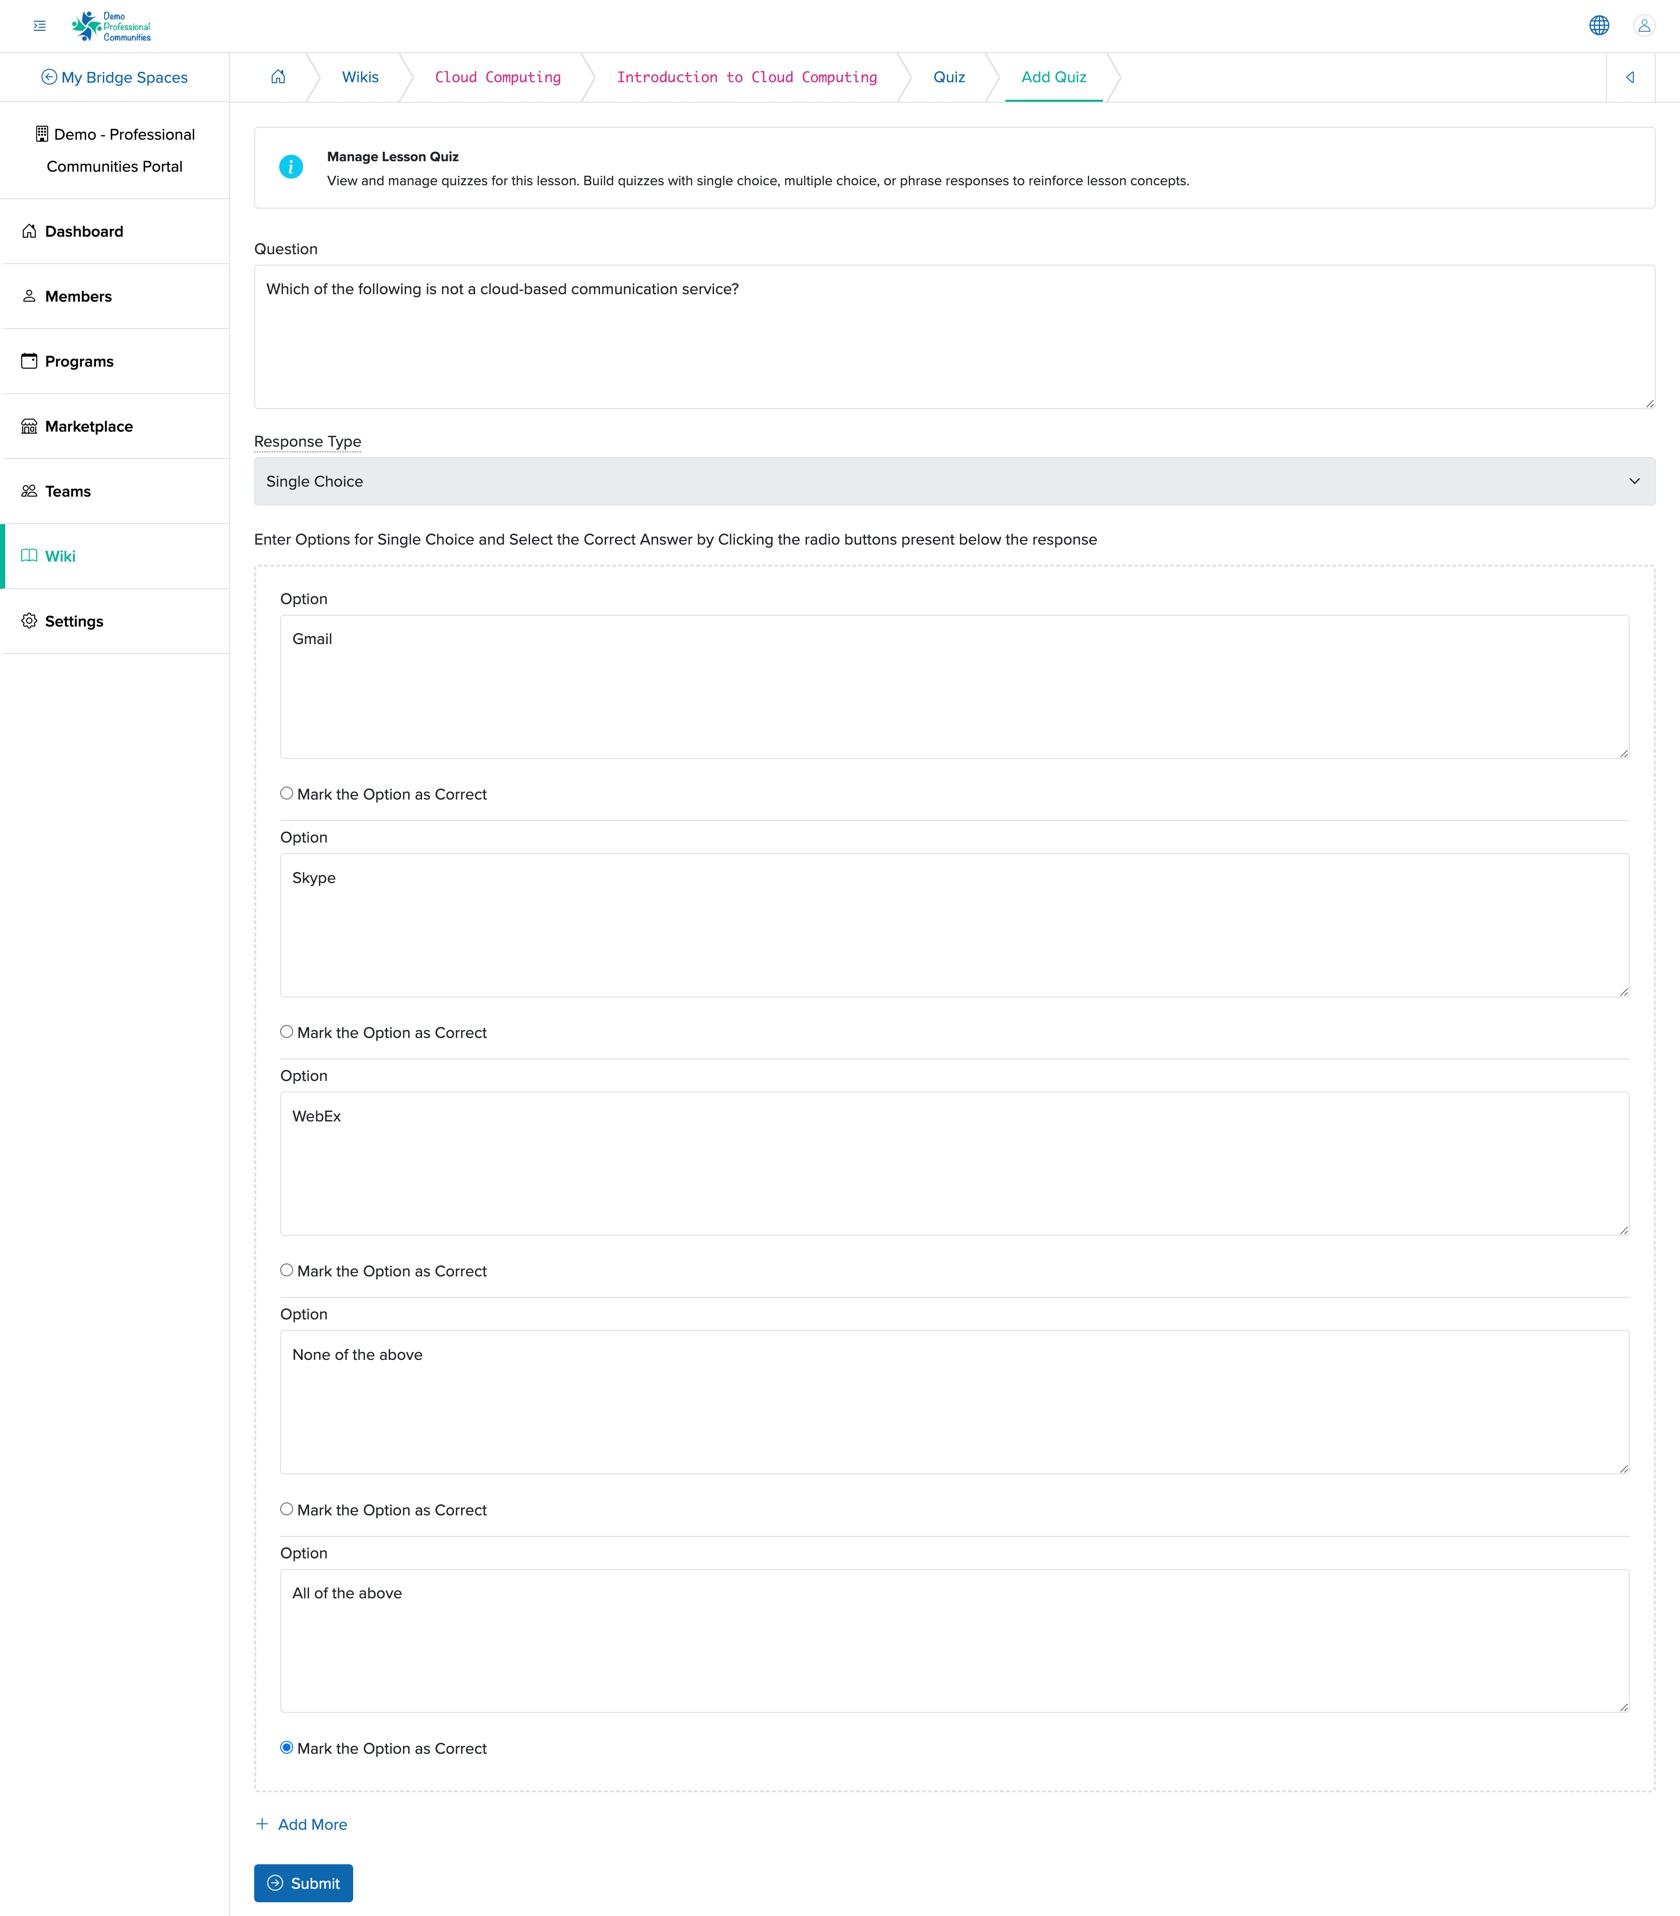
If you select the ‘Single’ or ‘Multiple’ choice as the question type from the drop-down menu, as shown in Figure 15 above, the option to add the choice will appear, as shown in Figure 16 below.
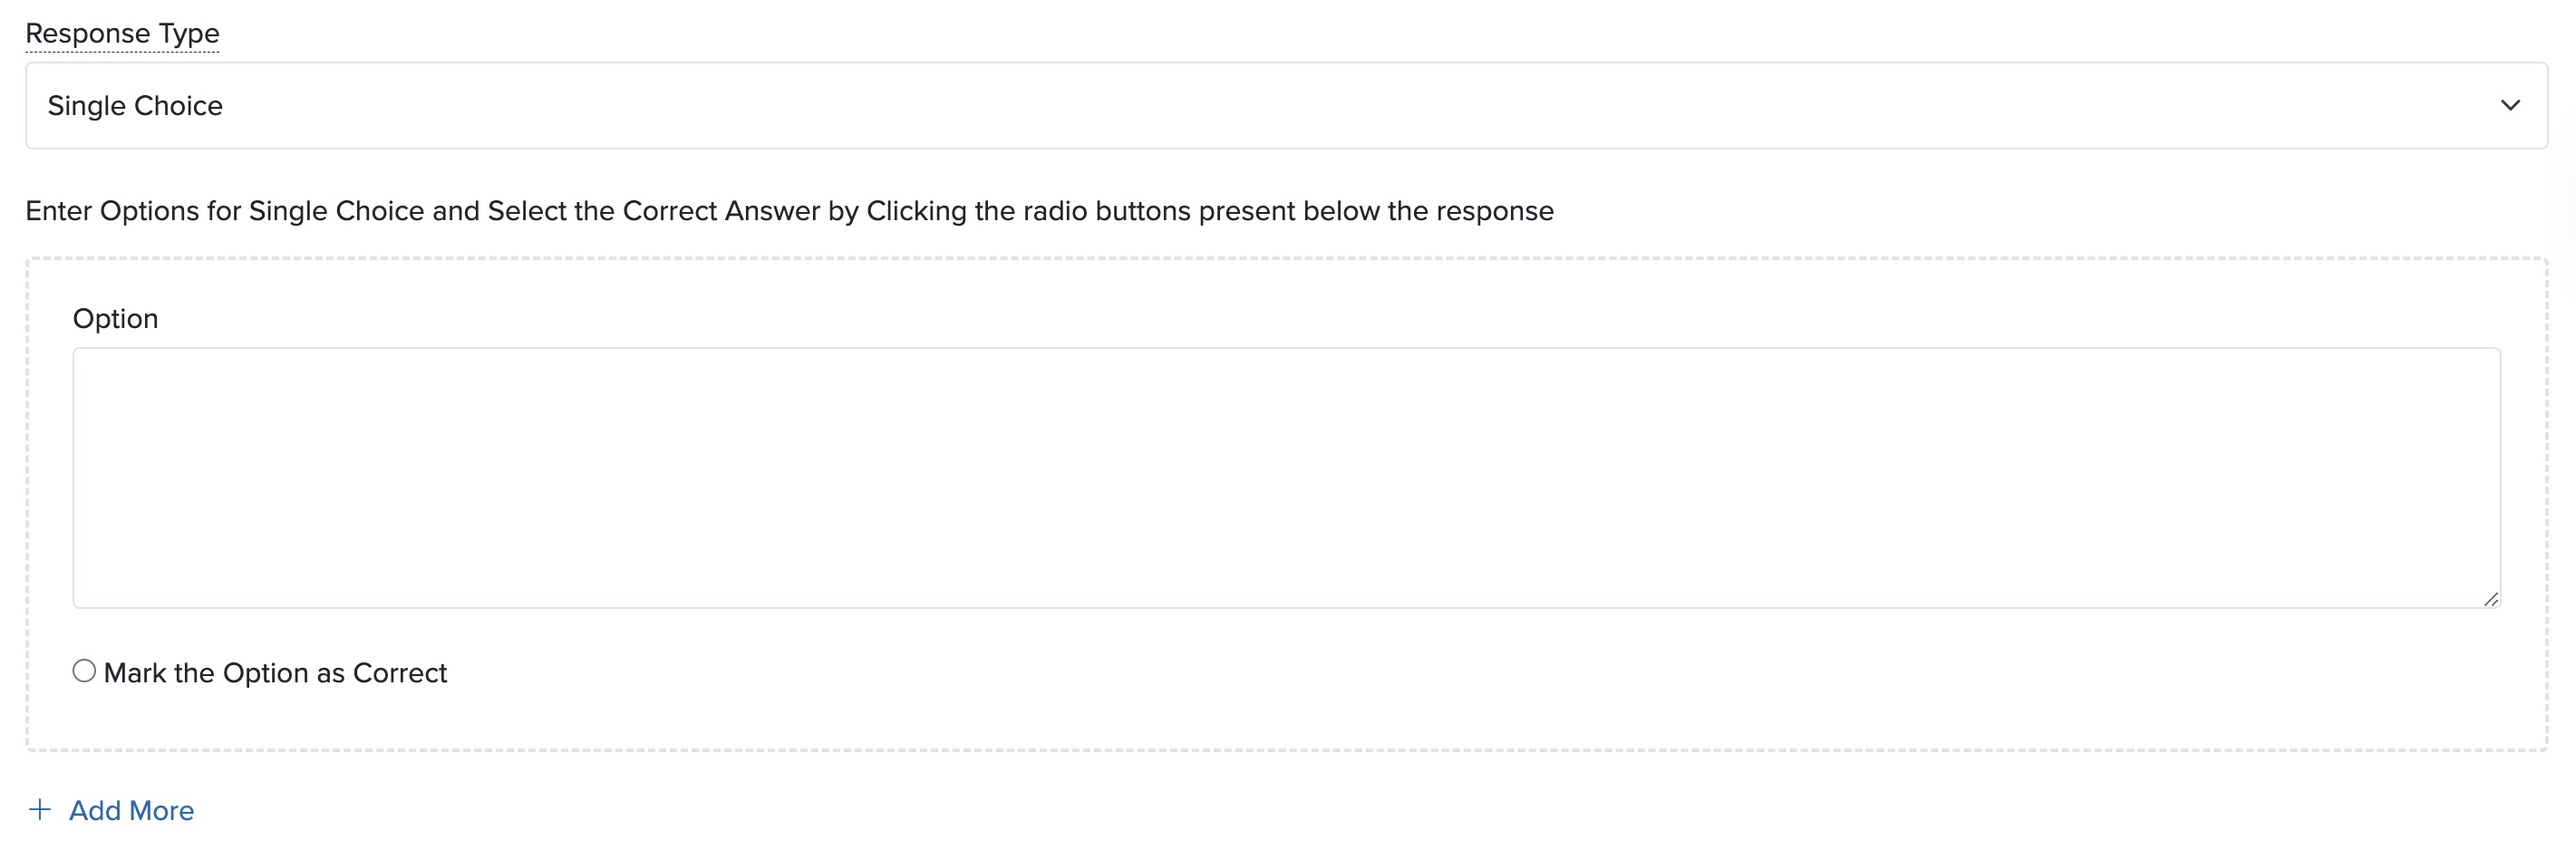
Click on the + Add More link available at the bottom of the screen, as shown in Figure 16 above, and another option will appear.
Once you add aal the answer to the question, click the radio button Mark the Option as Correct to mark it as the correct answer to the single choise question. For multiple choice questions, mark all the check boxes which are correct answers.
If you select the ‘Phrase’ as the question type from the drop-down menu, as shown in Figure 15 above, a textbox will appear where you can add the matching option, as shown in Figure 17 below.

Edit Quiz
Click the Edit icon associated with each question in the Quiz list page, as shown in Figure 14 above, and you will be redirected to the Quiz edit page, as shown in Figure 18 below. You can update the details and click the Submit button to edit the quiz in the lesson wiki, as shown in Figure 18 below.
Document Type Wiki
This is the wiki where the content will be displayed in a tabular format, as shown in Figure 19 below.
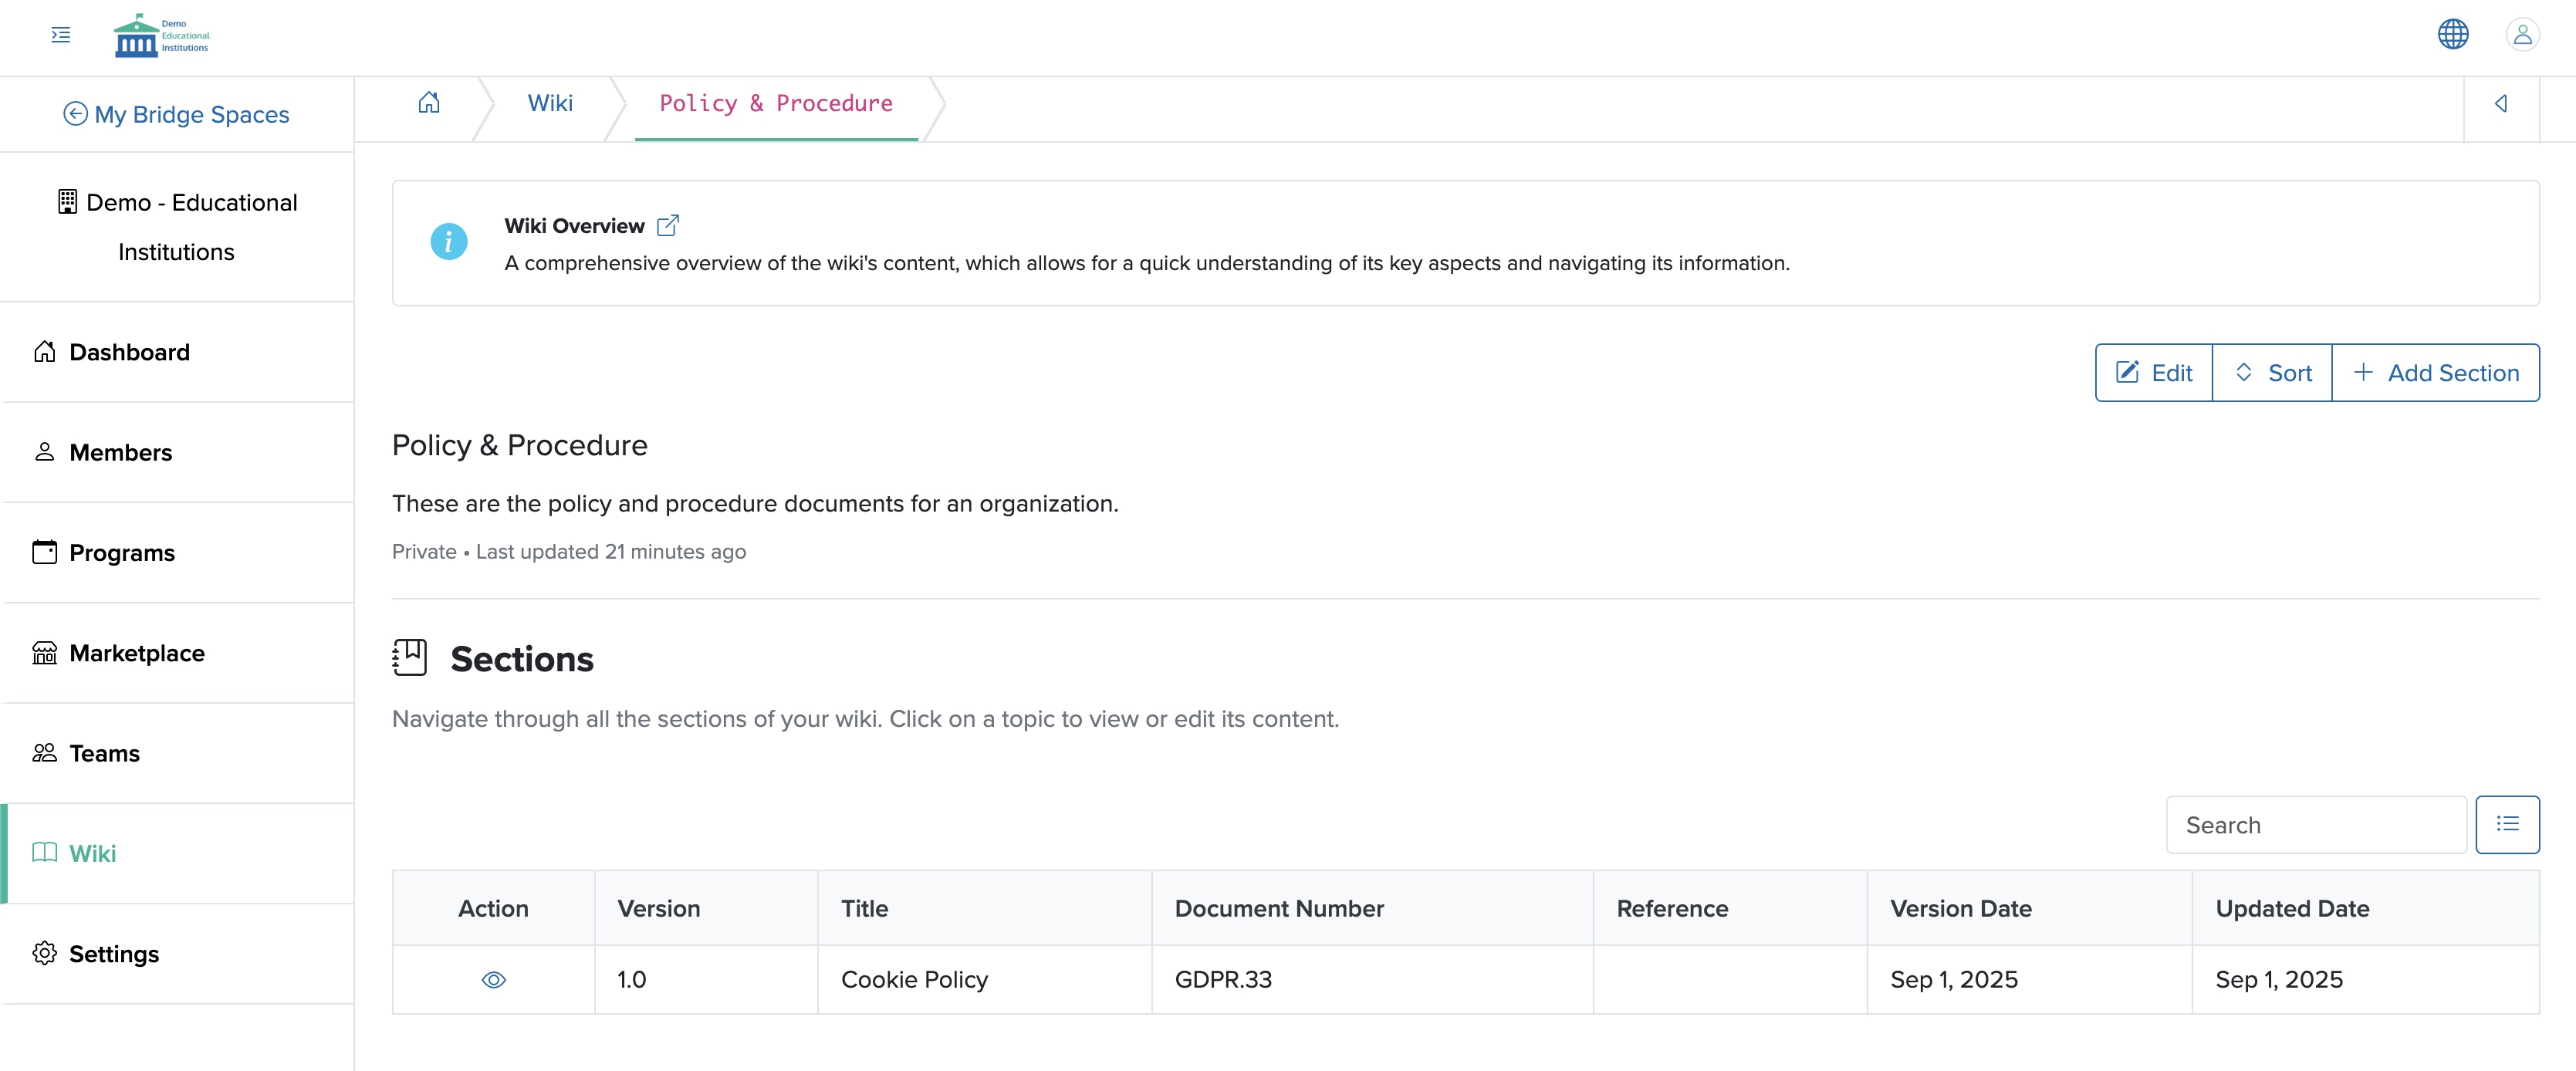
Add Document Wiki Page
Click the + Add Section button available on the top right side of the wiki list page, as shown in Figure 19 above, and you will be redirected to the individual wiki add section page, as shown in Figure 20 below.
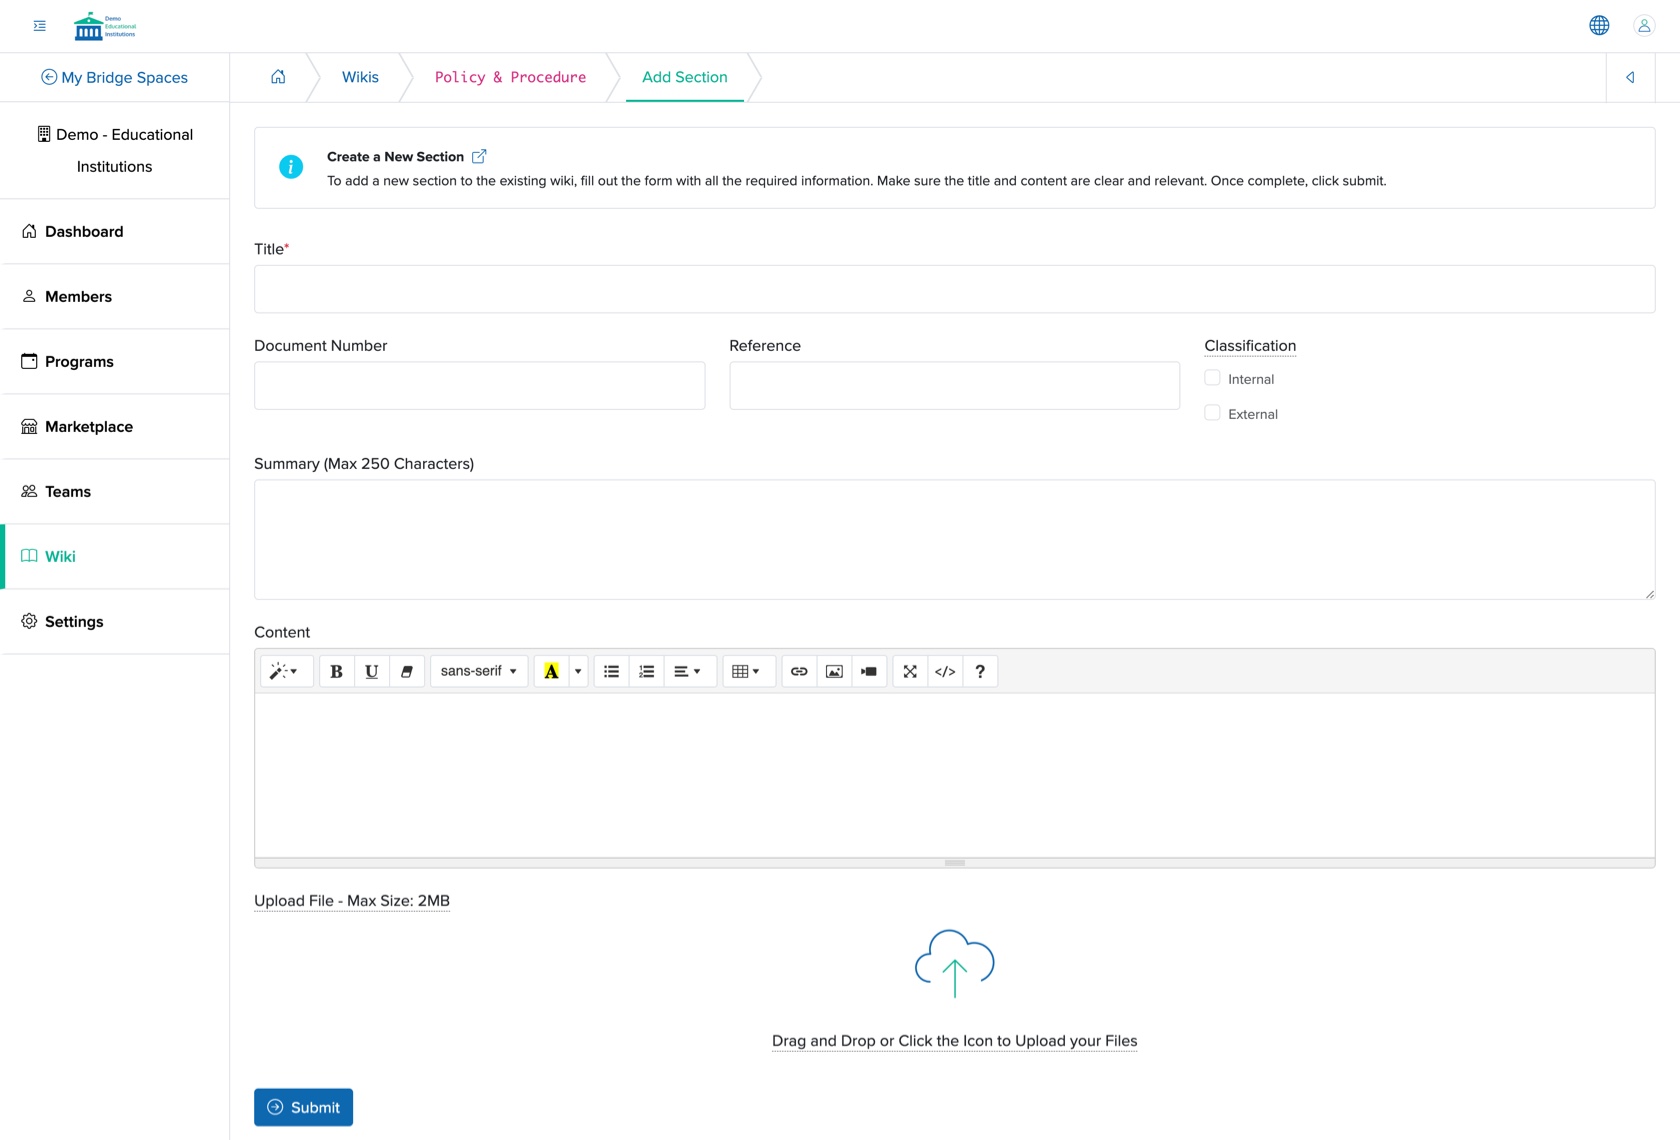
You can enter the details below and click the Submit button to add a new document wiki, as shown in Figure 20 above.
- Title (Textbox - Mandatory): Enter the Title of Wiki
- Document Number (Textbox - Optional): Enter the document number
- Reference (Textbox - Optional): Enter the document reference
- Classification (Check box - Optional): Select the document classification from the available options, 'Internal' or 'External'
- Summary (Text Area - Optional): Enter the document summary
- Content (Text Area - Optional): Enter the document content
- Upload File (File Upload - Optional): Select the file that you want to upload. The file size must be less than 2 MB
View Document Wiki Page
Click the View icon associated with each document wiki list page, as shown in Figure 19 above, and you will be redirected to the individual wiki view section page, as shown in Figure 21 below.
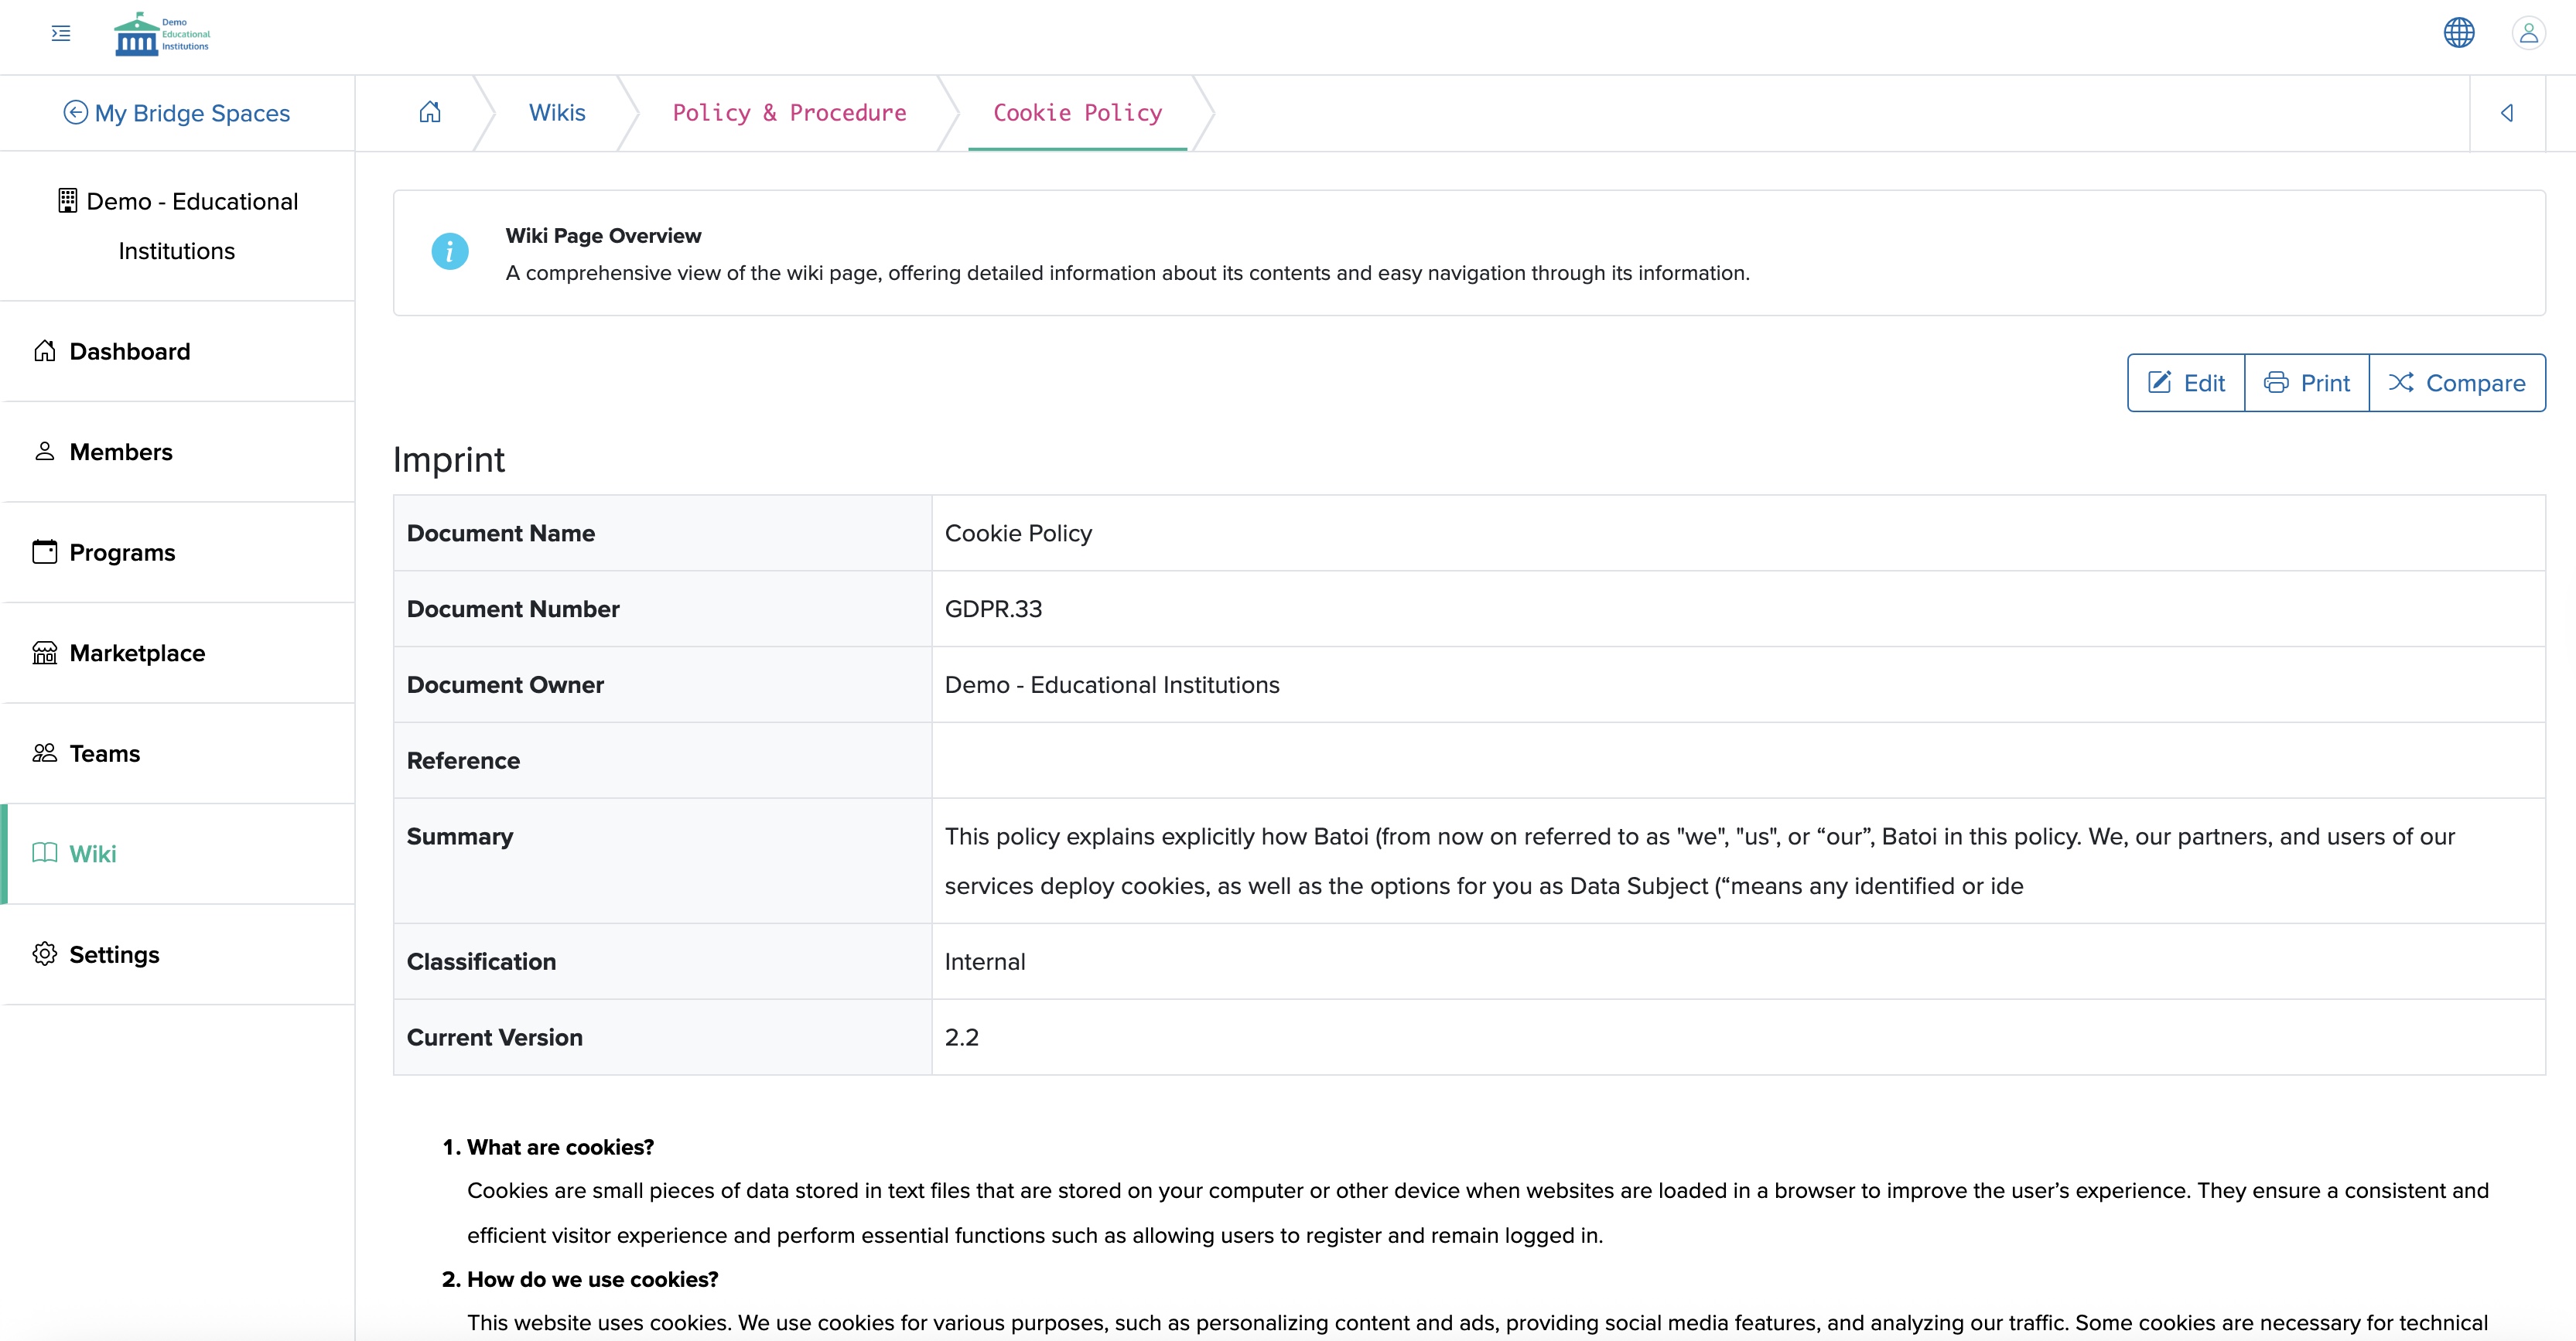
Edit Document Wiki Page
Click the Edit button available on the top right side of the individual document wiki view page, as shown in Figure 21 above, and you will be redirected to the individual wiki edit section page, as shown in Figure 22 below.
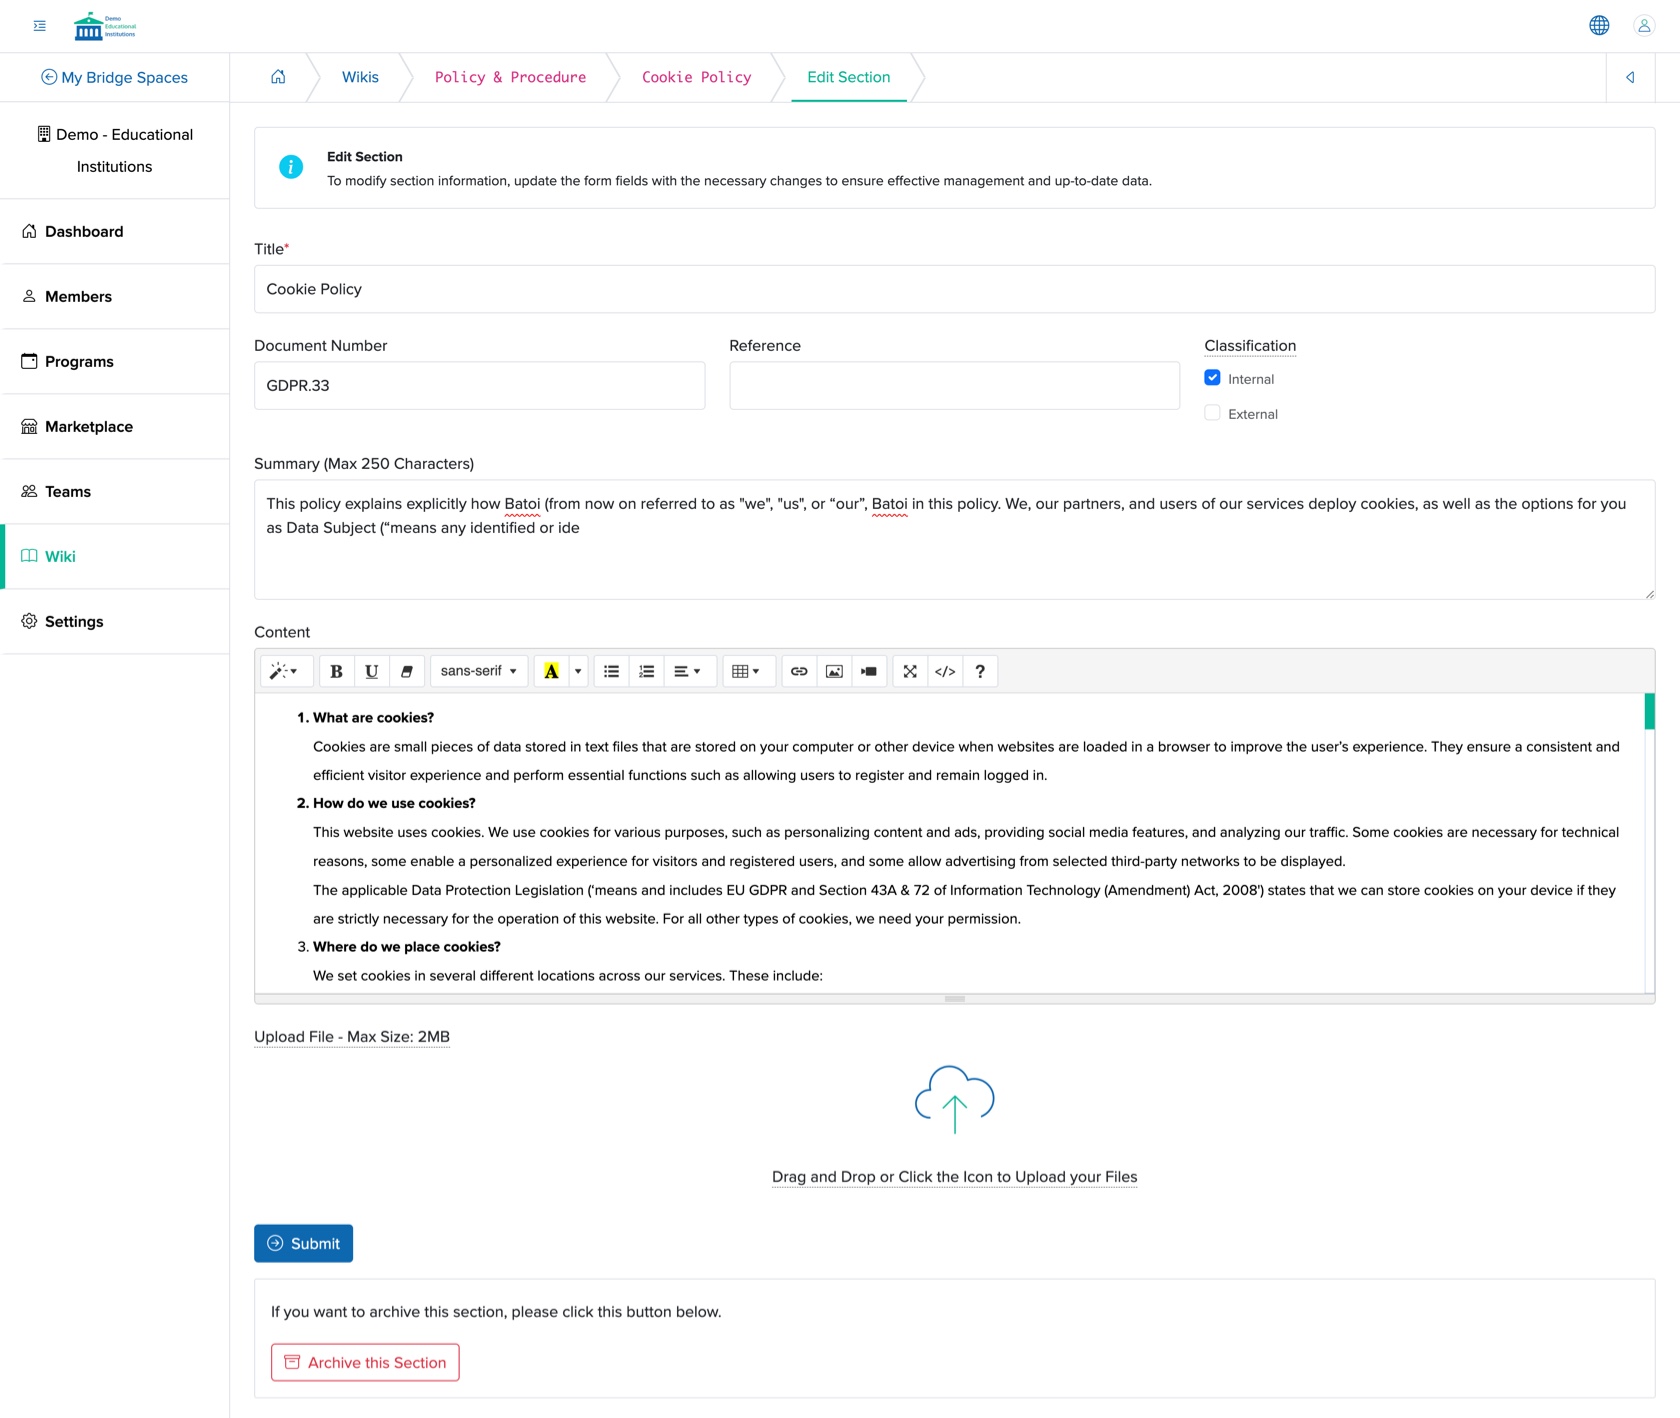
You can update the details and click the Submit button to update the document wiki, as shown in Figure 22 above.
Click the Archive this Section available at the bottom of the document wiki to archive the section, as shown in Figure 22 above.
Compare Document Wiki Page
Click the Compare button available on the top right side of the individual document wiki view page, as shown in Figure 21 above, and you will be redirected to the individual wiki compare section page, as shown in Figure 23 below.
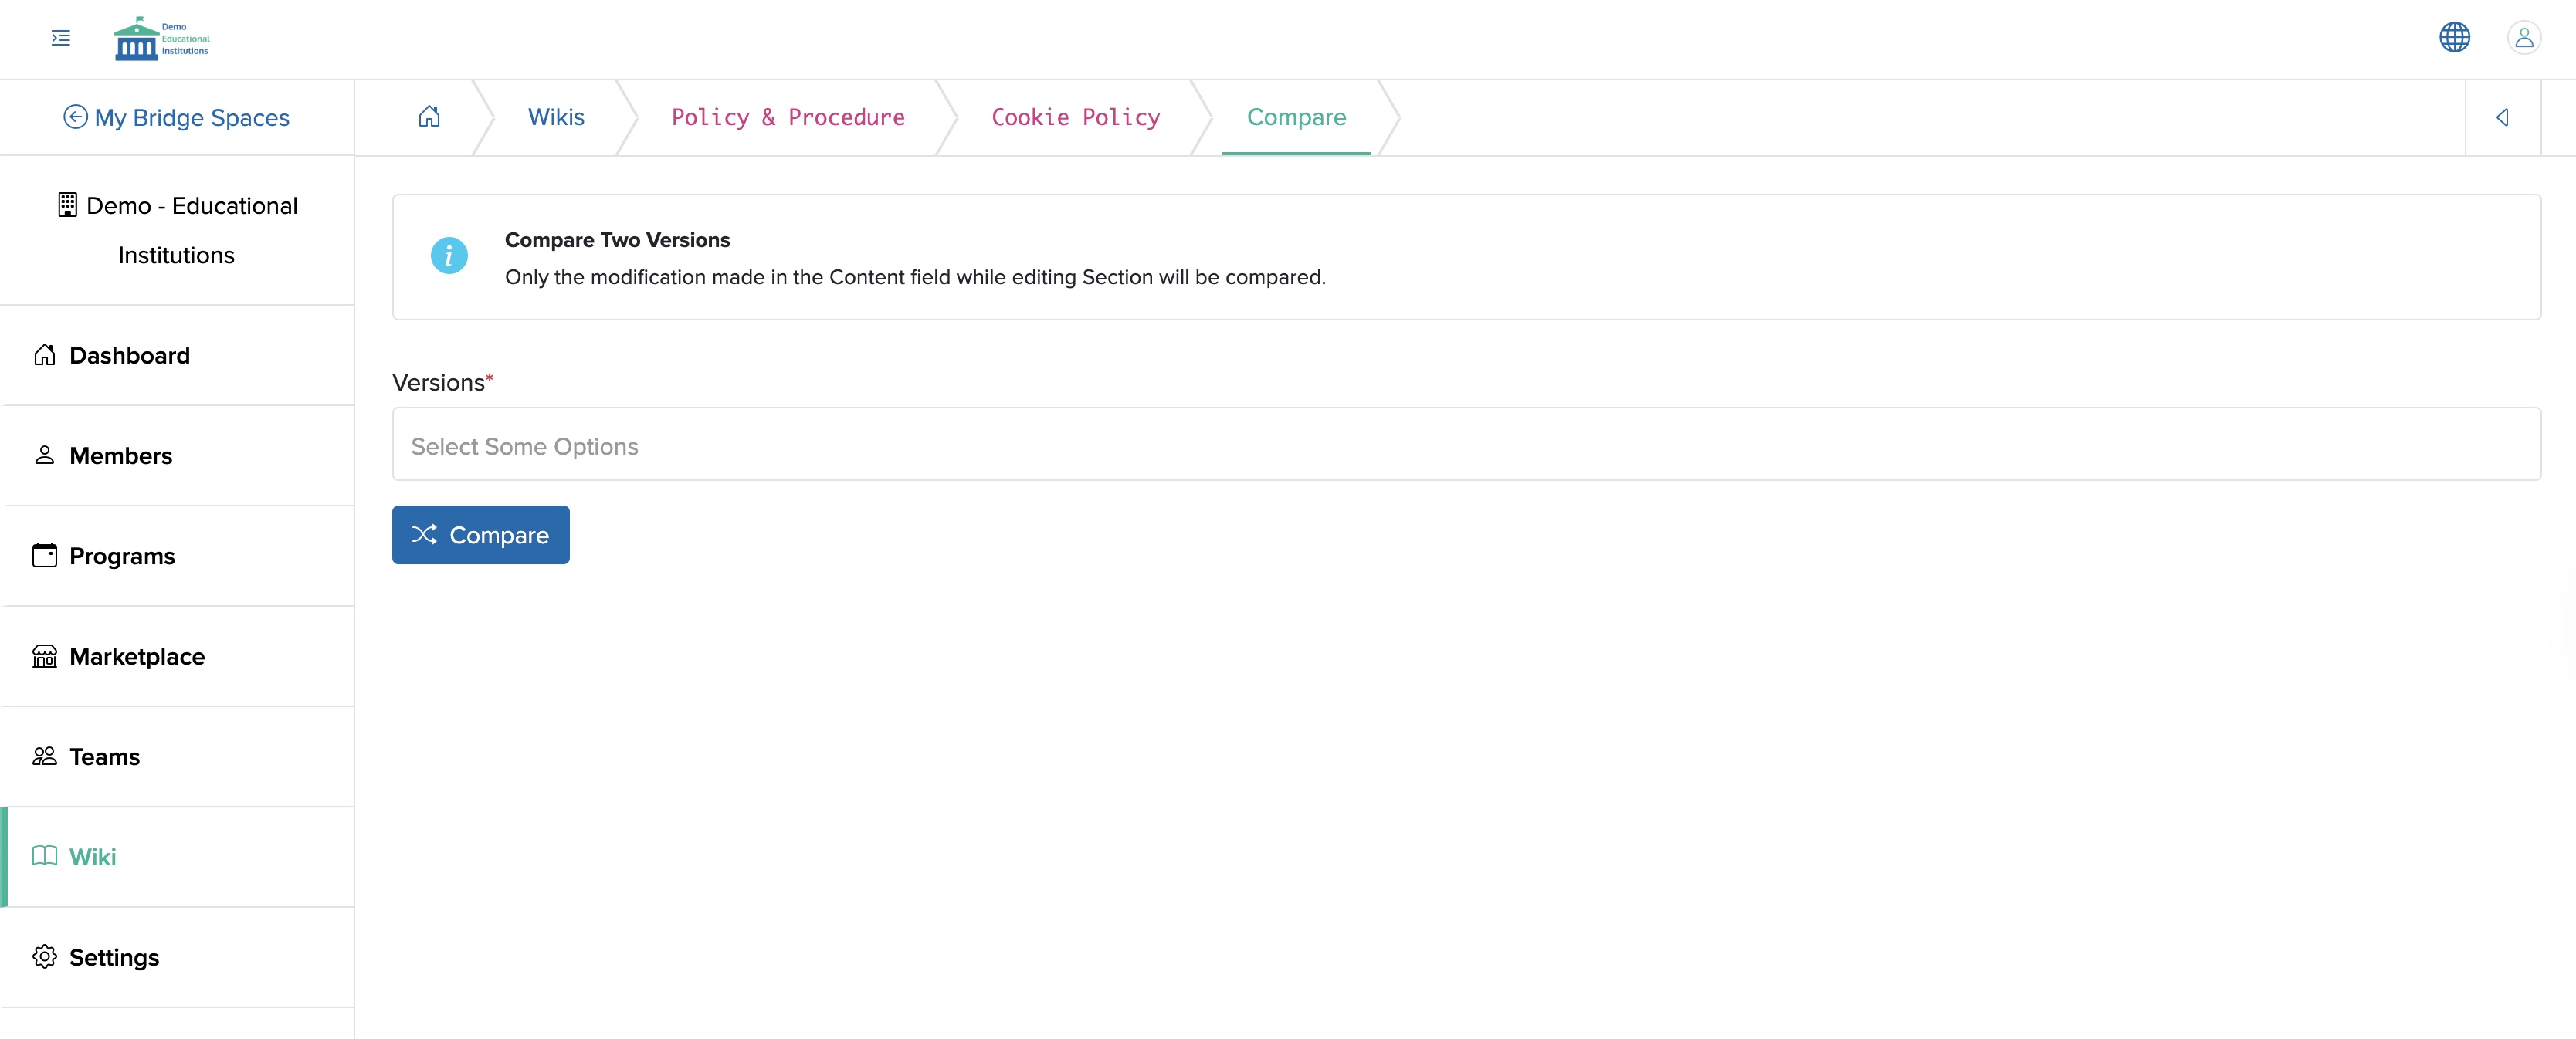
You must have at least two versions of the same document available to compare. Each time you update a particular document wiki, a new version will be created. Select the versions from the drop-down menu, as shown in Figure 23 above, and click the Compare button, and you will be redirected to the compare page, as shown in Figure 24 below.

Print Document Wiki Page
Click the Print button available on the top right side of the individual document wiki view page, as shown in Figure 21 above, and the print page will open.
Sort Document Wiki Page
Click the Sort button available on the top right side of the document wiki list page, as shown in Figure 19 above, and you will be redirected to the document wiki sort page, as shown in Figure 25 below.
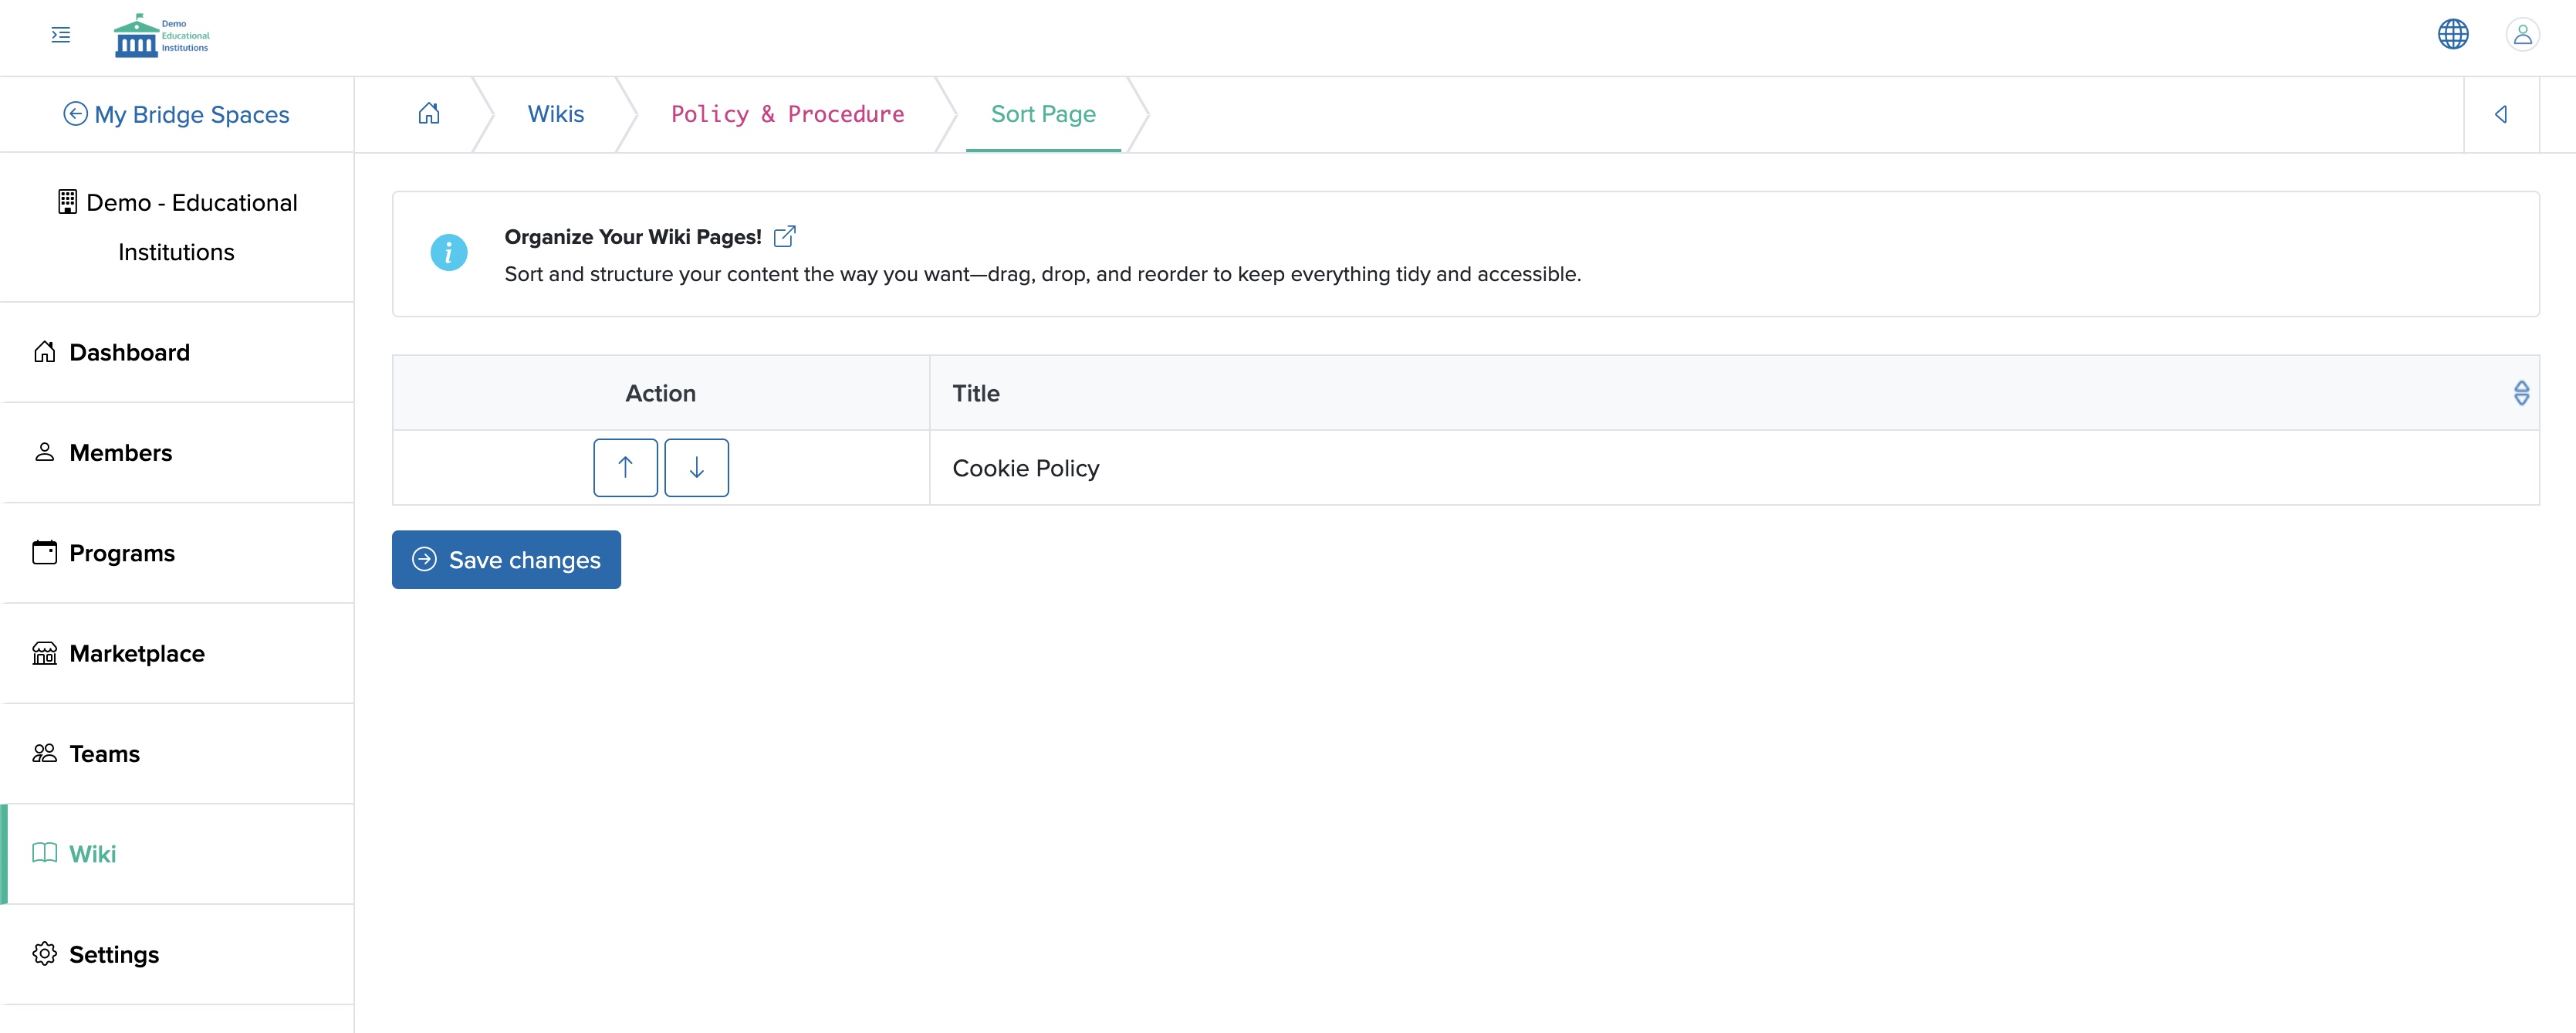
Click the Up or Down arrow associated with each document wiki under the Action column in the sort wiki list page, as shown in Figure 25 above, and wikis will be arranged accordingly. Click the Save Changes button once you finish sorting the documents, as shown in Figure 25 above, and the documents will sort accordingly.